16' Alumacraft Model K build

TinBoats.net

Help Support TinBoats.net:

This site may earn a commission from merchant affiliate links, including eBay, Amazon, and others.

JFDBasser

Well-known member
Joined
May 31, 2010
Messages
104
Reaction score
0
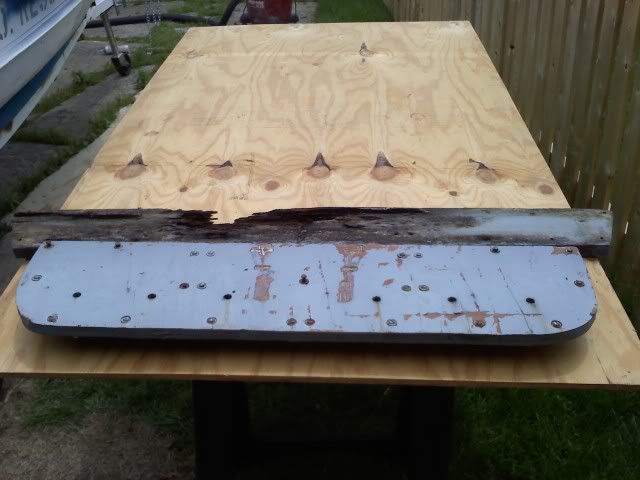
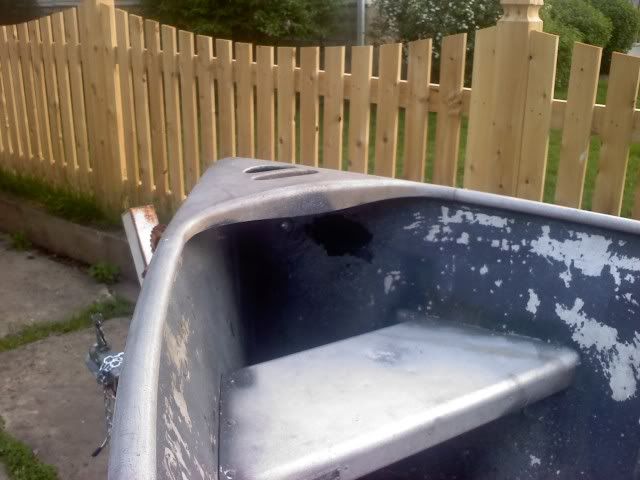
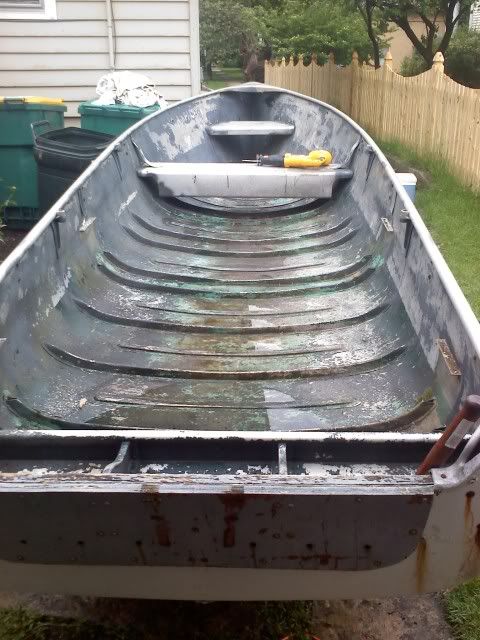
Well, I recently sold my 1981 Sears 1232 and my dad aquired a 1950's Alumacraft Model K for me so I can take his grandkids fishing at our club more safely. The boat was used by a rescue sqaud in TN for many years on KY lake....it has some rough repairs, but overall it is in pretty good shape. The boat has a few leaking rivits, but nothing I can't fix.

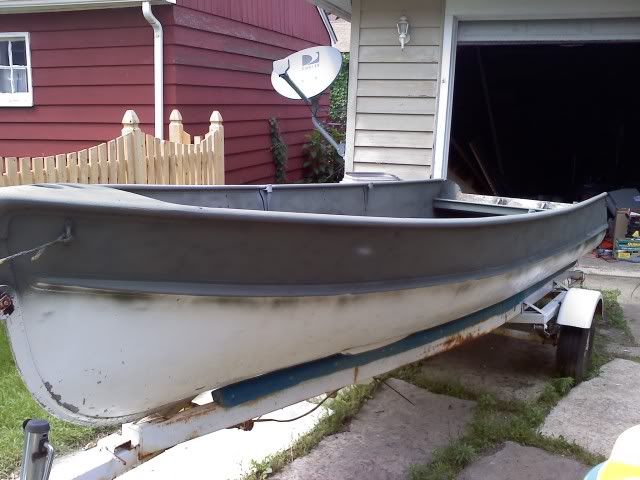
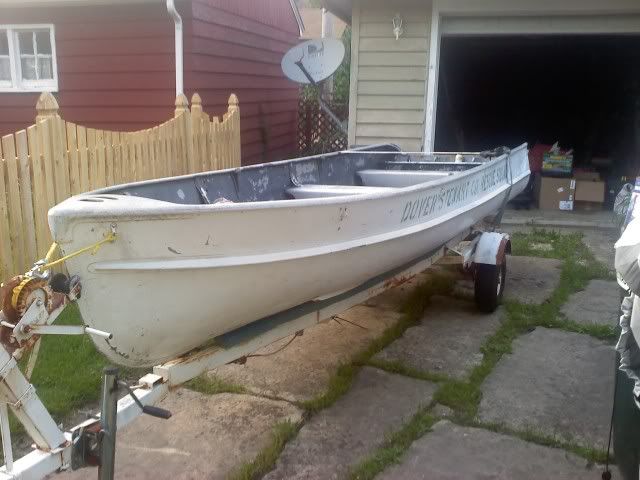
Here are the before shots.

0519111938.jpg

0519111937.jpg


Here's the build plan.

-Strip/Prime/paint the interior and exterior. Boat will be Navy Blue and Gray on the outside....light gray interior. Trailor will still be white.
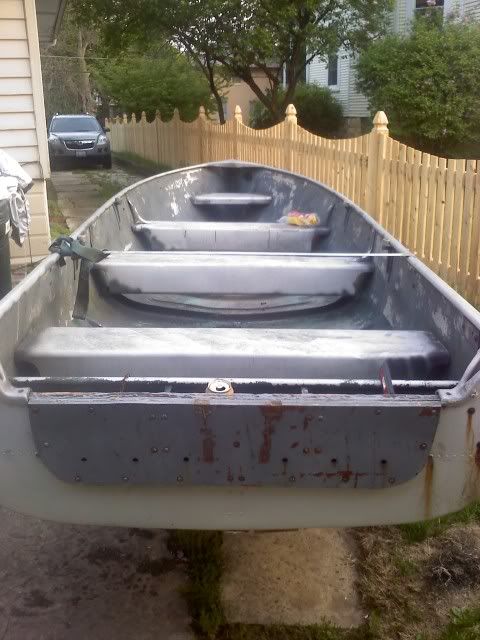
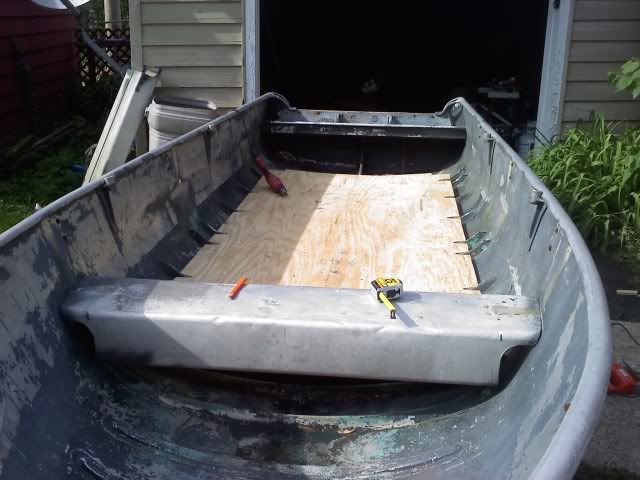
- Remove possibly all three benches and install angle aluminum braces for support
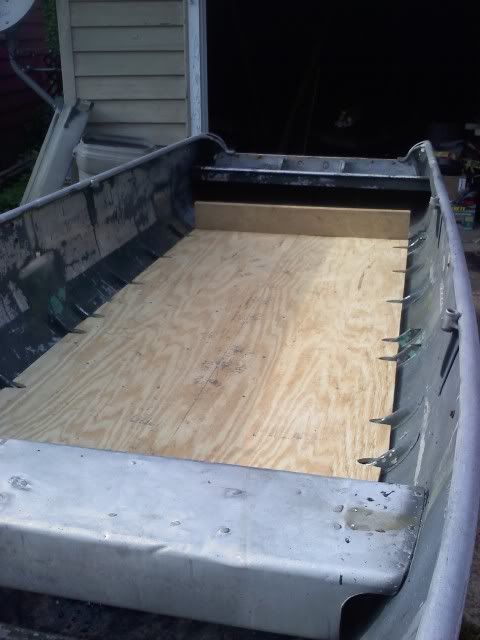
- Install floor from bow to stern
-Install lights, bilge pump, Accessory Outlet, Bow Mount TM and Graph
- Fish...

Obviously it's going to take quite a bit more work than that, but you get the gist.

Any suggestions and idea's are appreciated. I've been searching the build list and have gotten some great idea's. I'll try to give credit when I steal someones idea.


Oh yeah, any idea how to mount a MinnKota Powerdrive to this bow?
0519111938a.jpg
 
Got her off the trailer today and flipped over to fix some rivets. My Dad told me he marked some rivets that were leaking.....some were missing, others were completely worn away....no kidding they were leaking. I got some closed ended rivets and went to town fixing them...I have a few other random holes, etc. that I plan on riveting then I'll flip her over and do another leak test.
 
:x Well...my first rivit fix didnt work. Looks like they are coming out and going back in with some 5200 when I put them in. Decided to just steelflex the thing while I'm at it. This budget is taking a serious hit lately. Should have some more pics up Wednesay....going to mock up the framing while I wait for the steelflex to arrive.
 
I heard back from Alumacraft today and found out my boat was built in 1954....kinda neat.

Had a buddy over for some help today....didnt get much done, but its a start.

I got the rear benches and braces removed. Filled all the holes with rivets...went pretty smoothly. Oddly enough the benches were intended to be sealed for flotation...somewhere along the line the center seat spung a leak and was FULL of water...
0525111238.jpg


Holy cow was the floor a pain. It took me and a buddy almost a 12 pack to figure it out...It seemed that no matter what we did we couldnt get around the ribs or get it to lay flat. We finally decided to get one side how we wanted, then draw a center line and measure the other side from the first. Once we did that it took 20 min. to cut the other side out. I installed 2x4's and 1x2's running lengthwise for support.
0525111629.jpg


You can see in the pic above that the floor has a bow to it.... I cut a 2x6 to with width of the floor and attached it at the end to get rid of the bow in the floor and create a seperator from the floor and the bilge area in the back for the battery/gas tank. I'm thinking about attaching 1x3's around the sides of the floor to cover up the V's around the ribs... I'm not carpeting anything so I'd like somewhat of a clean edge...what do you all think?
0525111737.jpg


Next is framing the bow section, once that's done all of the wood is coming out to be sealed, when that happens I'm going to paint and steelflex this thing.
 
I just picked up the exact same boat and will be restoring it at some point, maybe sooner than later. Are you planing on adding a steering console or going tiller?
 
Cool, can't wait to see your restore. I'm going with a tiller. This boat is primarily going to be used at my club which is built on strip mine lakes...so very narrow, not much need to run around. I'll probably also take it to the restricted HP lakes in Illinois. I've got a bassboat I take everywhere else, so this is just going to be a simple, clean fishing boat.....well, hopefully....
 
Hello, This is my first post on here,just been doing some reading and saw what you are doing. i have the same boat, had it for about a year.Mine has a live well in the middle, don't know if factory or aftermarket,but looks to be made for the year of the boat. Anyway in th process of doing what you are. Move live well to the back and took out middle bench. Doing what you are with floor. Thanks for posting and I will keep reading and getting ideas. Russell D.
 
I really like how guys on this forum redo their boats! They all spent a lot of time and effort to end up with a great rebuild on their units. HOWEVER, most all of them (you) forget about building in the saftey portion of the rebuild. The floation foam is most often forgotten or ignored. Contact the oringinal manufacturer of your boat for help or suggestions on your project. Most will give you basic floation guidlines for your particuliar craft. You'll be glad that you spent a little extra money for the piece of mind that your boat is safe! :)
 
Toot,
Great reminder on Flotation....I forgot to mention that in my first post. This particular boat was built with no flotation foam whatsoever from the factory.....it was built with flotation TANKS in the benches. Essentially each bench seat is a sealed tank providing flotation. The front bench is still sealed and airtight. The back two benches were FULL of water....apparantly 56 years of use put some small holes in there somwhere. My plan is to fill the underside of the rear floor with pool noodles for some flotation. I am also building the front deck with a small storage compartment, my plan is to fill the entire bow section of the boat around that compartment with either foam sheets or noodles....one or the other.

Thanks for the reminder....it seem's we do all tend to forget about it.
 
Ok, got my floor done and all the supports in, doesnt look any different, just sturdy now. I'm working on power washing the interior and priming/painting, so I can frame my front deck, pics will follow soon.

In the mean time I am trying to find a new plug for my drain pictured below, and figure out some sort of bow eye, you can see in my first pic what the bow looks like, came with no bow eye. I'm thinking about a rubber coated chain to replace the rope, any ideas or suggestions?
 

Attachments

  • 0531111053b.jpg
    0531111053b.jpg
    1.1 MB · Views: 18,378
Your off to a great start.
I'll be watching, and your more than welcome to "steal" any and all ideas in my build.

:mrgreen:

Let me know when your heading to Evergreen, maybe we can meet up sometime.
 
Will do Hanr....on both Evergreen and "stealing" idea's.

I found a drain plug today thanks to huntinfools suggestion. Found a 3/8" MIP Brass plug that fit perfectly.

Here's the weird drain in my old boat.
 

Attachments

  • 0531111948.jpg
    0531111948.jpg
    423.4 KB · Views: 18,305
  • 0531111947.jpg
    0531111947.jpg
    819 KB · Views: 18,305
Well, I removed the rotted out transom today. It took around 30 rusted bolts to remove the wood and a trim piece holding it all together. Definately need to replace with stainless. I had some 1/2" marine plywood lying around so I cut the new pieces for the transom and glued them up. They are curing in my garage right now with a bunch of sandbags on them.

0602111333.jpg


I also got everything primed that is getting painted. The interior will be gray. The upper portion of the outside will be Navy. The rest is getting steelflexed. Thanks to bluegrasser for the inspiration on the paint scheme.

0602111451.jpg
 
I like the paint scheme as well. Reminds me of my Marine Corp days when we caught rides from the Navy.
 
Ok, after a two week hiatus for a trip to my parents in TN and the horrible weather we have been having at home I finally got going again.

It has rained every day I have not been on duty for over a week now which has kept me from getting the steelflex on. I finally caved and cleaned out my garage enough to get the boat in. I just did the first coat of steelflex........it was nothing like I expected.....I'm not sure how it will look yet. I was surprised to see how much it levels itself out...I do like the texture the roller gave though. I need to do a touch-up coat to the ribs and a few thin spots still...going to wait a few hours and do that. I'll post some pics once that is done.

Also started on the trailer today. I was able to sand and prime it during the past week so I sprayed the paint today. I just used Rustoleum White Gloss Enamel. Pics to follow.
 
Here's the trailer and the first coat of steelflex....
 

Attachments

  • 0624111149b.jpg
    0624111149b.jpg
    477.2 KB · Views: 2,873
  • 0624111149.jpg
    0624111149.jpg
    246.4 KB · Views: 2,872
Starting to pick up some steam again on this project. I got the steelflex on yesterda. Felt like I was painting with maple syrup, but thanks to the info on this board it went alright.

Today I was able to get the boards for the transom cut out and stained....they came out nice, now I just need to seal them. It was a pain trying to find wood. I needed 1" thick boards for the transom. I called everywhere around me that sells wood and noone had anything that I was willing to spend the money on. I tried laminating some 1/2" marine plywood, but I wasnt happy with the result. While I was visiting my Dad in TN he set me up with one of his friends from his Fire Dept. that owns a sawmill. The next day I had two perfect pieces of White Oak that was 1 1/8" ran it through the planer of another retired firefighter from my dept. that lives near my Dad and I was in business. It came out pretty good I think....can't wait to get them on the boat.
 

Attachments

  • 0625111434.jpg
    0625111434.jpg
    695.8 KB · Views: 2,861

Latest posts

Top