1652 Lowe Olympic John Duck/Marsh Boat Updated 9/25/13

TinBoats.net

Help Support TinBoats.net:

This site may earn a commission from merchant affiliate links, including eBay, Amazon, and others.

T Man

Well-known member
Joined
May 24, 2010
Messages
254
Reaction score
0
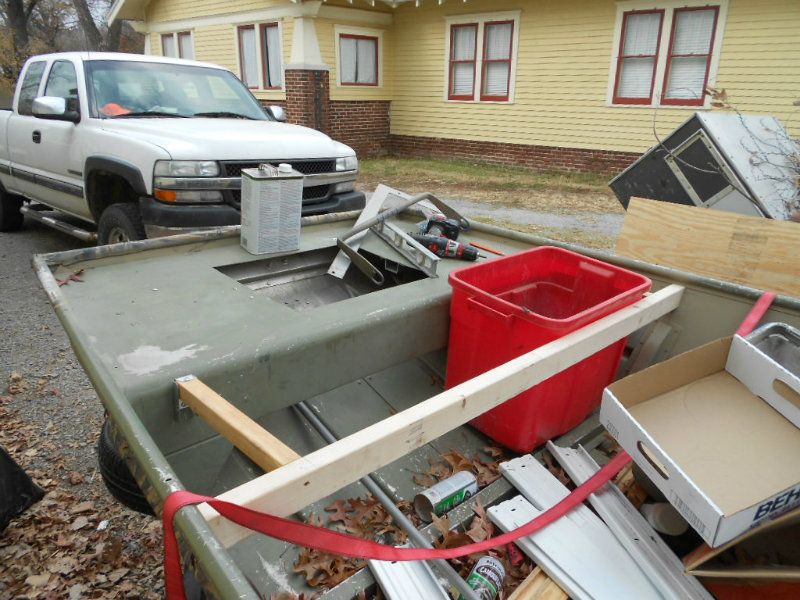
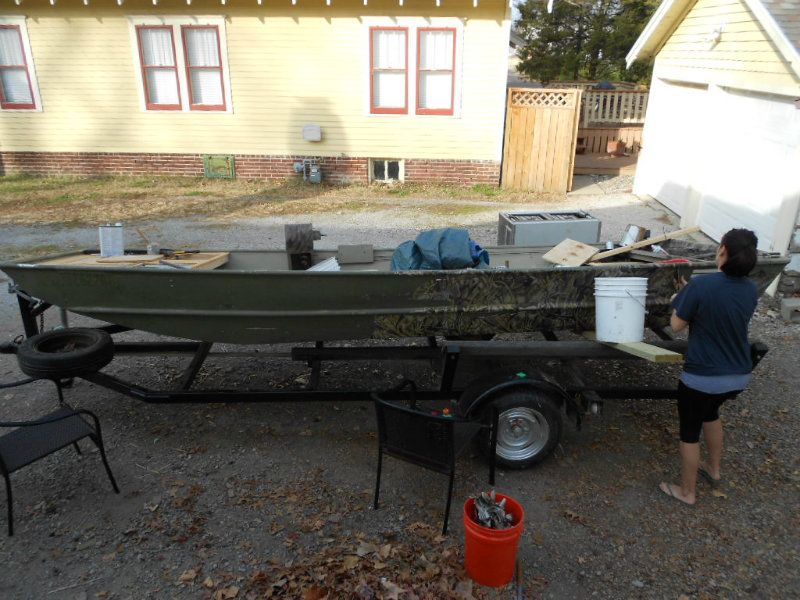
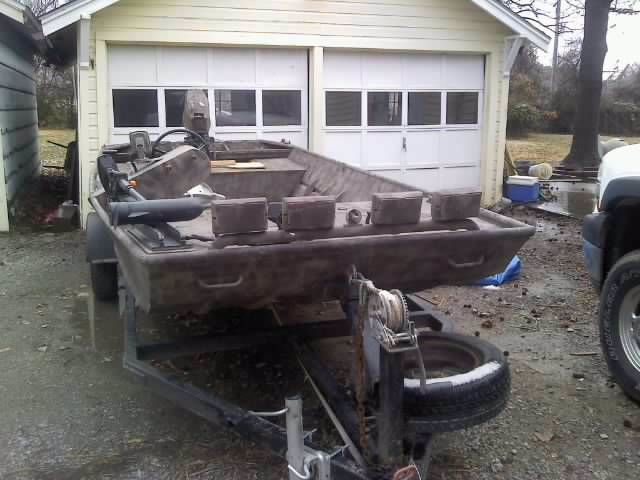
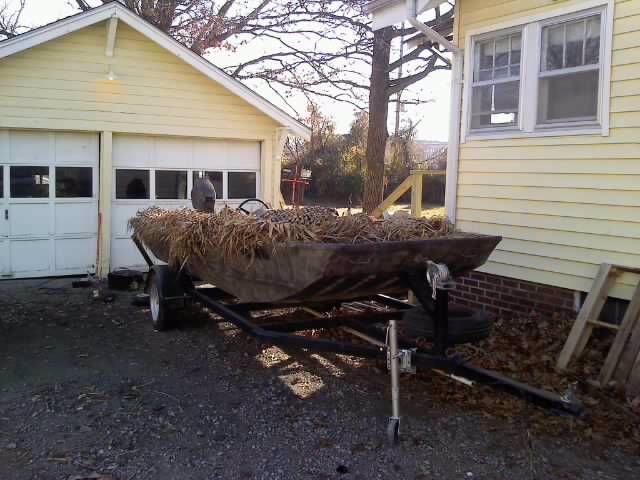
Well, the real work started today on the "new" boat. It sat in my buddies garage for the last 5 years, and for the last 2 has been our storage rack/table for our mowing gear. Last Thur the stars aligned and I bought it for a song. The motor needed a new diaphragm, and after the shakedown I found it had a spun hub. Over the last 5 years I have been buying boats cheap, doing a little work and turning a profit on them to get to this point, each time getting a little bigger. This boat is the perfect size for what I want to do with it, but it needed a little work and until I graduate I am on a shoestring budget. Today I got down and dirty with it.
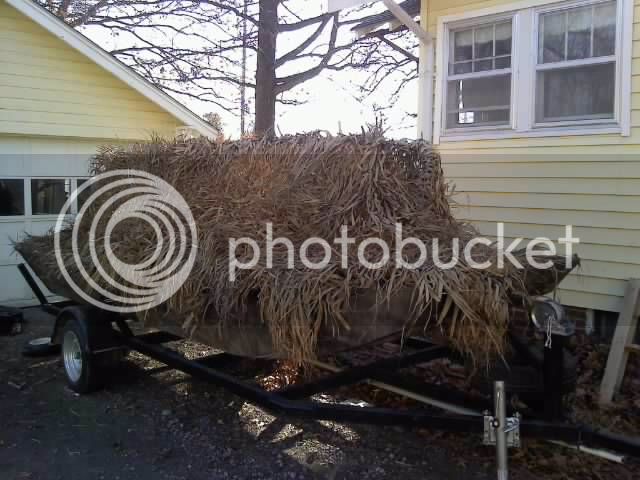

The beginning:
2056.jpg

Boat.jpg


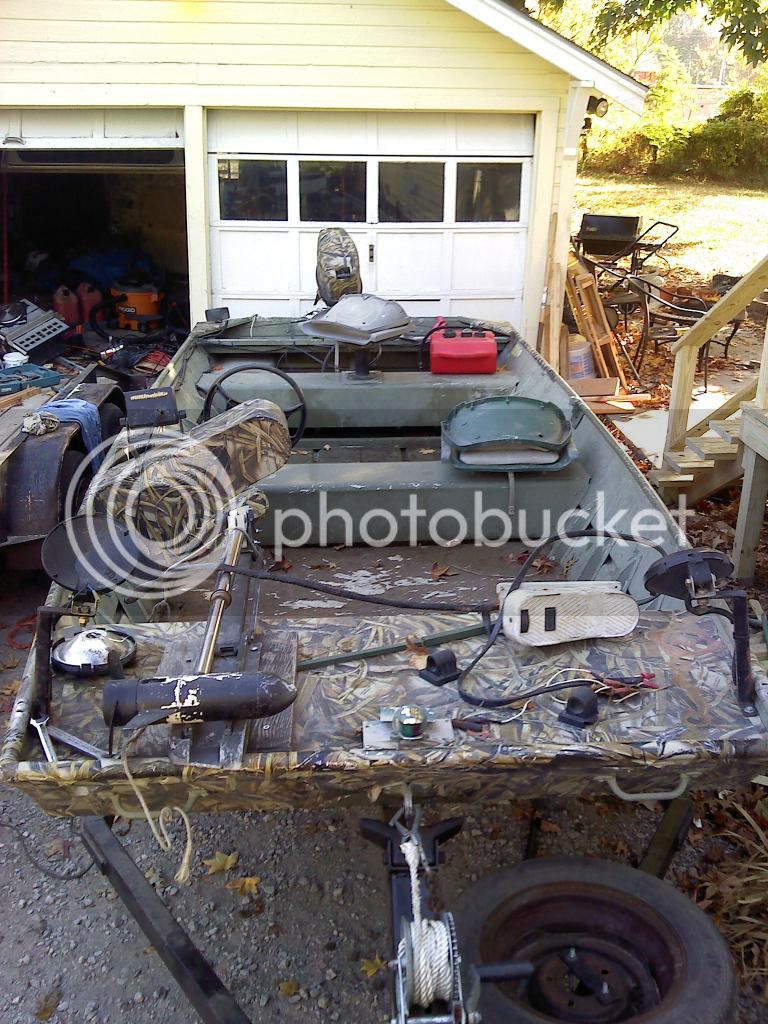
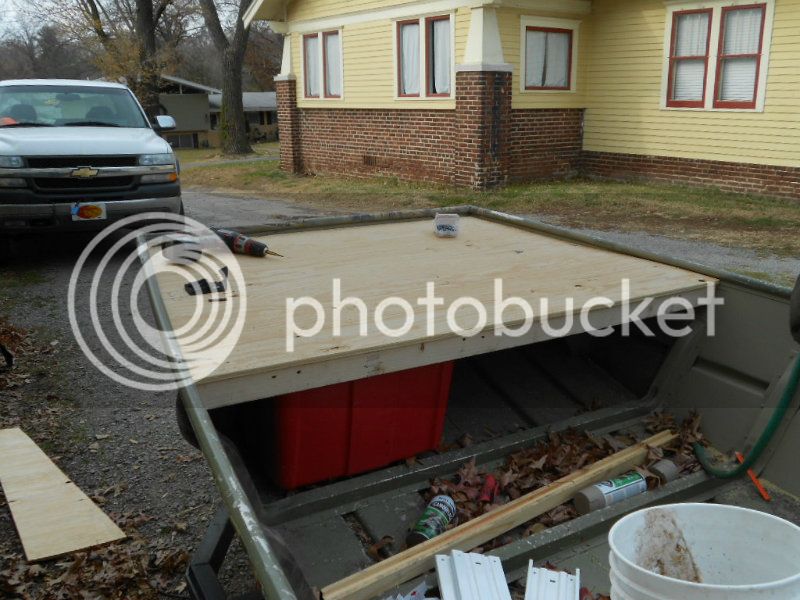
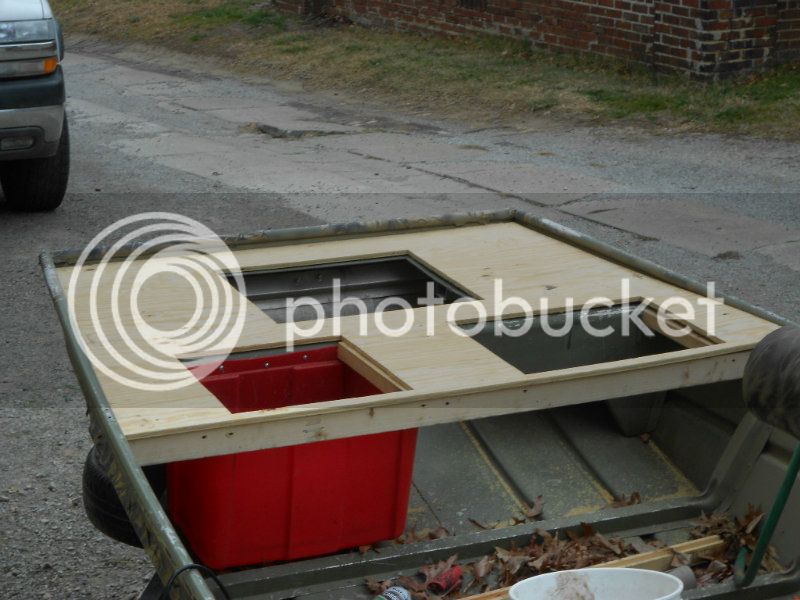
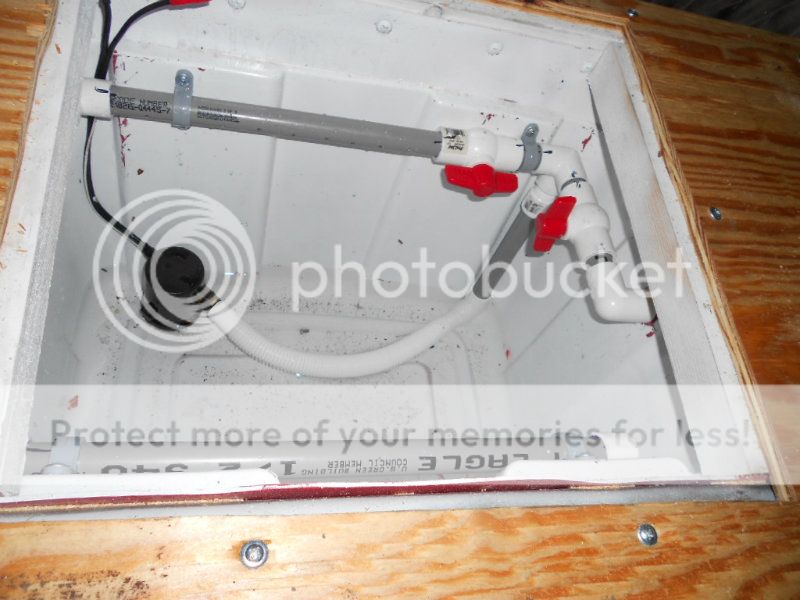
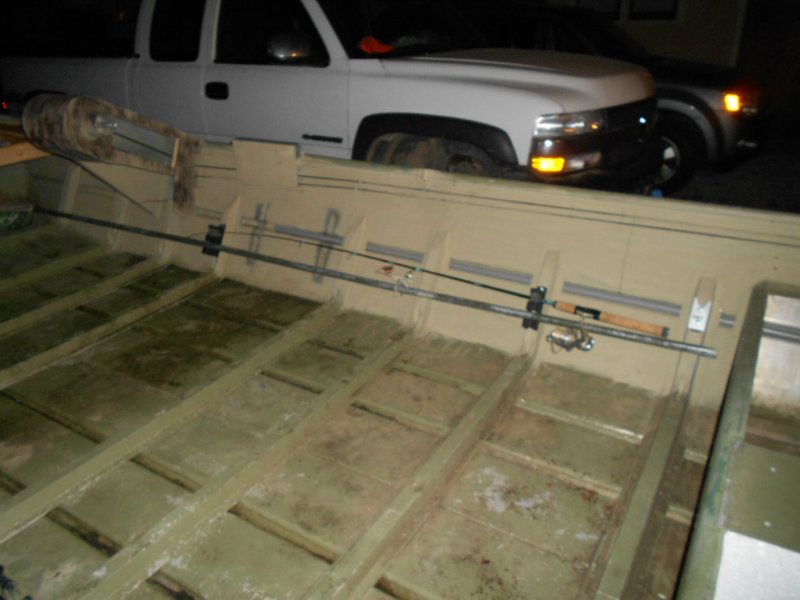
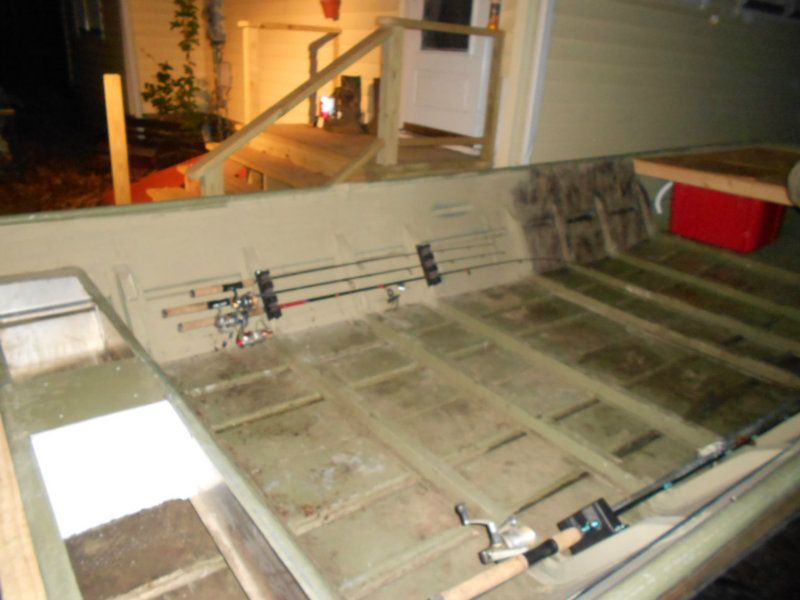
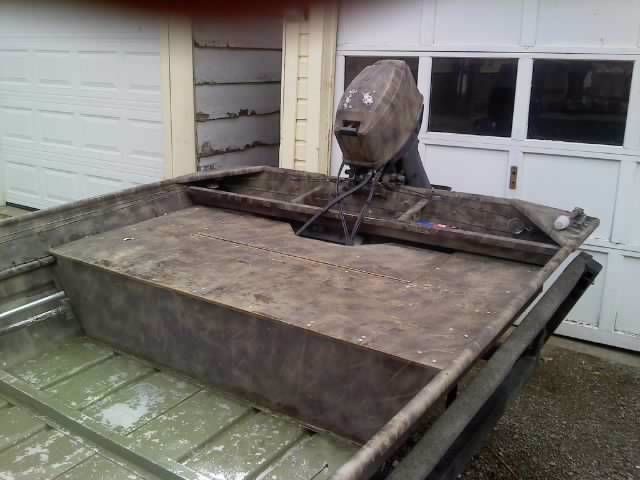
Cleaned it out and stripped the wiring out. Also removed the middle bench to make it a full walk through
2058.jpg

2059.jpg


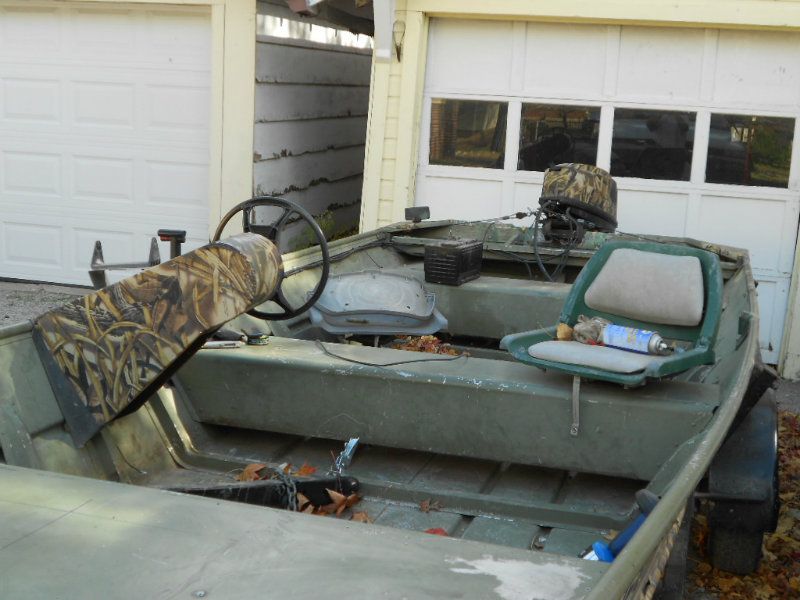
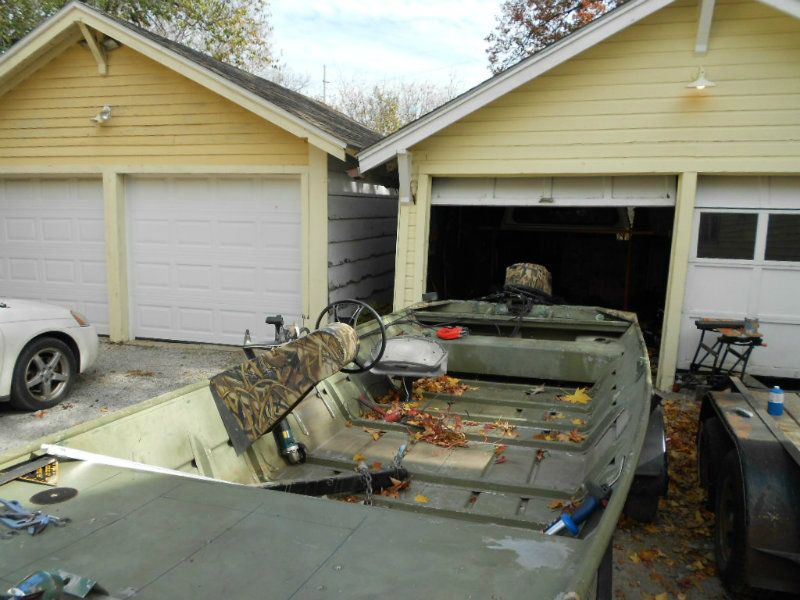
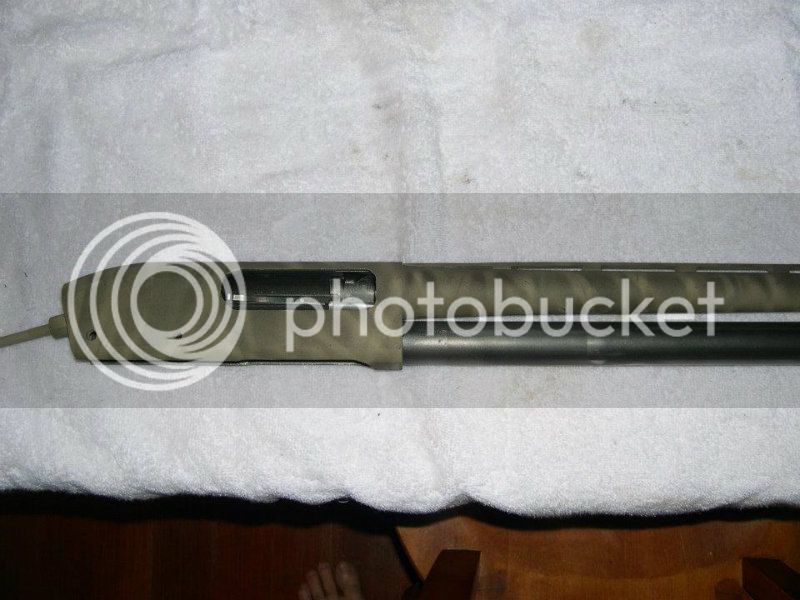
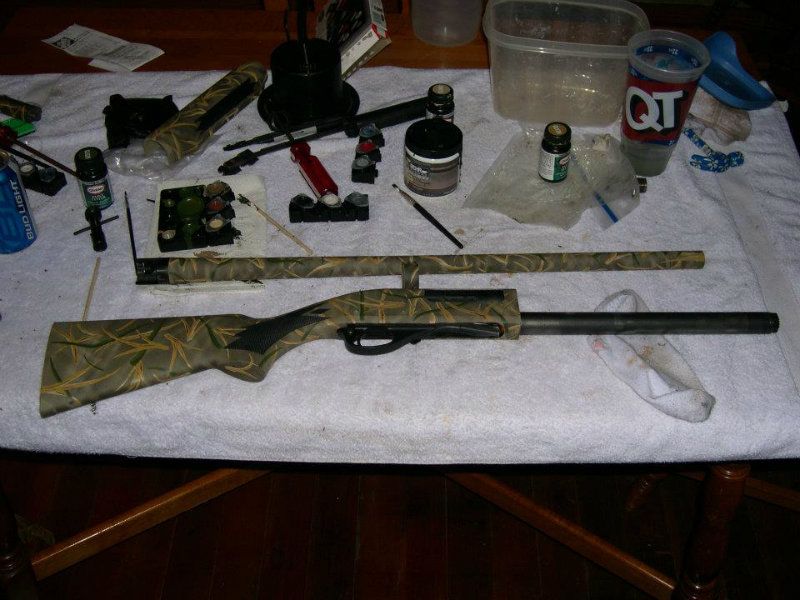
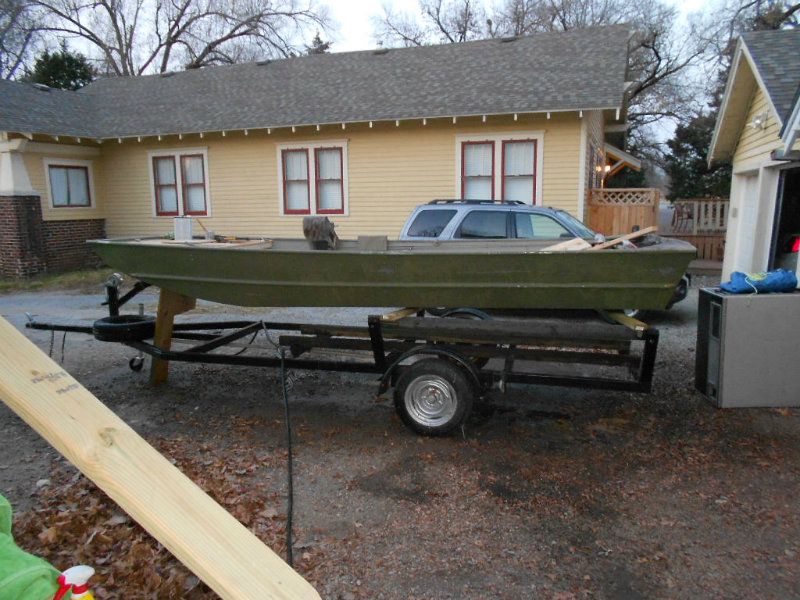
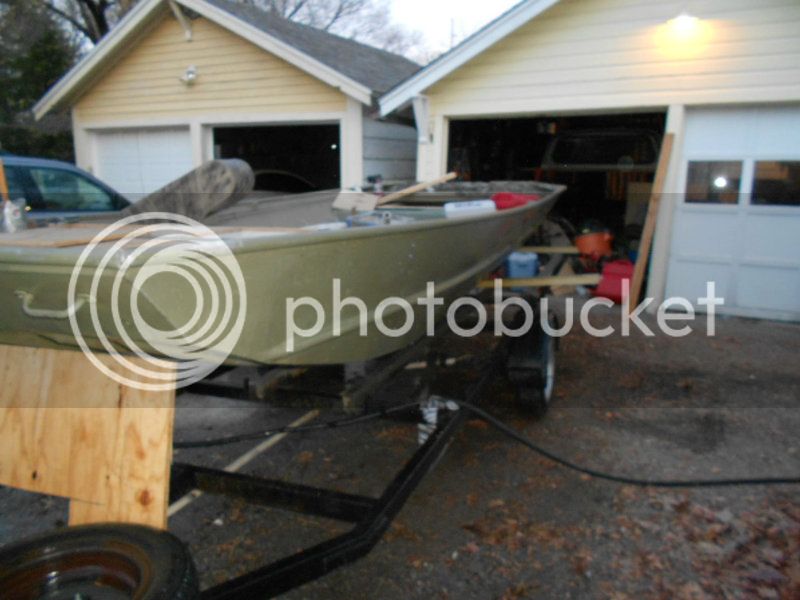
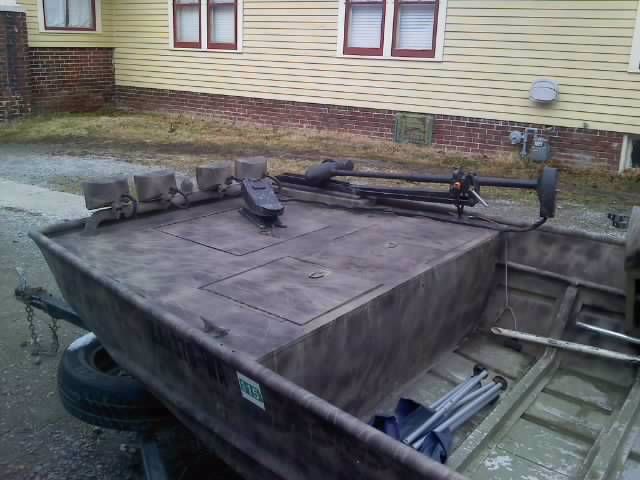
Next spring, I am going to spend the time and pull all the old cracked peeling camo wrap off the outside and do my own thing to it. There is a beavertail boat at the Cabelas in Kansas City that has the paint scheme I used on my last boat that I really like. Everything, inside and out including the motor (the whole thing, not just the cowl) will be painted to match.
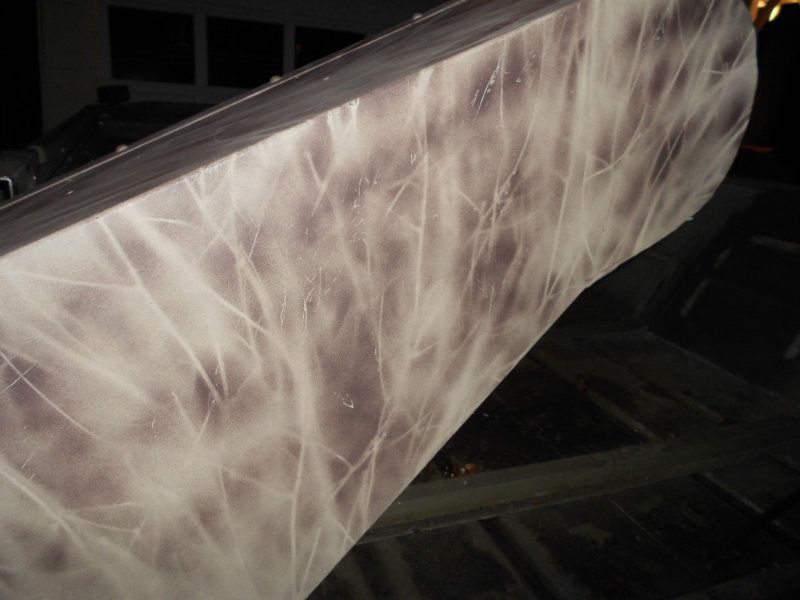
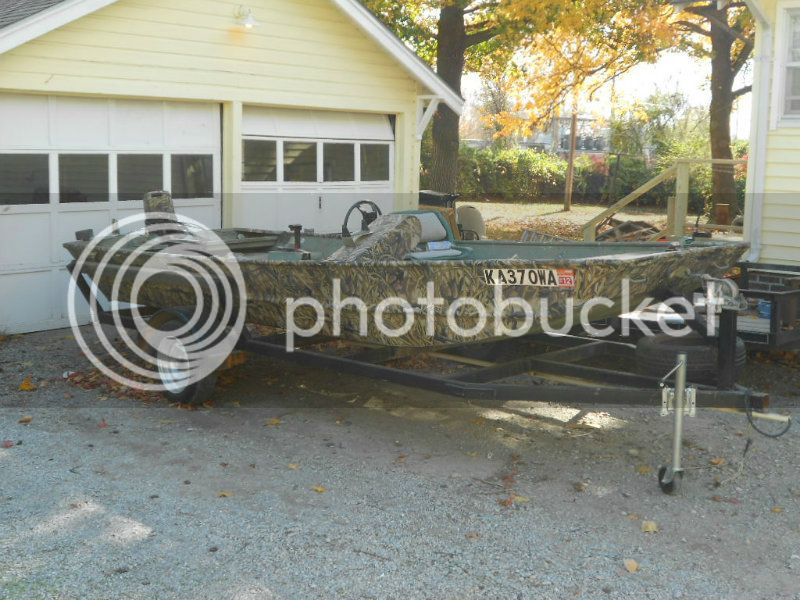
The old 14' paint.
https://sphotos-a.xx.fbcdn.net/hphotos-ash3/543225_638523507415_555840752_n.jpg
 
Well, we had rain until 2pm today, so all of the outside work on the boat was ceased. (It went from 70 yesterday to 30 today!) I did manage to get the motor cover painted however. Last night I hit the entire thing with 100 grit on my orbital sander and then primed and laid the base coat tan down. Today I came back and added the top coat of brown and got to thinking that I wanted the motor designation back on it. I took some tape, found a mercury 25hp logo online, and traced it off my laptop. After some very careful cutting I made a (hopefully) good stencil. It is drying right now, so pictures will be up in the next hour of the results. If it looks awful then a repaint will be a 5 minute job. If it looks good, I will contemplate doing the mercury on the side....not looking forward to that.

The motor with that god awful wrap on it

2061.jpg


Making my stencil
2014.jpg


Applied and masked (I did say I was on a shoestring budget)
2015.jpg
 
Success!!! I need to get the paint off of the gasket, but otherwise, im happy with it.


2016.jpg
 
Thank you, but its not a stencil. It is nothing more than a tan base coat, then holding saw grass (first boat) or twigs from a pine tree (new boat) you mist over it. Most hunting camo is so detailed that at a distance it masses into one dark blob. If you do it this way, at a distance, there are dark and light spots that break up the boat outline much better.

You can go over it with a coat of green to give more depth, like I did on this shotgun:

308662_599293863935_971053381_n.jpg


Or put detail in to break up the monotony:

316745_599294013635_1109714537_n.jpg
 
I understand this isn't everyones cup of tea, as most of you are building (very well I might add) shiny fishing boats. Your input and opinions however are appreciated. My last boat was a 1432 semi-v, so going up to the 1652 is going to take some getting used to. Tell me what you like, dont like, or what you would do differently.

Paint Teaser...

Gunnel

PaintTeaser002.jpg


Front of console

PaintTeaser001.jpg
 
T Man- I really like that paint job- If you havent already completed the paint, would you mind posting some pics of you process, i.e. how you held the stencil material in place (I know you said you used natural foliage).

I plan on doing a similar pattern and I've already gotten my base tan done.

Thanks in advance and looking forward to seeing your build come together.
 
HRalston said:
T Man- I really like that paint job- If you havent already completed the paint, would you mind posting some pics of you process, i.e. how you held the stencil material in place (I know you said you used natural foliage).

I plan on doing a similar pattern and I've already gotten my base tan done.

Thanks in advance and looking forward to seeing your build come together.

I would be happy to. It is the same method I use for painting shotguns. I will see if my girlfriend has the patience to record me doing a section of the transom for a quick how to.

Just so it is known, I dont use parkers duck boat paint, or any boat paint for that matter. I have used rustoleum or krylon flat camouflage paint for the last 4 boats. The finish isnt as nice as it could be, but it allows for quick easy and cheap touchups for the inevitable ding or scratch.
 
HRalston said:
Have you gotten any more painting done?


I have painted the transom and put the base coat down on the inside. At the moment I am completly overwhelmed with the project. Working 2 jobs, and going to school full time doesnt leave much time to get anything done anyway, so when I do get time to work on it, I dont really know where I should start: wiring, decks, etc. I have started framing the decks, and began to run my conduit for my wiring, which I will get some pics up of here in the next few days hopefully. Tomorrow is free, so I hope to get the framing completly done, and maybe do some work on laying the decks.
 
A picture of the transom painted:

TransomPaint.jpg


I started building the decks as well this weekend.

Started out by framing:

MockingupDecks.jpg


I then cut out the plywood to cover the deck

DeckStep1.jpg


Using a jig saw, I cut a hole I could get my arm through to be able to reach in and trace the openings for my hatch cutouts.

Holescuttotracecutouts.jpg


Once the hatches were traced, I cut them out 1/2" larger on each side in order for my doors to have some structure to close onto, and to allow room for the carpet.

Hatchescut.jpg


In the first picture of the deck you can see the red tub. It ended up fitting perfectly into the openings I had planned, so I decided to use the how to provided by tinboats.net on building a livewell. As soon as I get a through hull fitting, it will be completely done. I am beyond happy with how well it works. (I need to touch up the white paint inside) The insides of all of the hatches will be painted white for ease of visibility.

Livewellbuilt.jpg


Once the front deck was done, and sealed I decided to move onto removing the wrap. Originally I was planning on waiting until spring to pull the tape, but it has been so nice the last few days that I decided to go ahead and go for it. My girlfriend decided to give me a hand, which was sooo nice, as this is soul crushing work pulling 2"x2" sections of tape off of a 16' boat.

MollyTakinitoff.jpg


All gone, washed, and prepped for paint:

Nomorewrap.jpg

Nomorewrap2.jpg


Once all of this was done, I began to think about rod storage and a place for my push pole. I had an old cheap rod holder set from wally world that I cut and re-purposed to hold 3 rods on one side and a rod and push pole on the other. Still not in love with it but once the floors are in, I will decide whether it stays or goes.

Rodandpushpoleholdermockedup.jpg

Rodholdermockedup.jpg
 
A few updated pictures. The floor is still not in the boat, however the leak in the transom did get fixed. I had a blind on during duck season, but now that its fishing time, that is in the basement for the summer. I used t nuts to mount the trolling motor so it would be removable during duck season, but still have a solid mount during fishing season..

The front deck with the lights. I used a shower grab bar and conduit clamps to mount the lights.
file.php

Resize_P130213_1111100002E_zpsdf949008.jpg

Resize_P130213_1111_01100002D_zpsb2bbc42d.jpg


The blind down and up

Resize_P181212_10311000029_zps094af88b.jpg

Resize_P181212_10341000028_zps9d3e9a3e.jpg


And the rear deck
Resize_P130213_1112100002C_zpsedbd893b.jpg
 
Nice looking boat. I like the blind and camo work. I am tearing into a 18x60 SeaArk to do a good refresh job on it. Only difference is that I am having to get a little welding done before I can get into running new wires.
What material did you use for your blind.
 
Top