river_wolf
Well-known member
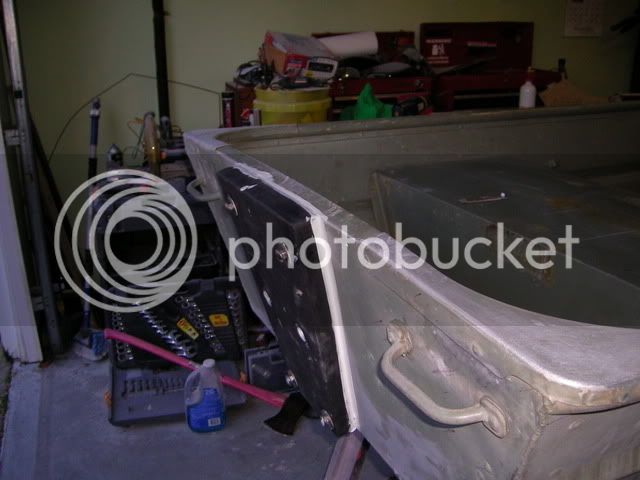
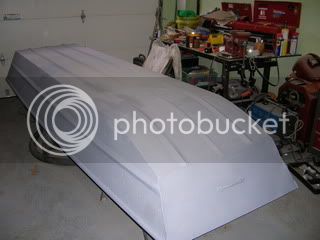
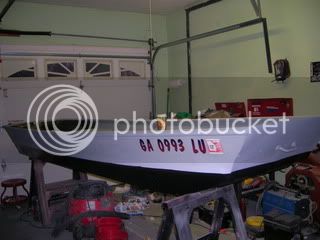
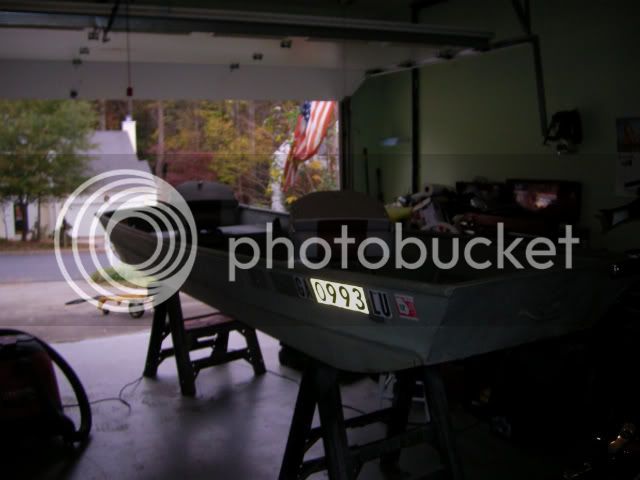
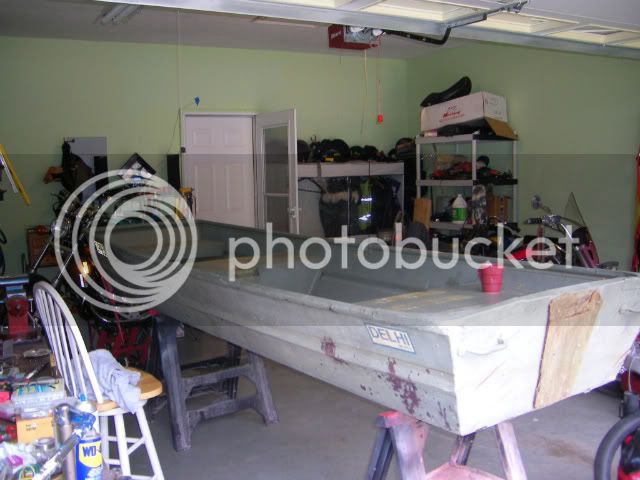
Well since I have a few days before I start my new job, and I have got to a point that I am going stir crazy, AND the fact that I finally got the garage cleaned out to a point that I could bring the boat in for the proper care after doing patch work just to make it out on the water. I finally got the boat in and started stripping it down to get her right.
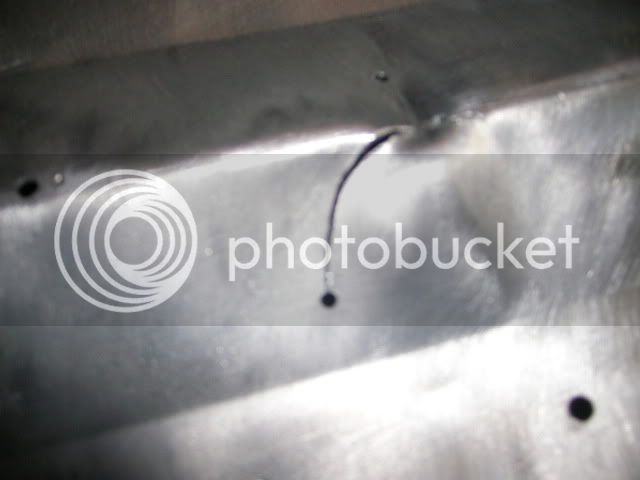
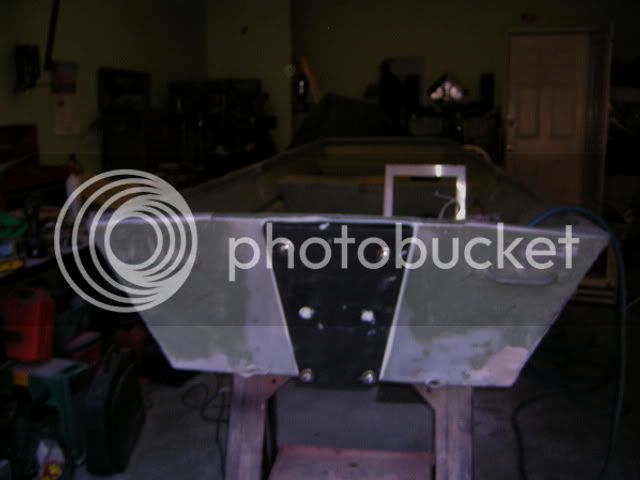
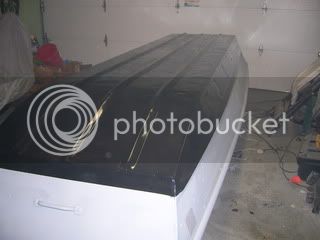
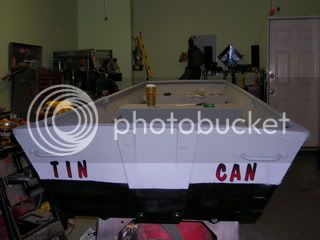
The Transom was rotted beyond belief which I already new and I have a hell of a crack right below the drain hole that needs a LOT of attention. Not a problem, I have a LOT of time. Hoping that I can have her done and ready to go by spring….
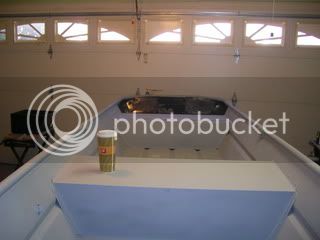
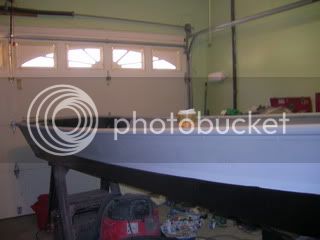
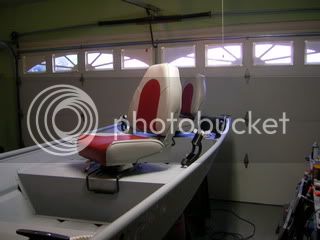
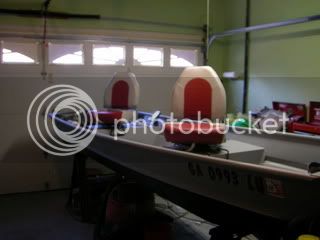
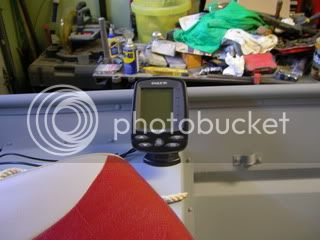
I have only been running a 30 pound electric motor up to this point, but want to have it where I can hook up the gas motor that I got with the boat next year as well not to mention have a storage area in the bow for the vests and all the good stuff.
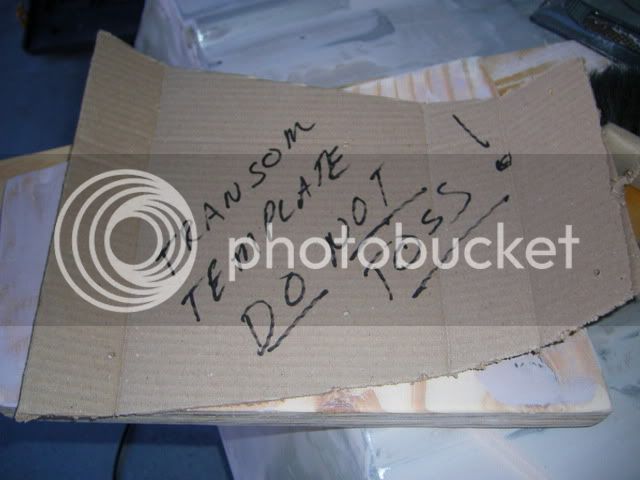
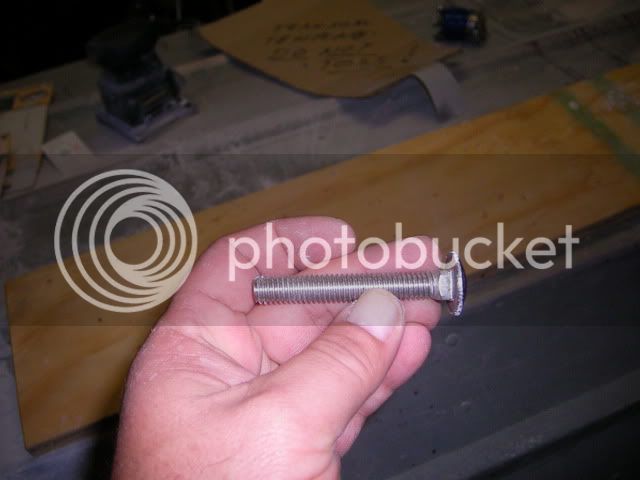
Here are a few pics of the start and will keep you all posted as I go along
Wolf

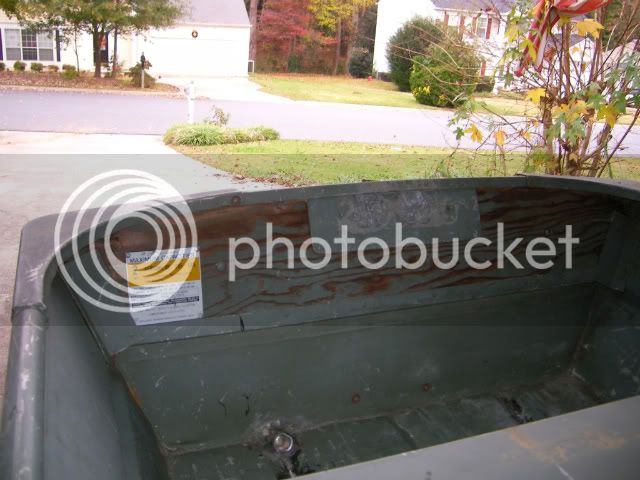
The Transom was rotted beyond belief which I already new and I have a hell of a crack right below the drain hole that needs a LOT of attention. Not a problem, I have a LOT of time. Hoping that I can have her done and ready to go by spring….
I have only been running a 30 pound electric motor up to this point, but want to have it where I can hook up the gas motor that I got with the boat next year as well not to mention have a storage area in the bow for the vests and all the good stuff.
Here are a few pics of the start and will keep you all posted as I go along
Wolf