Transducer Cutting Board Mount Material

TinBoats.net

Help Support TinBoats.net:

This site may earn a commission from merchant affiliate links, including eBay, Amazon, and others.

wmk0002

Well-known member
Joined
Apr 17, 2014
Messages
1,037
Reaction score
52
Location
North Alabama
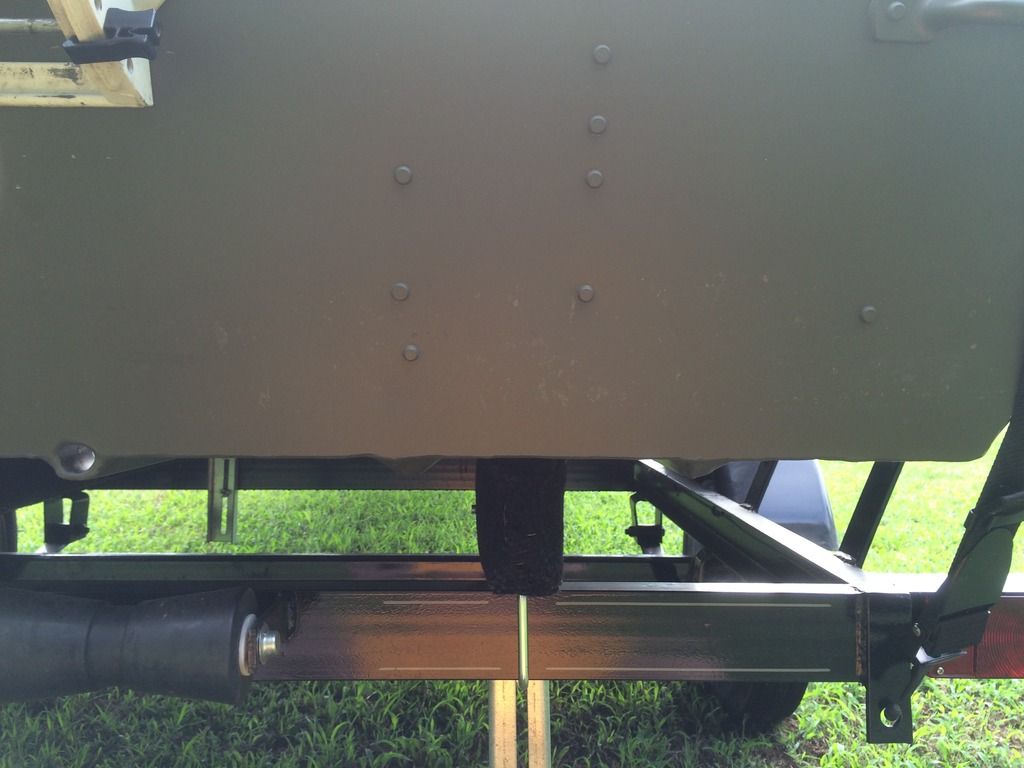
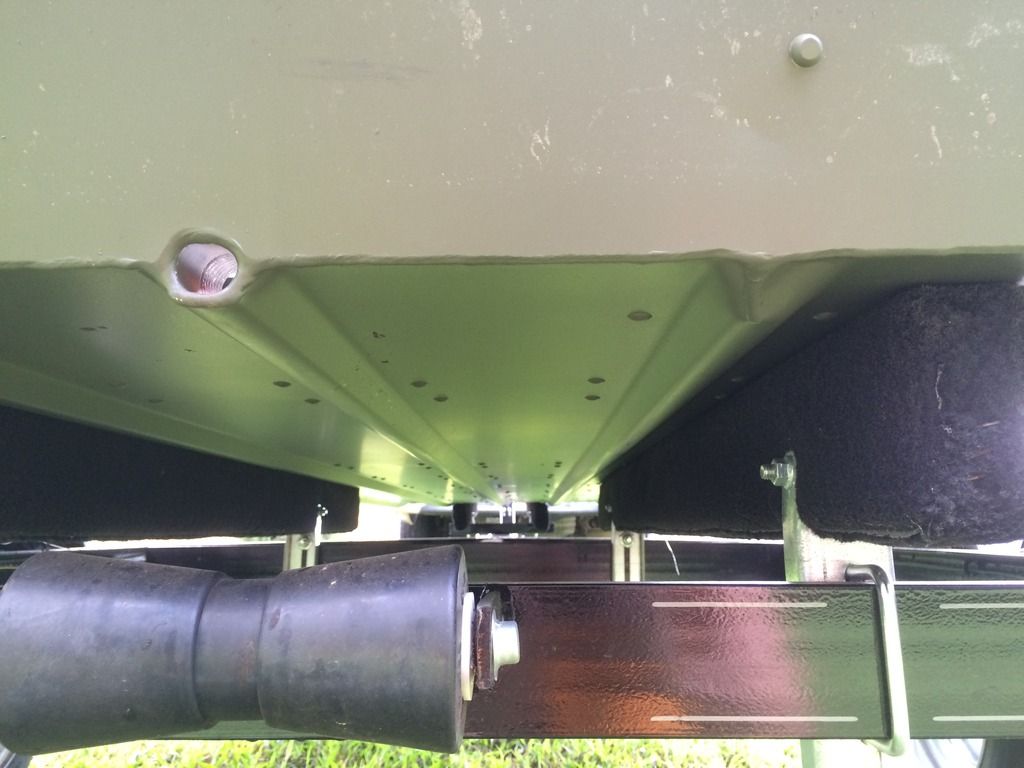
Where do you guys recommend for buying some cutting board material for making a transducer mount? Some of the pre-made ones marketed for that seem nice but pricey. This one is affordable but overkill in terms of size as it is 12" wide. https://www.amazon.com/Custom-Tackl...rue&ref_=ox_sc_act_title_2&smid=ATVPDKIKX0DER

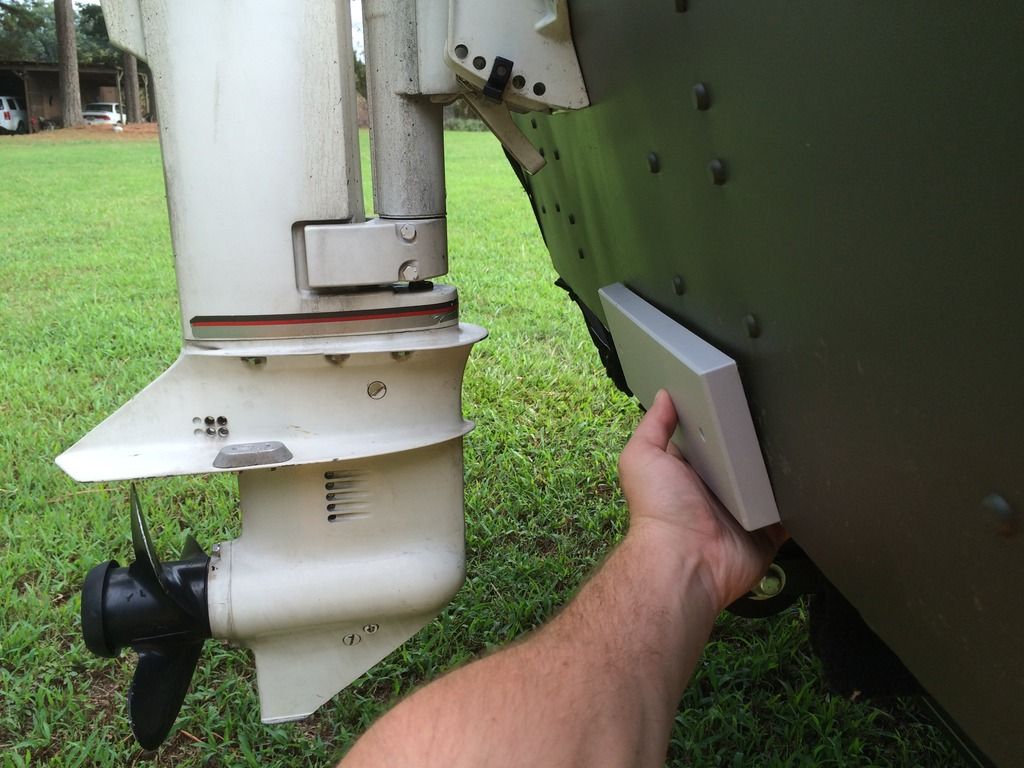
My wife bought me a Helix 5 SI/GPS combo for our anniversary and it will be in any day. I'm going to install it on my new 1648 (see my sig) and I'm also going to get an extra transducer and power cable and set it up on my bass boat so I can use it on both.
 
I bought a 18" x 36" used board at my flea market for $5.00.
it is 3/4" thick from a restaurant.
Anyone that will pay $6.00 for shipping can get a chunk of it.
If it can go First Class padded envelope, it may be cheaper.

Just be sure to properly PRIME and PAINT the area that the nylon block will mount to.
corrosion 001.JPG


.
 
Thanks guys.

I'm actually still not sure if I want to bond it to the transom or use a couple of screws or nuts/bolts with sealer.
 
I took a chunk of old Corion (knockoff) counter topping to do my mount. Per some advice from YouTube, I routed the back side of it to provide some "bite". Slathered on some 3M5200 and it is holding well now for a couple of months.

I did have to prop the Corion tightly against the hull while it set up for a number of days.
That was interesting as I didn't plan ahead. I wound up bending some fishing rods tightly against the Corion and the back wall of my boat barn. It worked.

richg99

p.s. If you ask at a kitchen fabricator, they probably will ...give.... you a short cutoff or a sink cutout.
 
I used 5/8" King Starboard, as I have a bunch of odd sizes lying around. I used a piece 6" wide by 3" tall. Hull was prepped, primed, SteelFlex'd and painted ... as a lesson learned from Johnny's photo.

Centered on height and 1" in from each end, I added a 1/2" counterbore, drilling most of the way through ... leaving a 1/8" thick step of the 1/4" through hole. Then I used 1/4" high-strength rivets on (3/32" mandrel/post I believe). Sort of like what Rich did, I heavily scored, scraped (chisel) and made gouges into the backside and also used 3M 5200 as an adhesive/sealant, plus the rivets.

Then the counter bores were filled w/ goop too. Should be permanent and is water-tight!
 
More great ideas guys.

And my brother does granite countertop sales so I'm sure he can get me some free pieces of the material Rich mentioned.
 
wmk0002 said:
And my brother does granite countertop sales so I'm sure he can get me some free pieces of the material Rich mentioned.
If you strike out there ... let me know what size you need.

TIP - For those just gluing it on, some use a dovetail router to mill a few dovetail grooves in the back of the plate. That and/or scoring and really 'roughing' up the material makes a 'mechanical' joint between the glue and the surface it is being put onto.

Ideally a chemical bond is also desired, but there super-plastics don't bond well unless you use special - read expen$ive - adhesives.
 
Walmart used to carry really thick cutting boards. This thread made me look for them during my last trip there and all they had were really skinny ones.
 
My store still has the thicker ones. Spec say it is .40 inches i.e. a bit over 3/8ths of an inch. richg99

https://www.walmart.com/ip/Mainstays-15X20-Cutting-Board/13397990?action=product_interest&action_type=title&item_id=13397990&placement_id=irs-2-m2&strategy=PWVUB&visitor_id&category=&client_guid=de3deccc-5267-4953-b709-92a3962fa64b&customer_id_enc&config_id=2&parent_item_id=43832326&parent_anchor_item_id=43832326&guid=d4eb67aa-e3fe-4b54-bf7c-571f9c70226a&bucket_id=irsbucketdefault&beacon_version=1.0.1&findingMethod=p13n
 
Home depot sells 1x4 boards made of pvc. You can bolt a piece to the transom and use it for screwing stuff too. If it gets too beat up you can just replace it. Ive used that for many tin projects where I am willing to accept a one time set of holes. It can be glued on aswell but I would reccomend to nice sealed bolts.
 
I ended up buying the one I linked in my original post. It came in the mail today too and I think I will be happy with it. I'm planning on taking the boat out after work today but if I don't I may try to install it. I'll try to post some pictures and maybe you guys can help me put it in the optimum location.
 
Here are some pics of the transom and bottom of my hull.


Here shows that it has two strakes down each side (1 strake down the middle = 5 total strakes).

B2E03E0E-2361-448A-AC58-5F4EE46CC55E_zpsvbayfbxa.jpg


This is one of the "clean" gaps between the strakes due to small width void of rivets.

B8FAA296-8AD8-4866-A545-234754DB5002_zpspxeg5kfr.jpg


This gap where the bunk goes would have a clean area as well but there are extra rivets present in just the stern due to some transom braces.

FA3AC5FB-330F-493B-B6AA-CB05EB4C0005_zpsoh3kbcrx.jpg


This is the 3rd and outermost gap. It has a clean area down the middle like the innermost one does.

8CFEACC4-5B44-4433-990A-FB82C9624654_zpslcgeca0n.jpg


Here is a side view. I have the motor trimmed in the hole that puts the anti-ventilation plate parallel with the bottom of the hull.

4A43D225-0DEA-4E2C-AA03-E09D93327EFC_zpswpqehqu4.jpg


From my research and Humminbird installation guide, the transducer is best mounted on the right hand side due to less prop turbulence. The transducer also needs clear line of sight 180 sideways for the sidescan to properly work...so, without a jack plate, near the middle close to the motor seems like a bad idea...if not for that reason but for the fact that mot LU may actually hit it if I have the motor negatively trimmed and turn sharply. That leaves the outermost gap as the best location, imo. Any input on this? The transducer board is 12" wide so I could cut it in half and mount one in each location and play with it.
 
I'm ashamed to say I never completed this install but the plan is to get it done after work today. Like I mentioned above, the board I bought came with two pre-dilled, countersunk holes and screws. Right now I am leaning towards not using them and just attaching it solely with 5200. My boat is already painted so I plan on just lightly sanding it and cleaning it off with acetone. I'll have to drill a few pockets in the board to go over some rivets and will try to score up the back as well for better adhesion. From my pics above, I'm going to locate the transducer between the outermost strakes so basically just a few inches from the edge. It was the only place void of rivets aside from near the middle where it would have clearance issues with the motor. The 5200 I bought is the fast curing stuff....says it becomes tacky after an hour and fully cures in 24 hours. My only question now is how can I hold the board in place while it cures? I'm sure I can figure something out but If anyone has any clever ideas I'd like to hear them.
 
I did a very similar project like this in the Spring.

First I roughed up my transom, as you intend to do.

Second, I used a dovetail bit in my router to cut a couple of under-cut grooves into the plastic material. I felt that I needed that under-cutting to be certain that the 3M5200 would have a secure "grab" onto the scrap counter-top material that I used.

Third ( Don't laugh) When I was faced with the job of holding the material in place while it dried...I used two or three of my fishing rods. I positioned the bases of the handles against the garage wall and BENT the rods towards the stern of my boat.
Any kind of thin scrap wood would also work.

Worked out well richg99
 
richg99 said:
I did a very similar project like this in the Spring.

First I roughed up my transom, as you intend to do.

Second, I used a dovetail bit in my router to cut a couple of under-cut grooves into the plastic material. I felt that I needed that under-cutting to be certain that the 3M5200 would have a secure "grab" onto the scrap counter-top material that I used.

Third ( Don't laugh) When I was faced with the job of holding the material in place while it dried...I used two or three of my fishing rods. I positioned the bases of the handles against the garage wall and BENT the rods towards the stern of my boat.
Any kind of thin scrap wood would also work.

Worked out well richg99

This is the same method used by luthiers to clamp soundboards. Well, they use bendy rods (go bars) instead of fishing rods, but same idea.
 
richg99 said:
I did a very similar project like this in the Spring.

First I roughed up my transom, as you intend to do.

Second, I used a dovetail bit in my router to cut a couple of under-cut grooves into the plastic material. I felt that I needed that under-cutting to be certain that the 3M5200 would have a secure "grab" onto the scrap counter-top material that I used.

Third ( Don't laugh) When I was faced with the job of holding the material in place while it dried...I used two or three of my fishing rods. I positioned the bases of the handles against the garage wall and BENT the rods towards the stern of my boat.
Any kind of thin scrap wood would also work.

Worked out well richg99

Thanks Rich. I got it on the boat and clamped last night.

I looked for a dovetail bit but couldn't find one so I just used regular 3/16" or 1/4" router bit and made 3 groves down the length of it. Then I took an aluminum jigsaw blade and used it perpendicular to how you would cut with it and rubbed it back and forth along the board and finished with it off with the coarsest sandpaper I could find.

I used the fast cure 5200 and that stuff sure was messy. I got a it on a few spots on the transom and it didn't want to come off being with a damp or clean cloth. I had used acetone to prep the mounting area but too much elbow grease will strip this poor quality Alumacraft paint job off in a heartbeat. Just a warning to others. I also wish I had thought to wear disposable gloves.

For the clamping....since my transducer board was 3/4" thick, I got a piece of 3/4" scrap to sit up against the transom at the top. Then got a long piece of scrap 2"x6". I was able to put the 2x6 up against the transducer board and 3/4" scrap and clamp it to the top of the transom, and then use a long bar style clamp to clamp the 2x6 that extended below the transom to the trailer frame. It was a two person job but afterwards I just tapped the transducer board into position as it slipped a little doing the clamping. I then removed my tape I had around the mounting area. Seemed like a good clamping method....my only thought if I were to do it again would be to put another stack up of scrap on the transducer board and scrap piece at the top of the transom to make the tap removal easier.

I can post some pics this evening when it has cured and show my clamp setup before I remove that.
 
Top