14' Deep V Build and Trailer (Done)

TinBoats.net

Help Support TinBoats.net:

This site may earn a commission from merchant affiliate links, including eBay, Amazon, and others.

summers

Well-known member
Joined
Sep 16, 2010
Messages
59
Reaction score
0
Location
Fresno, Ca
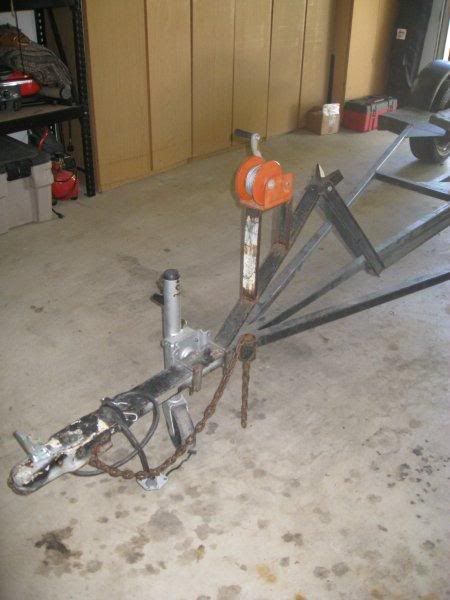
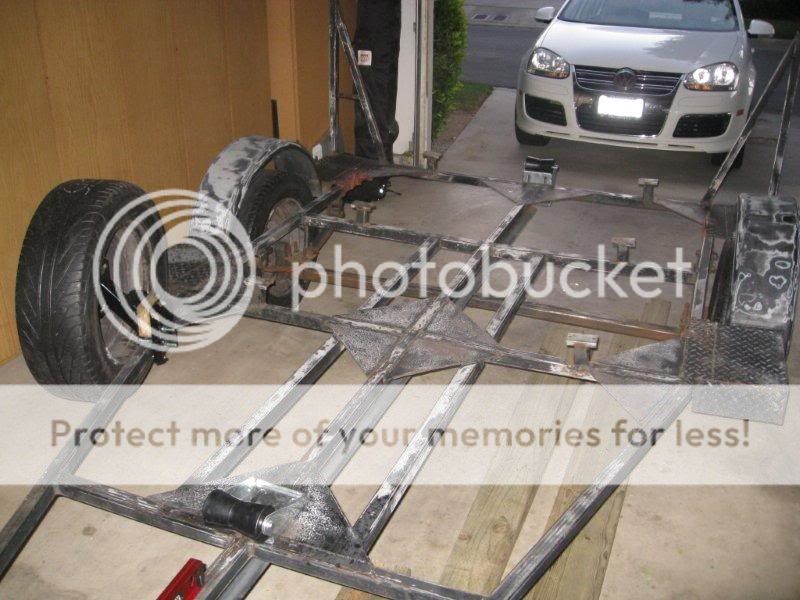
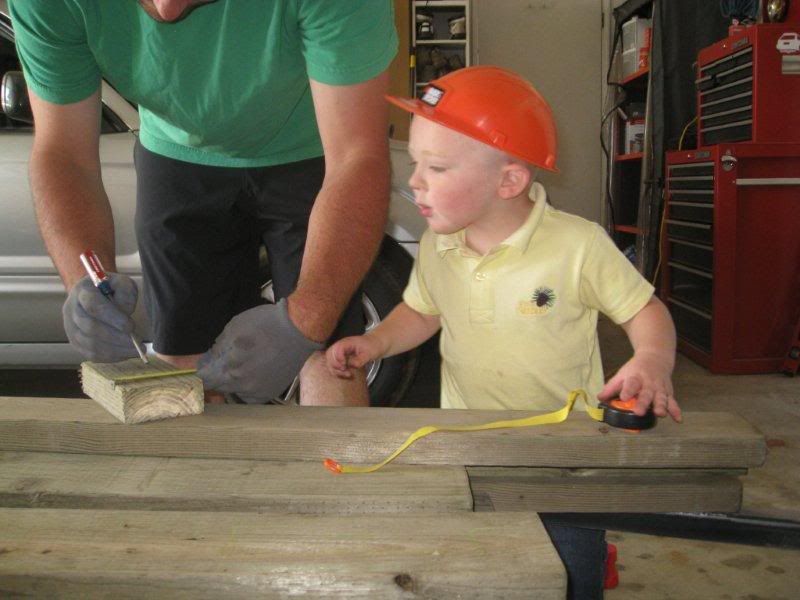
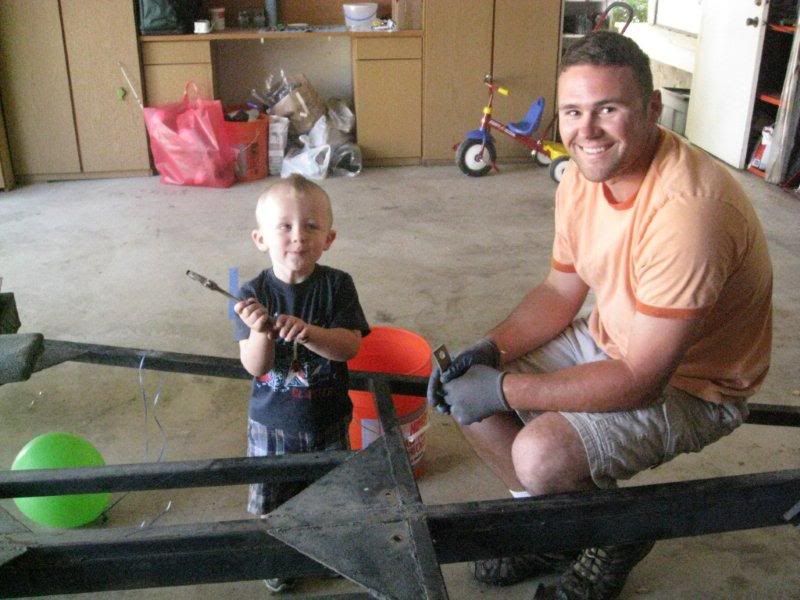
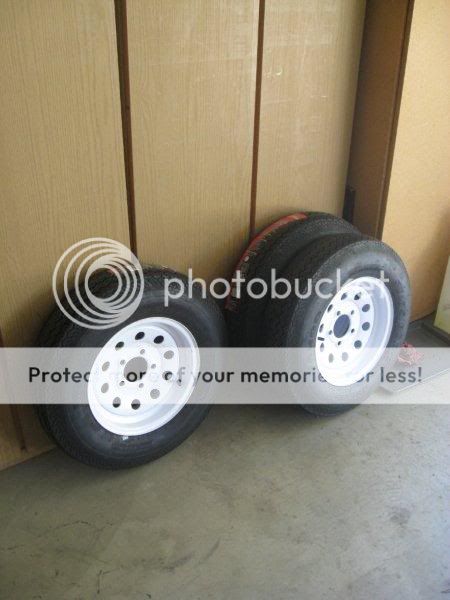
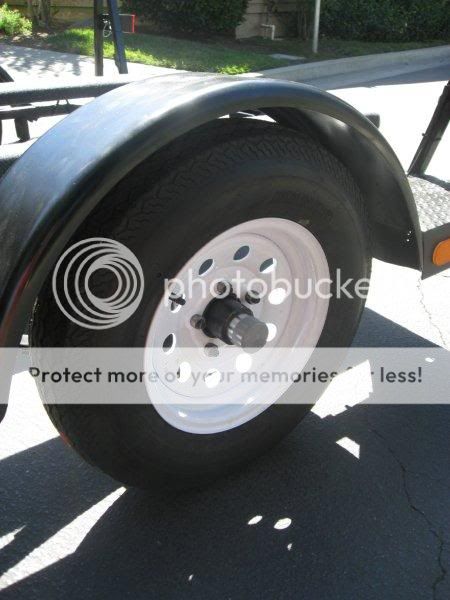
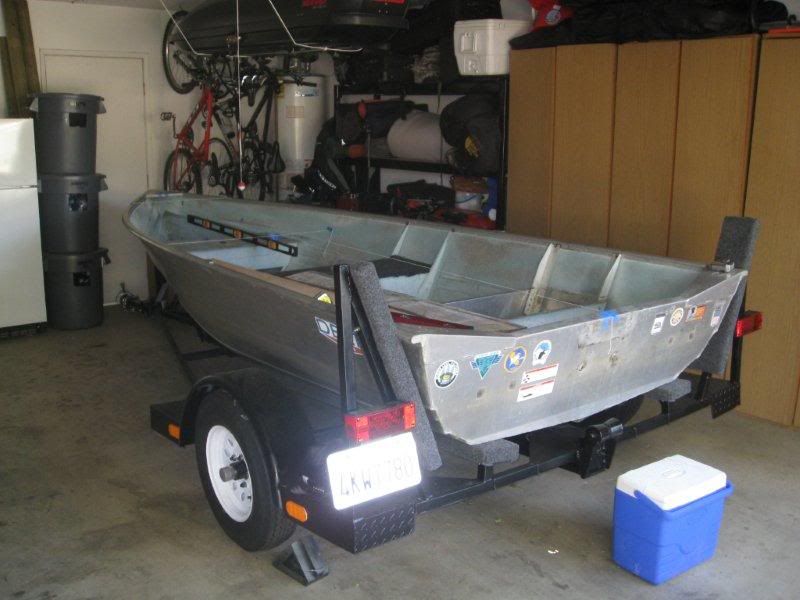
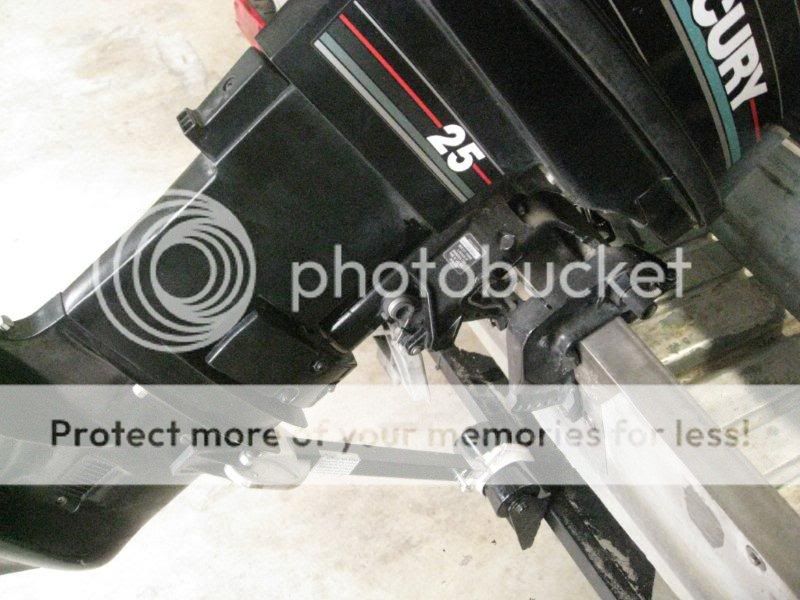
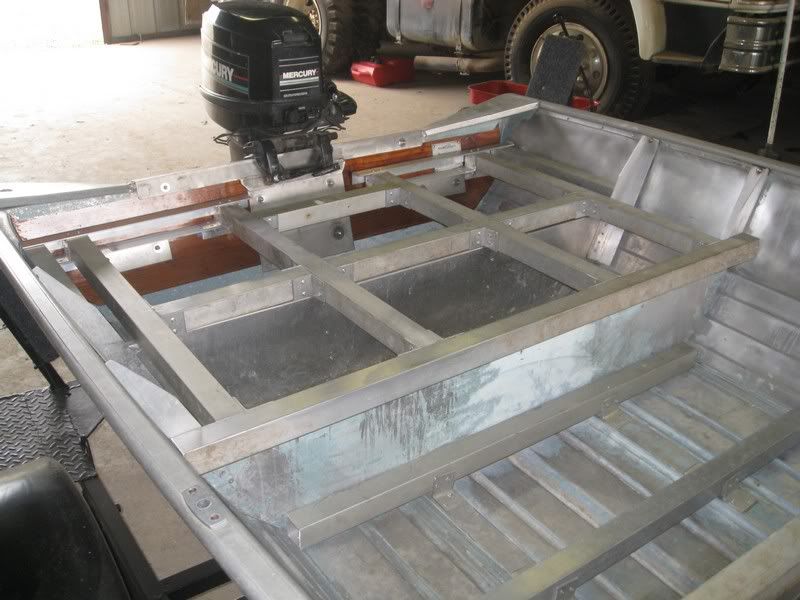
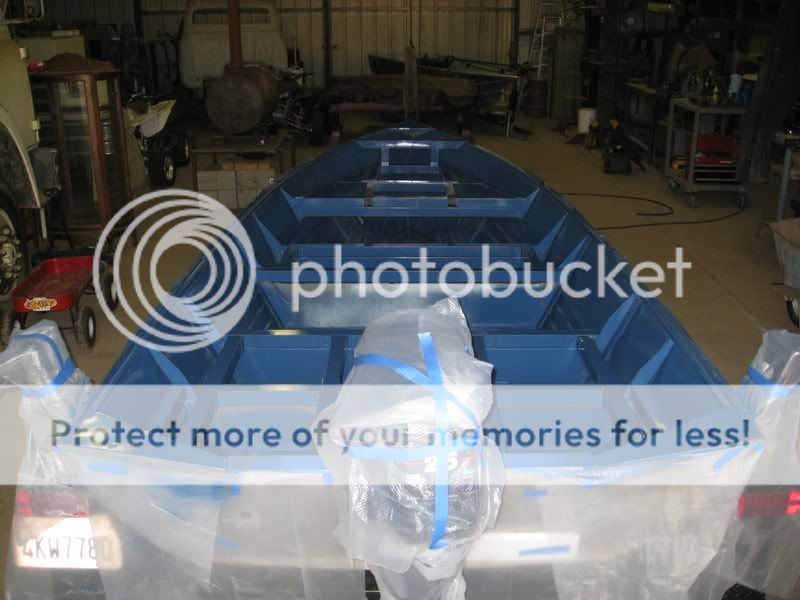
I am new to the site and boating but not to hard work and dedication. I bought my first boat this August in 2010 A simple 14' with a Mercury 25hp electric start. The boat is an 1986 Delta, I have not been able to find to much out about the manufacture other then where it was manufactured but time will only tell. Well the first thing was the trailer needed a little bit of work and I had a place to store the boat for a short while, so I got started on the trailer. The normal trailer makeover sanded, painted, new wires and light, bearings, and tires and wheels. I also replaced the safety chains and boat winch from a cable to a 2" strap. Here are a few pictures of my progress.

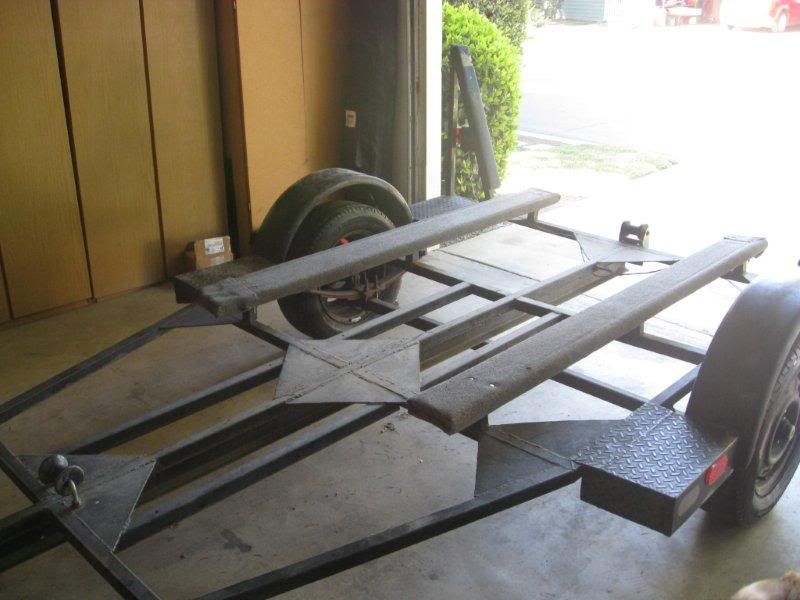
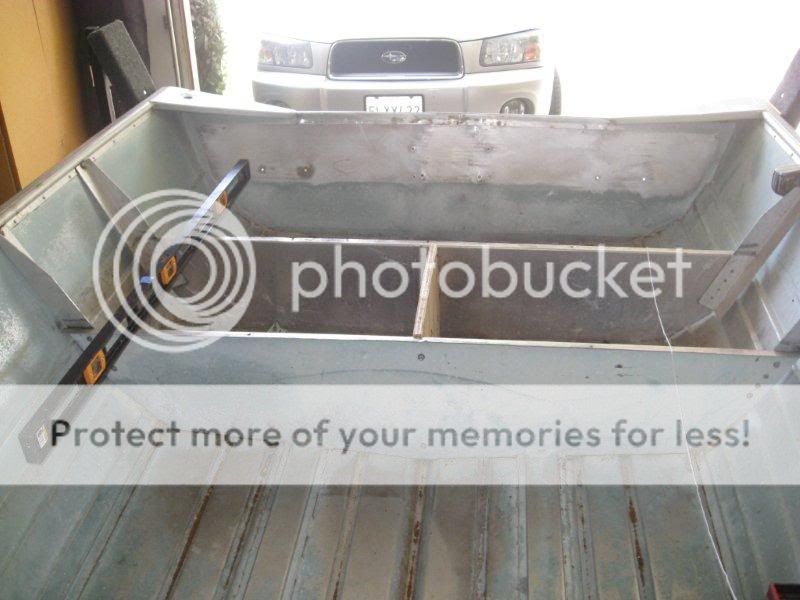
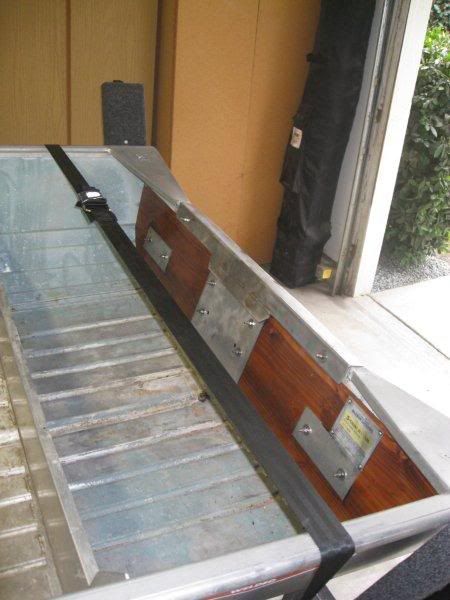
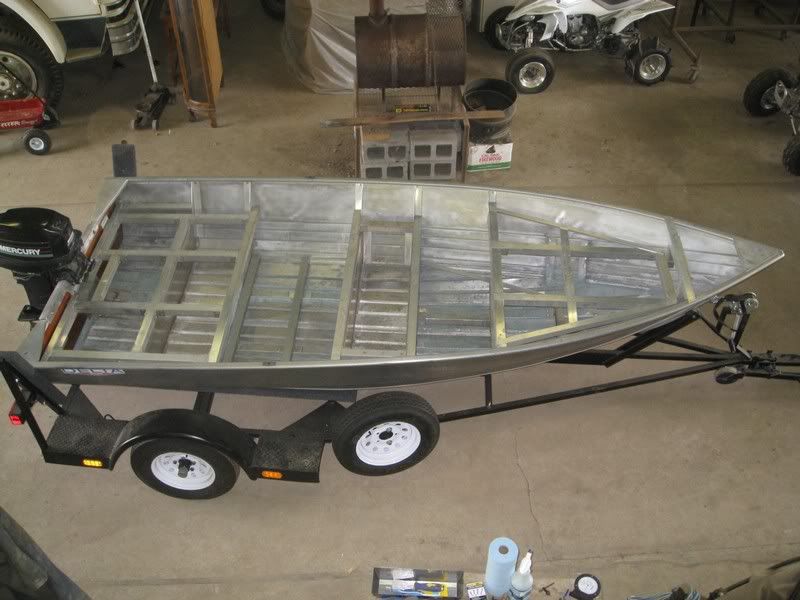
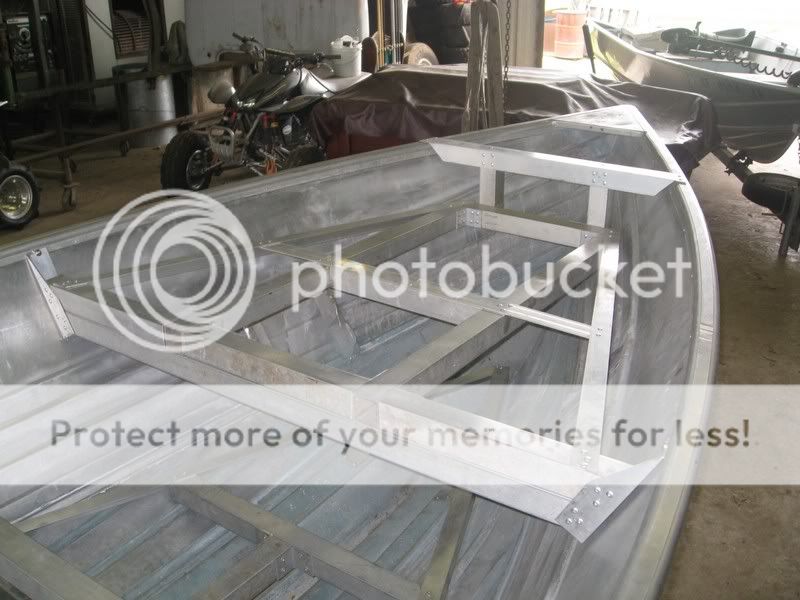
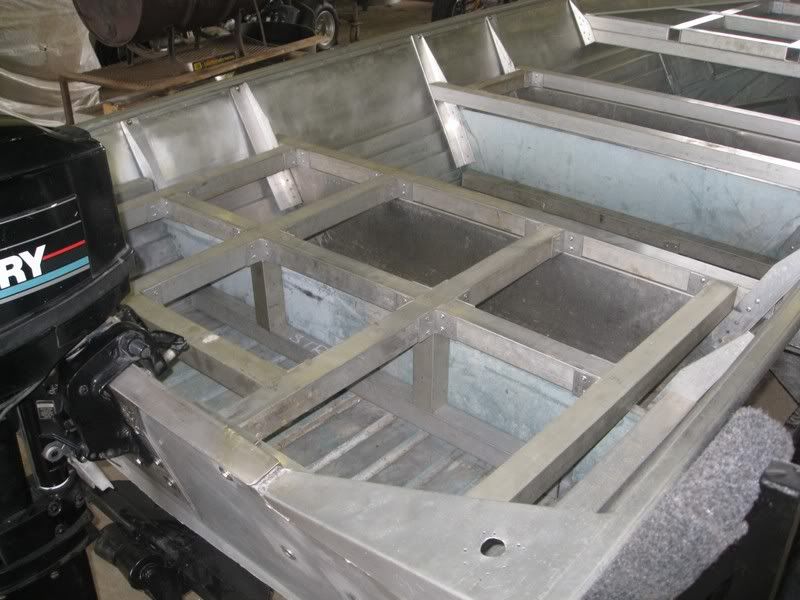
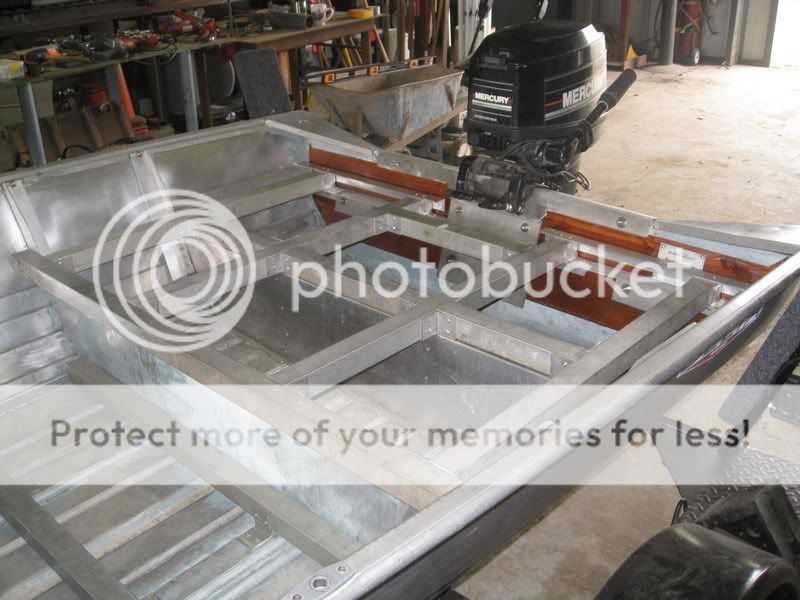
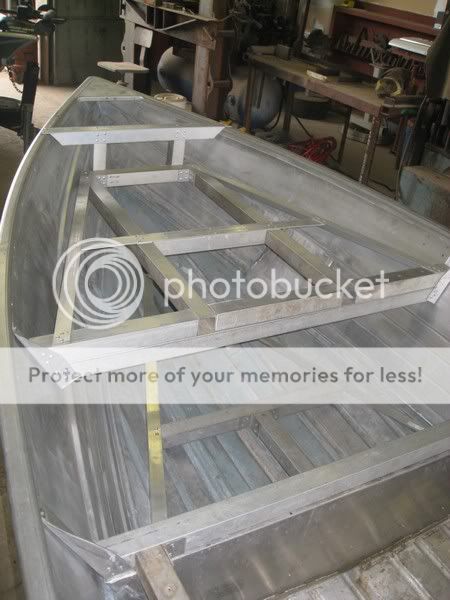
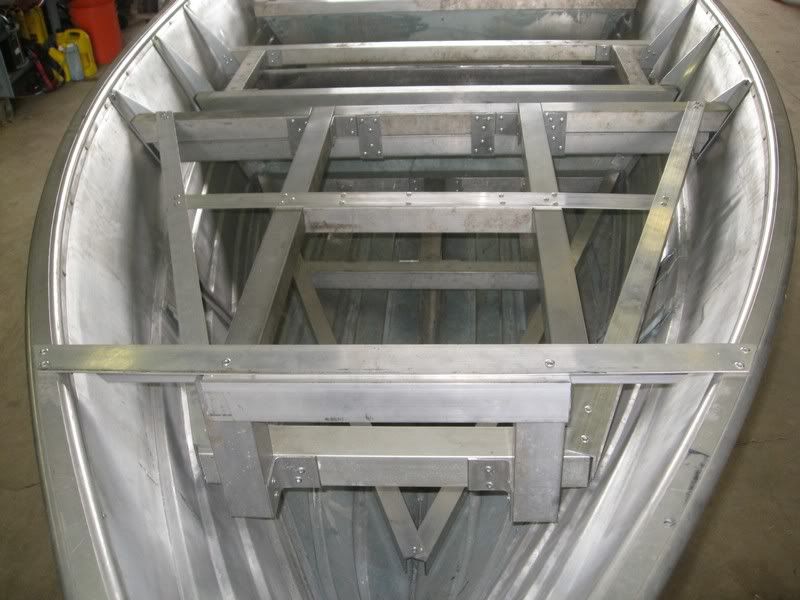
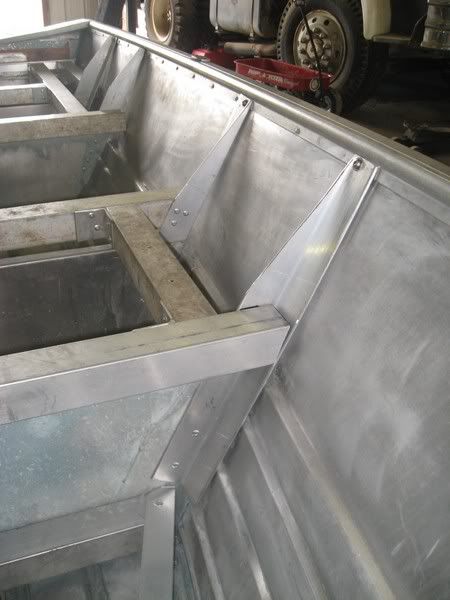
A simple before shot this was what the boat looked like after i cleaned it out and got it down to basics.


1392.jpg

1382.jpg


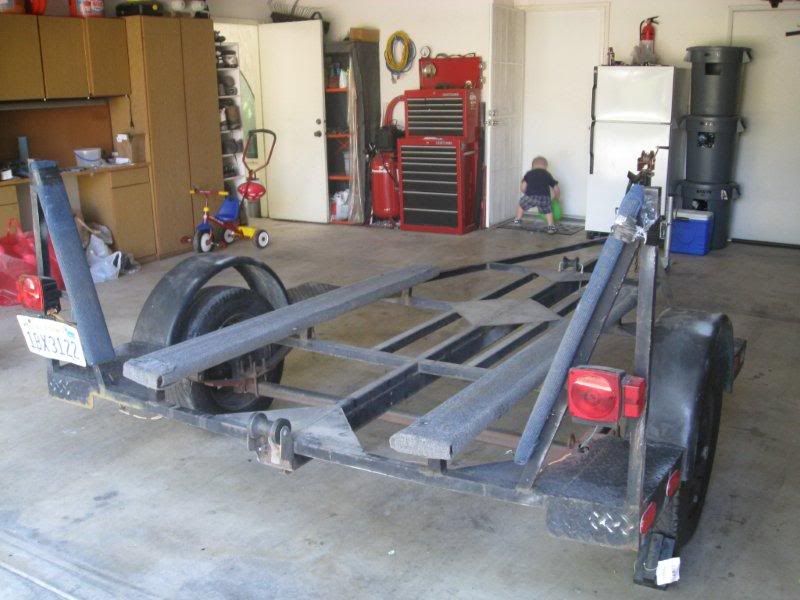
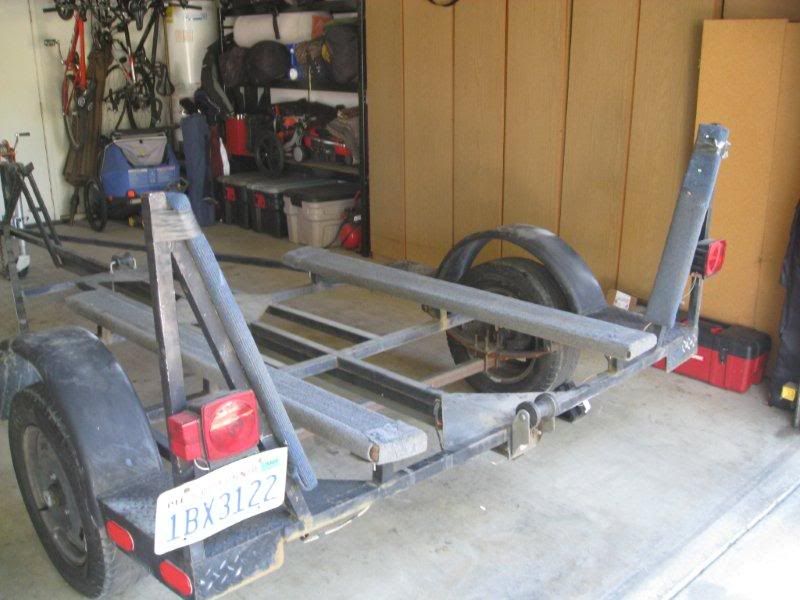
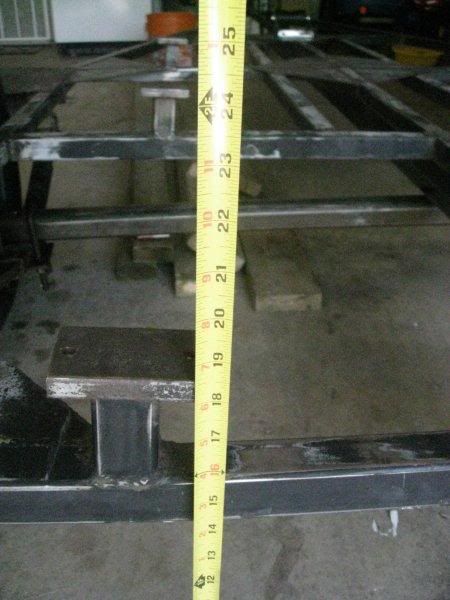
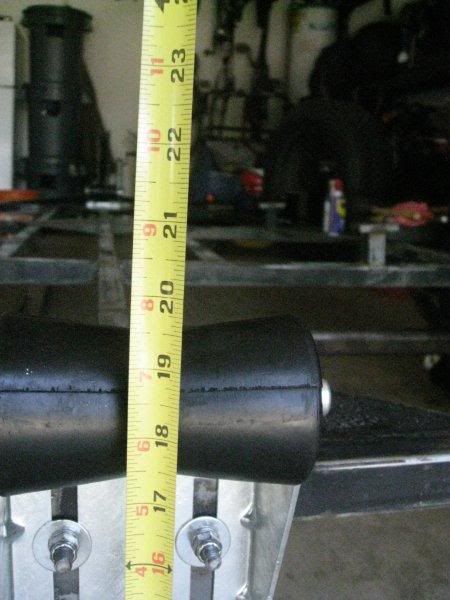
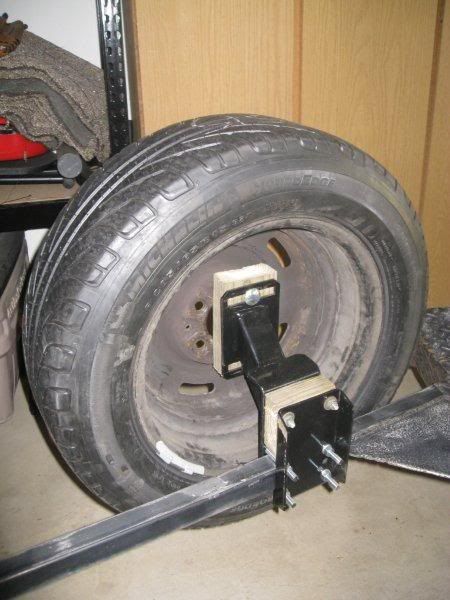
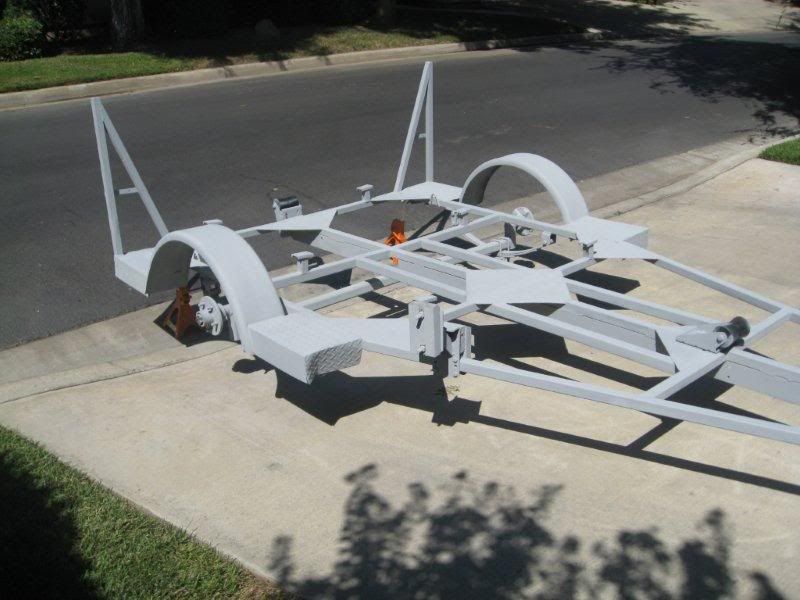
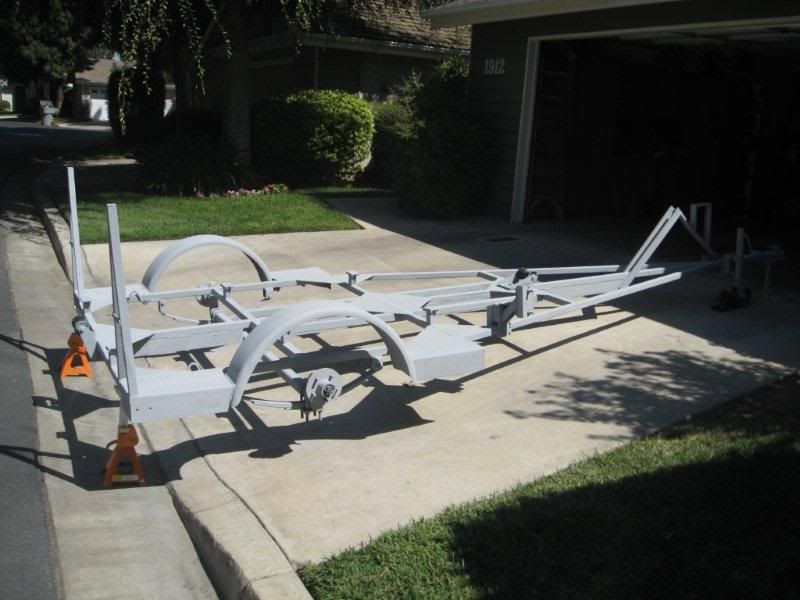
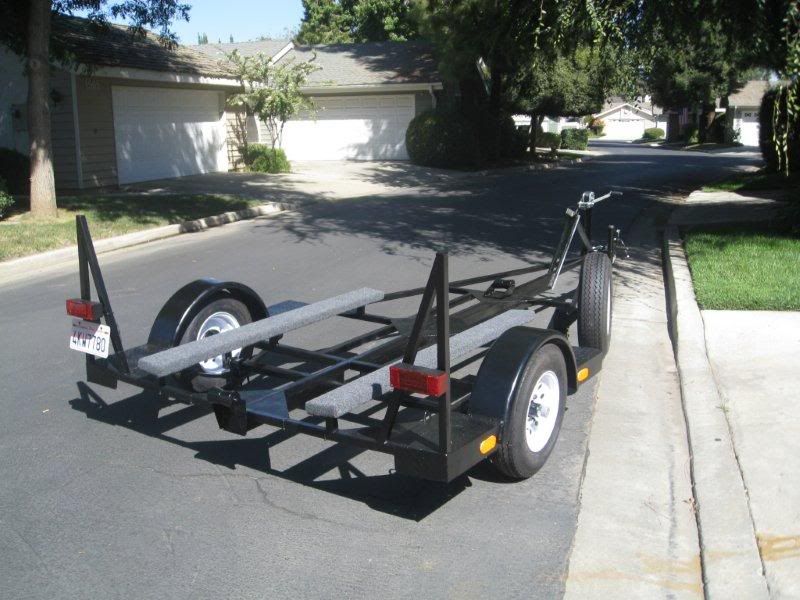
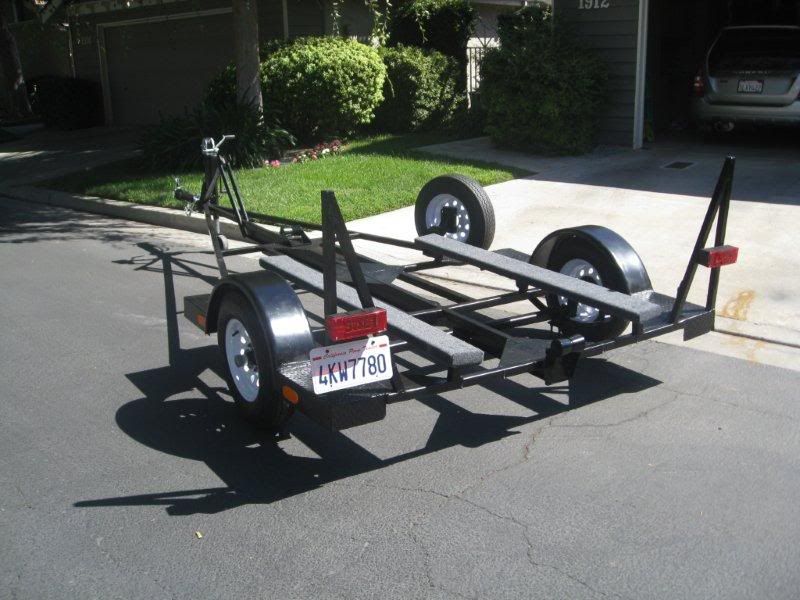
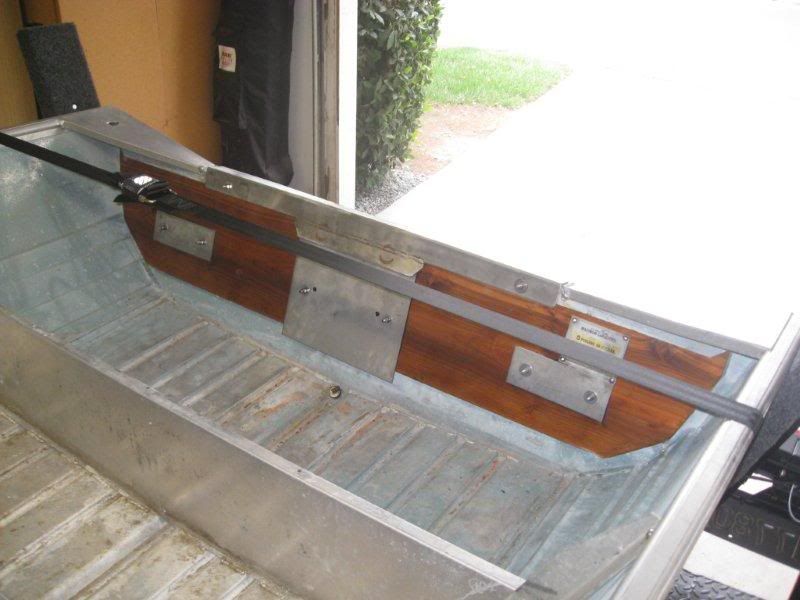
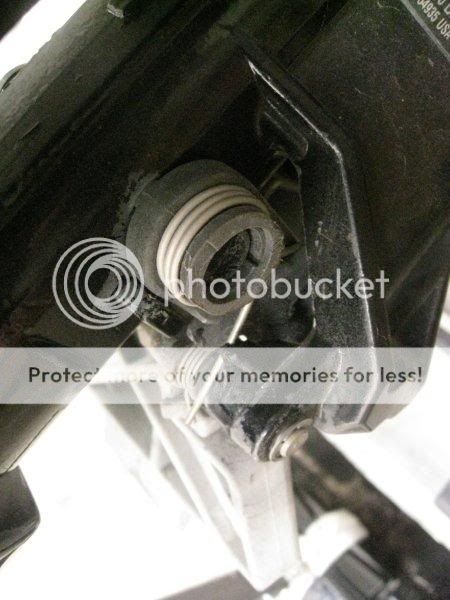
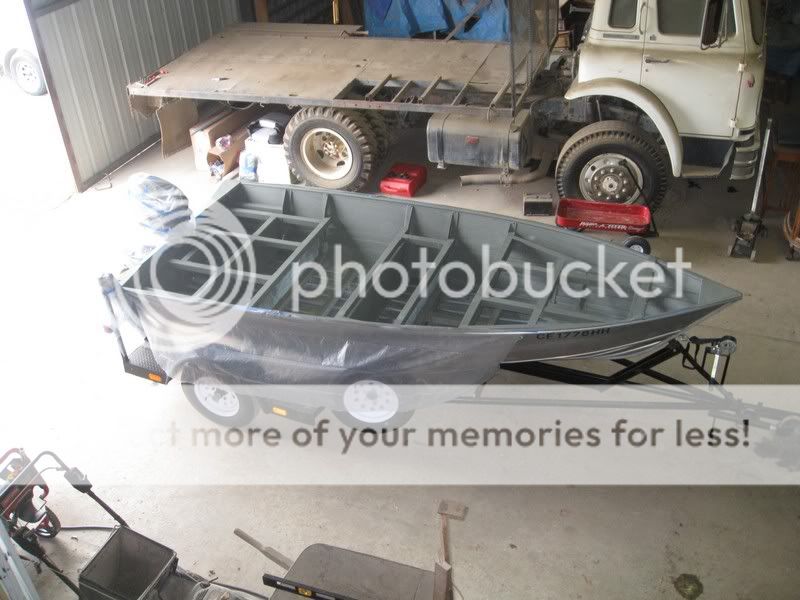
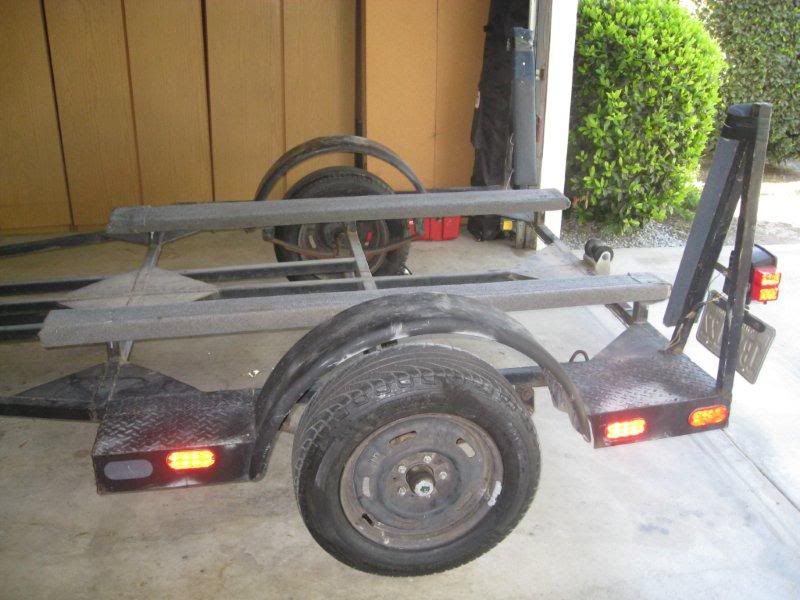
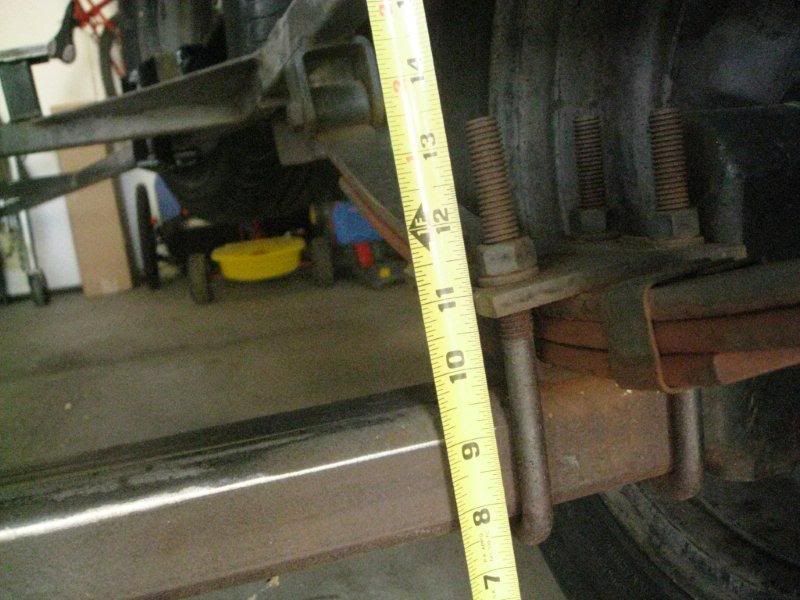
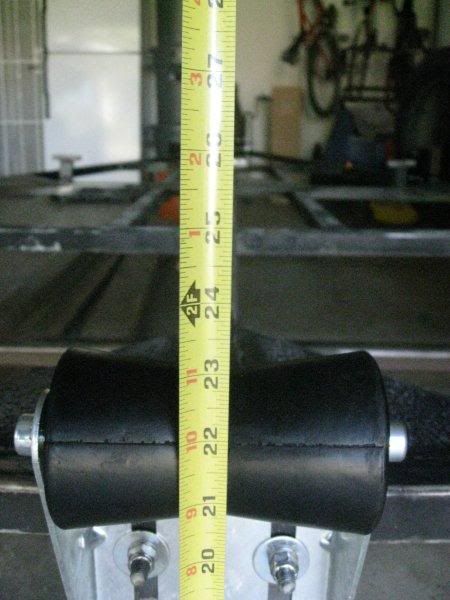
I did a spring under conversion on the trailer to help get the boat a little lower to make it a simple one man launch

before
1322.jpg


0123.jpg


0103.jpg
 
After the spring under

0195.jpg


0243.jpg


I had to do a bunch of work moslt sanding on the trailer and a few other things replace the buncks and bearings, wire, light it was a complete make over.

1292.jpg


1312.jpg


0153.jpg


1652.jpg


The superviser showed up to tell me that i was doing it al wrong

1542.jpg

1502.jpg

1492.jpg

1402.jpg
 
Herre are few shots of the trailer after some work.

0054.jpg


0064.jpg


0074.jpg


0204.jpg


0164.jpg


0174.jpg


0184.jpg


I got the boat back on the trailer and ready to start work,

0452.jpg


Well after doing some reading about wood, I found out the the Doug Fir 2x12 that I was planing on using as the transom replacement was not a good choice, So I picked up a redwood 2x12 and started over. Also did some pricing for the frame work for the deck after getting my quotes back for aluminum tubing I think that I am going to be going with redwood 2x3s.

0552.jpg


0592.jpg
 
I was able to get some more work done this weekend.

The new redwood transom installed and bolted up, I used about 3oz of 3M's 5200 to seal all the bolts. I installed four SS plates in hopes to disperse the weight a little better inside the boat and out side of the bolts for the motor and inside for the side bolts and installed a SS cap.

1/2 drill bit I should broke my wrist but got lucky
1432.jpg


0144.jpg


0154.jpg


Now i need to come up with some kind of perpendicular supports to attache the last bench to the transom, I think that I am going to incorporate a rear deck as a support. The last supports were welded to the floor and i was able to break both of them off with my hands. Already without having the perpendicular supports for transom its 10 times as stiff.

Later on Sunday I was able to bolt the motor up. It was a little bit of trouble I could have used an extra pair of hands, but the main thing is that I was able to get it on and bolted and sealed with some more 5200. I am putting a lot trust in this sealant.

0186.jpg


0196.jpg

0224.jpg


I had to modify the transom saver a little it was about 5" to long after i installed the new rear roller but now it fits like a glove.

When i bought the boat the motor had a small broken plastic latch, the old owner showed me how to use a screw driver to wedge inside and release the motor from the locked down position so that it could be raised. I want to replace the plastic latch, but I don't even know what its called. here is a shot of the problem

0206.jpg


0216.jpg
 
I may be wrong, but I would take a stab at it being the "reverse lock release lever" or just "reverse lock release". Would have to know the model number on your motor to say for sure. Hope this helps.

JD
 
Well I have been working very hard to meet my personal deadline for the end of march, looks like its going to be more like April. But I am making some advancements on this project and at the same time learning a lot. I was able to score about 200 feet of 2x2 aluminum tube for the frame work, it use to be soccer six goals, all I had to do was cut them down and haul it off. I have built the rear deck and the front deck along with the floors. I did have to pick up some 2x2 angle to make it come together but its more then strong enough. I will upload some photos in the next few days. So far I have put about 35 -40 hours worth of work on the frame for the deck and about 5 or 6 boxes of rivets

In the mail today my two part foam arrived I ordered enough to do 8 cubic feet which is about 500 lbs of dead weight flotation according to the manufacture. I am going to level the boat and float the foam the entire boat bottom this should help with noise and provide some great support for the floors.

Foam Link
https://www.aeromarineproducts.com/boat-foam.htm

My carpet samples should be arriving soon

Carpet Link
https://www.capricarpet.com/p-139-ship-and-shore-kits-16-oz-face-weight-carpet-and-adhesive.aspx

More to come as I start to wrap things up.
 
Summers it looks and sounds like youv'e done your research quite well . She's a nice boat and with that 25hp she'll move right along swiftly. Make sure to listen to your superviser he won't lead you the wrong way 8) 8) . good job....
 
Looks very professional, See if you listen to your supervisor it comes out great
 
so over the last few weekend I have being doing a bunch of work on the boat, I moved the boat and the build project down to my mom's shop so I have more space to work and access to better tools.
I finished the frame work, well every thing that could be done at this point, I need to get the the floors in then add the last few braces that tie the floor to the deck.

Here are a few shots of the frame work 2x2 aluminum and some 2' angle for the odd shaped sides.

024.jpg


027.jpg


028.jpg


029.jpg


031.jpg


033.jpg


034.jpg


035.jpg


036.jpg
 
After I finished the frame work I wasted no time with the primer and the wet sanding and got to the paint very quick, I wa able to do all the painting over this last weekend, I used some rustolum piant, and for being my first time with an air power sprayer it came out great for me. I was able to put down three nice coats. while the paint was drying i was able to put down a few coats the sealer over the 3/4" plywood and cut and messure the foam for the inside floor. I am thinking that once my carpet arrives I have two days worth of work on the carpet and the plywood install and a day worth of electical. Its looking for good to meeting my finish date. To date I have a little more then 80 hours worth of time into the build and about another 25 left.

Primer after the light wet sand

048.jpg


Here is a nice shot of the paint after the first coat. I have seen the color on here before from another build and tried my best to match it was 1:4 of sail boat blue gloss and flat black, sorry no outside shots yet it was very

055.jpg
 
I was able to get the foam in the boat the other night and run a few wires, for the bilge pump and the discharge hose, cutting that 1" hole in the side of the boat for the bung was kind scary but it was over beore i even knew it.
 
Thanks, it is definitely sturdy compared the original condition from when I bought it, the boat feels nice and solid.
 
Looks great. Your hull is very similar to my Gregor(Link in my signature). I have bars running from the seats to the gunnels for support, I think I'll take them off and rivet some angle aluminum to the benches and gunnels like yours has. Looks more sturdy and less in the way.
I have a 15hp on mine and it scoots... You're going to fly with that 25hp!
 
The Gregor and the Delta are very similar the delta was a small branch or side arm project by some former employees of Gregor the two brands were even build in the same town (Fresno Ca) my boat never left the area in the lat 25 years or three different owners.

I found that even with the angle attached the the benches it made a huge increase in the support, run it from the gunnels down to the floor, and your right it does save space on top of the benches.

I used a 1/4 ss alan head bolt with lock washers and looking nuts to attach the angle to the gunnels and 3/16 aluminum rivets to the bench sides. But drill the top bolt hole first and hand tighten the nut because your going to want the rivets to be flush then go back and fully tighten the 1/4 bolt due to the slight twist at the top of the gunnle. the first one was a pain but they got easier once i figured out the first one. The twist at the gunnels becomes a little more significant toward the front of the boat if you want o keep the strait line.
 
Over the weekend I was able to cut all the plywood and get it fitted, I have been putting a coat of sealer on in the morning and one at night this way by Friday night both sides will have three coats each, the carpet arrived yesterday via Fed-ex the delivery guy was like you order some of the most bizarre stuff you know. The day before was the gallon of contact cement and a wine club shipment.

The contact cement has a hard find local mostly because Californian having low VOC regulations the contact cement is only sold in pints https://www.dap.com/product_details.aspx?BrandID=47&SubcatID=8 but I was able to find a dealer outside of the sate who would ship me a just the one gallon most place want to sell you a case of it (4 gallons), I have used this product for work before and it works fantastic, and that was for commercial use so I know that this stuff will be perfect for the carpet. I also picked up some SS staples to help hold the under sides.

I will have some updated pictures after this weekend.
 
Top