russ010
Well-known member
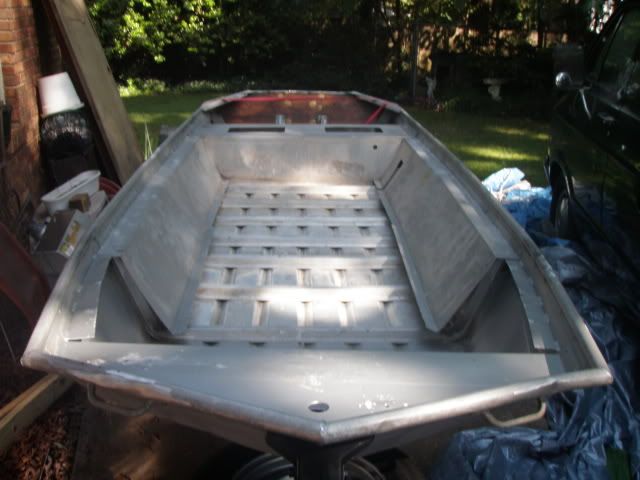
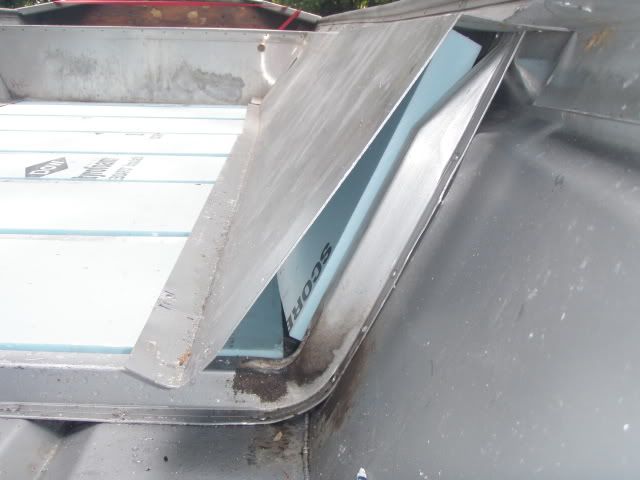
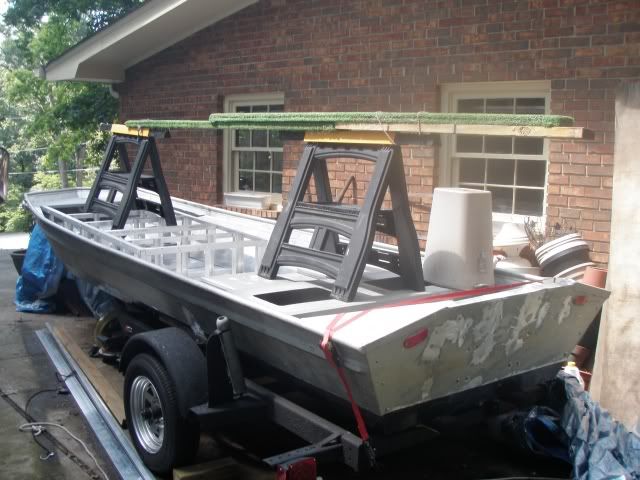
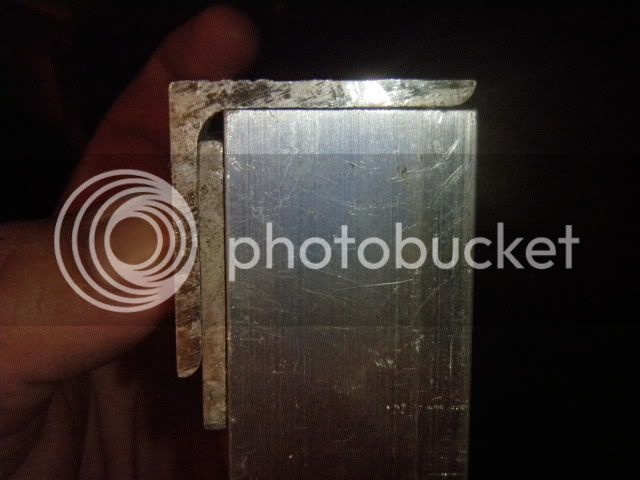
they did a pretty good job.. welds are average for aluminum, just looks like it got a little hot on the welds.
Either way that will seal the boat man - nice job.
Either way that will seal the boat man - nice job.


")


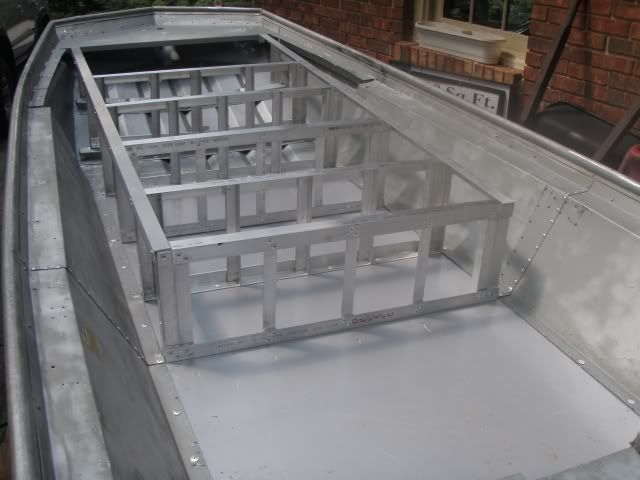

Brine said:popped rivet number 799 today..... #-o
I don't know where you are getting the rivets, but Northern Tool has rivets $2.00 - $2.50 cheaper (per box) than Lowes/Home Depot. They only have 3/16 and 1/8, whereas the home centers also have 5/32, but I rarely use the 5/32 anyway.Brine said:Yep, the boxes are how I'm keeping track too. I'll have to check out the 1/8 rivets. I've been using the 3/16 for all my framing.
Enter your email address to join: