1970 flat bottom, 14 ft. jon boat modification

TinBoats.net

Help Support TinBoats.net:

This site may earn a commission from merchant affiliate links, including eBay, Amazon, and others.

gordonc777

Member
Joined
Jun 22, 2012
Messages
20
Reaction score
0
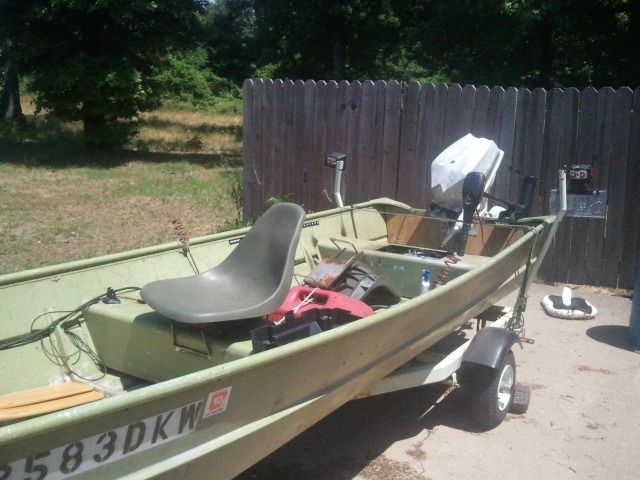
i have a 14 ft flat bottom lowe jon boat that i bought for 1000 dollars. i love this boat but wanted to up grade it. so here are some pics so far that i have taken.
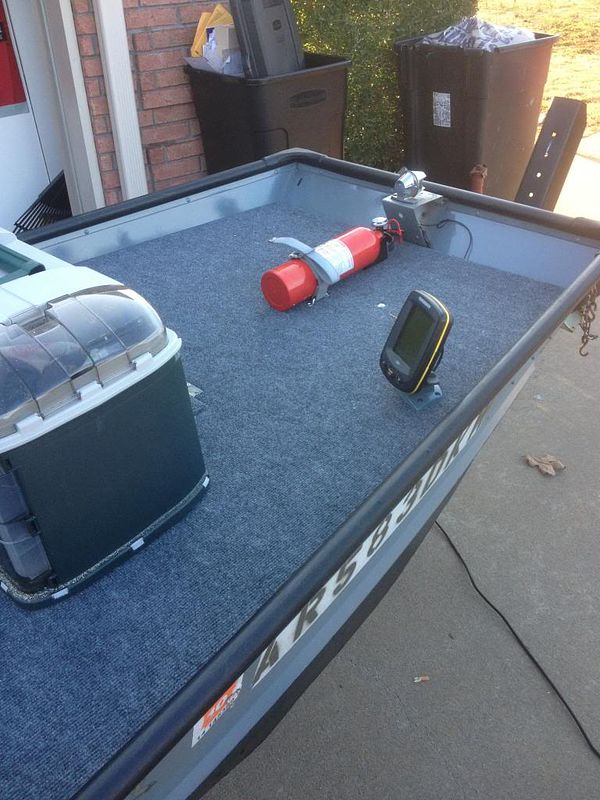
here is what the boat looked like when i bought it.
0d28be32-6573-4b84-8b9f-f7eb8f3db518.jpg


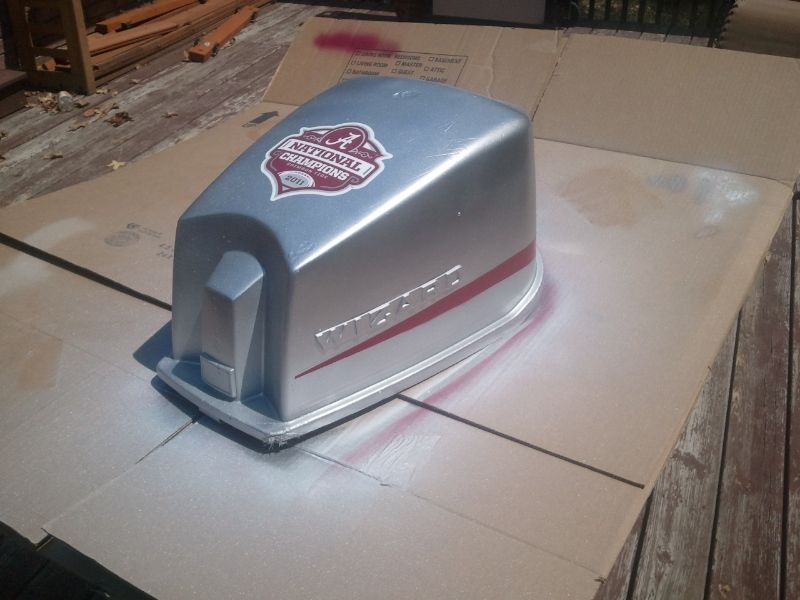
i then started with the boat motor cover and painted it to match my truck.
2012-08-11120527.jpg


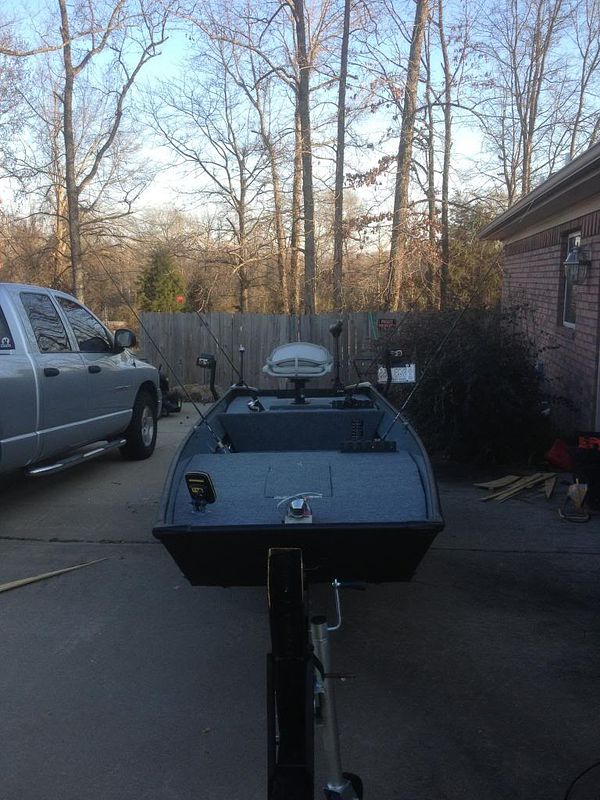
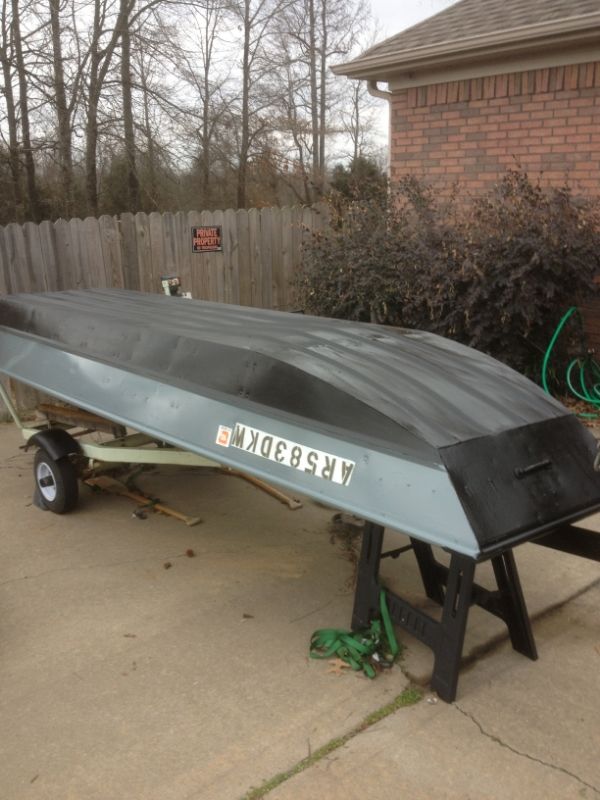
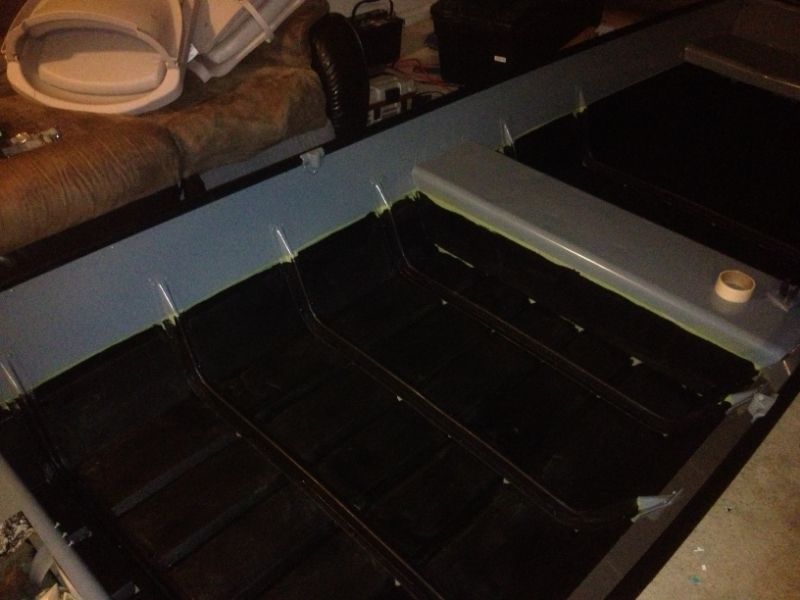
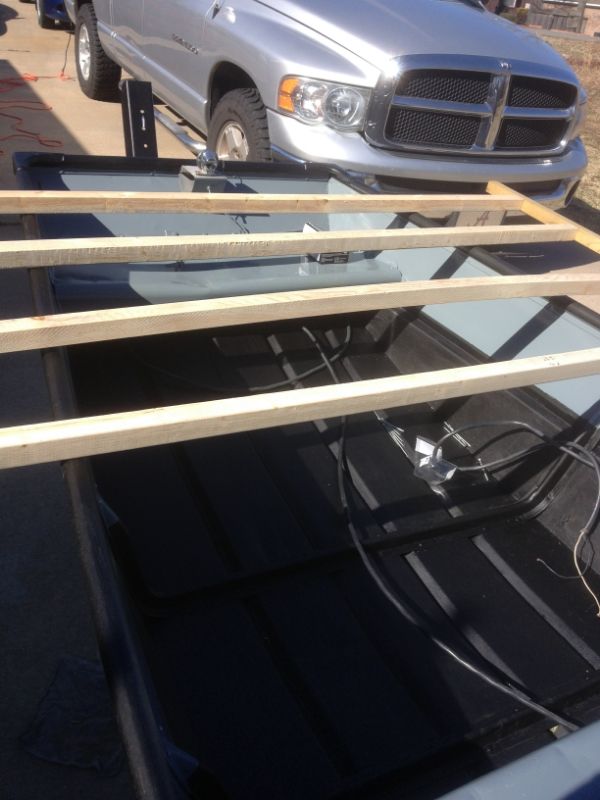
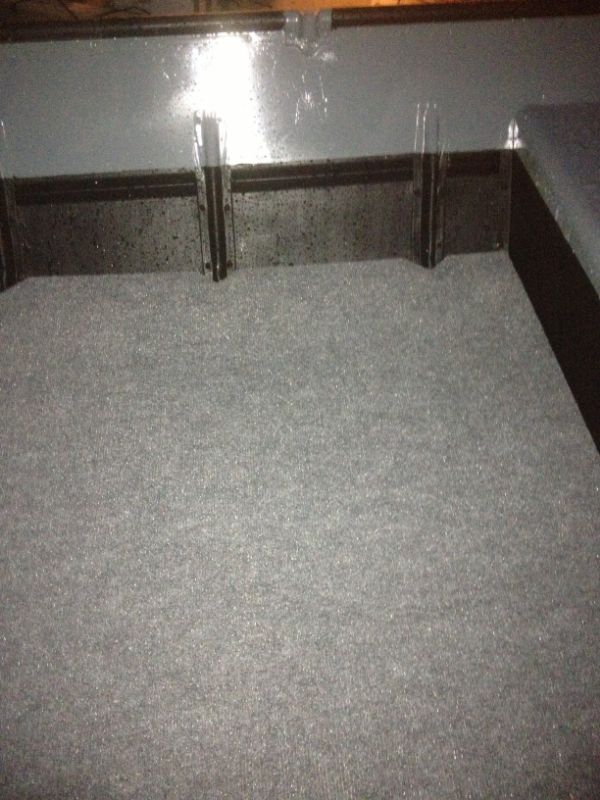
once i was done with that and i liked how it came out i decided to take a chance and build my boat the way i wanted it. i use my boat for fishing only. so i decided to rino line the bottom and paint the sides grey. here is a picture that shows how i sealed all the rivets and pinted the sides. the next picture down is where i rino lined the bottom of the boat.
IMG_0476.jpg

IMG_0485.jpg


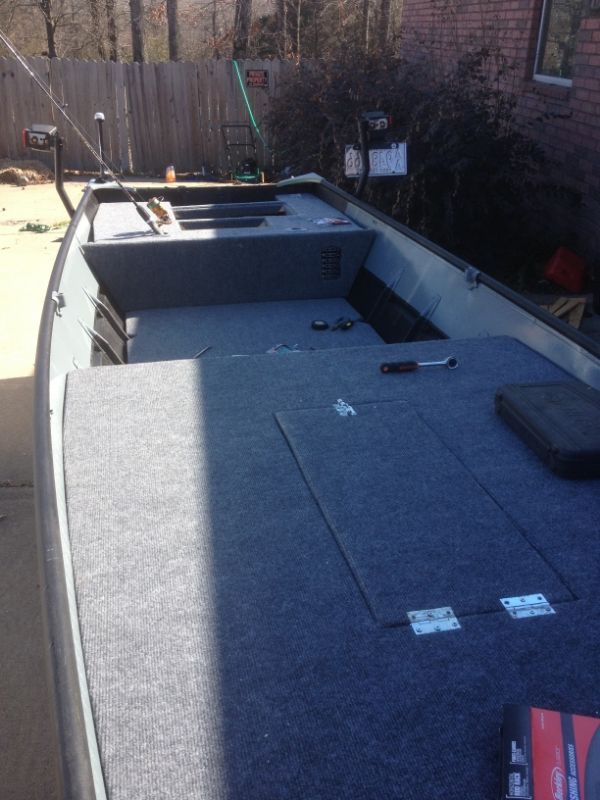
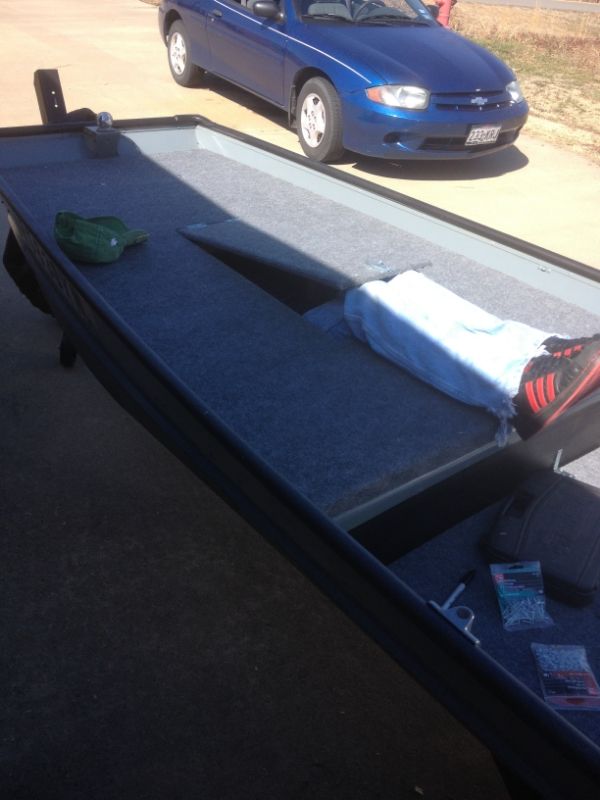
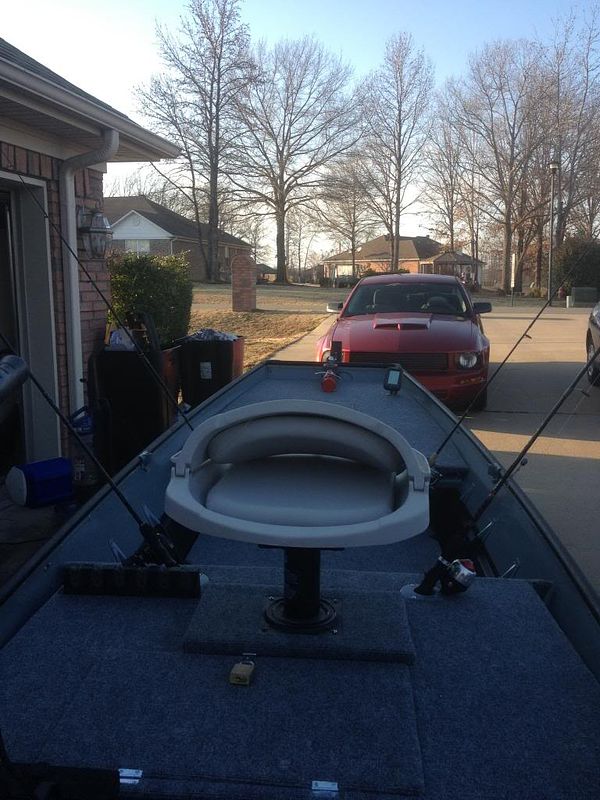
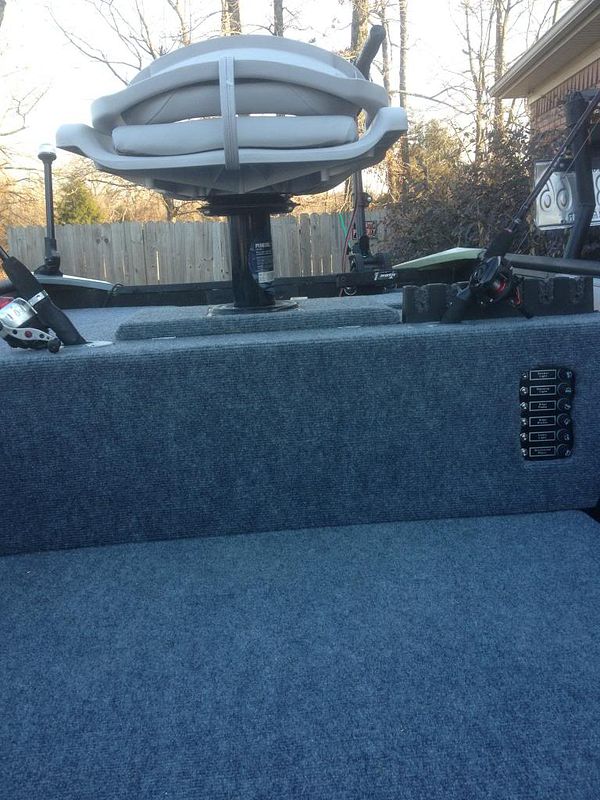
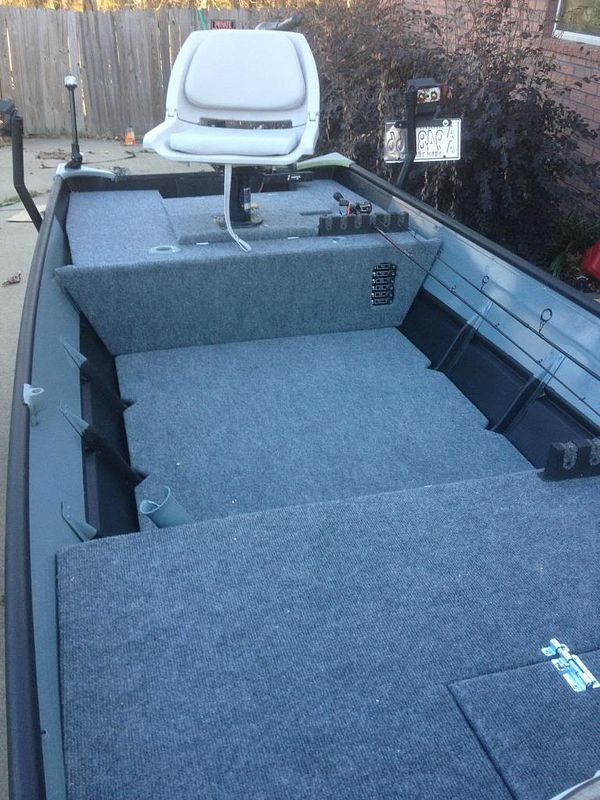
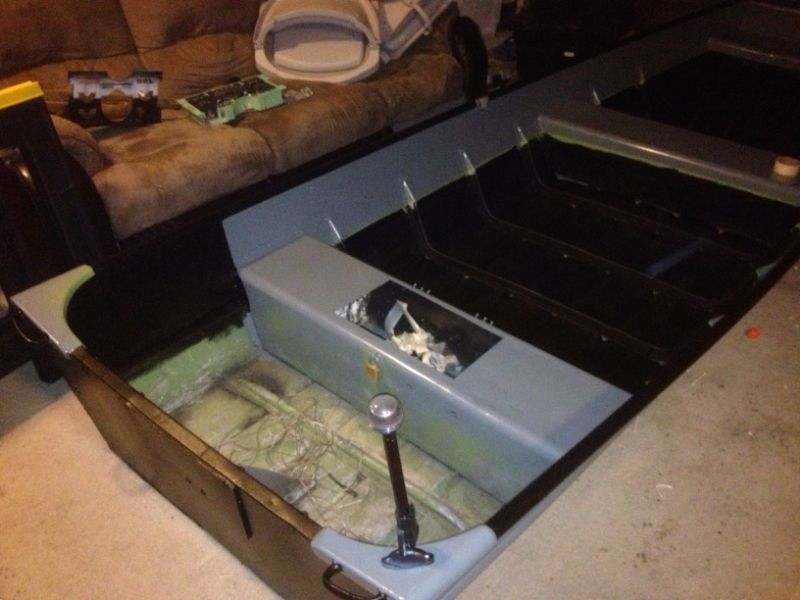
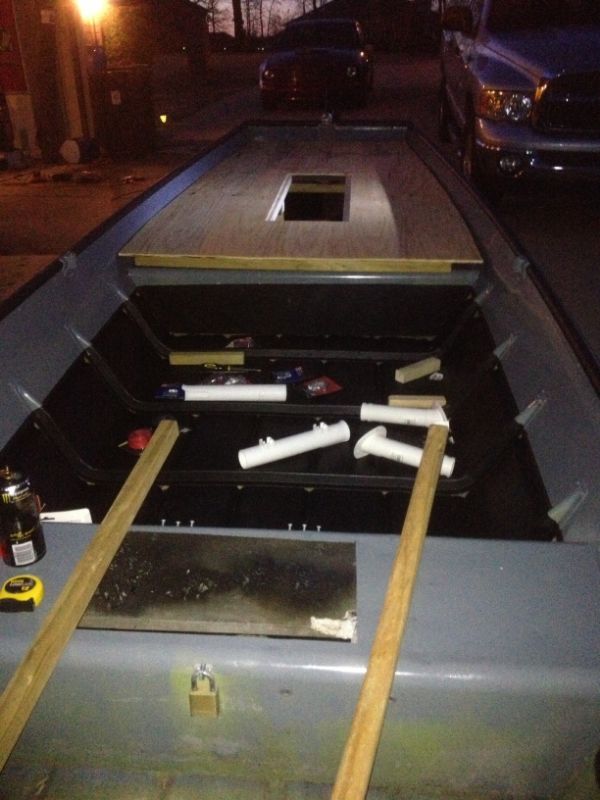
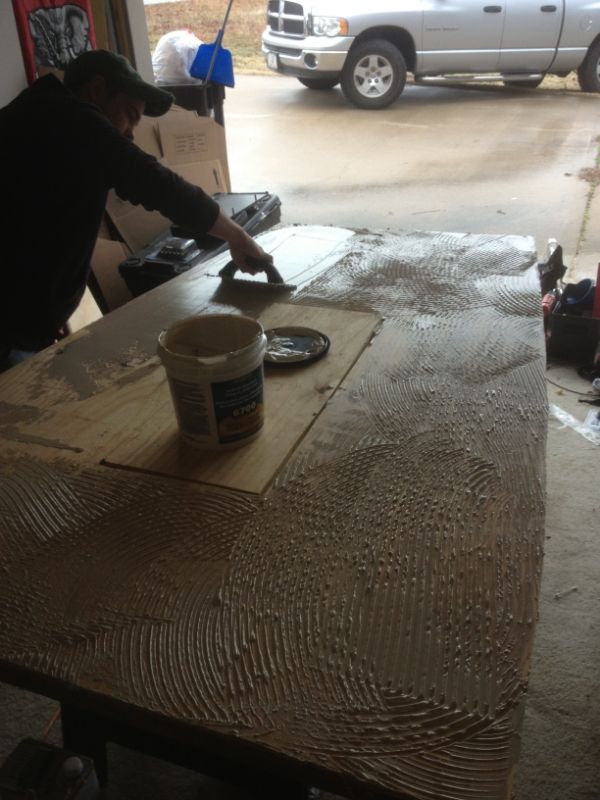
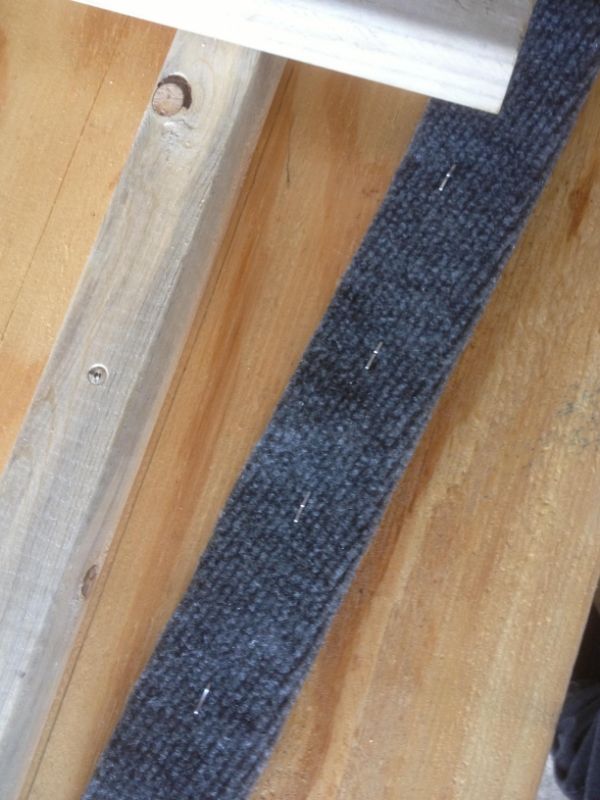
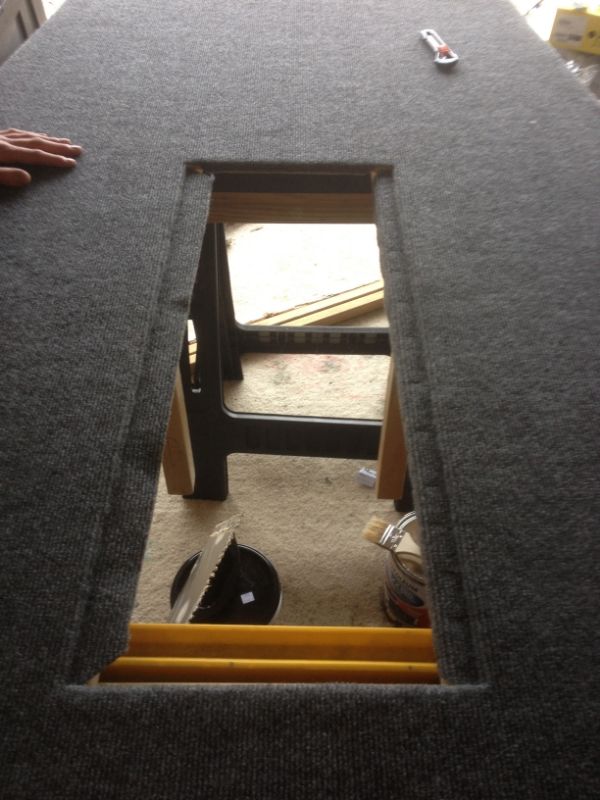
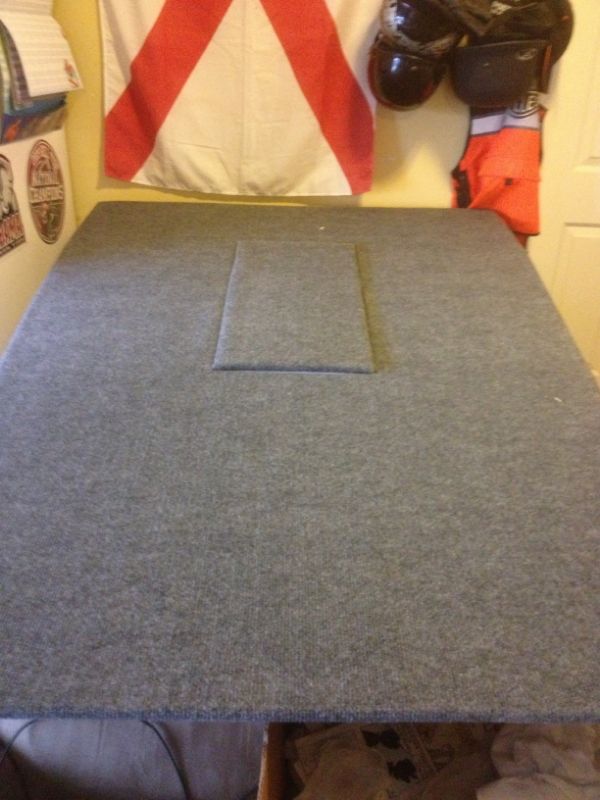
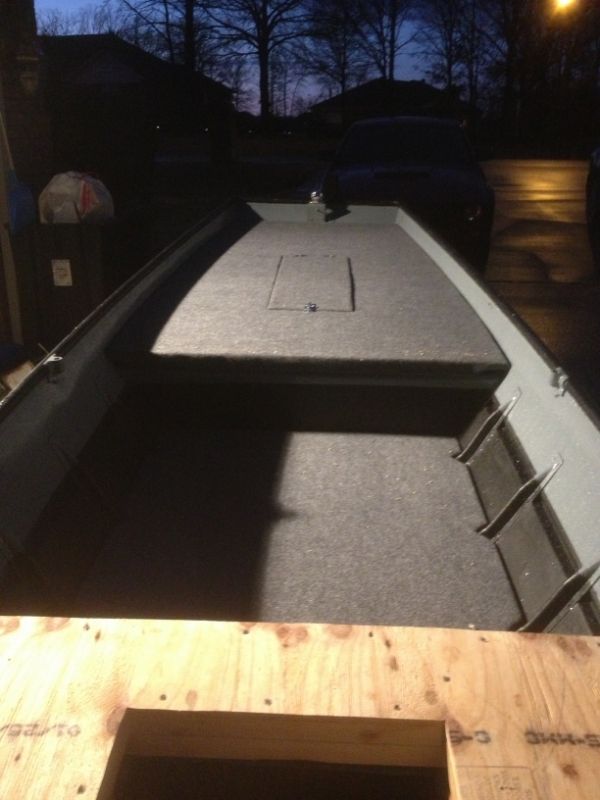
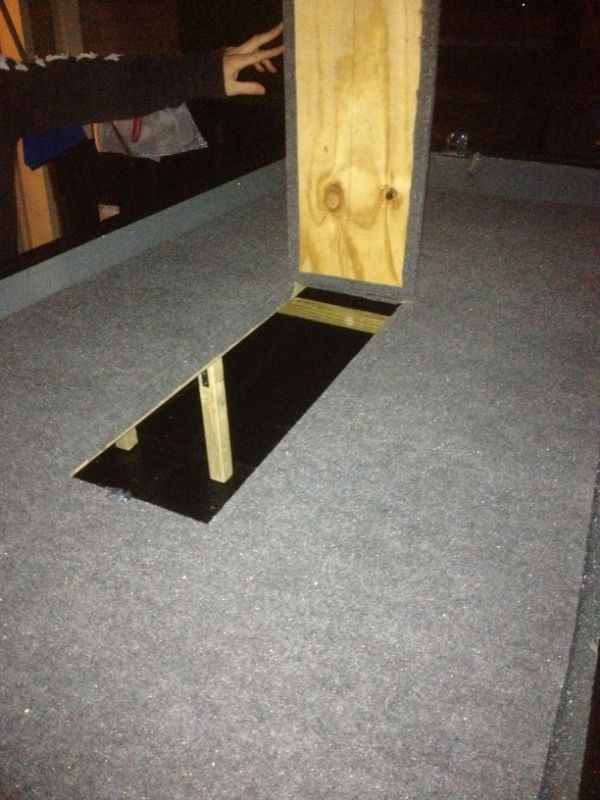
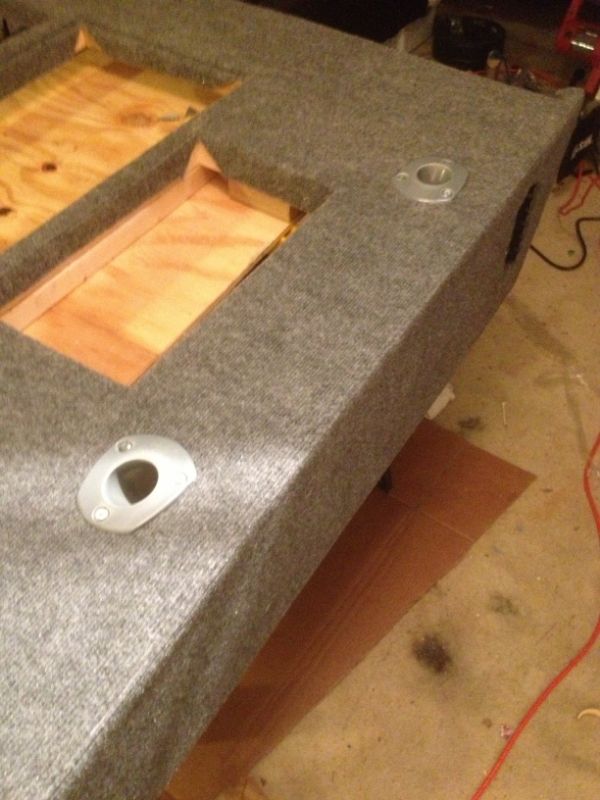
a week later i put the boat in the garage and started on the inside. i painted the inside walls grey, rino lined the bottom and rino lined the rail that runs along the top of the boat. i have one more coat to go. Then i am going to frame the front and carpet it. i am installing the rod holders, cup holders, LED lights, my new swivel seats, i have cut the hole for the battery already. pretty excited. thanks for all the great info i have received from this site. it was awesome!!!

IMG_0502.jpg

IMG_0499.jpg

IMG_0500.jpg
 
the wizzard is a 9.5. i got some more done and it looks great.

decking is done first we framed everything out.
IMG_0512.jpg


then we layed the plywood out so we could cut to fit.
IMG_0514.jpg


we then Thompsons water sealed all the wood and when that dryed we applyed carpet glue and carpet.
IMG_0516.jpg

IMG_0519.jpg

IMG_0522.jpg


we then cut the door out and trimmed it so it would fit with carpet installed.
IMG_0528.jpg


we placed the floor in so we could work on the back deck.
IMG_0530.jpg


we set the front deck in to check the fit with the carpet.
IMG_0533.jpg


we then checked the door and it works great and it is a good tight fit.
IMG_0536.jpg


the back decking came out great! there is a space for my fuel tank and a space for my battery.
IMG_0543.jpg


this picture is of my switch panel. just need to wire it in and hook up the battery. the last thing i need to do is cut two more doors for the back deck the it is finished. i will put more pics on once i put the motor on and all the other fun stuff.
IMG_0544.jpg
 
Wow, awesome work there my friend! Very nice. Love the paint and that front deck looks like it will be much more stable than mine. =D>
 
Out of curiosity, what kind of gap did you do between the hatch doors and the deck to allow for the carpet to fit?
 
@(T Man) I trimed a 1/4 inch gap all the way around the door then fit tested it with out the carpet on the door after the deck was carpeted. i hindged the door from the front instead of the side for two reasons. 1st just incase i drove off the out closing the latch the door would stay closed. 2nd was just it is easy to open when sitting in the front seat. i am going to store my life vests, ores, and anchors in there.
 
@(scott1298) Thanks I will post pictures as soon as it is done. hoping it will be finished by the end of the week.
 
The boat looks awesome Gordon! I did the bed liner on the floor and rails as well. I'm hoping to get the front decked on mine soon. It's really coming along nicely! Looking forward to the next update.
 
Nice work. As great as the really fancy builds are, it's nice to see a simple effective one. Where did you source the carpet and what did you spend?
 
@( Pweisbrod) Thanks for the complement on the build. total i spent less than 300.00 on wood, carpet, Thompson water seal, carpet glue, brackets and hardware all of it i got from Home depot. the carpet is indoor/outdoor carpet and comes 6ft X 8ft. It cost me 18 dollars and i bought two of them. so i payed under 40.00 for the entire boat to be carpeted. It was a great build and it looks expensive, but super cheap! this weekend i will finish the build and take pictures so everyone can see the end result. if you need any info just let me know.


@(Swampthing(True) Not a chance! next year will be 16! thanks for the complement. Roll Tide!

@(TimRich) thanks bro. Your boat was one i looked at when i decided to rino line my boat. it looks really good. so i figured hey why not try mine. thanks for the help.
 
That a boy stick by your team lol. I would have said the same basic thing except mine would be GEAUX TIGERS! I have a tin myself on this site and it does real good prolly going to pass it on to my sons when they are old enough !I am however about to rid it of the plywood and invest in a big sheet of aluminum so i can cut the weight down drastically just something to consider in the future:)
 
I thought about that. Let me know how it turns out. i just bought tin blades for my jig saw. i am dieing to use them. what is the name of the thread your boat is on so i can look it up and take a look?
 
The pictures are kinda backwards lol. But I hope you like it I didnt do any carpet because it would get really messed up with all the stuff I do in my boat so I did a Rhino Lining/sand mix on the floor for my traction and so far it has worked great havent slipped once.
 
For the most part i have finished the boat. we installed all the decking.
IMG_0551.jpg

my buddy was tighting bolts and all i could see was his legs.lol
IMG_0549.jpg

we mounted the depth/fish finder mount and drilled a hole in the center to hide the wires.
8e8f58ad-35fa-4943-860a-31b6caebfda0.jpg

here are some pictures of the build including the way we mounted the rod holders. hope you enjoy if you have any questions feel free to ask. some of the things we installed were..... rod holders, fire extinguisher, led light bar(for now) switch panel, we hide the battery and gas tank for the over all clean look. everything i bought, i got from Home Depot, Walmart, and Amazon.com. Have fun and build a boat for you love! cant wait to put it in the water!
IMG_0564.jpg

IMG_0565.jpg

IMG_0567.jpg

IMG_0558.jpg

IMG_0557.jpg

IMG_0562.jpg
 
cant wait to see yours finished. thanks for the complment. i liked the way it turned out. it is done for now. i would like to add LED light strips and i am painting the motor now so it will look pretty good. let me know when you post pics i want to see them!
 

Latest posts

Top