Rookie1719
Active member
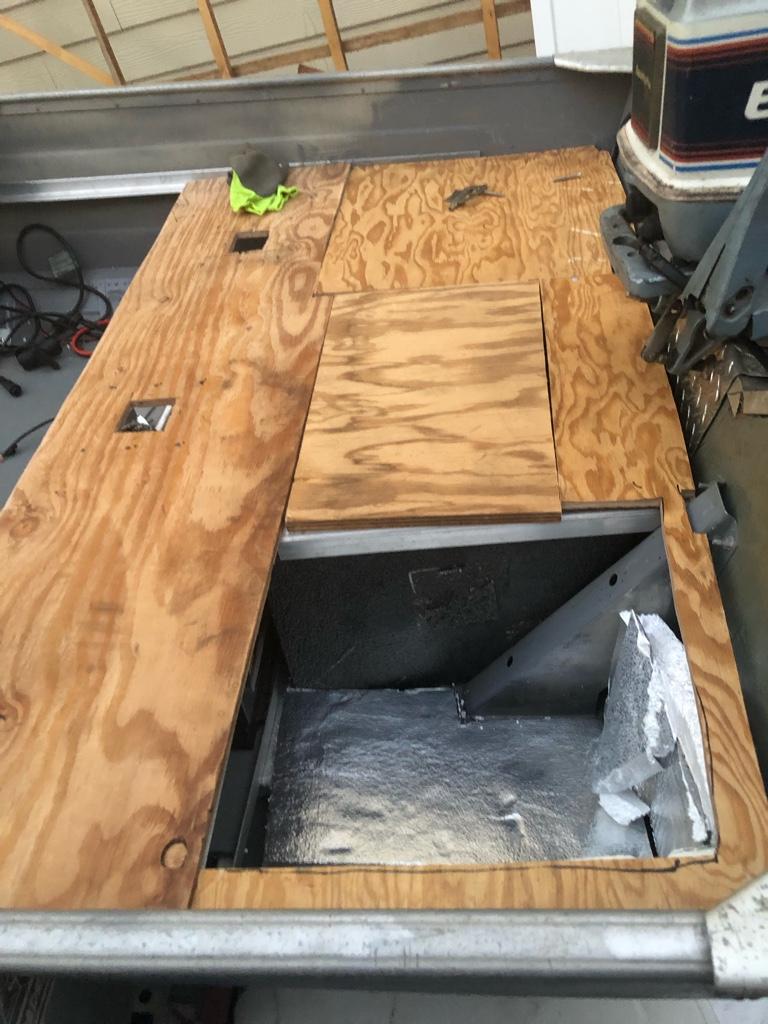
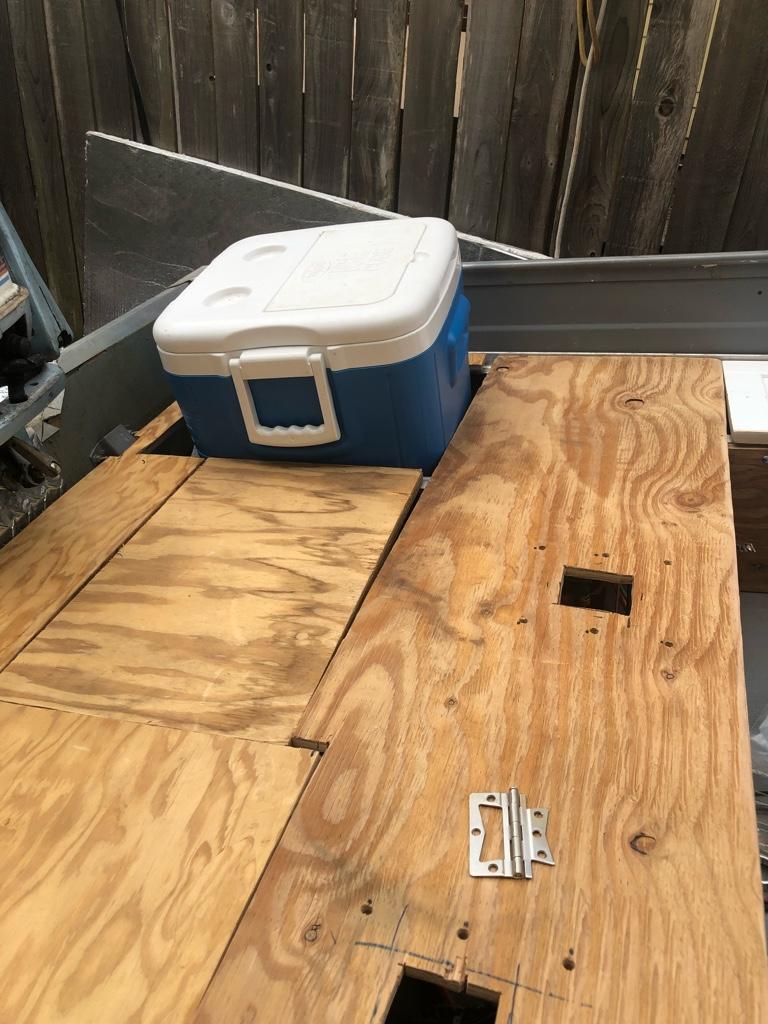
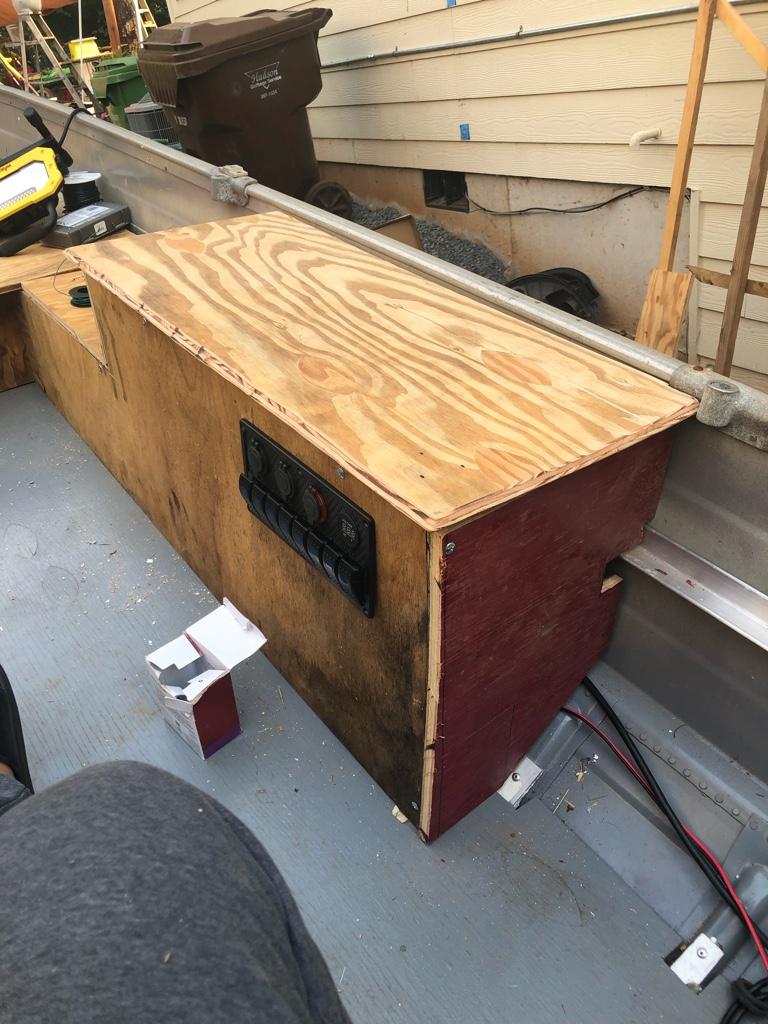
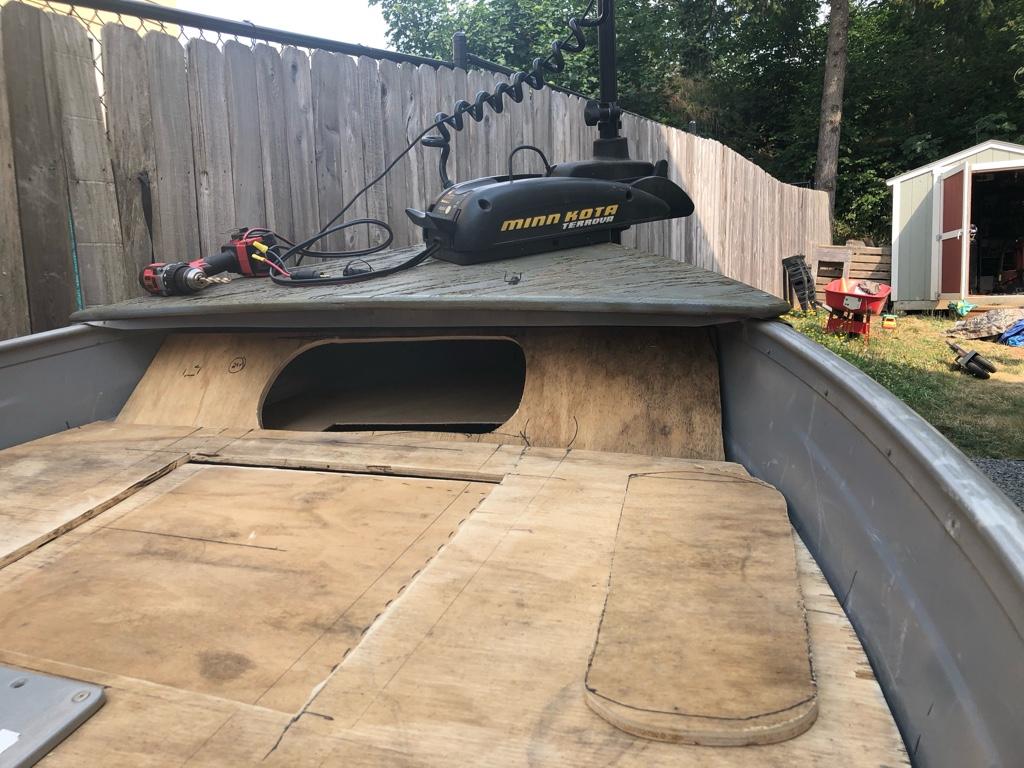
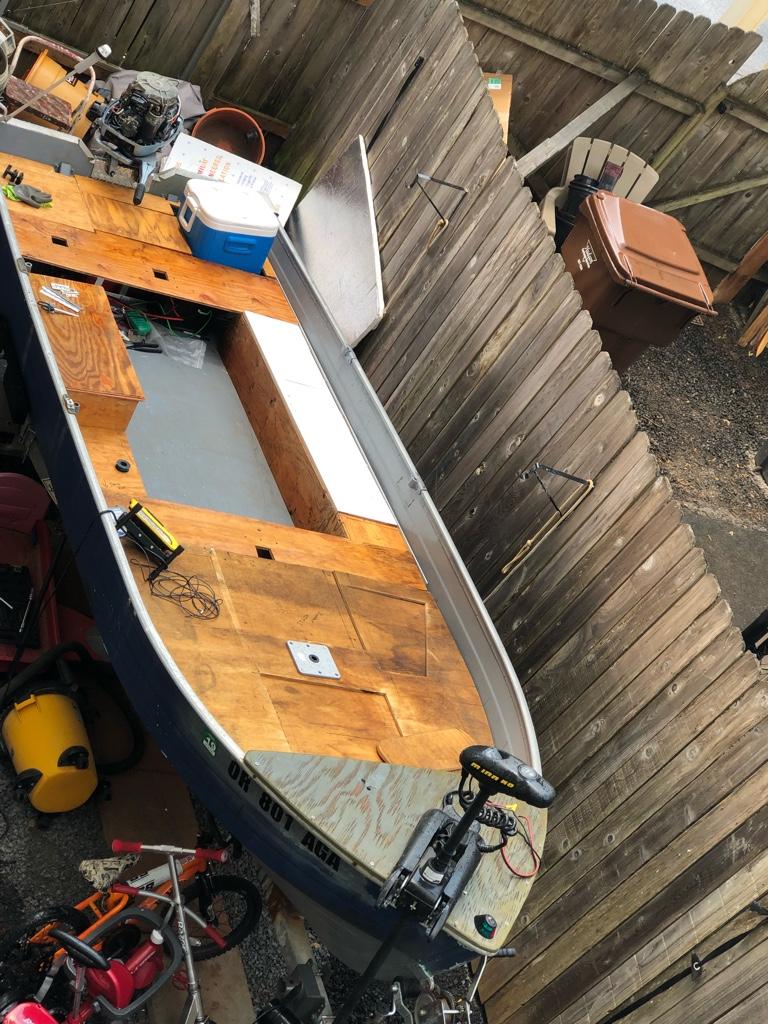
deadkitty said:Framing just about complete. Next up to finish cutting up the decks for hatches and seat mounts, as well as build the console for all the electronics.
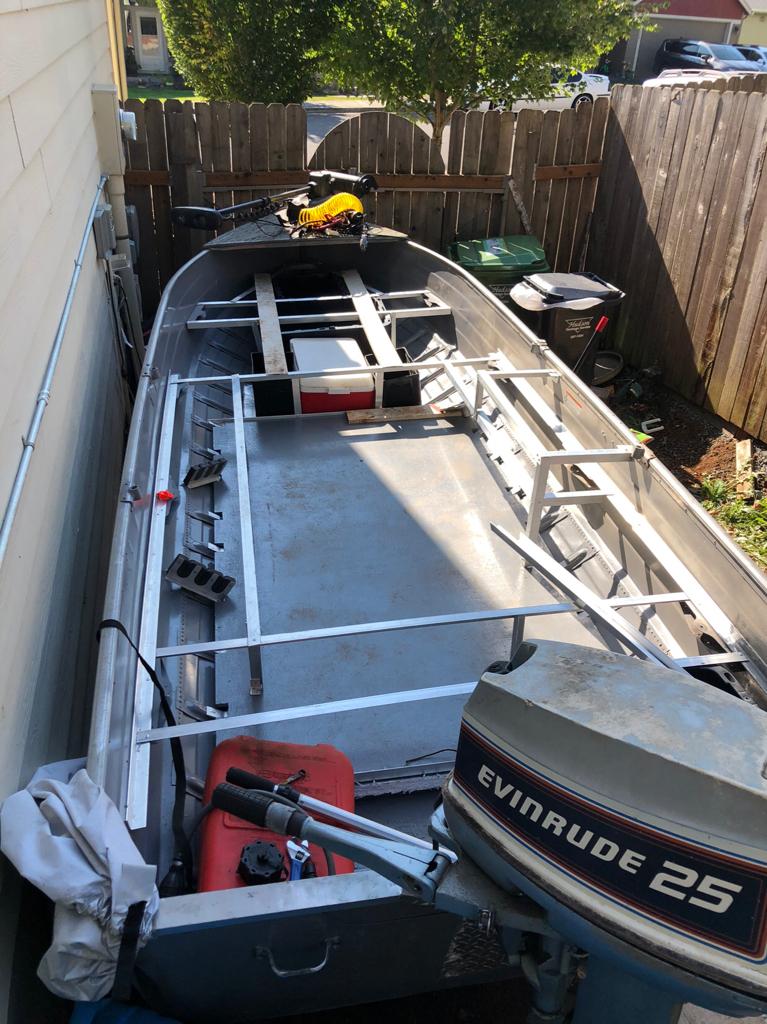
Hello- I see you removed the benches and doesn’t look like your putting them back in. With that framing you have, you expect the structure to be strong ? No flexing ? I’m at this stage and debating to either put the middle one back or do what you have done. I just don’t know if the boat will flex ... just looking for pointers/tips.
Thanks and great job !
")