Fisher Water Rover complete rebuild - MISSION ACCOMPLISHED!

TinBoats.net

Help Support TinBoats.net:

This site may earn a commission from merchant affiliate links, including eBay, Amazon, and others.
Had a nice day last week so I decided to paint the trailer. It was in decent shape but needed a new fresh coat to spruce it up!

Before
It69C3G.jpg


After
Fyboho2.jpg


Hard to see but it looks way better now!

One more job checked off the list now it was time to fab up some brackets to get my new hatch fitted in. I picked up some angle and cut it to length so I could rivet it to the braces so the hatch would have something to sit on

BIShv8b.jpg


Brackets installed and ready to see if the hatch fits
mIMxQ9Y.jpg


Looks like it will work!
6gT1NUj.jpg


For the front deck I'm using some PVC sheet material and got it cut to length. I will be wrapping it in Marine vinyl
GthIhZz.jpg


Got it cut to size and dropped in the hatch to see how it fits
HxWnD9i.jpg


That's it for now. I got to get this thing done!! :)
 
Today I decided to get the hatch and front deck done as well as get the rough cut out of the floor done.

Laid out the vinyl and got it ready to glue on to the PVC sheet
xIj2aqx.jpg


Fast forward about 3hrs and its all done except for the nav light base. If only I can remember where I put it... #-o
0DGlDOC.jpg


Didn't get too many pics of the flooring but here is the messed up factory floor. Not much to salvage so I'm using 1/4 exterior plywood that will be epoxy sealed and wrapped in the marine vinyl. It won't add too much weight maybe a extra 20lbs but will be much stronger and provide some rigidity unlike the pop can thin aluminium factory flooring.
4eQx5Dn.jpg
 
Very nice build...do it right or go home! Never, ever underestimate Alabama ingenuity! Can’t wait to see the finished product!!!


Sent from my iPhone using Tapatalk
 
Well I got some serious work done on the boat this last week! The pictures make everything look easy but it takes a lot of time and work to do these rebuilds. I guess for me it takes twice as long, I can't settle until its perfect. :p

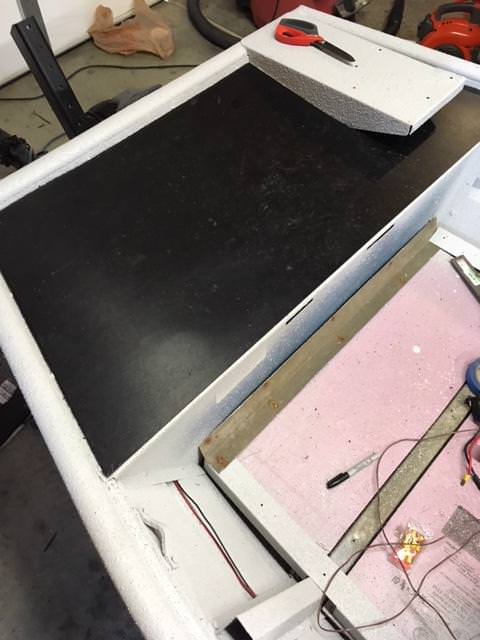
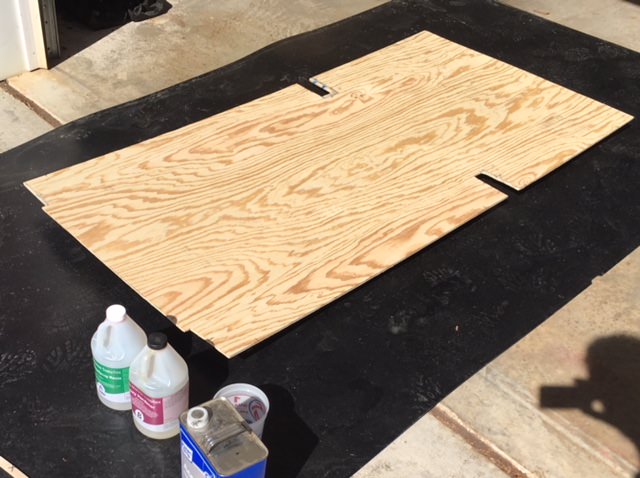
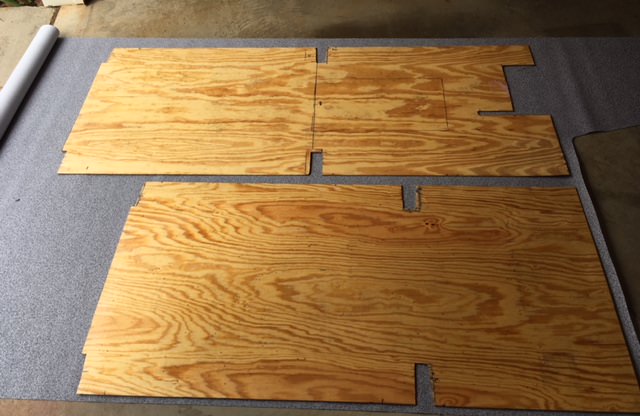
Took a while but I got the flooring cut out and ready for epoxy resin. This really won't add too much strength but it seals the wood up nice. I thinned it with acetone and did two coats to make sure it soaked in.
dCDQ3xD.jpg


Second coat done and drying. This is the part I hate, can't do ANYTHING until its cured.
o3bGCma.jpg


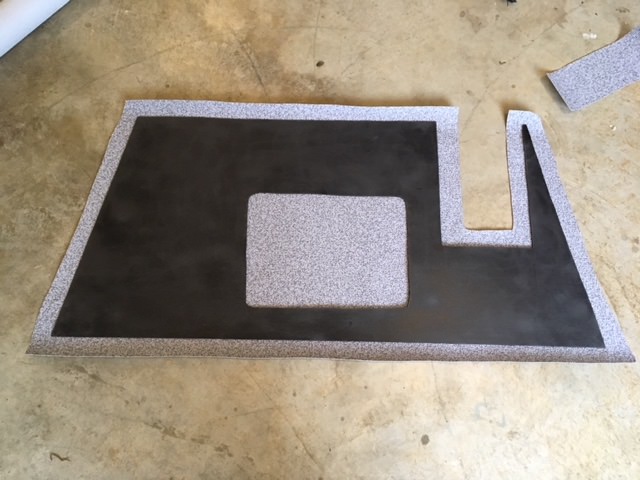
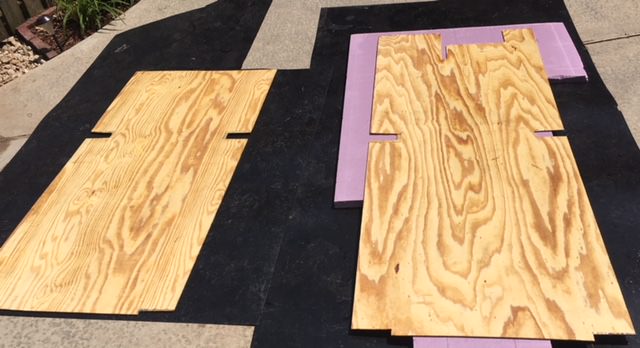
Now we have the wood all sealed up nice it's time to lay out the vinyl and trace out what I need. This Nautolex Marine Vinyl Flooring is not cheap so I make sure to measure twice and cut once!
jdytluY.jpg


Once all that was done I glued and trimmed the vinyl on the flooring and laid it in to see how everything fit. One thing you need to watch out is "tolerance stacking" that is where you add extra dimension from the thin flooring itself and may end up with everything too big. You especially need to watch out on thick marine carpet. Luckly you can stretch the vinyl out and pull it tight so it only adds maybe 1/16".
6kwyr9j.jpg


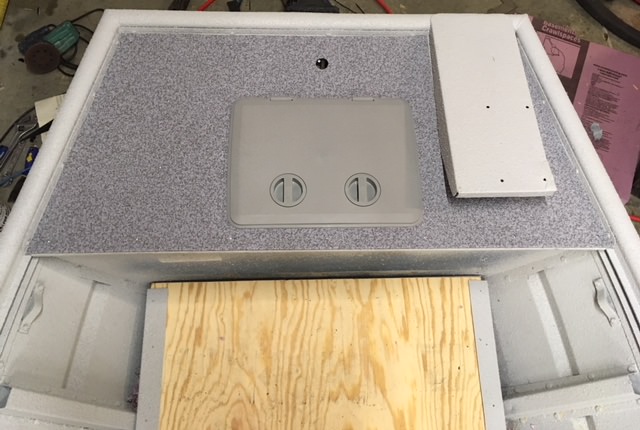
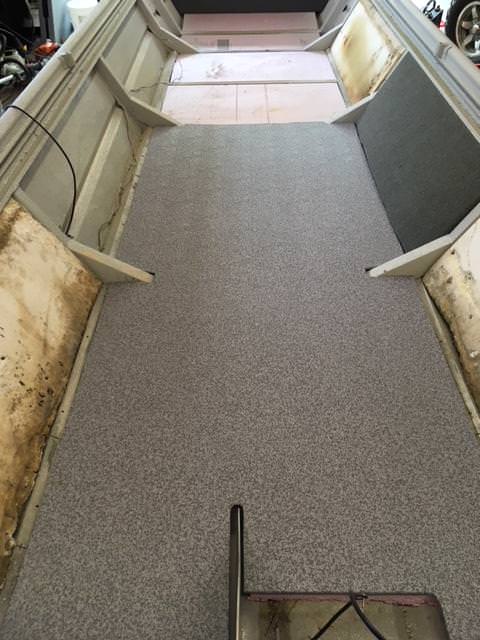
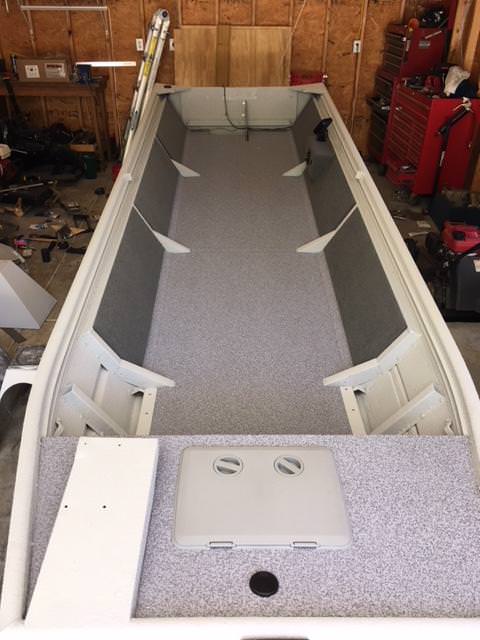
Floor is all ready to go in so I got it square and started to rivet the floor down to the crossmembers. That was a pretty easy task but cranking down 50 big rivets by hand wasn't too fun.

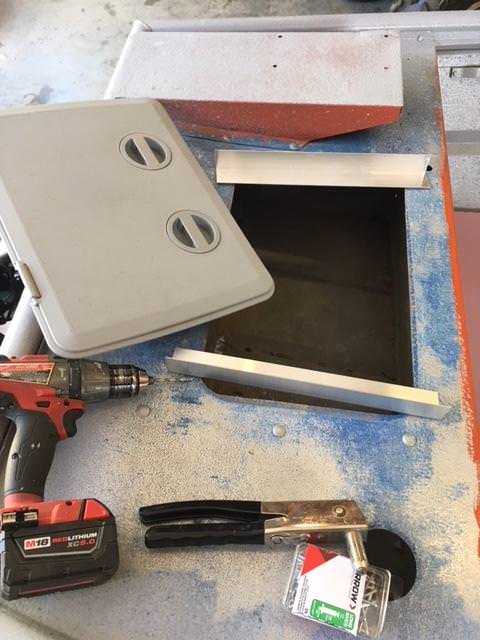
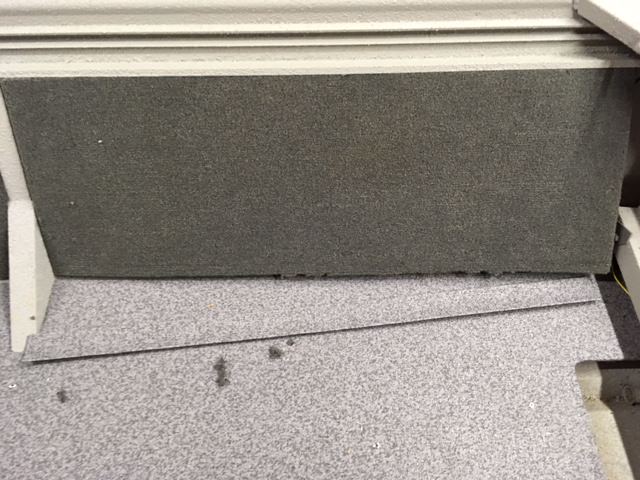
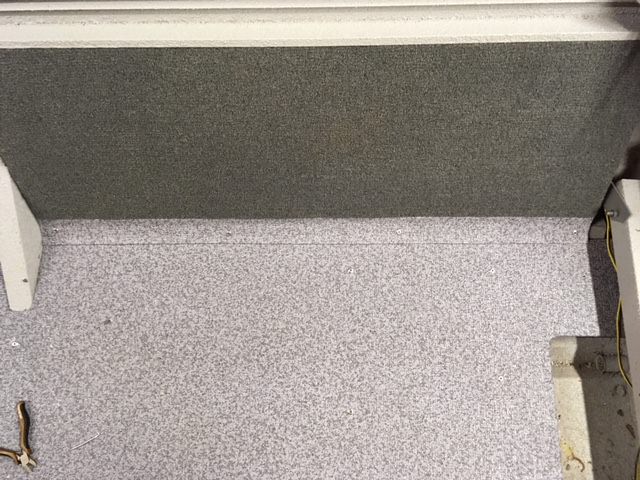
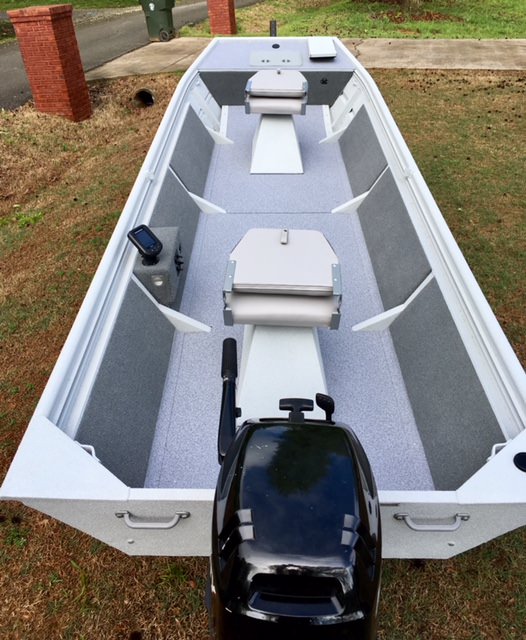
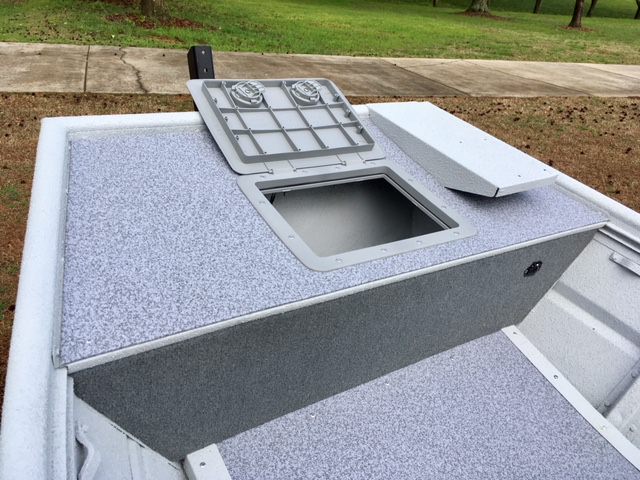
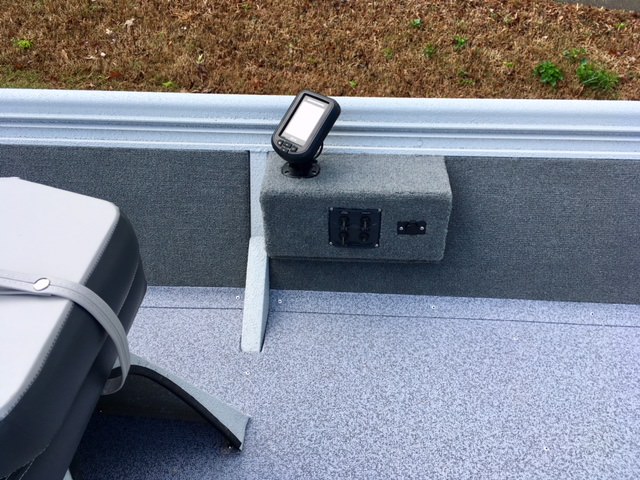
Here's a shot of how the side panels go in, they slip into a channel on top and have a piece of trim that secures everything together. Pretty slick idea.
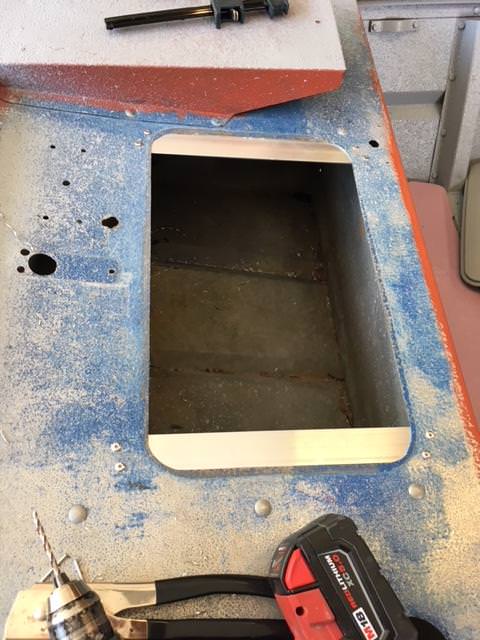
QwlXlJZ.jpg

Installed
sByh3e6.jpg


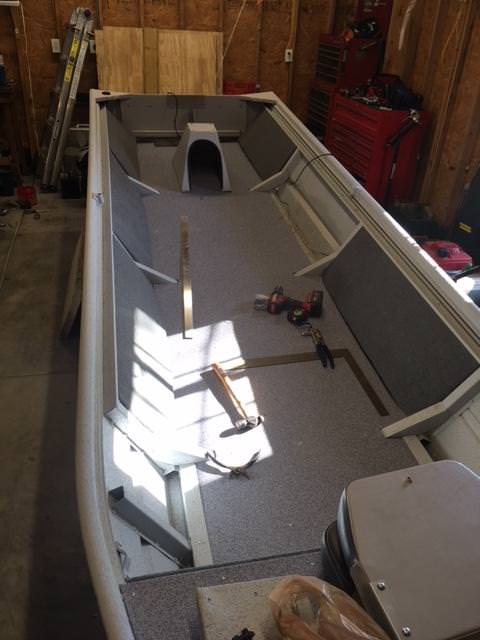
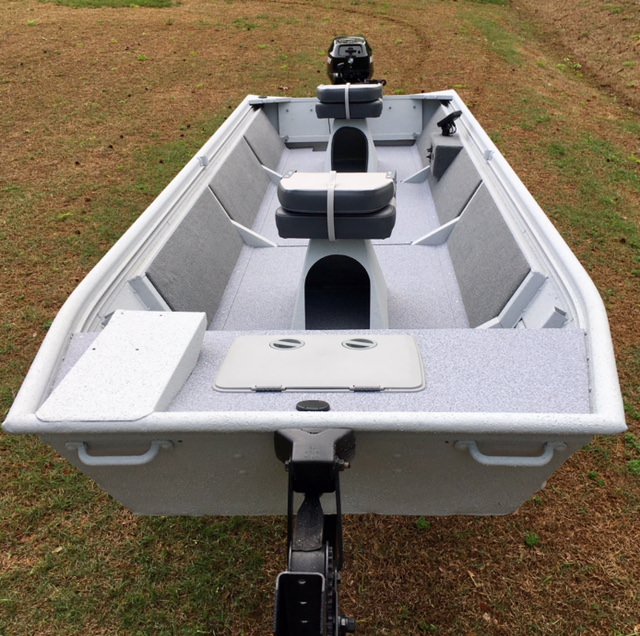
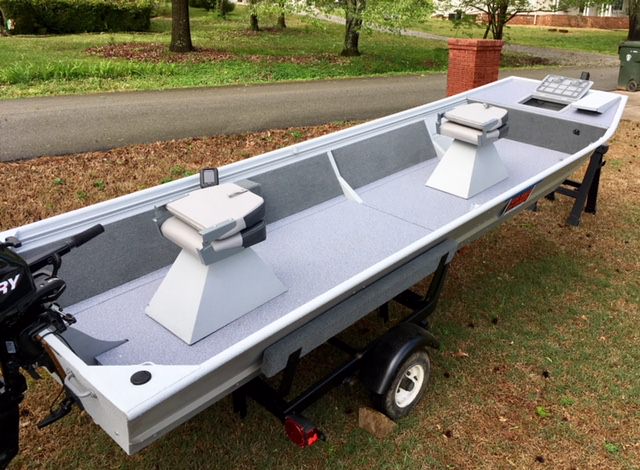
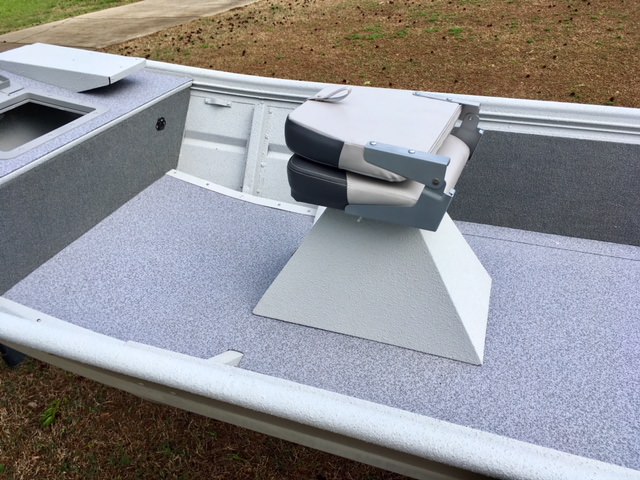
Next morning I decided to take a pic of the progress... Floor is all installed but I still need to do the side panels and put the seat bases in as well as other bits and pieces.
7uAtgND.jpg
 
We are getting close to finishing this puppy!

A couple things I do that some people overlook are small but important in the long run. I like to fill all the random holes up in the hull the correct way (weld/braze) and install things like transducers using epoxy. You end up with no holes and a solid bond if done correctly. Adhesives have came a long way and do a perfect job. Heck some new cars a basically glued together now so it works. The other thing is to make everything laid out and accessible if you need to do upgrades or repairs. The entire hull is riveted or screwed so you can drill out a couple rivets or remove screws and you have access.

Here is a example of what i'm talking about -

Wont lose this drain plug anymore.
B5k68sP.jpg


I attached a simple chain to it and screwed it to the transducer cable tie. No more lost plug!
1T9wVIL.jpg


One of the biggest mistakes is mounting the transducer for the fish finder. You usually see a bunch of holes where someone kept shooting screws thru the hull to finally get it right.

I have a simple fix for that - Get a piece of plastic (PVC/Starbord etc.) to mount the transducer on.
4MhQrMZ.jpg


Here I drilled some holes on the mounting surface for the epoxy to "hold on" to
c92YUiU.jpg


Glob some epoxy on and position it where you want and get some tape to hold it into place until it sets. I've done this on many boats and have yet to have one come off. Now you have a mounting point for your transducer with out drilling a bunch of holes in the hull. As long as you don't use long screws! :wink:
47IIEhv.jpg
 
Today is the BIG day!

I got all the carpet in, floor done and all wired up.
4xDU9BM.jpg


My little control center completed and ready to go
BQtYXlL.jpg


Well here it is all done and ready to find a new home!
4szxiWi.jpg

akum8Zw.jpg

REdHM4t.jpg

GvwVVZ9.jpg

Zt41njE.jpg

3DX4u0h.jpg

nrzzeem.jpg


This was a LOT OF WORK! so many little pieces of trim, so many things to be fixed and corrected but in the end it was well worth it. This little boat has a open floor, solid and perfect for crappie fishing down here in Alabama. I'm lucky to have the Mercury four storke on it and it purrs like a kitten. Before I sell it I need to take it out on the water to get some final "testing" done. :lol:

Like my last boat I did, it takes twice as long to get it finished as you initially think, I have probably over 80hrs on this project. Everything I used as far as materials was marine grade and of top quality. I want these boats I restore to last as long or longer than the factory builds. Everything was either replaced or repaired and then refinished.

Before -
3QwgPyQ.jpg

VcHAoXq.jpg


After -
4szxiWi.jpg

akum8Zw.jpg


I'm all done and MISSION ACCOMPLISHED!!!!!
 
SELL IT no- that's a fantastic build thanks for all the details.
 
Wow. I think I just bought the same boat 2 days ago. I was looking for more info about the boat when I came across your rebuild . . . which came out very nice!
 

Attachments

  • IMG_9038.jpeg
    IMG_9038.jpeg
    977.4 KB · Views: 217
I like what you did with this boat clean. did you eventually sale it.
atw7 said:
Wow. I think I just bought the same boat 2 days ago. I was looking for more info about the boat when I came across your rebuild . . . which came out very nice!

did you ever do anything with yours. I just bout a fisher marine 15 footer couple months ago didnt have the front seat though.
 
Top