1976 Evinrude 2hp~can a newbie clean the carb on this?

TinBoats.net

Help Support TinBoats.net:

This site may earn a commission from merchant affiliate links, including eBay, Amazon, and others.

YamahaC40Guy

Well-known member
Joined
Dec 1, 2008
Messages
93
Reaction score
0
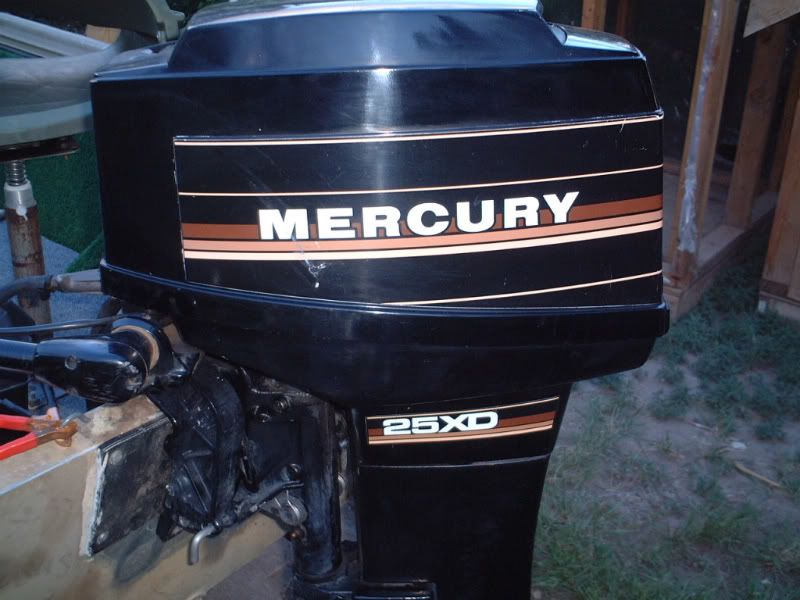
Hey guys, I'm wanting to get this old bird in the water, but it's been sitting (unused) for the better part of a decade. I was told it was winterized back then, and I'd say a liberal amount of oil was used! lol Anyhow, while it looks clean on the outside, I'm wondering if it would be a good idea to clean the carb? I have NEVER done any work on an engine, unless you count changing air filters, plugs, wiper blades on old Jeeps. Anyhow, is this something I should attempt and if so, what should I watch for? Is anything going to fly off and get lost? I'm careful, but the last thing I want to be doing is searching for parts because of some error on my part.

Help!!

Rob
 
I have never worked on your particular model motor,but most 2 cycle carbs are the same internally.It's good to clean them after they have sat for a while or after a couple years of running.First thing is be patient and take your time.If you have a camera or phone cam,take lots of pictures.If you can find a manual for your motor,it will have a step by step section just for carb disassembly/reassembly.It will have tuning instructions also.Wish I could be of more help.
 
evaporated gas can be a pain to get clean. what your really left with is the additaves in the gas that dont evaporate

after you rebuild or clean a carb once, you can do it on any make/model

rember a few small rules that will help you for your first time

when you start taking it apart, lay out a bench or somthing big enough to lay piece by piece down in order that you took them off.

when you remove the bowl from the carb dont let the float free hang. eather keep the carb upside down or take the float out. float and needle are only held in by a pin. rember how the float needle is held in place. some attach to the float, some just rest on the float.
When you reinstall the float, make sure it is level. if not, just bend the tang. after thats installed keep the carb upside down and blow air threw the gas line. none should pass by thus its sealed. when you install the bowl flip it back over and you should be able to blow air threw the gas line

when you remove your idle or mix screws write the number of turns it took down so you can install it back in the same place

rember where theres a needle theres a seat (o-ring). dont try and take the seat out or let it soak in carb cleaner unless your going to replace it

a toothbrush and dental pic or toothpic will help get the junk out of the small passages. hold them to light to make sure they're clean
 
also, make sure you don't put the float back in upside down. i've fixed more than one multi-carb motorcycle that the guy cleaned the carbs and put a couple of the floats back in upside down. on older bikes the float level determines your fuel/air mixture ratio. i assume the same thing is possible on an outboard. never done one on a outboard, but like mike said, once you do one you can do any.
 
Here is a diagram of your carb. As you can see, it is a real simple design. You can familiarize yourself with it, before getting started, with this diagram.

https://shop2.evinrude.com/ext/index.aspx?s1=c03586cae36d99f64b1f9701c2748b66

When you start taking it apart, just work on a clean workspace, preferably with white paper, and either photograph, or remember everything that you disassemble. Provided it isn't incorrectly put together now, as long as you put it together exactly as you took it apart, you will be no worse for wear. Once you disassemble, spray carb cleaner, followed by compressed air through all passages. You can spend all the time you want studying it online, but you still aren't going to have a clue how they work until you actually dig around inside one. Then its easy.
 
I would also recommend taking it apart in a box, tape the flaps on the inside of box so little pieces don't get under them. Also, plan on having a rebuild kit for your carb on hand. It's almost imposible to salvage the gaskets and diaphrams if they have been there for a while. The kit will contain all brand new pieces. I rebuilt my 25hp merc, kit only cost $65
DSCF0031.jpg
 
Hey guys~thanks SO much for the responses. I'm both inspired, and now freaked-out about doing this. If I had a better space, better-lit than what I have now, I might take this on...but it ain't looking good. Considering the motor's age, I'm afraid that one mistake would render this motor useless until I tracked-down the parts.

Not decided yet, but I do really appreciate the input.

Cheers,
Rob
 
When I tear things like this apart, I've got a white towel (like you use when you get out of the shower)... i just fold it up into a 2x2 square and lay my pieces out... springs, pins and all the little things that can get lost (and they do have legs, believe me) all in one place and stops them from running away!
 
Yamaha Guy,

I did my first carb clean/rebuild a week ago. Nothing to be scared of but like others have said....

1. Get a manual (I bought a CD on Ebay for $5 shipped)
2. Line the items up in the order you take them apart (I like Russ's idea of using a towel)
3. Take lots of pictures during the process (so long as you have a digital camera)

If you question the next step or how to do something, put your pics (if you have them) and/or your questions on here and you will get guidance. There's not that many parts (as shown in the diagram) that you will actually be removing during the process.

Good Luck!
 

Latest posts

Top