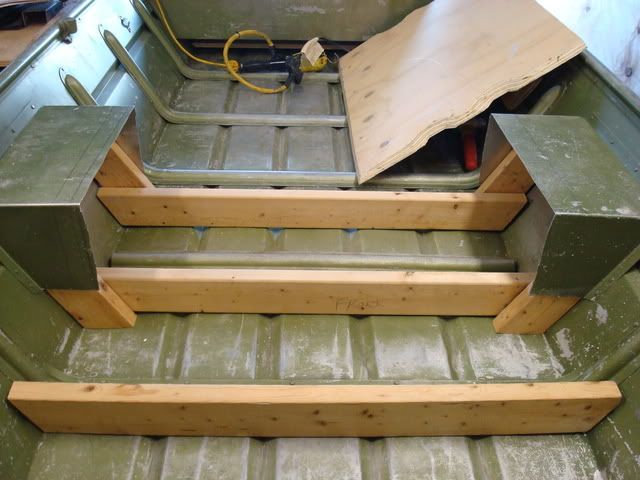
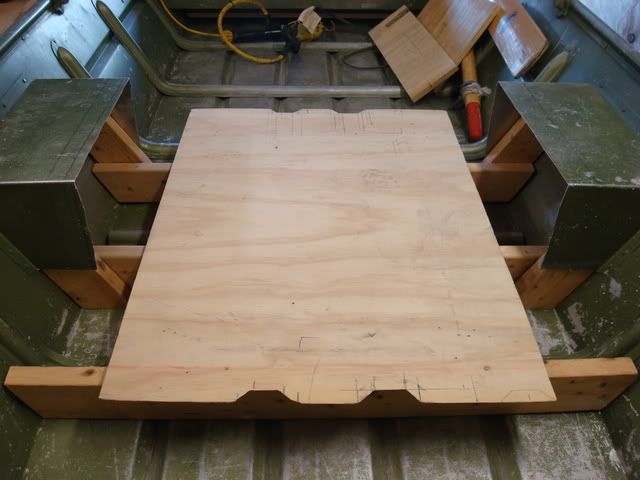
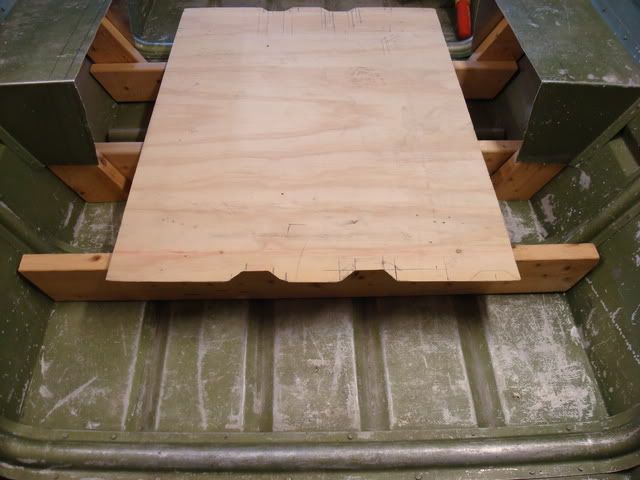
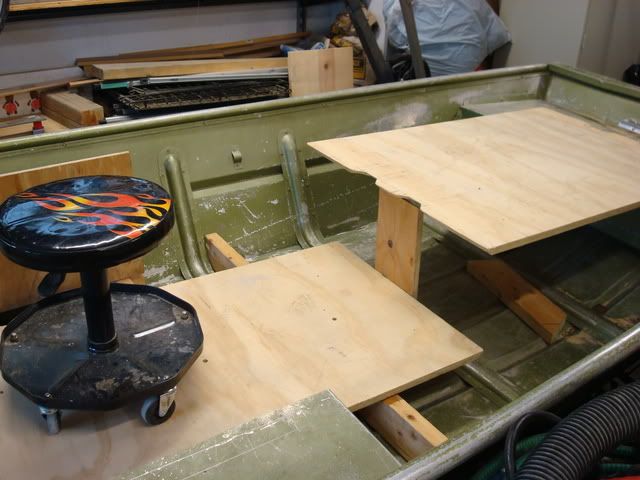
I ran into a little problem this weekend with the Steelflex I applied last week.
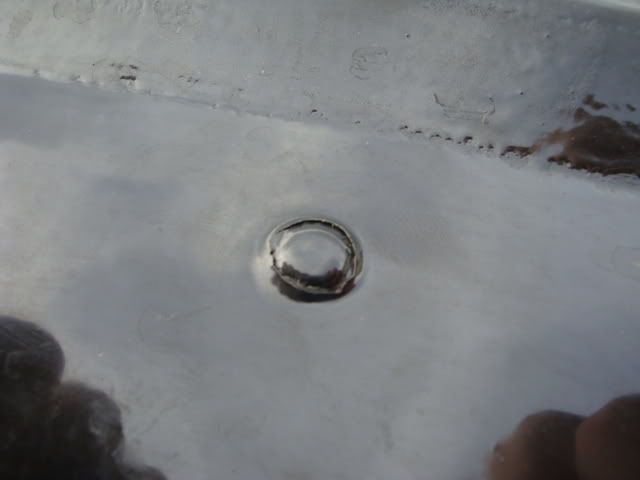
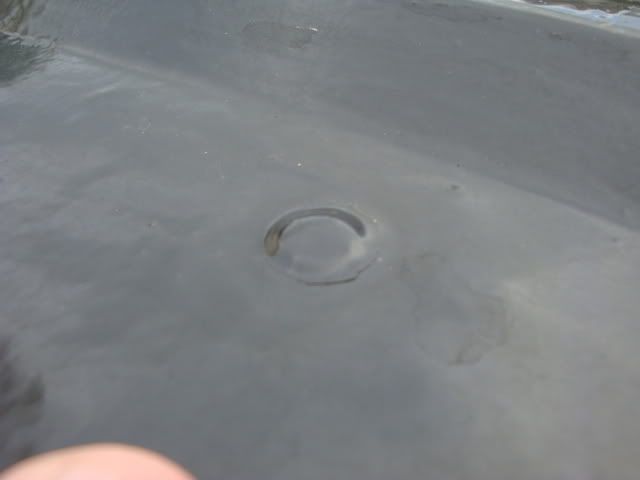
If you remember, this is how each rivet was covered last week when the Steelflex was put on.

As you can see, the rivets appear to be pretty well covered with the epoxy. It pretty much formed a capsule around the rivet head.
Today I took the boat out and found that about three rivets have a leak still. Once I got back home, we flipped the boat over and found this:
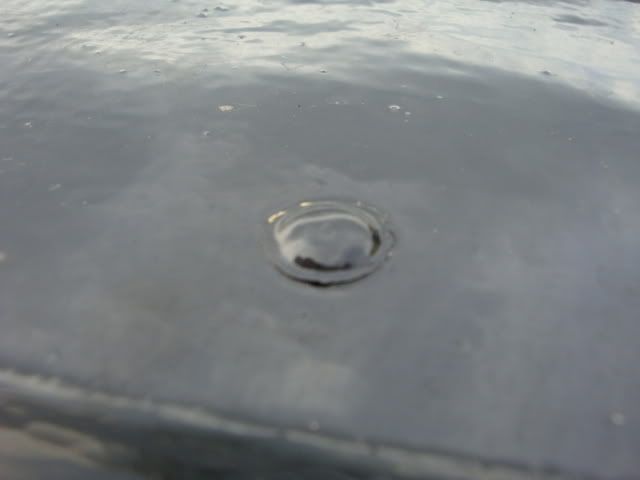
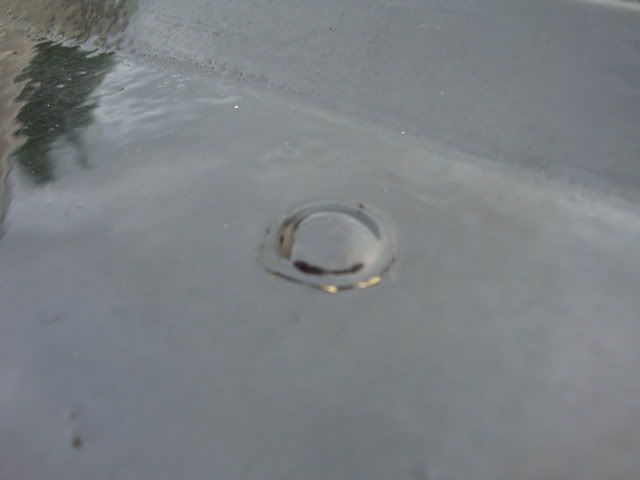
It appears as though the Steelflex cracked around the head of the rivets. I'm not exactly sure how to handle the situation now. I'm thinking just putting a layer or two more of Steelflex over the rivets after rebunking them for the second time. I'm going to give Jerry a call this week and ask him about it.
The weather was high 70s last weekend when this was applied, so I doubt the weather had anything to do with the failure.
I just thought I would share with everyone the problems I've run into with it.
If you remember, this is how each rivet was covered last week when the Steelflex was put on.
As you can see, the rivets appear to be pretty well covered with the epoxy. It pretty much formed a capsule around the rivet head.
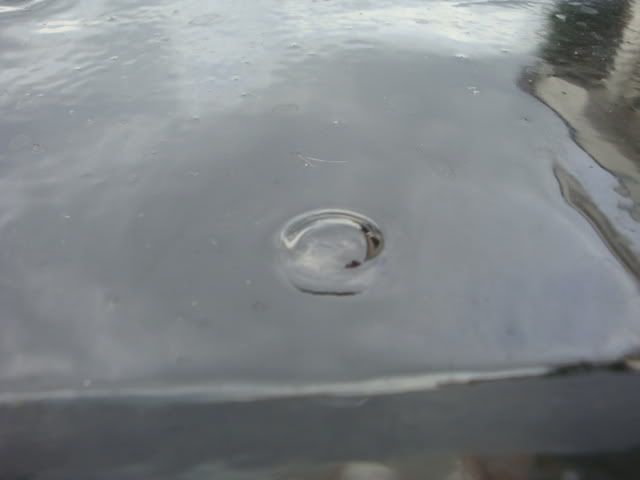
Today I took the boat out and found that about three rivets have a leak still. Once I got back home, we flipped the boat over and found this:
It appears as though the Steelflex cracked around the head of the rivets. I'm not exactly sure how to handle the situation now. I'm thinking just putting a layer or two more of Steelflex over the rivets after rebunking them for the second time. I'm going to give Jerry a call this week and ask him about it.
The weather was high 70s last weekend when this was applied, so I doubt the weather had anything to do with the failure.
I just thought I would share with everyone the problems I've run into with it.