79 Bass Tracker Rebuild - Done!

TinBoats.net

Help Support TinBoats.net:

This site may earn a commission from merchant affiliate links, including eBay, Amazon, and others.
Here is where I am headed with the Tracker - I was able to paint this Grumman with the tips I picked up on this forum. Rust Oleum Rattle Can Aluminum Primer and then some camo and stencil work.
IMG_1659.jpg
 
Here is a pic of the flooring as it came out. Note the driver console with live well. This is the one that has an aerator installed - plumbled to a pump at the transom. The botttom of the live well sits below the flooring and is riveted through the hull and drains straight out the starboard side.
IMG_1673.jpg
 
Here is a pic of the port side floatation pod - you can see into it through the hole. That is really the only view I have of the foam other than what you can see in the area by the transom.
PortFloatPodtopview.jpg

If you think I should take this stuff out - should I just cut an access hole, dig it out and cap the panel and fill with two part expanding foam?
 
huntingbronco said:
If you think I should take this stuff out - should I just cut an access hole, dig it out and cap the panel and fill with two part expanding foam?

I'd cut it out and place a hatch lid on there and have a nice storage area. Judging by the pics, I'm not able to tell the size of your inboard pods, but if there is any chance there's enough room in there, I'd lean toward storage, or even a battery location.
 
Nice find! =D>
A few questions. What did you give for it? How did you find it? Does the motor run or turn over? And finally what kind of numbskull leaves a nice boat like that uncovered so that 2' tall seedling trees are growing up out of it? ](*,) Sorry but I'd love to have/find a boat like that & can't understand for the life of me why someone can't spend a measly 15 minutes & $20.00 at a Harbor Freight & buy a cheap tarp to cover their boat. :?:
Neglect makes me :sick:
 
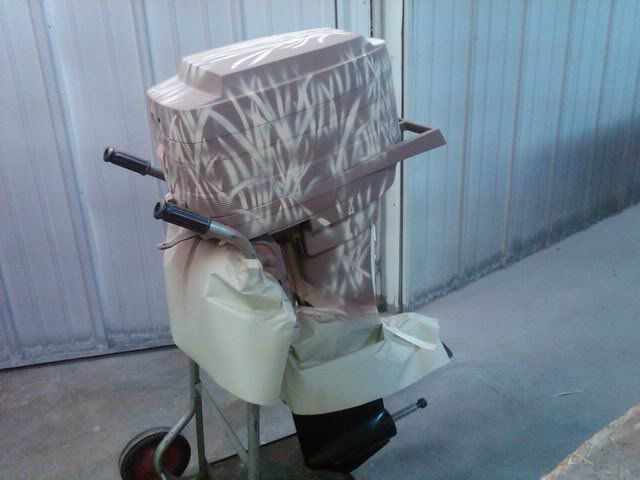
As to how I came into it, well, just fortunate, I guess. Right place, right time. Anyhow, the motor turns over, but when the plugs are in, even with a good battery, she rolls over pretty slowly. No plugs, she spins real nice.

Wiring is a bit of a mess - even inside the engine. The front cover was off the motor for who knows how long - thus corrosion set in on the wiring. Still trying to decide whether to pour money into the motor or move on. Minimum needs for me - skeg, wiring harness of somekind, starter...and I would really like power tilt and trim. I've seen guys find much new motors than I'll spend on just those parts...and I would still have a very old motor.

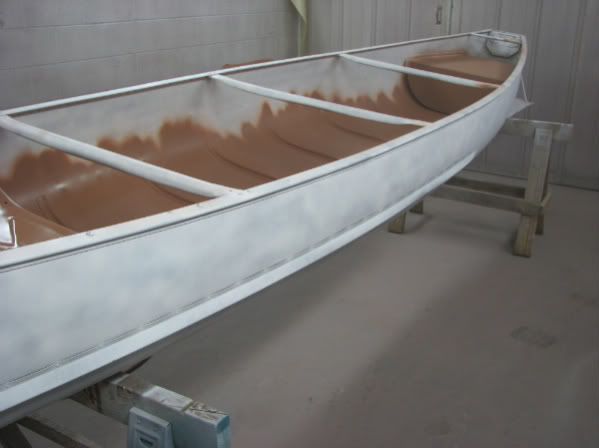
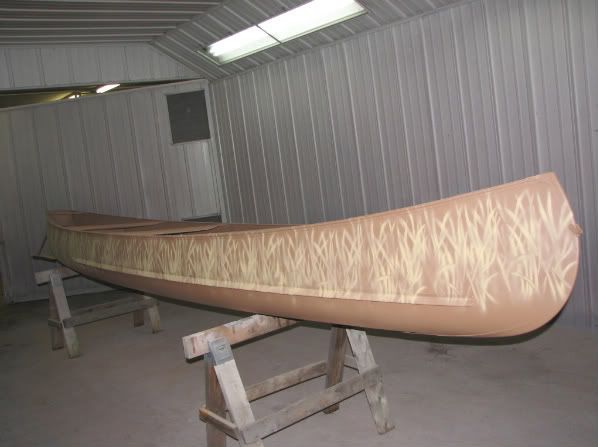
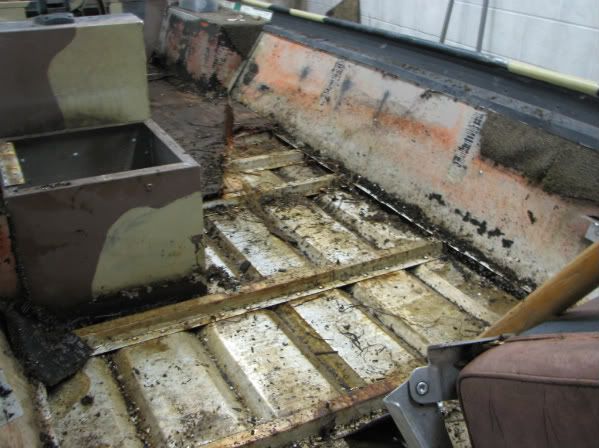
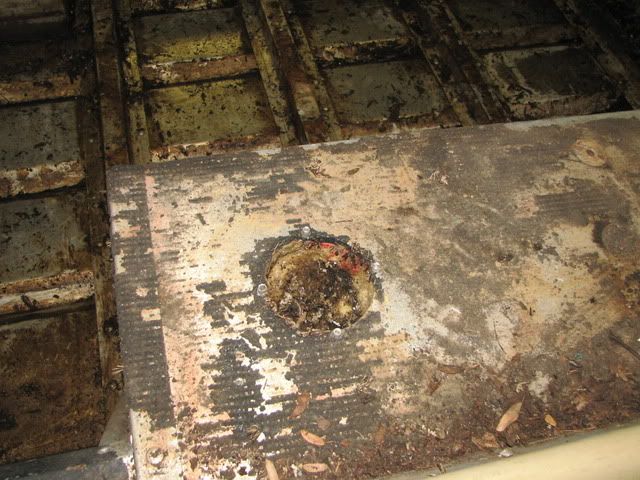
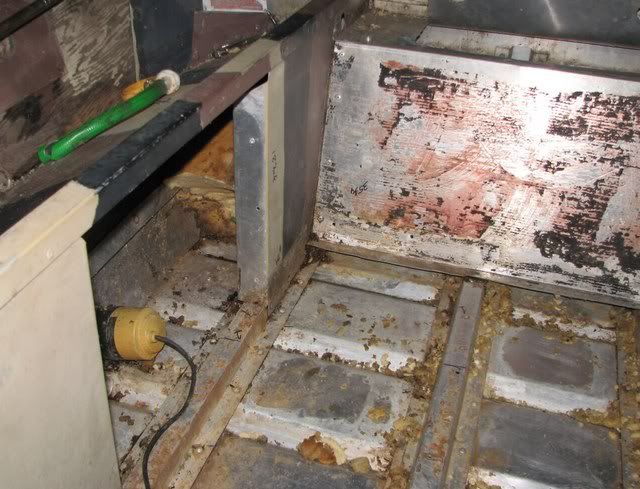
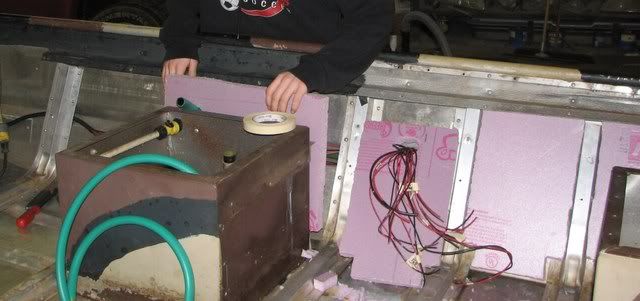
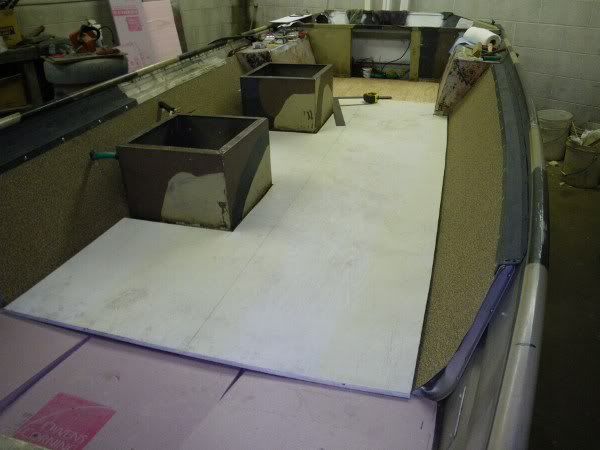
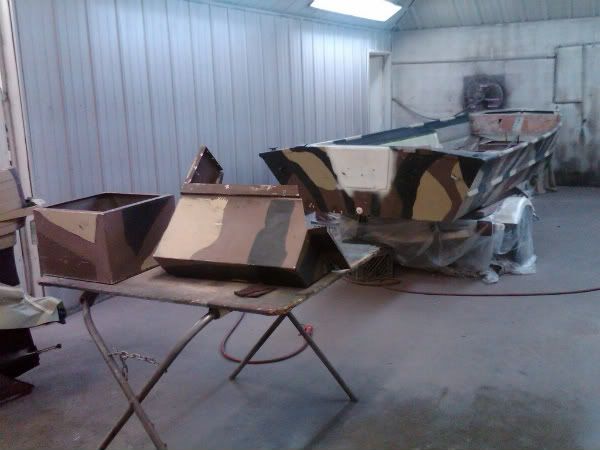
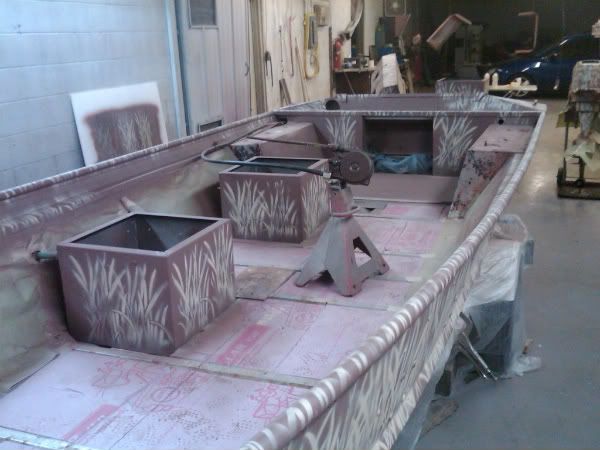
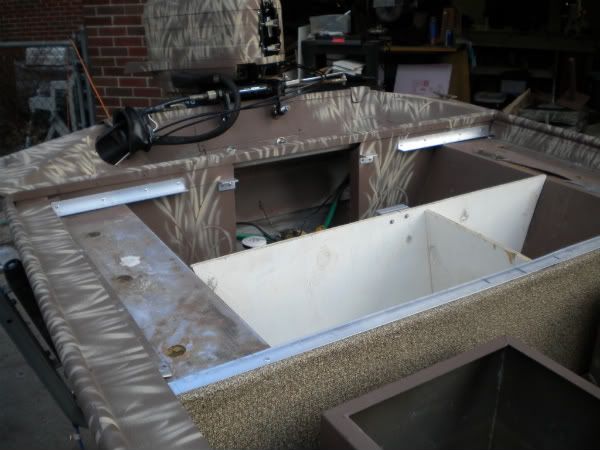
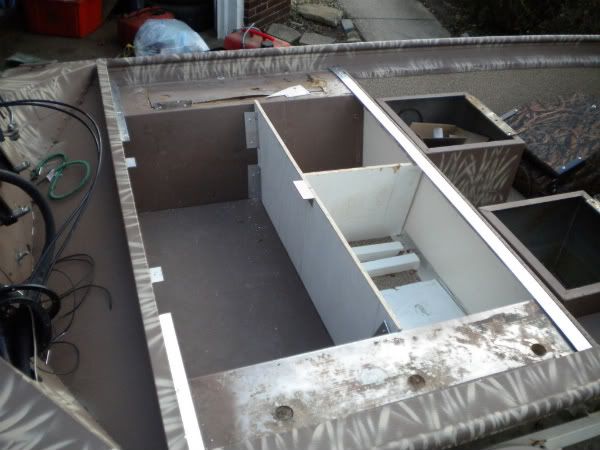
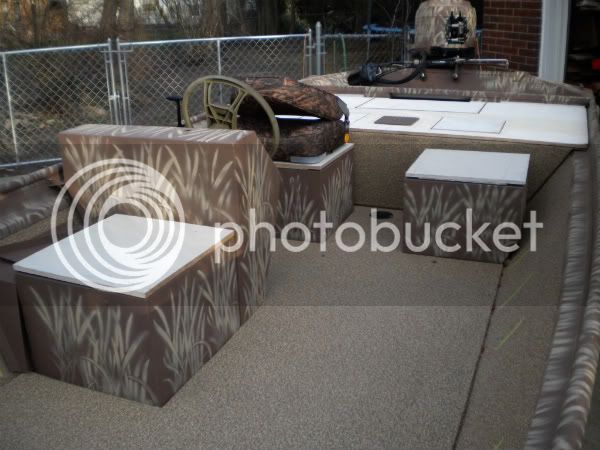
As to cutting open those pods and using them for storage - I guess I did not think about that...don't know how much flotation one should have in a boat - but I would not want to have too little. I was going to put it back the way they had it. They had foam in the bow, under the floor and in these two side pods, plus some behind the transom. I assume all for float - not there for structural reasons.

Thanks for the replys - appreciate your interest, ideas and help.
 
huntingbronco said:
don't know how much flotation one should have in a boat - but I would not want to have too little.

I usually think along the lines of "no net loss". Most add foam under the floors, as I've done, which is usually more than what is taken out of the seats or other places.
 
Well, we turned the corner this weekend. End of deconstruction, beginning to reconstruct. The last thing I did was to fix what must have been a design flaw. They plugged the outboard ribs with foam - so they could never drain. I dug it out and opened up the ribs so that water can make it to the bilge now.
podcutopenandribsopenedup.jpg


Pulled wiring and got the foam in...
foamgoingin.jpg


Got the side panels back in after foam, wire and plumbing.
Sidesarein.jpg


We got two pieces of wood cut. Front deck and battery gas compartment floor. Going to order vinyl now.

Stay tuned. Work will slow for a bit now, as the ice is out and the perch are biting. Next weekend will be about fishing.
 
Question: The bilge hose exits through the side of the boat. The part sticking through the side of the boat was broken off. It used a nut that was tightened from the inside of the hull. It is very hard to get your hand all the way up to this now in order to tighten the nut on the new part. Do they make a bilge hose exit that can be secured from the outside, rather than the inside?
 
We were distracted last weekend - as we on the water for some 2011 perch.
perch600x450.jpg


This weekend was a little too cold, so back to the boat project. I fabricated a solution for a blind bilge hose exit, problem solved. We also put some expanding foam in the side pods. Stuff is pretty cool. Got it from US Composites...appears to be the best deal I've seen. https://www.uscomposites.com/foam.html

Got our Nautolex Vinyl from Gary's Upholstery... https://www.garysupholstery.com/ntomarfloor.html
Also picked up Nautolex 88 Adhesive. We glued up the side panels with the glue straight from the can and directly applied the vinyl. There must be a trick about waiting for it to tack up - as we let it set overnight and it still wasn't dry the next day. Fortunately, the vinyl is held down mechanically at the top and bottom. Hopefully the glue will eventually dry and get a bite. Are you supposed to thin this stuff before applying it? Maybe let it become nearly dry before applying the vinyl? Any advise would be appreciated...

Here are couple of shots showing our progress this weekend.
floorin2600x450.jpg


floorin1600x450.jpg
 
Going in for paint...
IMG00136-20110409-1501.jpg


Motor painted to match
IMG00142-20110409-2236.jpg


Shot of interior after stenciling
IMG00147-20110409-2238.jpg


Boat painted and on the road back to my house for the rest of the interior
IMG00149-20110410-1508.jpg


We actually got some of the interior in - floor and one bulkhead...I'll get some photos of that up later this week. Now I can work on it at home in the evenings, so we should see some progress.
 
Got a chance to work on the interior today. Here are some shots of how I am laying out the rear casting deck. At the end of the day, everything came back out and down to the basement for paint and vinyl.

Here is the bulkhead just behind the seats, which forms the forward support wall for the casting deck.
DSCN0198.jpg


I plan to put foam in a section under the pedestal seat base and then separate storage on either side. You can see one of the dividers here. You can also see the angle aluminum I used to support the rear edge of the deck and the battery/gas hatch.
DSCN0197.jpg
 
Rear deck with the hatch lids set in place. Its ready for paint and vinyl.

DSCN0192.jpg


Shot from the front. You can see I managed to get all of the lids for my seat bases cut. The forward livewell is not getting an actual seat, just the board and a coat of paint. Thinking about vinyl.
DSCN0194.jpg


After the rear deck is done, I'll tackle the front deck and then the rod locker.

Thanks for your comments.
 

Latest posts

Top