Another Noob checking in.

TinBoats.net

Help Support TinBoats.net:

This site may earn a commission from merchant affiliate links, including eBay, Amazon, and others.

ohm

Well-known member
Joined
Jun 3, 2009
Messages
80
Reaction score
0
Location
Keizer Oregon
I found this forum from your guys videos on Youtube, you guys do some good work. Just thought I would do a quick post introducing myself and my project.
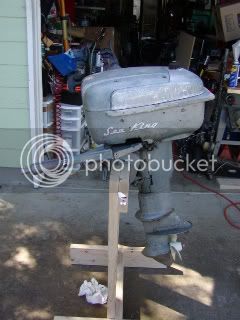
I live in Keizer Oregon and am working on my first boat a 1970 12' V-bottom Sea King that I picked up off of Craigslist for $100. It hadn't been retitled by the previous two owners so I had to do some jumping through hoops to get it all squared away. Also one of the previous owners had run it into something and the side got dented and torn open so I am in the process of fixing their crappy repair job, there was silicone involved :shock: . I am also working on turning the front seat into a storage cabinet for the anchor, 15 lb navy anchor, and anchor line as well as replacing the old seat planks with new plywood. I going to install a plywood floor in between the rear seat and transom for the gas tank to sit on and I well be extending the wood transom plate down further to help reinforce it for the 1955 12hp Sea King outboard that I also picked up from Craigslist for $35 and got going again. I am also contemplating using roll on truck bed liner to coat the inside for traction and easy cleaning as well as help reduce glare but I might also just install carpet, I haven't quite made up my mind yet on that.
 
:WELCOME:

Thanks for joining! :beer:

Seems like you have a handle on what you are going to be doing. The truck bed liner will get hot in the sun, and the carpet is quieter. The truck bed liner is easier to hose off, but In my opinion the carpet looks nicer and can be removed and replaced. Good luck with whatever you chose.

Post up some pictures of your progress if you can.
 
I agree with Jim - that bed liner will get HOT! My boat has an aluminum floor for the deck in the front that is just painted a light green... and that thing bout burned me up this weekend. I'm going to put carpet down on top of it as well.

If you use marine carpet (rubber backed) you can still hose it off an be fine. Just be sure to paint or seal your plywood before carpeting and you'll be just fine. I would suggest using 15/32" exterior grade plywood (non treated). it's actually very lightweight and will keep your weight issues to a minimum
 
Yeah I am using Exterior grade AC fir from Lowes and I have about 1 1/2 gallons of marine epoxy because I was going to originally make a 12' flat bottom skiff but found this one instead. I went to Lowes and had a look at their carpet and I might go with that. One question though, do I have to install a plywood floor to over the ribs or can I just cut strips to go between the ribs and glue it strait to the bottom of the boat?
 
Here are some photos:
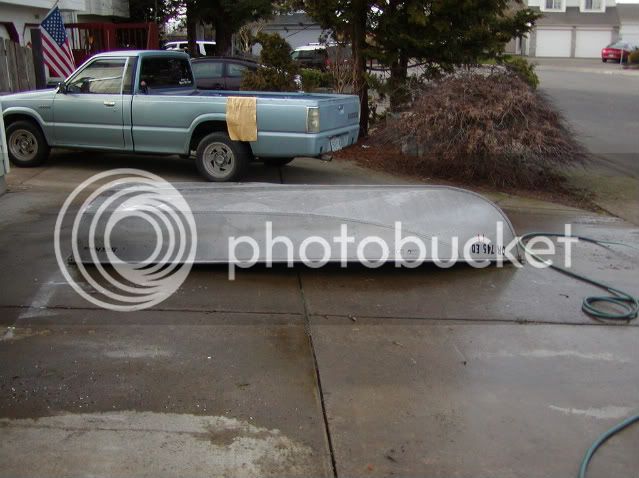
When I first brought it home.
SeaKing2-1.jpg

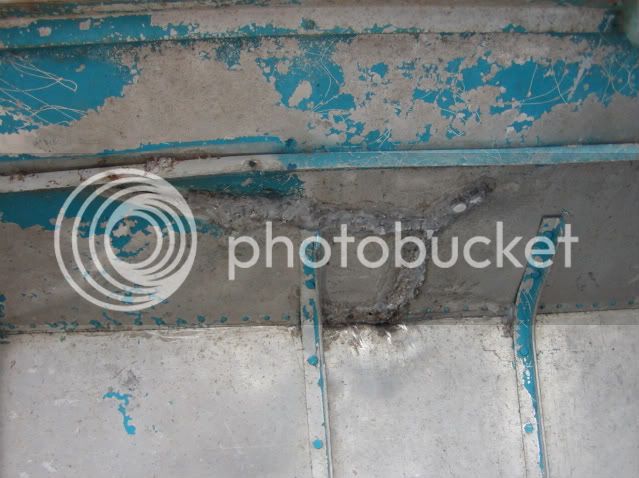
The gash in the side.
Gash.jpg

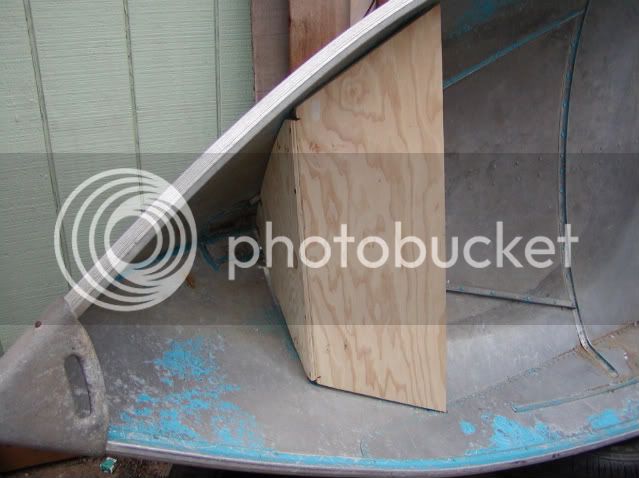
The start of the front seat being boxed in.
FrontSeat.jpg

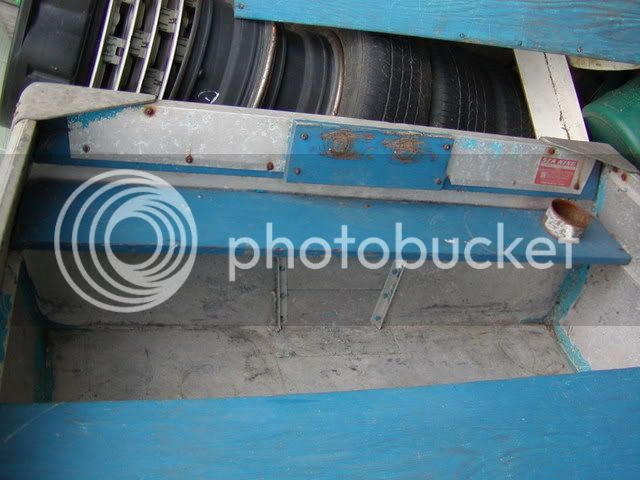
And the transom area, I basically want to go and extend the wood reinforcment that is wrapped in aluminum at the top down to the piece of angle iron that the back of the little shelf it screwed to and make the doubler larger.
Transom.jpg

Here is why I want to beef up the transom :D
SeaKing12Left-1.jpg
 
You can go directly between the ribs if you want to. Will the ribs be higher than the wood on the floor? If so and you planned on carpeting just the entire floor, you're going to be tripping all over the place on those ribs... If you build it up flush with the ribs you won't have any problems.
 
Yeah I was thinking I would probably be tripping over the ribs but I don't really want to have a tall deck, what I think I well do is cut three pieces of ply to fit in between the three seats and carpet that and the two rear seats. This should work as the bottom between the seat is mostly flat and just starts to curve under the front seat. I well just put short stringers under the ply to help support it in the middle. I am thinking I well use the quart of hunter green rustoleum that I have to paint the insides of the sides, the inside of the bow and transom.
 
Hey, I'm back, school is out but my truck decided it was going to take a $500 chunk out of my credit card :evil: Anyway I got it going again so I can start working on the boat again. I have decided to also add decking between the rear seat and transom with a hatch to store the gas tank and tool box ect. To do this I well have to raise it up an 1 1/4" to clear the tank and I figure I well also add some gussets between the transom plate and the decking to stiffen it up a bit as I am adding some extra power with the 12hp outboard. The decking well be covered in carpet as well, should be nice.

A question on paint, I have the hunter green rustoleum paint and was reading that there is a version of kilz primer that works well on paint and I am thinking I well just get some narrow foam rollers to roll on the primer and paint onto the inside of the sides and in the bow in front of the front seat where it is not going to be carpeted. Does this sound like a good plan?

Anyway, thanks as usual guys for all the great inspiration and information.
 
If the boat is riveted I would suggest laying the floor on top of the ribs as you want the weight applied to the ribs rather then the bottom as to not put pressure on the rivets, and in case you take on water your wood won't get soaked.
 
Yeah, I was planning on having blocks of wood as spacers to go in between the ribs to support the floor and just have it sitting in the bottom so they can easily be removed for cleaning. I am thinking 3/8" ply should work alright for the floor boards, trying to not put a ton of weight in it and I have 1 1/2" gallons of marine epoxy to coat all the wood before attaching the carpet, I was originally going to build a plywood skiff.
 
I went and pulled the rear seat out as well as the transom plates and carry handle/rear gussets. I pressure washed the inside afterwords and started burning out the rest of the silicone on the area where they "repaired" it before. I also picked up a quart of XO-Rust aluminum and galvanized metal primer as well as a 4" foam roller and refills so once I get the damaged area cleaned up I can repaint the inside.

I think tomorrow I well try to get the rest of the silicone removed and start working on cutting out new transom plates and the rear decking.
 
Here are some current photos:
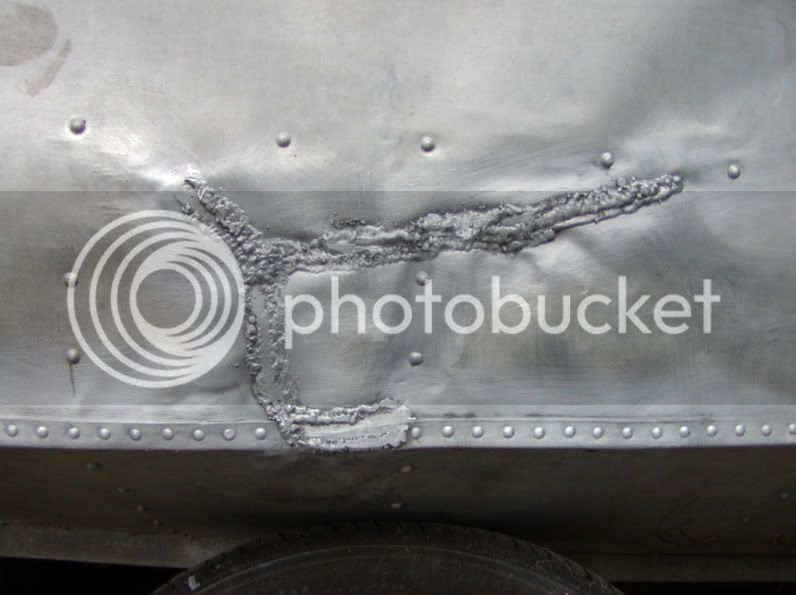
The welded area with all the silicon removed
WeldCleaned.jpg

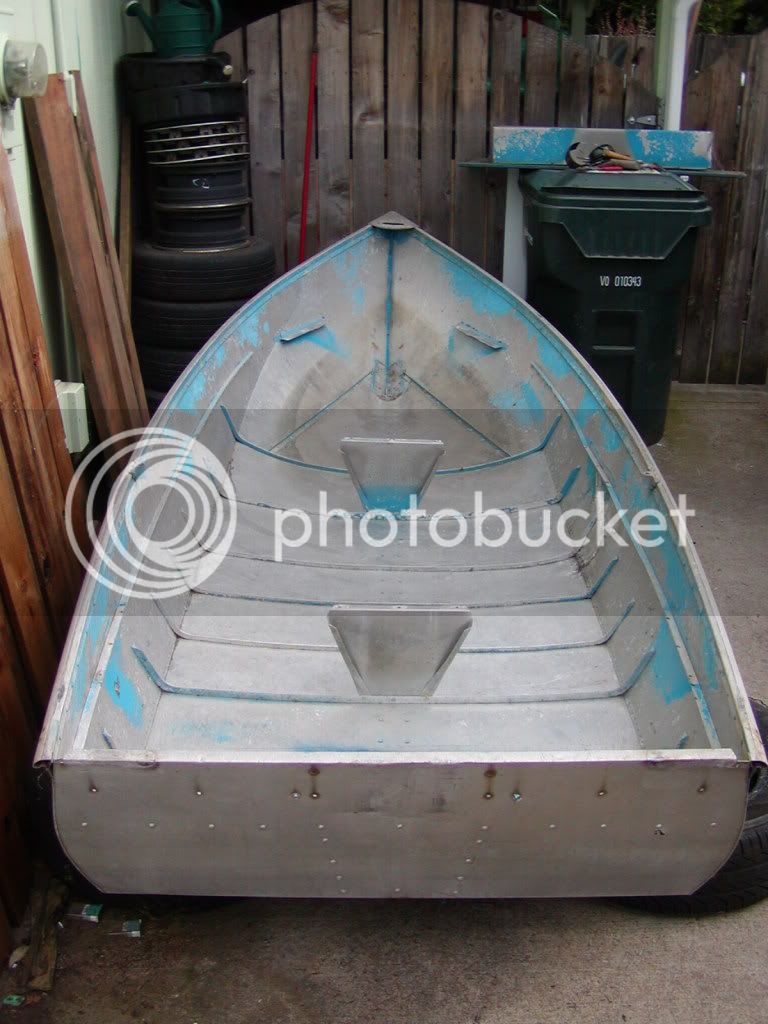
Rear view with everything removed
SeatsRemoved.jpg

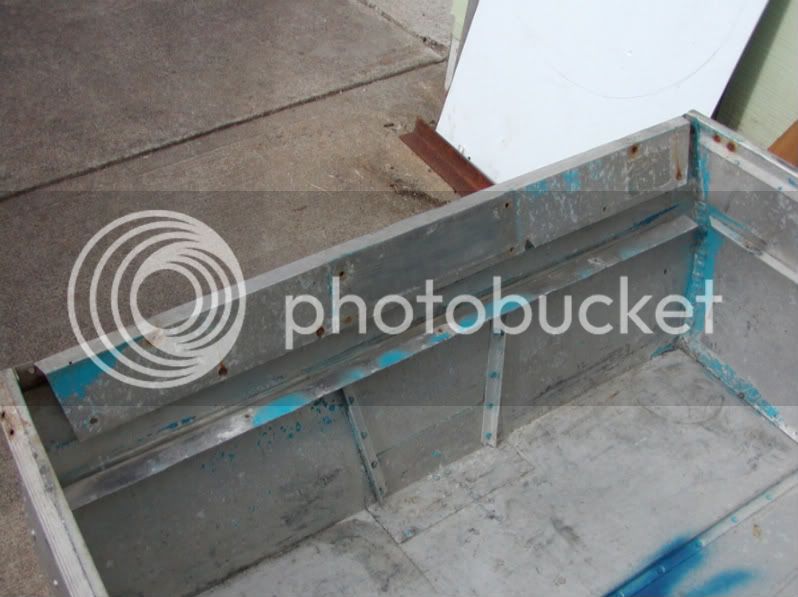
Transom with the transom plate removed, I am thinking I make the new on so that the plate goes all the way to the bit of angle stock and have the decking but up to it with a couple gussets on either side of the motor plate.
TransomFront.jpg

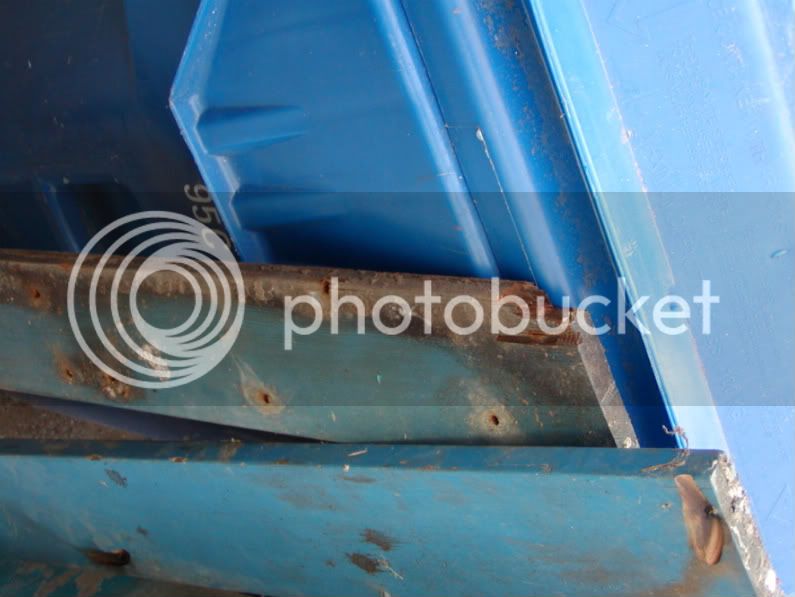
Here is the old transom plate, it was starting to turn into compost.
TransomPlateOld.jpg

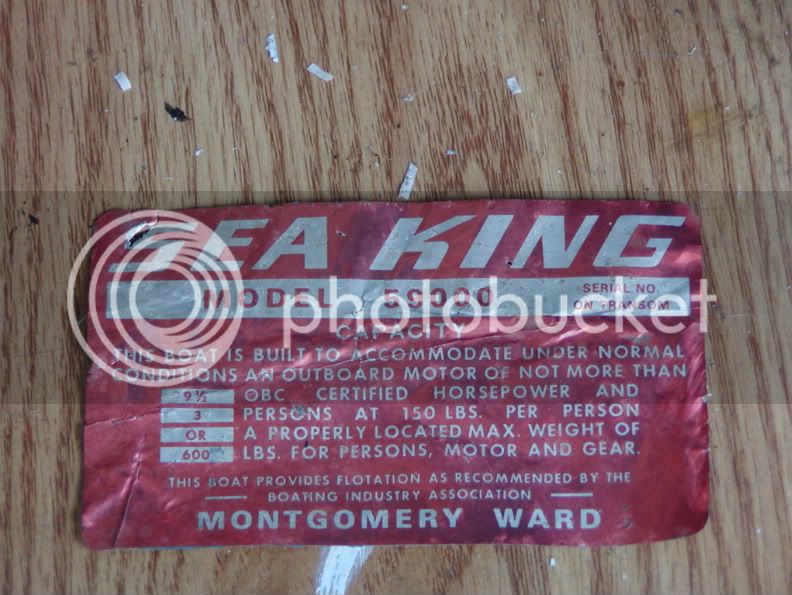
And finally the info tag which came off instantly when I hit it with the pressure washer =D> #-o I think I well epoxy it back one :D
Tag.jpg
 
I decided that the propane torch was not giving me enough heat to efficiently remove the silicone, so I went out and picked up a new Map gas torch :twisted: Now were cooking with gas. Hold it on the silicone until it turns to crispys or catches fire and brush it off, well worth the $50 for the kit and the torch works with propane too. I got the rest of the silicone off in no time flat and am now working with a die grinder and carbide bur mill to clean up the nasty weld job, its going to take a while but I want to get that all fixed up before doing anything else.
 
I got most of the old gnarly weld ground down on the outside and the well actually looks fairly descent on the outside. What I was thinking I could do is grind it down some more inside, pound out the dent a bit and then use some alumiweld rods to help smooth things out and seal along the lower edge where the bottom is riveted to the side. I well need to see if my neighbor that is building a Van RV-6 well let me borrow some riveting tools to fix the rivets first.
 
I have been grinding some more on the outside, looks a lot better and I think I well start using sanding disks to smooth it out and just clean up the dents some more. There is a bit more damage to the lower seam area but I think I can close that up with the alumiweld rod, not sure the rest of it is worth bothering with welding, just get it sea worthy and halfway presentable and start working on the inside.
 

Latest posts

Top