TinBoats.net
The original aluminum boat site!
You are using an out of date browser. It may not display this or other websites correctly.
You should upgrade or use an alternative browser.
You should upgrade or use an alternative browser.
1950 Model R Alumacraft 12" v hull resto + deck
- Thread starter Busbey
- Start date


Help Support TinBoats.net:
This site may earn a commission from merchant affiliate
links, including eBay, Amazon, and others.
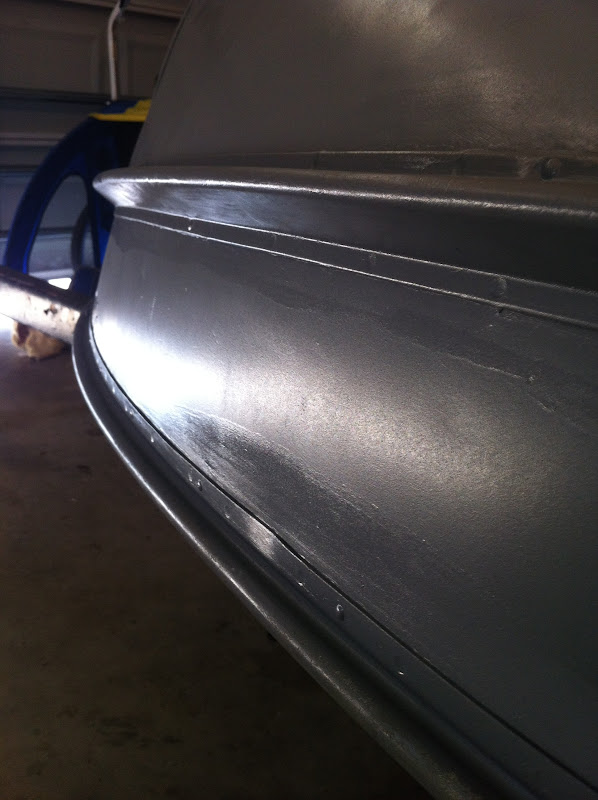
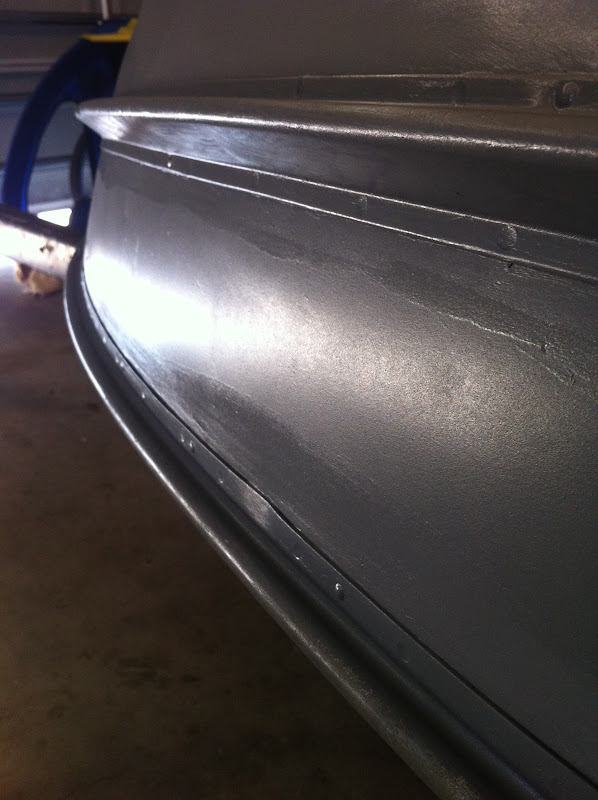
small update. got the 2nd coat on tonight. it has been raining a lot around here and done want to mess with that and painting.
so here are a couple pics. as you can see, there are some lines where i used the brush and where i used the smooth foam roller. from the gunnels to bottom of boat is grey 2 coats and up is 1 coat using as primer. tomorrow i will go over with blue.
i am debating on a few things i need some help with. should i wet sand after my 2 coats of blue and 2 of grey are done and then clear coat? should i just clear coat and no wet sand? if i wet sand, what grit?
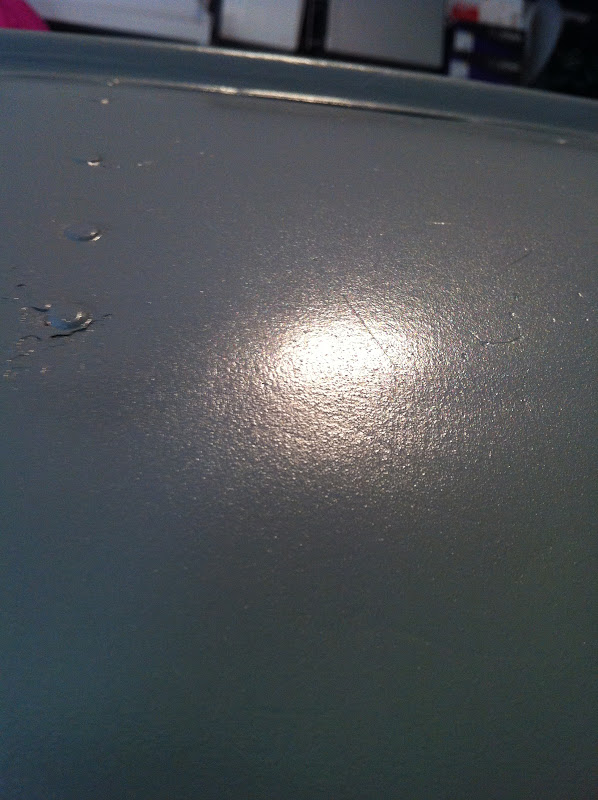
noticed this morning that the 2nd coat i put on lastnight smoothed out pretty well everywhere but the front and you can see the 4" roller marks near the V. Hoping you guys have some answers for me cause all this effort and roller lines would make me a little upset.
guys, i really appreciate your help, obviously this is all new to me.
guys, i really appreciate your help, obviously this is all new to me.
Jonboat Jerry
Well-known member
Sounds like you got a little to much paint on the roller. Wait until the paint is hard and wet sand with 400/800/1000 (3M paper)Busbey said:noticed this morning that the 2nd coat i put on lastnight smoothed out pretty well everywhere but the front and you can see the 4" roller marks near the V. Hoping you guys have some answers for me cause all this effort and roller lines would make me a little upset. guys, i really appreciate your help, obviously this is all new to me.
to get rid of those lines. You can do this on those brush marks too. When the marks are gone, try some rubbing compound
on the areas and you should see a nice shine. If you go through to the primer, just repaint. When that is dry and smooth to your
satisfaction, you can clear coat if you want. Your project is looking pretty good, and you are getting some great experience. Hope this helps....Jerry
")
Jonboat Jerry
Well-known member
Nope, you haven't hurt anything. Just follow the steps I listed earlier and when you are satisfied call it "DONE"
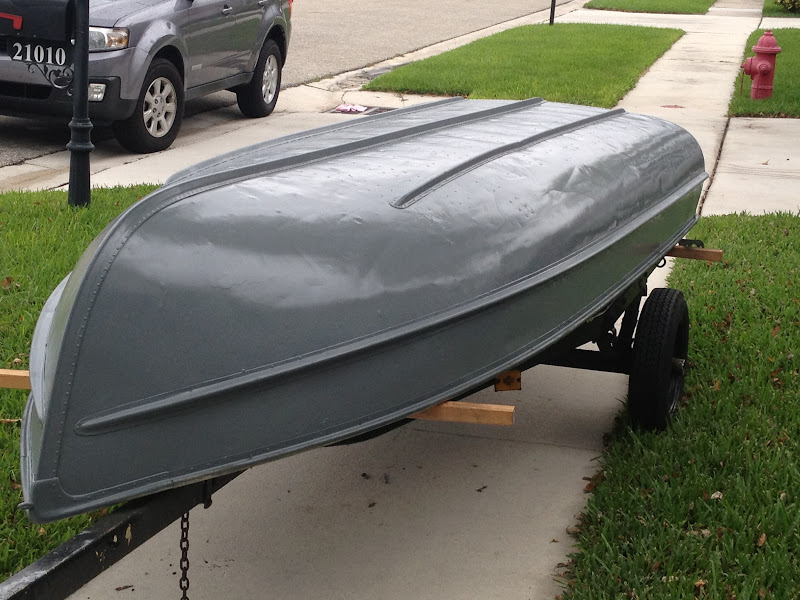
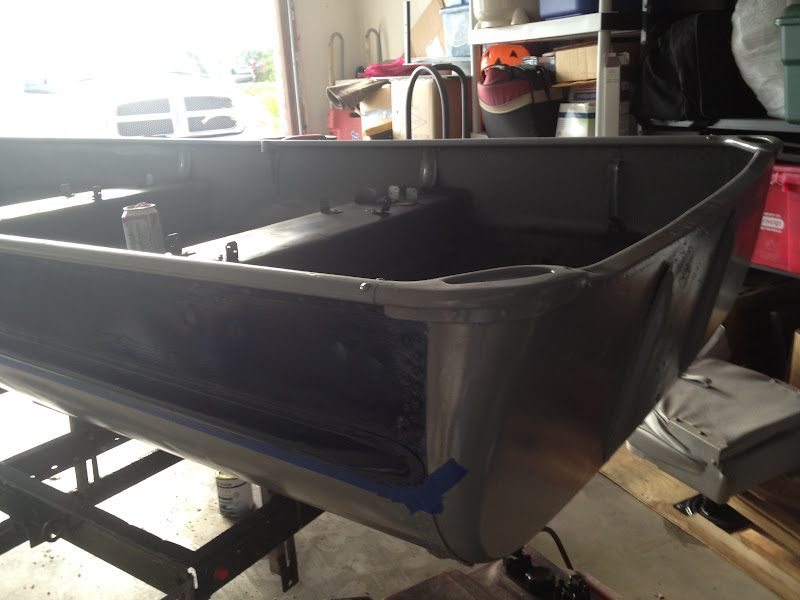
ended up adding another coat of battleship grey, no clear. turning out pretty nice. not too concerned with the lines i saw before after this coat. i think 3 is the magic number and hides a lot. good enough for me. .
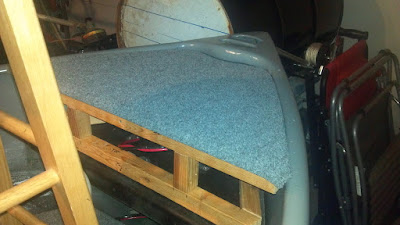
got it flipped over yesterday, this is outside in the cloudy sun. looks kinda nice. hopefully i can get etching primer on inside and starting paint tomorrow.
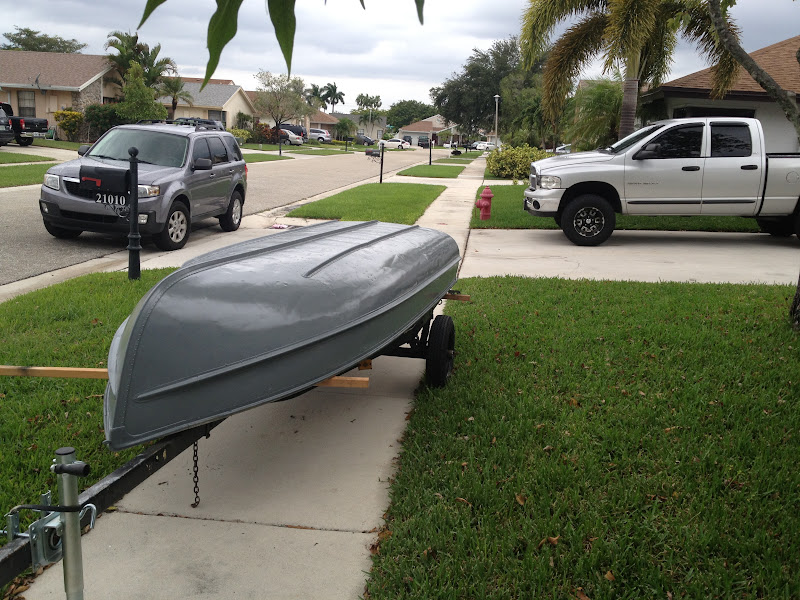
got it flipped over yesterday, this is outside in the cloudy sun. looks kinda nice. hopefully i can get etching primer on inside and starting paint tomorrow.
Jonboat Jerry
Well-known member
It's coming along pretty good Busbey. That hull has a lot of character.
Thanks. We are having a tropical depression down here right now and i fear painting with the weather. even though it is in the garage, and a fan to use if needed, should i wait it out? might be a few days like this but i am so anxious to get this painting done so i can start the deck.
so, could i paint in the garage while raining? will it effect anything?
so, could i paint in the garage while raining? will it effect anything?
Jonboat Jerry
Well-known member
I hope that T.D. is not going to make it this far north. (20 miles north of Tarpon Springs)Busbey said:Thanks. We are having a tropical depression down here right now and i fear painting with the weather. even though it is in the garage, and a fan to use if needed, should i wait it out? might be a few days like this but i am so anxious to get this painting done so i can start the deck.
so, could i paint in the garage while raining? will it effect anything?
Painting in rainy conditions is not recommended, the more humid it is, the longer it takes for the paint to dry.
Since we are in Florida, which is always humid, we have to put up with some humidity, but I would never paint on a rainy day.
Have another beer and use the down time to plan what to do next.
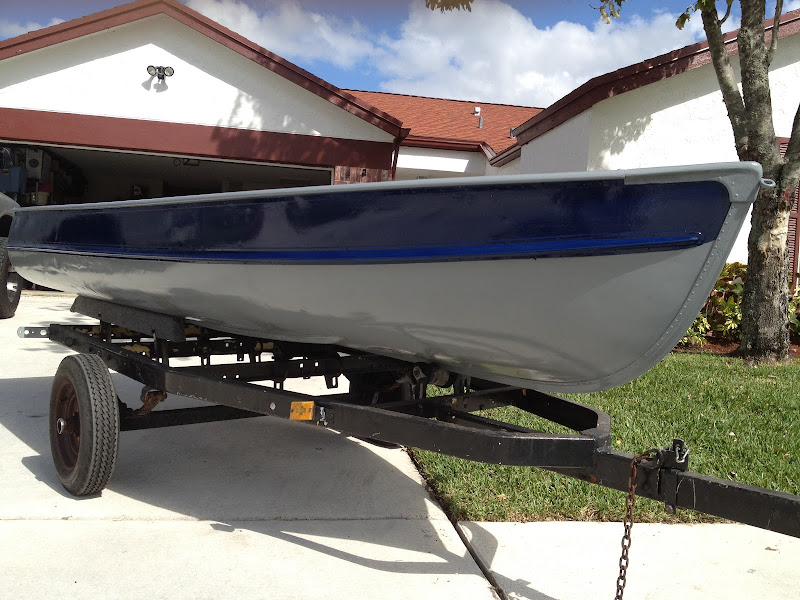
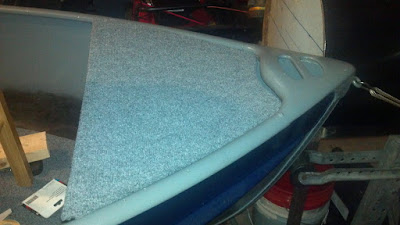
paint done.... starting deck tomorrow. pretty happy with the work so far.
ended up spray painting black where the deck is going. there were about 9 different colors and wanted something solid. black was buy 1 get one free at the local store so why not..
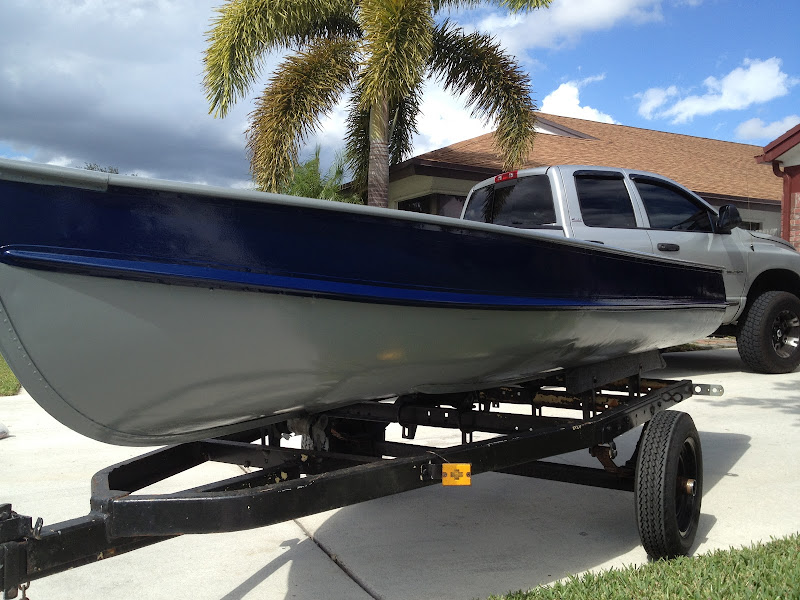
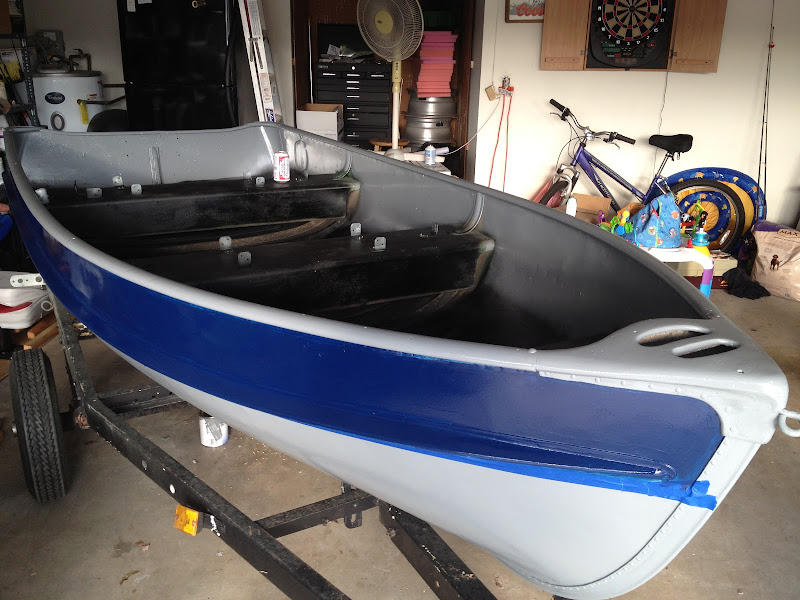
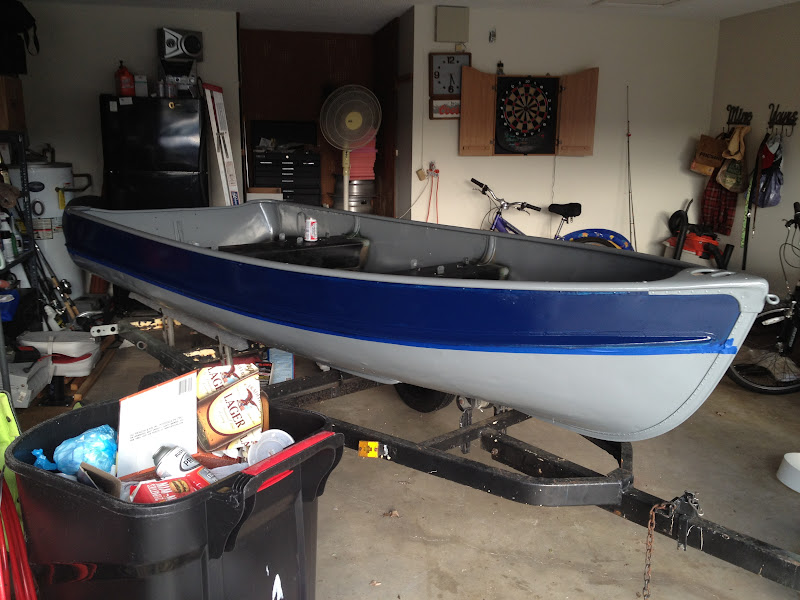
ended up spray painting black where the deck is going. there were about 9 different colors and wanted something solid. black was buy 1 get one free at the local store so why not..
fool4fish1226
Well-known member
Lookin real good
Jonboat Jerry
Well-known member
Looking Great Busbey! Be sure to add fenders to that trailer to keep the road grime from getting on that
nice paint job.
nice paint job.
sure thing. thanks! i need to make some guides as well for some side support. i am trying to get this finished within the next few weeks because i am moving to Lakeland (near tampa). so my friends and i lastnight pretty much planned the whole thing out and will be attacking it tonight after i get some things from the home depot.
Update guys. Been a little while.
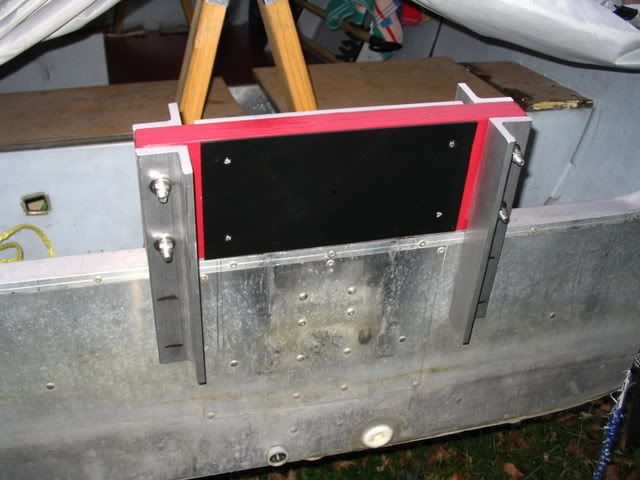
I need some help with a bow mount for my transom type trolling motor. would like a scissor mount but that isnt in the cards at this time. i need to find something that is sturdy enough, wont break off traveling and will handle a 52lb thrust motor..
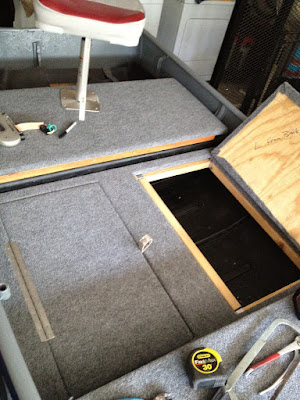
Here is the framing
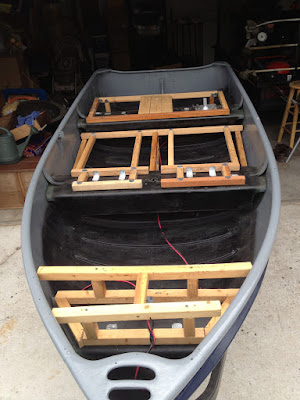
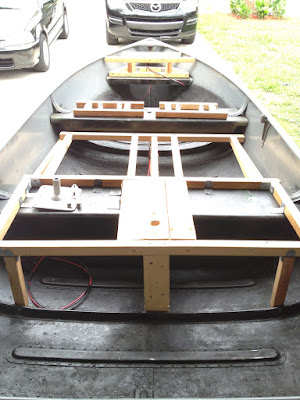
Just about done. need to secure center frame down once i figure out my dry storage. Using a couple 32qt plastic storage bins, possibly getting a 52qt to try on one side. not too sure yet. Ordered a trolling motor i need to figure the mount out.

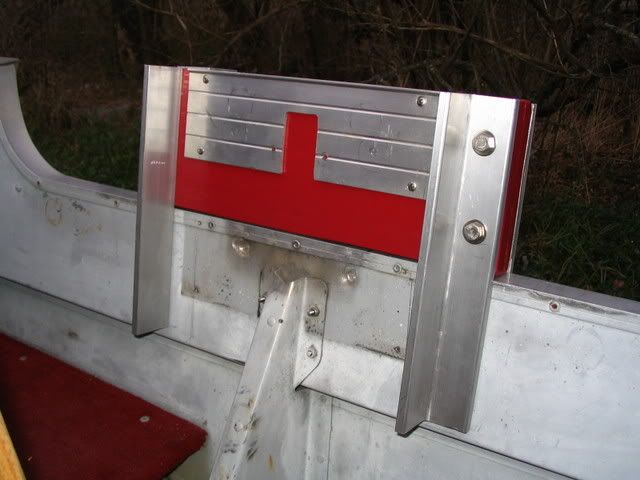
coming up will be something like this for my 15 Johnson long shaft. (credit to a member on another forum)
I need some help with a bow mount for my transom type trolling motor. would like a scissor mount but that isnt in the cards at this time. i need to find something that is sturdy enough, wont break off traveling and will handle a 52lb thrust motor..
Here is the framing
Just about done. need to secure center frame down once i figure out my dry storage. Using a couple 32qt plastic storage bins, possibly getting a 52qt to try on one side. not too sure yet. Ordered a trolling motor i need to figure the mount out.
coming up will be something like this for my 15 Johnson long shaft. (credit to a member on another forum)
fool4fish1226
Well-known member
Jack plate looks great - Should be nice and strong - the rest boat looks good too - great job
Gators5220
Well-known member
- Joined
- Dec 7, 2011
- Messages
- 768
- Reaction score
- 0
I had a little boat like this for my first boat, mine was a 60's sears boat thou...but same basic layout, and it flew with a 15hp on it, you should have a similar experience...love that jackplate you made up too, super clean...nice job... =D>
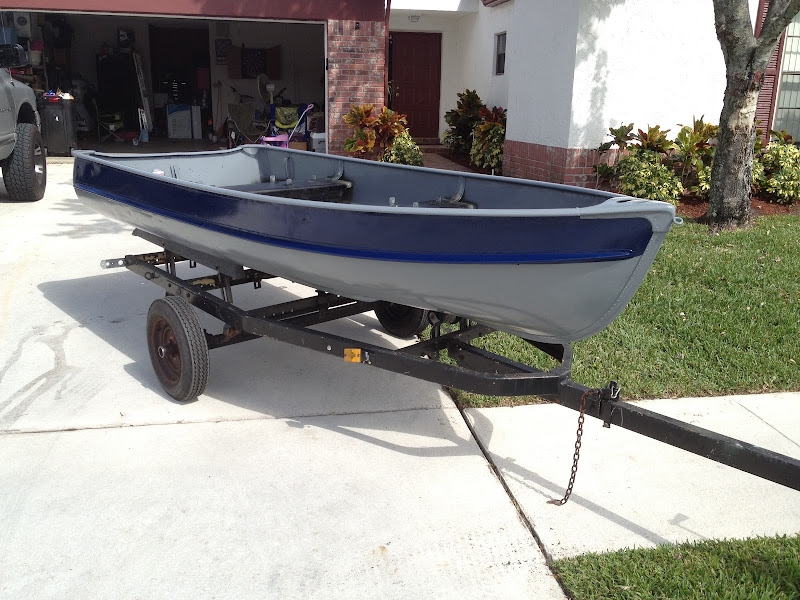
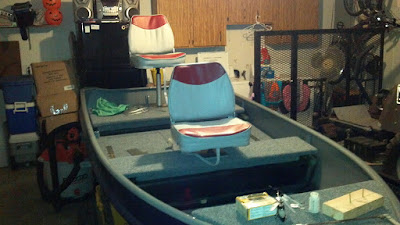
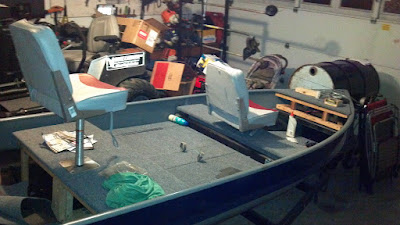
well boat has been done for a while. maybe close to a year and a half at this point and forgot to post photos. see below.
my question is, how would you guys change what is here. meaning, adding something, not redoing anything. i feel it isnt fully done. especially the rear where my 2 batteries go.
my question is, how would you guys change what is here. meaning, adding something, not redoing anything. i feel it isnt fully done. especially the rear where my 2 batteries go.
Attachments
-
 IMG_20121114_162956_670.jpg1,016 KB · Views: 1,672
 -
 IMG_20121114_163005_490.jpg790.8 KB · Views: 1,672
 -
 IMG_20121114_163010_942.jpg592.9 KB · Views: 1,672
 -
 IMG_20121114_163015_849.jpg881.7 KB · Views: 1,672
 -
 IMG_20121114_163023_647.jpg873.9 KB · Views: 1,672
 -
 IMG_20121114_163031_851.jpg478.9 KB · Views: 1,672
 -
 IMG_20121114_164340_373.jpg505.5 KB · Views: 1,672
Similar threads
- Replies
- 35
- Views
- 3K
- Replies
- 1
- Views
- 535
- Replies
- 28
- Views
- 1K