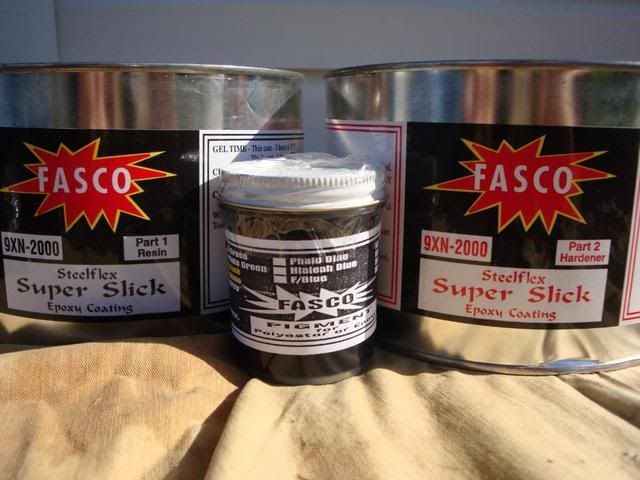
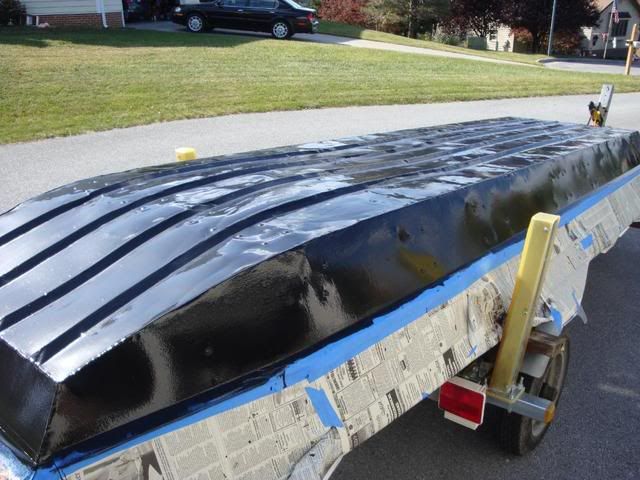
Today I was able to get the Steelflex put on the bottom of the boat. I ordered it on Monday and had it four days later, which I thought was pretty quick considering I had to send them a check first.
I would have liked to had a dark gray pigment, but this was one of the few colors they didn’t carry. I know others have asked what colors Fasco has available so I got the list of colors from Jerry at Fasco and they included: black, white, grey (light), fasco green, brown, yellow, fasco red, fasco blue, Hialeah blue, and beige. I opted for the black pigment and I am actually happy I did.
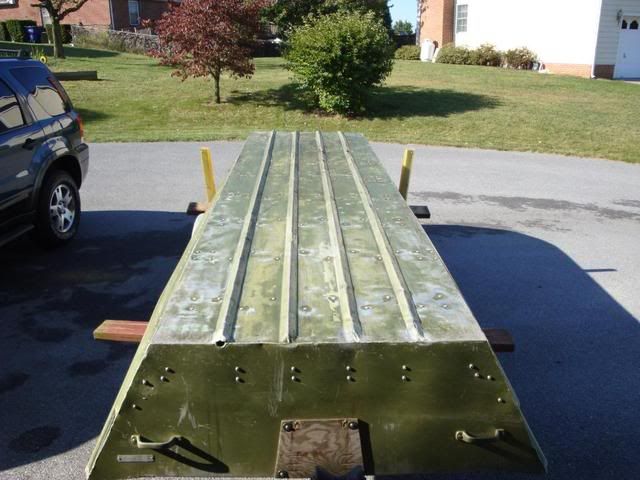
The weather was in the mid-70s today with a slight breeze. I began this morning by sanding down the bottom and sides of the boat. I then masked off the area that I had planned not to paint and I finally wiped the area down with acetone.
My father and I began by mixing small batches of the epoxy (about a half a quart at a time). The directions that come with the Steelflex are pretty thorough, so there was new confusion on what needed to be done. I ended up having a little more than half a gallon left over after doing two coats on the boat. I wish Fasco Unlimited had smaller portions for sale because now I have so much left over.
The only suggestions I have are:
1. Work in small batches.
2. Wear gloves and mask off any area you don’t want the epoxy on. With the wind blowing, the epoxy wanted to blow when we began pouring it onto the boat.
3. It is much more helpful to have someone working with you.
4. Have a clean and organized work space. Though you do not have to rush when rolling the Steelflex on, you do need to work at a steady pace. Having an organized work space helps considerably.
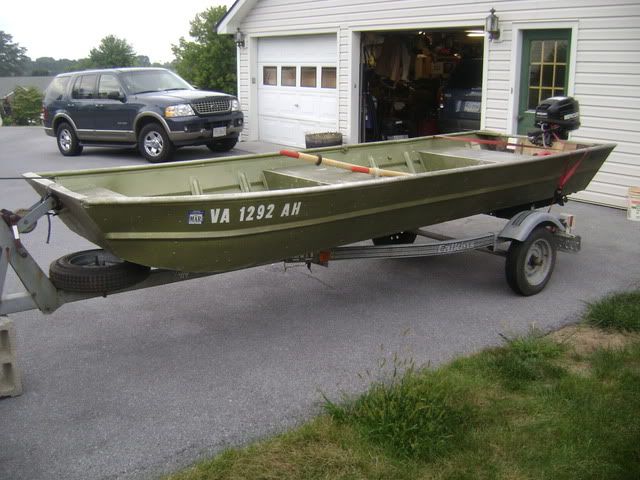
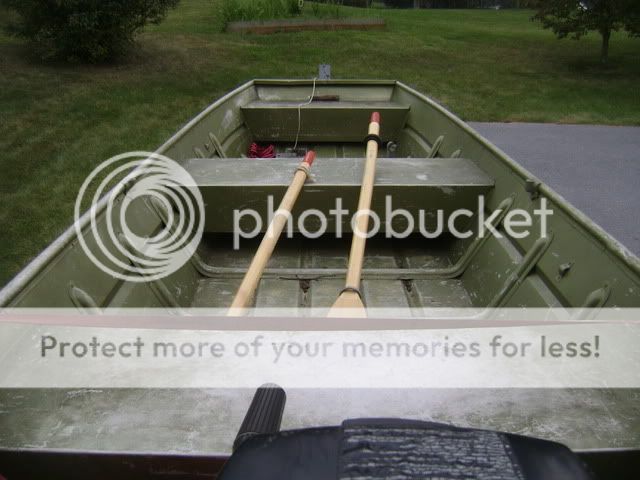
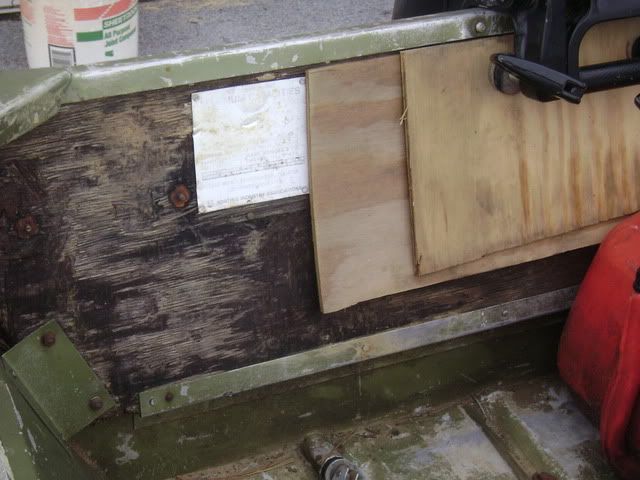
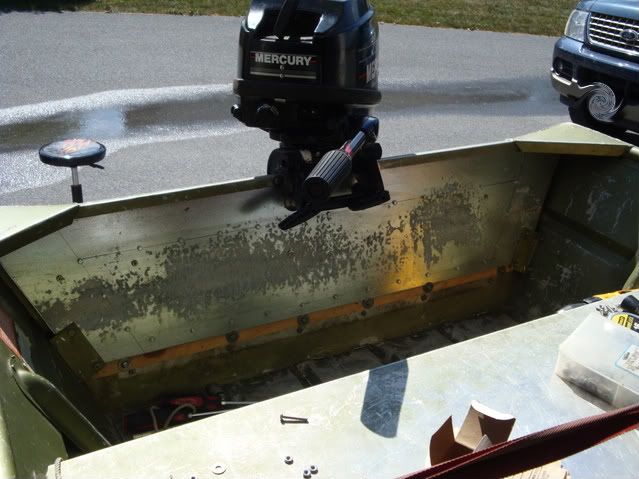
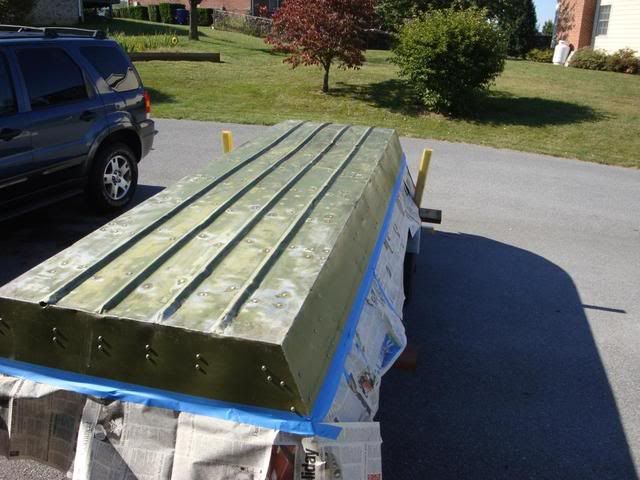
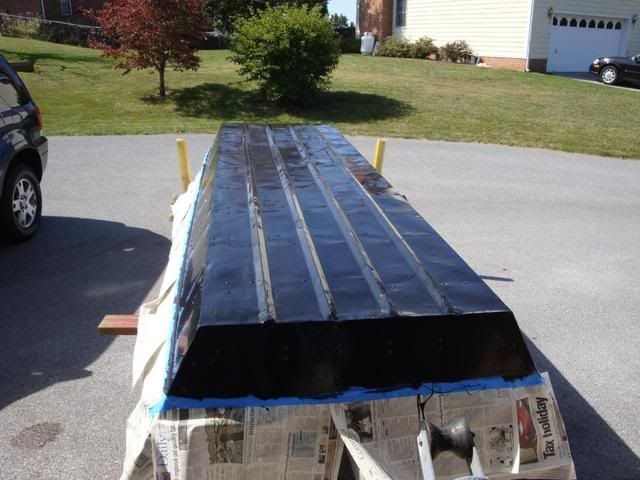
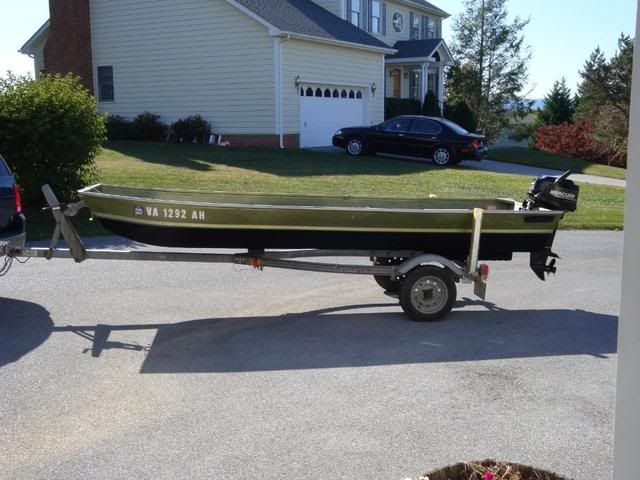
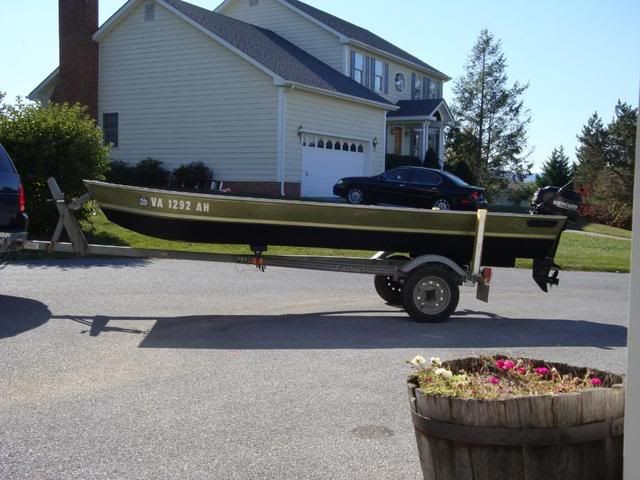
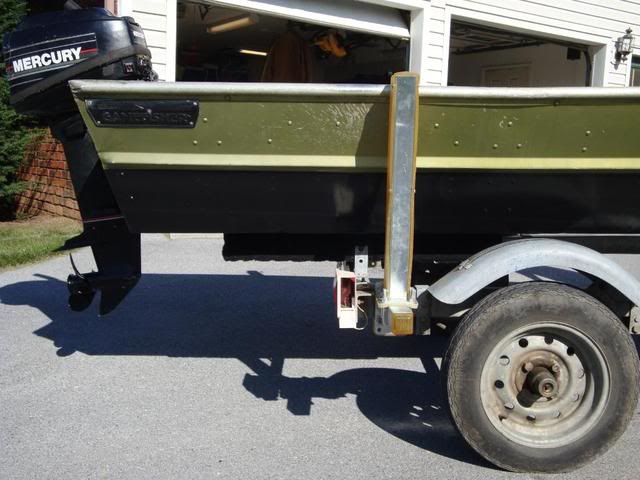
Finally here are some pictures. I will take some additional photos tomorrow morning once it sets up for good. The final picture gives you an idea how well the epoxy seals the rivets up.
If anyone has any questions, please don’t hesitate to ask.