Deck and Casting Platform - 16' Crestliner

TinBoats.net

Help Support TinBoats.net:

This site may earn a commission from merchant affiliate links, including eBay, Amazon, and others.
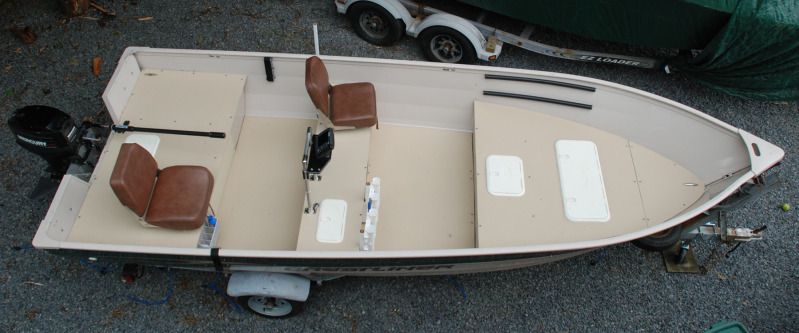
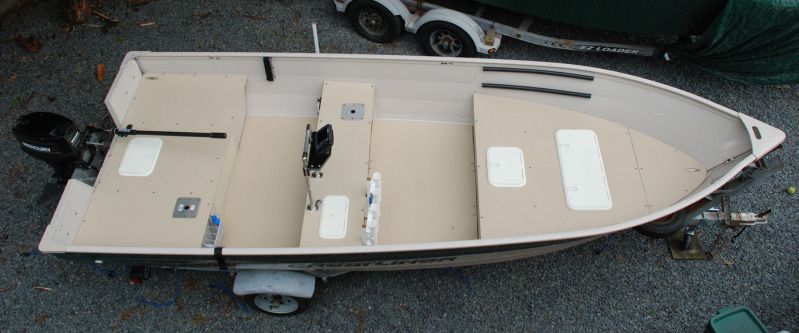
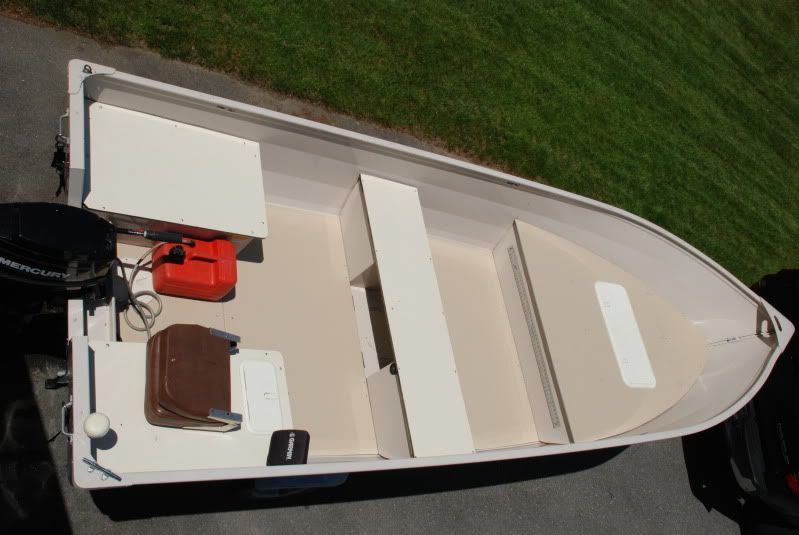
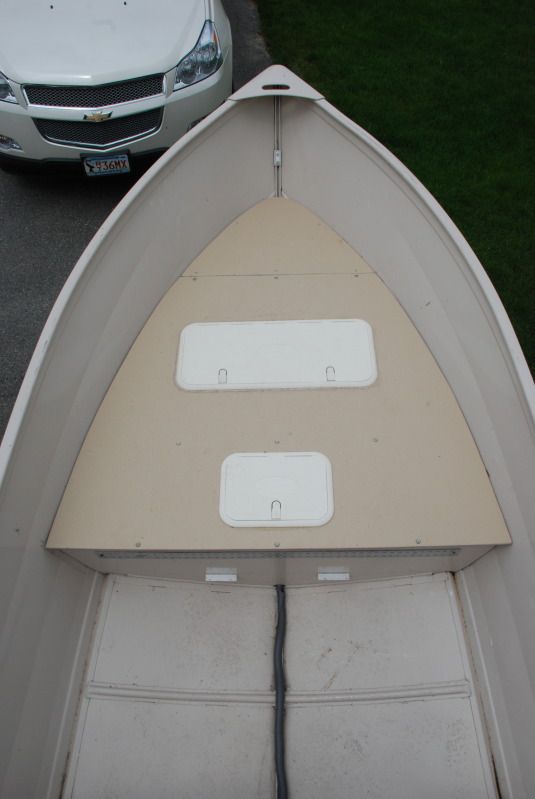
At the last post this is what the boat looked like:

DSC_0503-1.jpg


We left off with me and everyone else thinking my skiff needed a rear casting deck. I also decided it needed a very simple electrical system to power a trolling motor and the new GPS/Fishfinder my lovely wife picked up for me as a gift last X-mas (there was substantial “suggestion” as to make and model of GPS/Fishfinder from me).

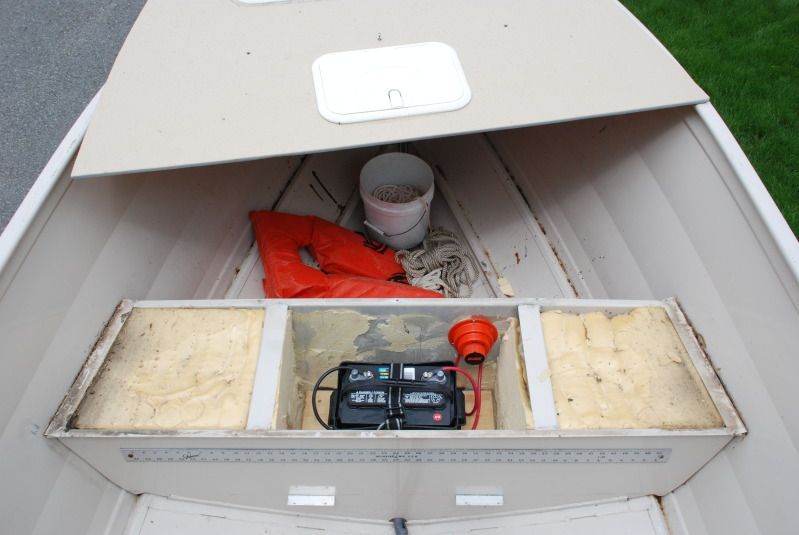
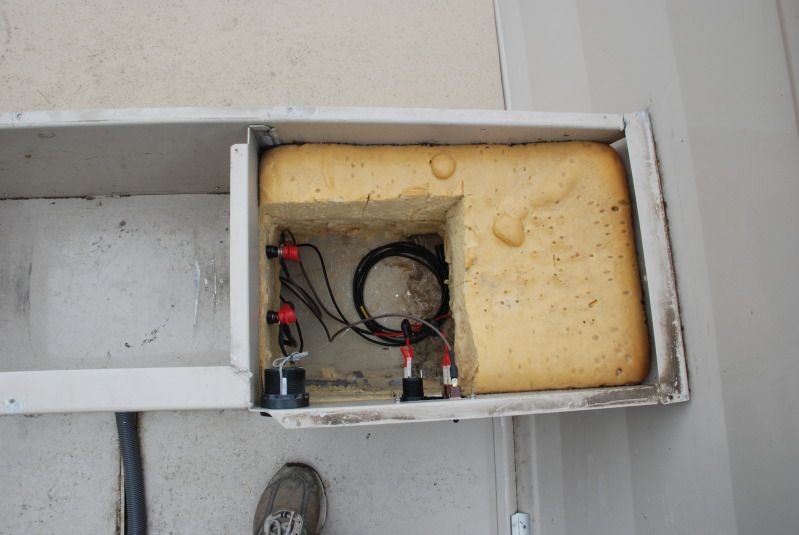
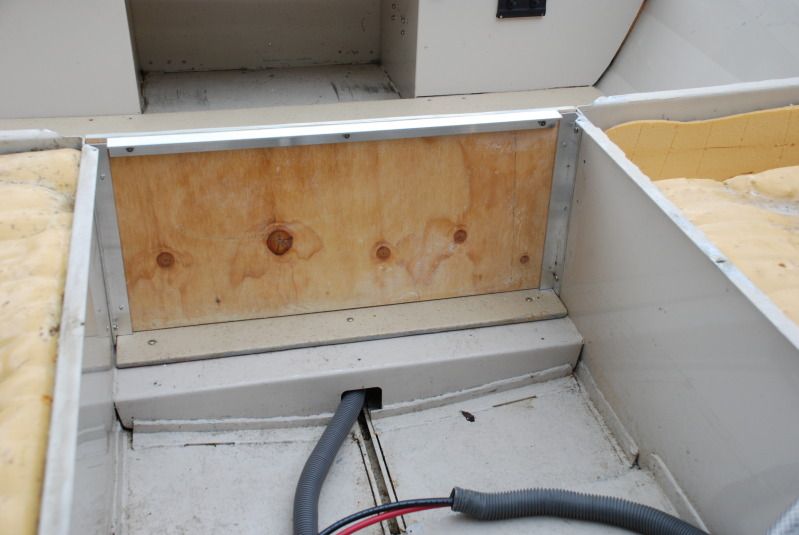
Let’s start with battery placement. My *** is big; the boat is small so the battery needed to go forward. There was a nice spot where the forward seating used to be under the new casting deck…but it was full of foam. I’m not shy about digging stuff out of boats so I went after it like a Chi Wawa on a pork chop. The finished product looks like this:

DSC_1103.jpg


And with the casting deck in place:

DSC_1109.jpg


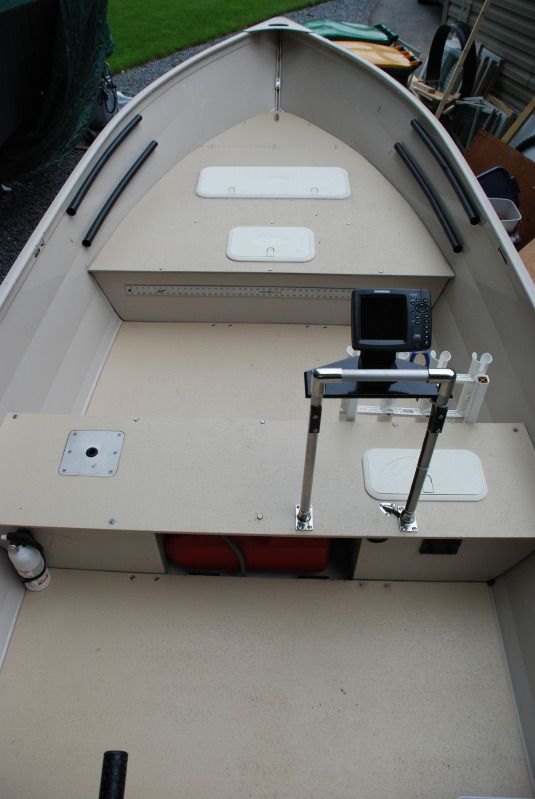
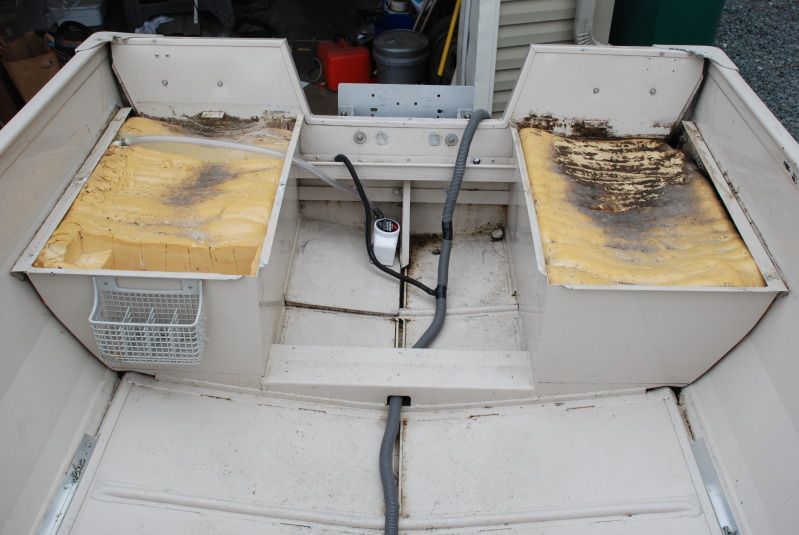
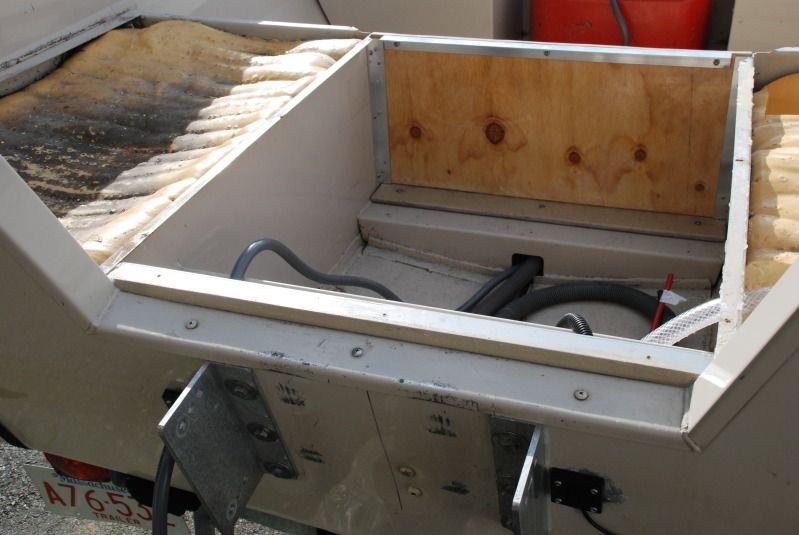
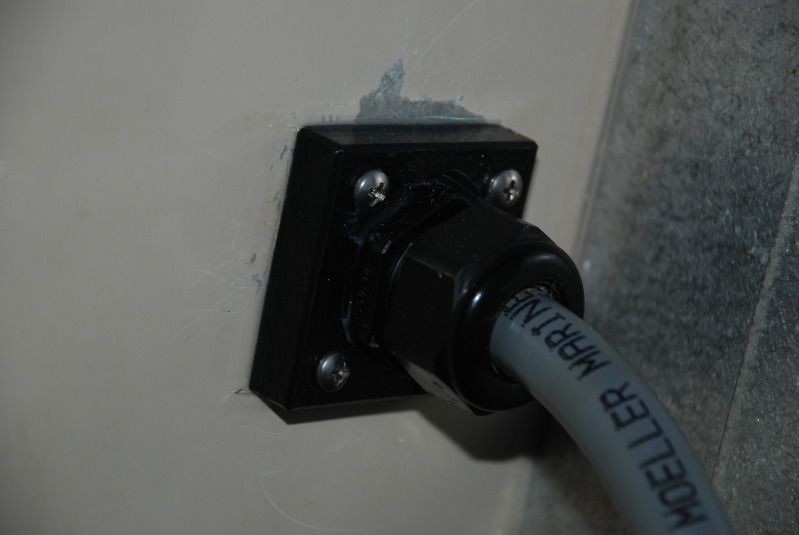
The split loom in the bottom of the picture will protect the 4 gauge wire from abrasion while it is living in the bilge under the deck piece that is not in place in the picture. The wires run through a limber hole into the amidships seating area that will accommodate passengers on the port side and the electronics area to starboard:

DSC_1111.jpg


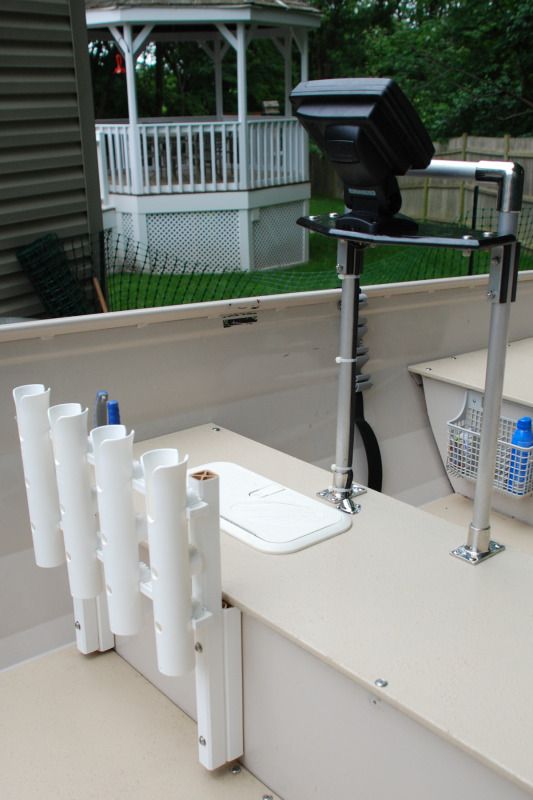
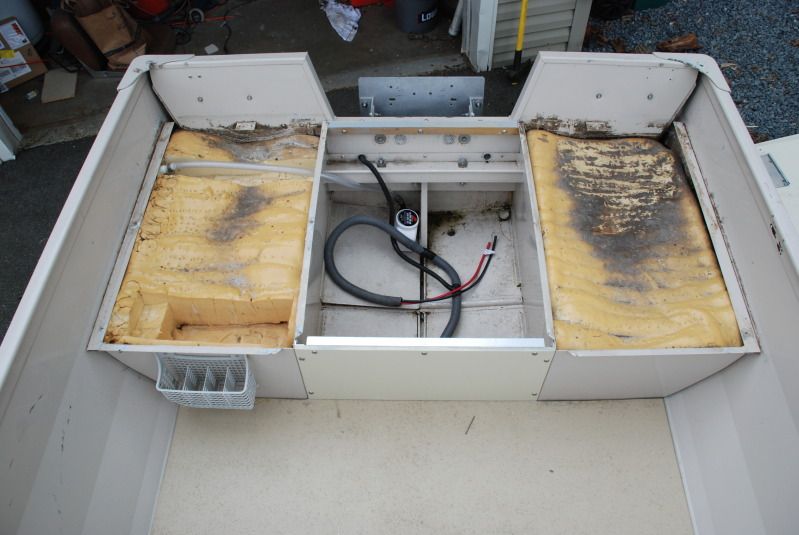
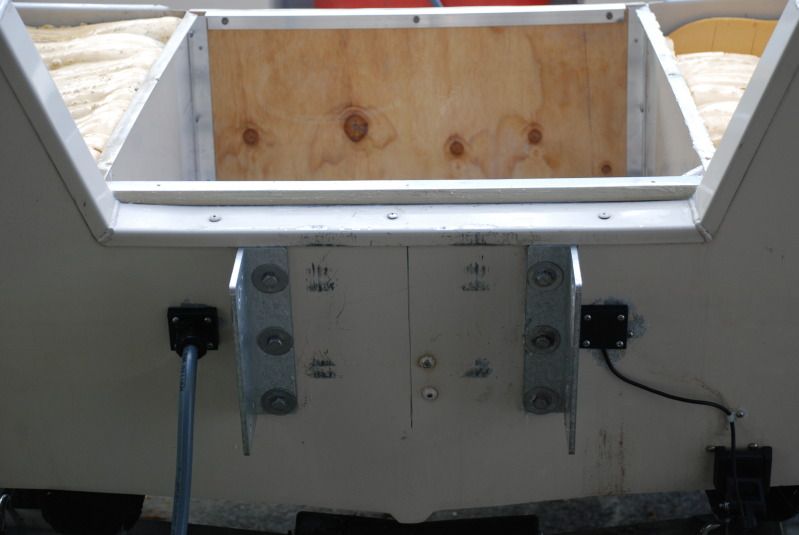
The brown wires lead aft to an 1100 GPH Johnson bilge pump with an integrated solid state water level sensor and the big black and red will go to a trolling motor plug. I still haven’t decided if I will tie the GPS/Fishfinder into this power or use the small sealed lead acid battery I bought for the last configuration of this boat as an independent power supply. This is the scene aft of the electronics area:

DSC_1114.jpg


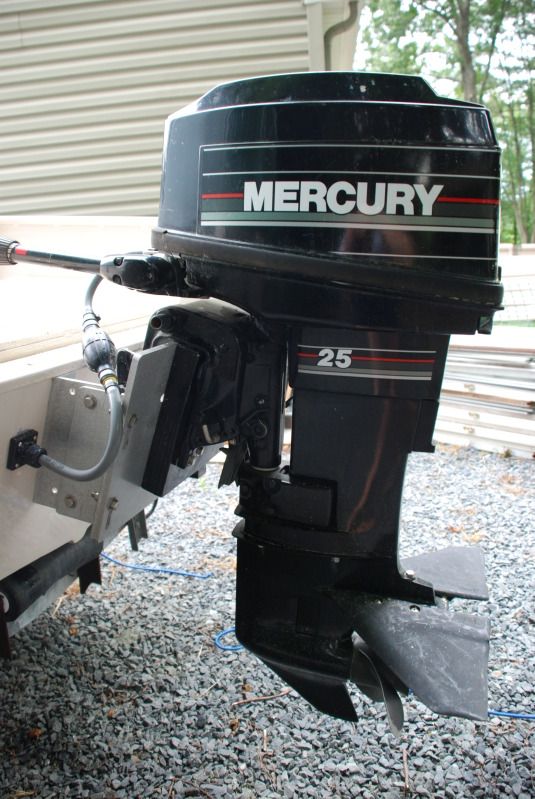
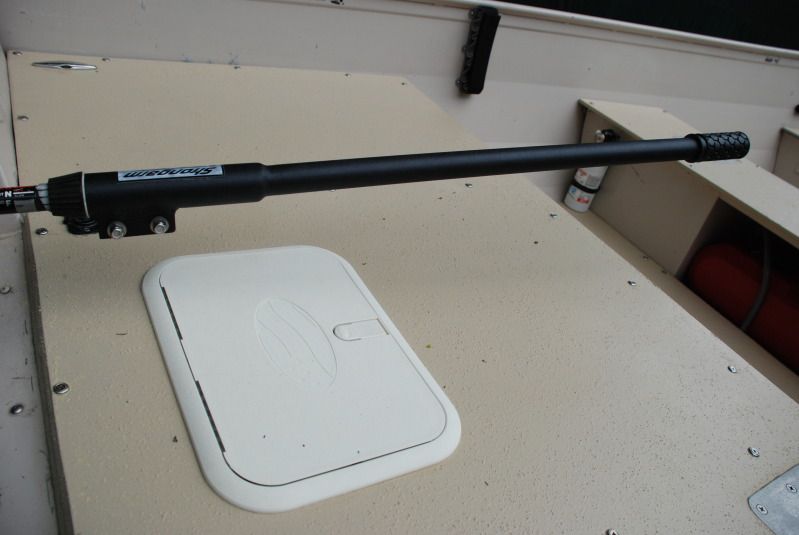
The aft casting deck will span the stern of the boat and will be supported by the aluminum framework already in place. You’ll notice a motor bracket…Up and out is good for a shallow water boat and I have a Strongarm tiller extension on order to deal with the offset. I’ll also be adding a grab bar on the aft side of the amidships seating area so I can run the boat like a center console rig.

There will be more to come.
 
Looks great! Can't wait to see the finished product and your 2' first mate will appreciate the decking and grab bar. I just added one to my tinny made out of 1.5" PVC. It's pretty ghetto, but looks ok, is super strong and entirely removable. Being able to stand makes a huge difference in visibility while underway. Best of all it only cost about $30 vs. $130+ for an aluminum/SS one. You'll probably also want/need a tiller extension so you can stand. I made one out of 1-1/4" thin-walled PVC and a couple pipe clamps that works great. You can buy $100+ whiz bang carbon fiber extensions, but they really don't work any better. Keep us posted on the final transformation.
 

Attachments

  • PVC Grab bar 2.jpg
    PVC Grab bar 2.jpg
    475.4 KB · Views: 1,881
  • rod holder and tiller extension.jpg
    rod holder and tiller extension.jpg
    21.2 KB · Views: 1,881
The bow of the boat is all set, save for a sweet recessed cleat that I need to install, so let’s look more at the stern. There is a lot of structure back there to help support the new casting deck so I wanted to take advantage of it. The only spots I had to get creative with were the spans between the existing benches and across the notch at the transom.

The bit between the benches was really straight forward. It just needed a few pieces of angle aluminum and a chunk of plywood:

DSC_1117.jpg


DSC_1118.jpg


I had some fun with the piece at the stern. My intent was to close up the transom so I needed a fixture that would support the deck and fit well with the irregular aluminum that makes up the transom. The router and Dremel tool came out to make a part out of poplar that would take all of the curves. After it was coated a couple of times with epoxy it was installed:

DSC_1131.jpg


One of the most important parts of closing up the transom was to come up with a way to plug the splash well drains while still making use of them. I opted to custom fab some 2” X 2” pieces of Starboard and run the sonar transducer through one and the fuel line through the other:

DSC_1124-1.jpg


DSC_1136.jpg


DSC_1134.jpg


I’ll have deck on soon.
 
good to see another saltwater striper rig.That thing looks awesome!I'm in the process of doing the same basic thing to my 16 Starcraft,but with nautolex instead of paint.I'll post up some pics once it gets wrapped up.
 
Go Fish, I learned quite a bit reading through your build. Thanks for posting so many pictures and descriptions! Good luck with the stripers up there :)
 
We left off talking about stuff on the stern so that is a good place to start. The aft casting deck runs right to the transom so there was no longer a place to hang the motor. The solution was a Bob’s Machine Shop Mini-Jack Plate:

DSC_1182.jpg


Here is the overview shot with seats in, set up for a family trip to the lake:

DSC_1164.jpg


And with the seats out for a flats trip to the salt:

DSC_1165.jpg


The grab bar is fit with a Hummingbird FF/GPS and it allows me some security while driving the boat standing up:

DSC_1175.jpg


The other part of standing while driving is afforded by a Strongarm tiller extension:

DSC_1167.jpg


One of my favorite features is the recessed cleats. There are two on either side of the stern and one at the bow:

DSC_1144.jpg


DSC_1145.jpg


There is storage for 4 spinning rods in forward and to the starboard of the steering station and trailering secure room for 4 rigged fly rods on the gunnels:

DSC_1170.jpg


DSC_1171.jpg


DSC_1172.jpg


I am really happy with the result of this build. Over the long weekend I went messing around on a lake with my wife and young daughter and the next day went for a serious striped bass fishing trip with a buddy. The boat was perfect for both applications.
 
I love how simple and complete this build is - everything has a place, it's not overly complicated or over dressed, it's well thought out and multi-functional/multi-species.

This one's going to be book marked for future reference. Outstanding build IMO, especially for the kind of fishing I do.

One question, where'd you get the hardware for the stainless grab bar?

=D> =D> =D>
 
Thanks for the complements guys!

wihil-

The stainless hardware cam from an outfit called Surplus Unlimited:

https://www.surplusunlimited.com/mm5/merchant.mvc?

Look under the "Rail Hardware" link on the page that the link above will take you to. I have been using these guys for my boat projects for years because thay are typically half the price of West Marine. It is a surpluss house so they may not have what you need every time but when they do it is always a bargain.

PS: My mom grew up in Appleton so I get to your neck of the woods every once in a while.
 
Bookmarked for future reference - I bet I could make a nice trolling rail with that, but it'll be on the next tinny, not this one.

Thanks!
 
Thanks novaman!

I am really happy with both the grab bar and the fishfinder. Hummingbird has really got it going on right now. the screen resolution is incredible and the transom mounted transducer will hold bottom at full throttle...I had to put a through hull transducer on my big boat to even come close to the same performance and I still lose bottom when it is sloppy and I am going fast.

I put the grab bar together with some scrap aluminum tube that I had in my garage...at some point I will convert it to stainless tube so it looks a bit better. Getting all of the kinks out with aluminum was the right call. It took a few tries to get the hieght right. Cutting stainless is a little bit harder than tossing a tube of aluminum on the miter saw.
 
Top