Gregor 12 - Transom Repair/Replacement

TinBoats.net

Help Support TinBoats.net:

This site may earn a commission from merchant affiliate links, including eBay, Amazon, and others.
Once I had my transom cut to shape I installed it in the boat and marked all the holes on both sides on the wood. The bolts are 1/4". I drilled all of the holes half way thru the wood with a 5/16" bit the flipped the transom and drill the rest of the way with a 1/4" bit, then finish drilling the hole from the first side with the 5/16" bit. My thinking was the 1/4" bit would find the 5/16" hole and follow it. Of the 26 holes thru the transom only 2 where not perfectly in line. I had to open 2 of the holes in the braces a little.
I used a drill press.
 
Good stuff. Thanks again, guys!


Sent from my iPhone using Tapatalk
 
Another quick question if you don't mind...

Should I plan to clamp the motor directly against the wood transom, or cover the wood with some sheet metal (like you see in the pic above). I don't know if that sheet metal was installed by Gregor or some previous owner.


Sent from my iPhone using Tapatalk
 
My 14' jon had an aluminum plate. When I replaced the transom wood I reinstalled the plate.
 
Thanks. Did you just screw it in place with a wood screw at each corner? Maybe seal behind/under it with some silicone or something?


Sent from my iPhone using Tapatalk
 
AlexB said:
Thanks. Did you just screw it in place with a wood screw at each corner? Maybe seal behind/under it with some silicone or something?


Sent from my iPhone using Tapatalk
I just screwed it to the wood. I may have used stainless steel screws I don't remember.
 
I just replaced the transom on my gregor. I didn't want to cut the brackets or do any welding so I went with three pieces of ply and a sheet of aluminum. I forced the wood in and bent it until it shaped into place. Overall I replaced it and feel it is better than what I had on there. No cutting No welding. Just a rubber mallet and some force
8d4332bf45d16b4efde7e2e30bab7892.jpg
97d0bbbc99ea9f1a2b6b3625dc390969.jpg


Good luck on it.
 
All right! I made some good progress on my transom rebuild over the weekend!

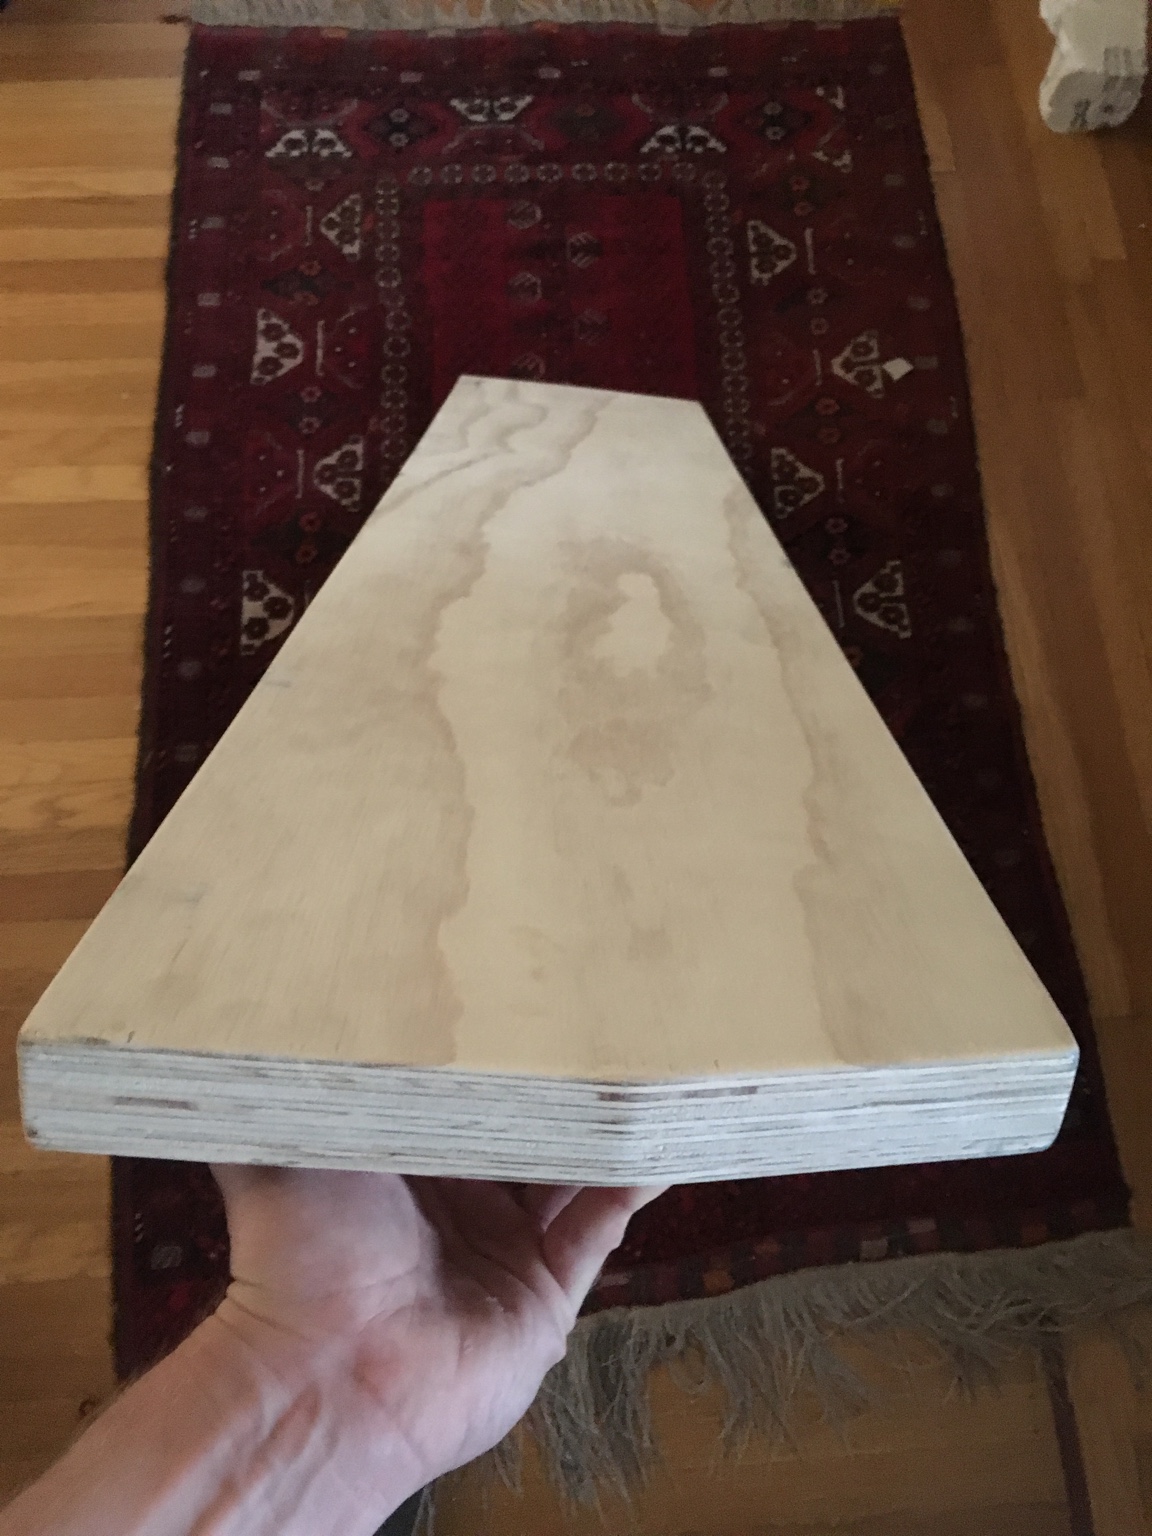
I cut the two triangle-shaped transom braces, and fabricated some aluminum plates to secure them back together. I also removed the old transom wood (wow was it sh*tty...) and laminated up a new one using ACX plywood and Titebond III glue (pics to come).

Before I reinstall the wood, I want to do a nice job patching all the extra holes (red circles in the attached photo) that have been drilled through the aluminum transom. Some holes are below the water line, and some are above. Some will be hidden under the transom wood, and others will be visible from inside the boat.

Here's how I plan to repair the holes. Please let me know what you think.

1) Remove all the old patching materials (JB Weld, I think? 5200 maybe?).

2) Lightly sand/scuff the aluminum surrounding each hole, then wipe clean with acetone.

3) Using JB Weld, glue small (approx 1" square or round) patches of ~1/32" aluminum sheet on the INSIDE of each hole to act as backing plates. Allow to set.

4) Apply JB Weld to each hole on the the outside, filling the void in the aluminum. Allow to set.

5) Sand each repair on the outside, leaving just a small circular spot of JB weld at each hole.

How does this sound? I'm leaning toward this ethos because I think it will give me a solid repair that doesn't stick out like a bolt/nut/glue patch would. Many of these repairs will be under the transom wood, so they can't stick out at all.

Thoughts?
e39b510dea120dd2eab23d30df1b6ee5.png


Sent from my iPhone using Tapatalk
 
A couple pics of the new transom wood. It's 3 layers of 1/2" ACX (Aruoco brand) bonded together with Titebond III. As suggested, I rough cut the pieces, glued, screwed, piled with sacks of concrete while it cured/dried, then did the final cuts. This proved very helpful, since the outside edges pulled apart slightly as the glue cured.

The board fits nice n' snug, so I wedged it in there and marked each bolt hole location. 6 holes for the transom braces, 4 holes for the transom mounted beach wheels, and 4 holes for the carrying handles.

After drilling the holes (then "over drilling", filling with epoxy, and re-drilling), I'll treat the wood using the "old timer blend" of boiled linseed oil, mineral spirits, and spar urethane.
4a25f63d185bab8e39b5622461f737df.jpg
d091ca7cbe086a03ce65d8e32458c210.jpg


Sent from my iPhone using Tapatalk
 
Good work. Transom wood turned out very nice.

I'd stay away from JB weld, especially on your transom and below the water line. It doesn't flex and will eventually crack. I'd imagine the stress you get on your transom will be enough to crack it in short order. The best thing to do would be have those holes welded. If that's not an option, solid rivets with a bit of 5200 would be my next choice. With solid rivets you can get the shank/shaft pretty well close to flush with the inside of the aluminum so it wouldn't interfere with the transom wood. Problem though is if they ever need replaced you'd have to remove the transom wood to do so. FWIW my transom wood has a piece of aluminum on the bottom of it that's attached to the transom itself with solid rivets. I replaced them when I re did my transom 4 years ago and not a single issue with any of them. I also have my old transducer holes sealed with solid rivets, no problems there either. A third option would be to to use stainless nuts and bolts with a bit of 5200. For the holes that the transom wood would cover, you could drill through the wood and fasten the nuts/bolts just like all the others that are meant to hold your transom in place. I would think that would work out OK?
 
Thanks for the tips, BigTerp.

I think the rivet approach could work well for the holes below the transom wood, but I'm not sure about the ones behind it. The wood fits really snug, so I'm afraid anything sticking out of the aluminum behind the wood might cause the aluminum to deform when I cinch down the transom brace bolts, carry handle bolts, etc.

I might just drill out the wood and use SS bolts+5200 for a few extra holes, but there are quite a few... I think some are just going to need to be patched somehow.


Sent from my iPhone using Tapatalk
 
BigTerp said:
Good work. Transom wood turned out very nice.

I'd stay away from JB weld, especially on your transom and below the water line. It doesn't flex and will eventually crack. I'd imagine the stress you get on your transom will be enough to crack it in short order. The best thing to do would be have those holes welded. If that's not an option, solid rivets with a bit of 5200 would be my next choice. With solid rivets you can get the shank/shaft pretty well close to flush with the inside of the aluminum so it wouldn't interfere with the transom wood. Problem though is if they ever need replaced you'd have to remove the transom wood to do so. FWIW my transom wood has a piece of aluminum on the bottom of it that's attached to the transom itself with solid rivets. I replaced them when I re did my transom 4 years ago and not a single issue with any of them. I also have my old transducer holes sealed with solid rivets, no problems there either. A third option would be to to use stainless nuts and bolts with a bit of 5200. For the holes that the transom wood would cover, you could drill through the wood and fasten the nuts/bolts just like all the others that are meant to hold your transom in place. I would think that would work out OK?

I don't have much experience with 5200... Do you think it might be a better choice than JB Weld if I opt for the method of glueing on a backing plate on the inside then filling/sanding the outside? Is 5200 even sandable, or is it too soft?


Sent from my iPhone using Tapatalk
 
Dale: There were a couple/few different options discussed in that thread. Which one were you referring to?

EDIT: I assume you're talking about the method you suggested... It sounds like your method is for filling holes through the aluminum AND the wood. I only have holes in aluminum, since I just built a new wood transom piece and haven't drilled any holes in it yet. I'm not confident that the wood will sit 100% flush with the aluminum, and I'm also not sure the two materials won't shift slightly in relation to each other when a load is applied to the transom.

That's why I'm trying to patch the holes in the aluminum independent of the wood.


Sent from my iPhone using Tapatalk
 
AlexB said:
It sounds like your method is for filling holes through the aluminum AND the wood. I only have holes in aluminum, since I just built a new wood transom piece and haven't drilled any holes in it yet. I'm not confident that the wood will sit 100% flush with the aluminum, and I'm also not sure the two materials won't shift slightly in relation to each other when a load is applied to the transom.

That's why I'm trying to patch the holes in the aluminum independent of the wood.
In that case, I would use a gooped rivet to patch the aluminum. Where the wood would sit against it I would use a countersink or round burr to create a 'divot' to allow the rivet head/tail to bear up against the wood proper.

The concept of an epoxy patch is good too, where there's a slight bevel on each side to create a mechanical bond to hold it in place. I would use West Systems G-Flex 650 for this, as it is flexible, vs any hard epoxy like JB Weld or Marine-tex.
 
DaleH said:
AlexB said:
It sounds like your method is for filling holes through the aluminum AND the wood. I only have holes in aluminum, since I just built a new wood transom piece and haven't drilled any holes in it yet. I'm not confident that the wood will sit 100% flush with the aluminum, and I'm also not sure the two materials won't shift slightly in relation to each other when a load is applied to the transom.

That's why I'm trying to patch the holes in the aluminum independent of the wood.
In that case, I would use a gooped rivet to patch the aluminum. Where the wood would sit against it I would use a countersink or round burr to create a 'divot' to allow the rivet head/tail to bear up against the wood proper.

The concept of an epoxy patch is good too, where there's a slight bevel on each side to create a mechanical bond to hold it in place. I would use West Systems G-Flex 650 for this, as it is flexible, vs any hard epoxy like JB Weld or Marine-tex.

You think the G-flex would do the job in place of JB weld using this method?

435fce257b159084bfde55422519d80a.jpg


Sent from my iPhone using Tapatalk
 
AlexB said:
I don't have much experience with 5200... Do you think it might be a better choice than JB Weld if I opt for the method of glueing on a backing plate on the inside then filling/sanding the outside? Is 5200 even sandable, or is it too soft?


Sent from my iPhone using Tapatalk

Yes, it would. A lot of guys on here have patched holes in their hull bottoms with a piece of aluminum glued over the hull with 5200. But they also typically bolt or blind rivet the patch in place, in addition to the 5200. 5200 is not sandable though. If your going to glue an aluminum patch, I'd do it on the outside. Much easier to replace that way.

I've used 5200 a bunch on my boat with good results. Hard to explain without pictures, but where the top of my gunnel is riveted to the sides of the hull there is some space between each rivet. This creates a space between the gunnel "cap" and the aluminum of the actual gunnel. When my boat is loaded down heavy with 3 guys and hunting gear, spray while underway would splash up there and get in between those spaces leading to some water in the bilge. Actually a lot of water one trip when we had to run 30+ minutes up river to our hunting spot. Probably 8+ inches of water in the bilge. I sealed it all up with 5200 and painted it once it cured. No more water in the bilge from this now and it has held up great over the last year, and I'm sure that area gets fairly stressed.

With all of that said, I wouldn't use 5200 by itself to seal any holes, especially under the water line.
 
Thanks, BigTerp.

I keep going back and forth on this, but I'm starting to lean toward filling ALL of the holes with closed end rivets and 5200. This will require me to drill some small divots or voids in the transom wood to account for the back side of each rivet behind the wood. It also seems I'll have to drill those voids, install the transom wood, THEN install the rivets from the outside. If I rivet before installing the wood, I won't be able to slide it up into place.


Sent from my iPhone using Tapatalk
 
Not a problem.

Are you referring to blind (pop) or solid rivets? Either way, I'm not sure how well that idea will work. Both types of rivets leave material on the back side, blind rivets tend to be longer and thinner on the back side and solid rivets tend to be shorter and wider on the back end, if that makes sense? You won't be able to use solid rivets with the wood in place because you won't have access to the back side of the rivet to use a bucking bar. With blind rivets you'd have to make sure you divots are long and wide enough to account for the material left on the back side after setting. Which sounds rather difficult to me to be able to get it just right. They are also not as strong or seal as well as solid rivets.

If your thinking of solid rivets you should be able to get ones with the shaft just a bit longer than the thickness of your transom. Like 1/8" or 3/16" longer. When you set them you should be able to get the shaft on the back end to end up fairly flush with the aluminum of the transom. Is your wood super tight to get back in place? If not, I would think solid rivets would work ok. BUT, if you ever have to replace them you'll need to take the wood back out.
 
Top