Hubbs' 1989 MonArk Legend 170 Mod V Project

TinBoats.net

Help Support TinBoats.net:

This site may earn a commission from merchant affiliate links, including eBay, Amazon, and others.

Hubbs

Member
Joined
Feb 14, 2012
Messages
22
Reaction score
0
Location
NE Texas
Hey fellas,

I've been lurking here for the past year or so while I worked on a project that has now reached completion (if that's possible with a boat :lol: )

Thought I would post some of the details and pictures of my build

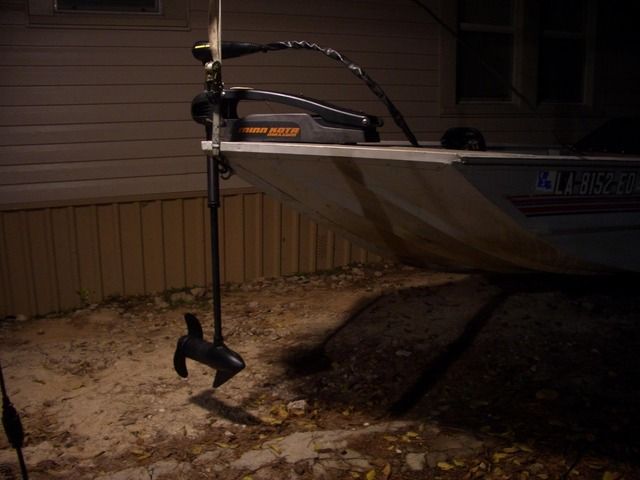
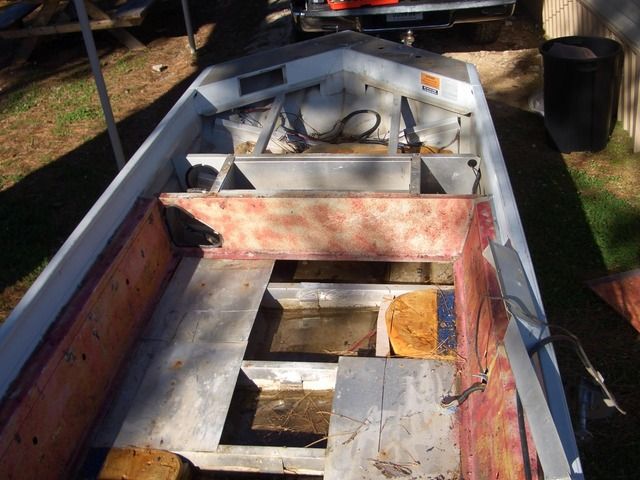
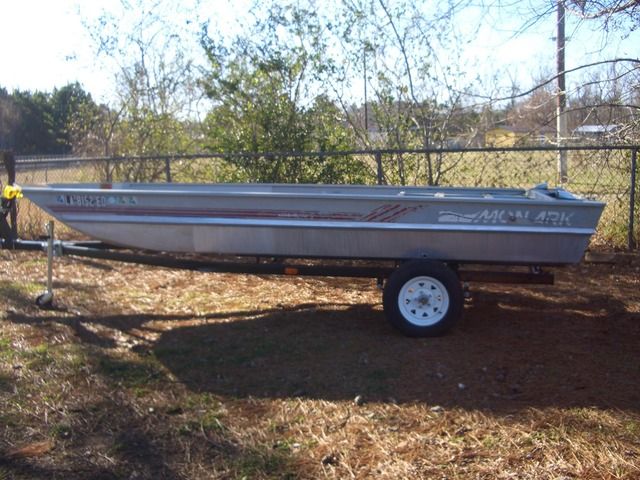
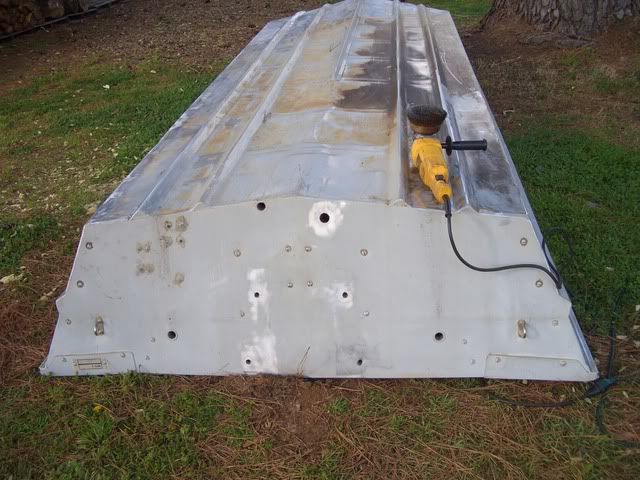
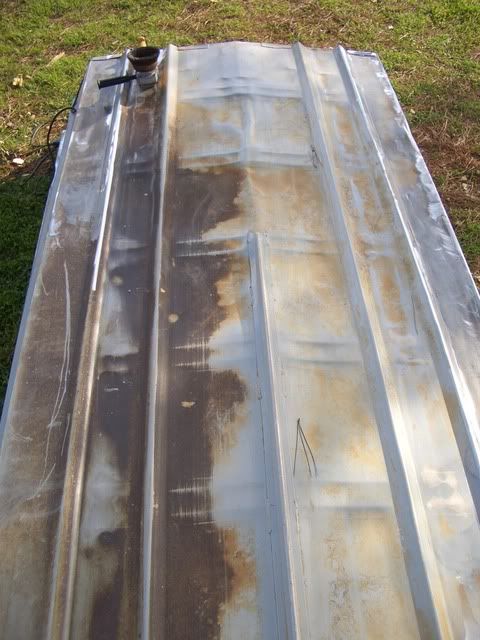
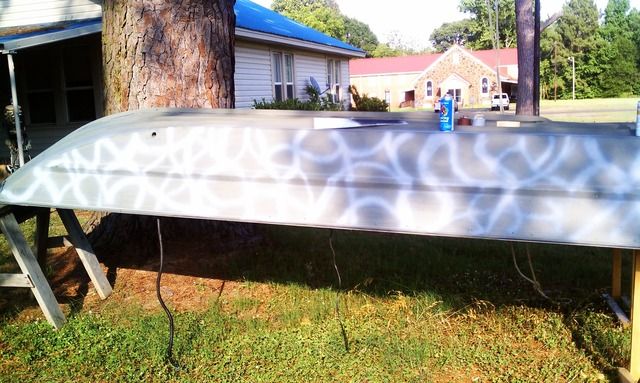
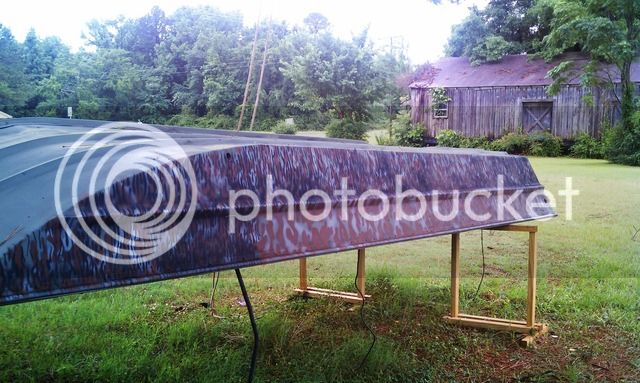
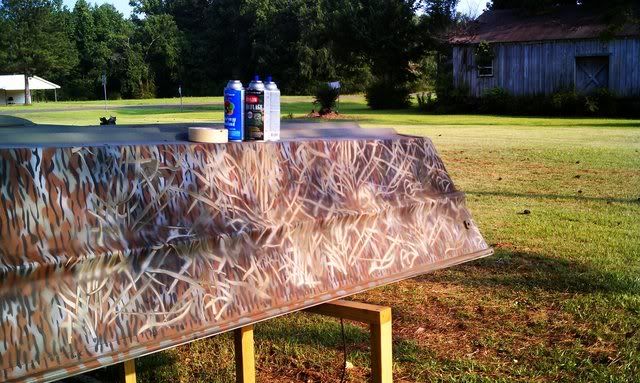
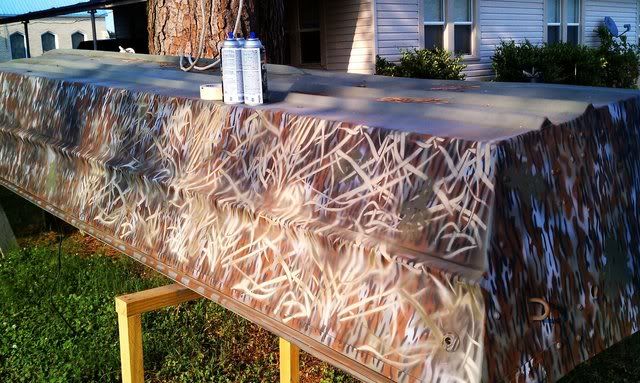
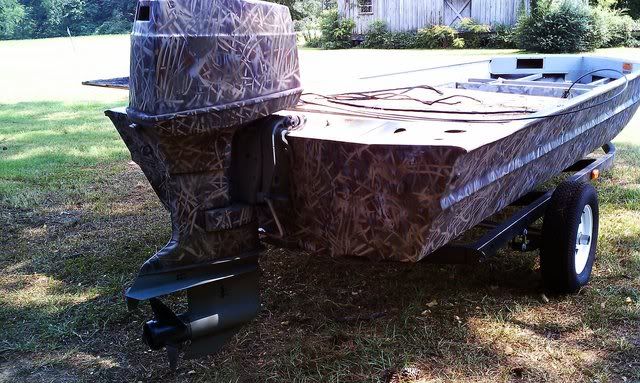
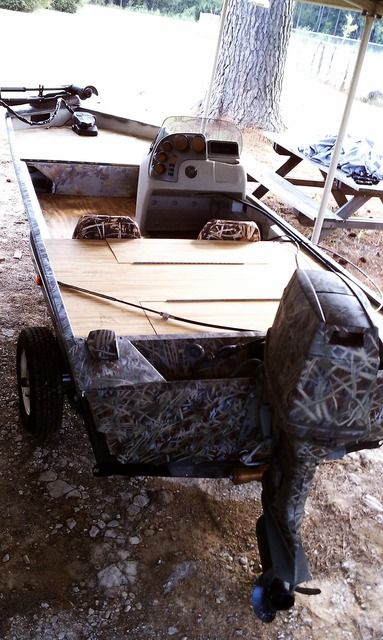
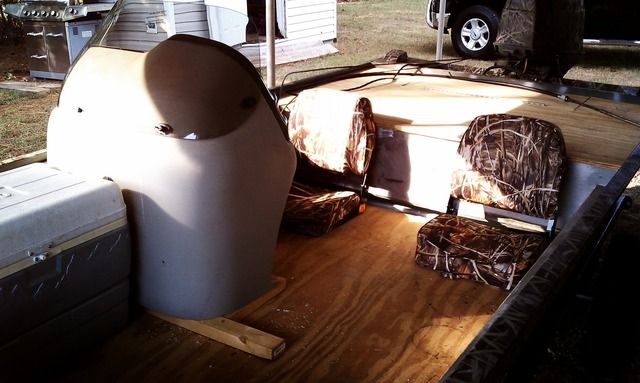
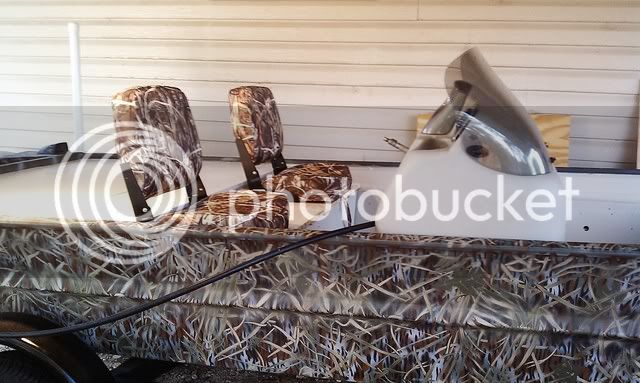
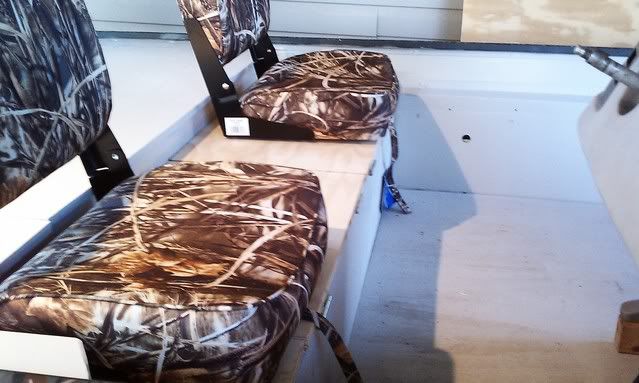
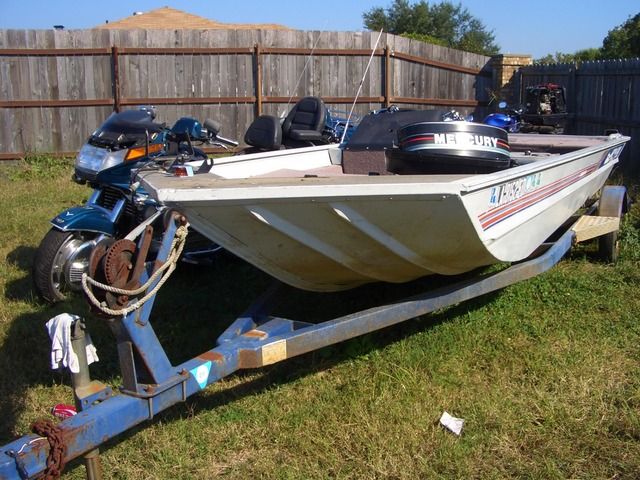
The boat is a '89 MonArk 17' all welded aluminum hull jon-style bass boat. Nothing fancy but enough room and features to make a day on the lake enjoyable. Both the boat and trailer were in rough shape. After a thorough inspection I decided it was worth the $600 asking price. The outboard was not included.
CIMG0067.jpg

CIMG00711.jpg


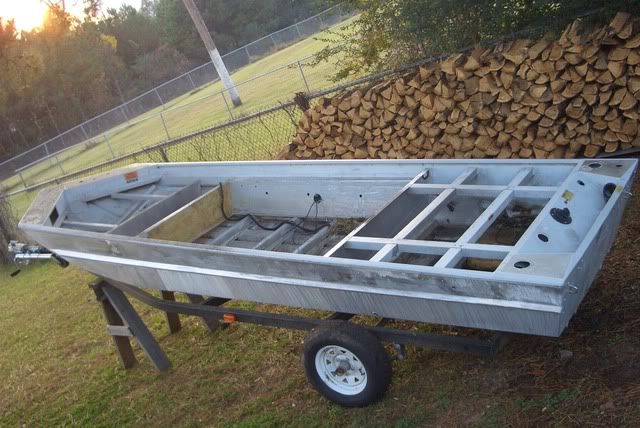
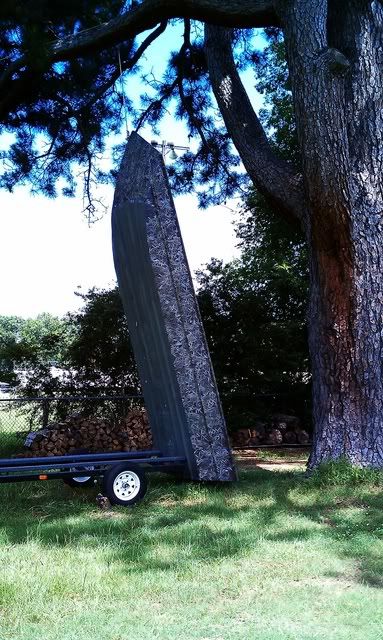
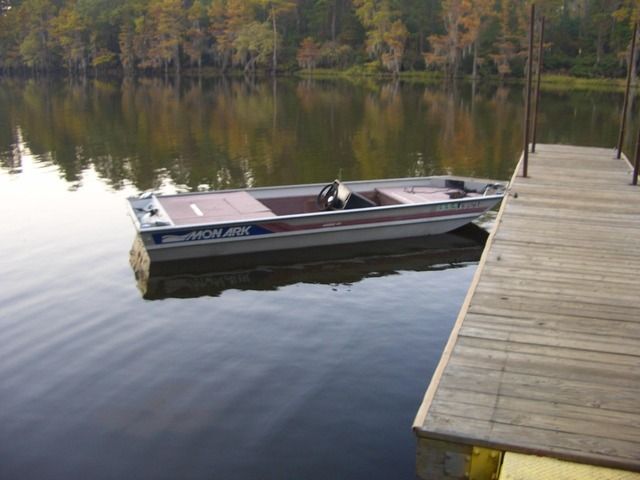
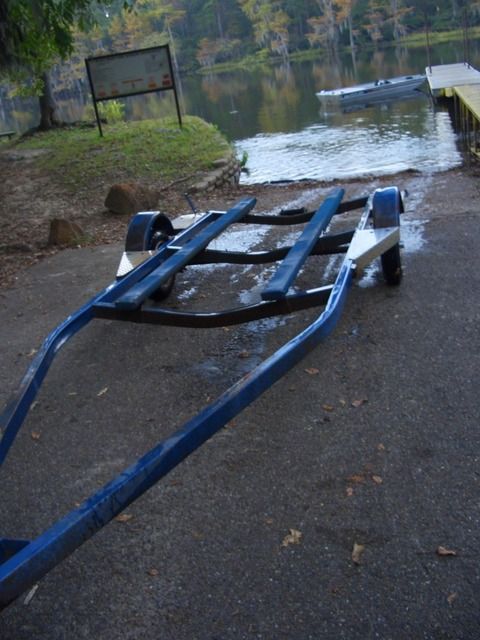
First order of business was a float test to check stability and for leaks.
CIMG01171.jpg


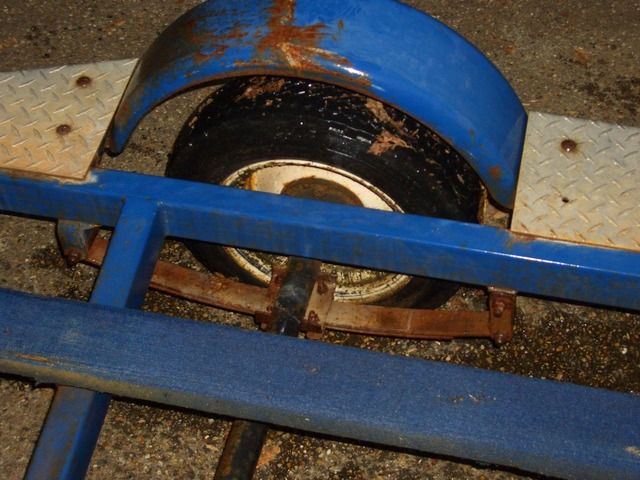
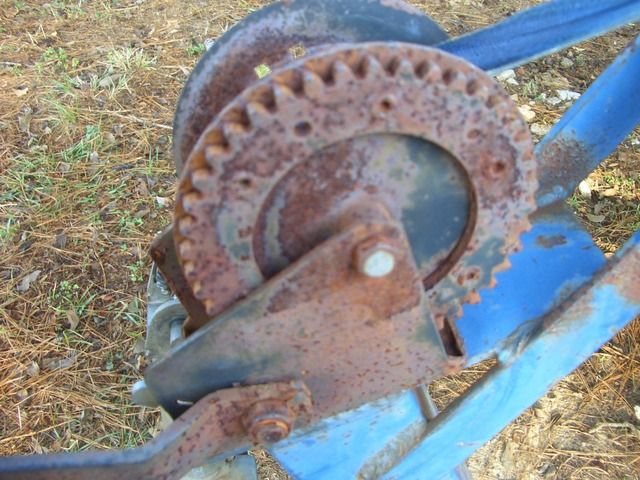
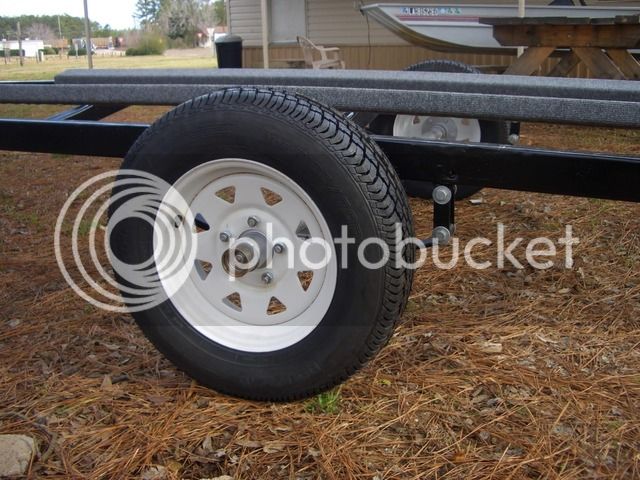
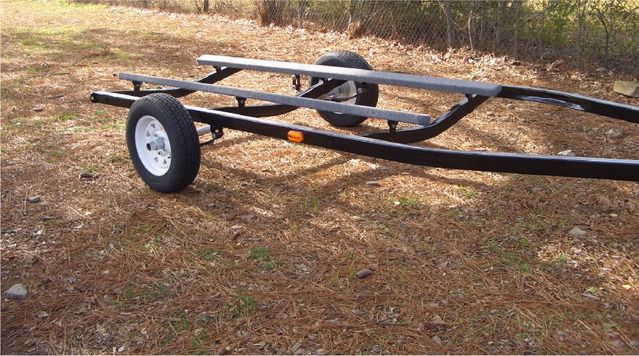
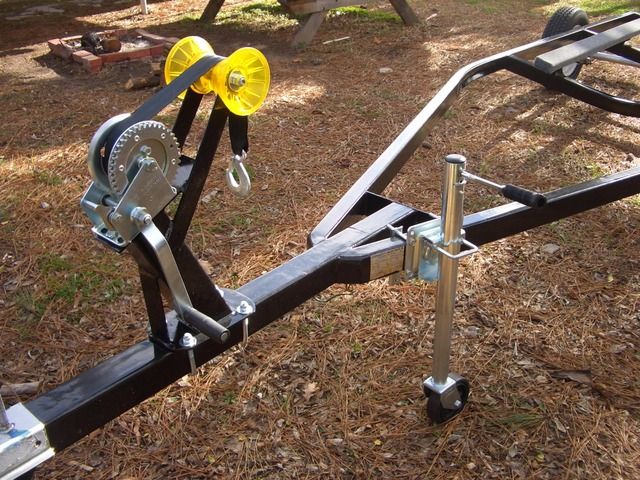
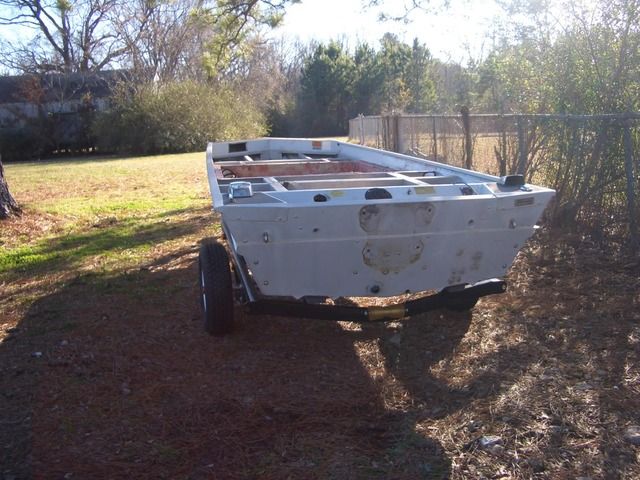
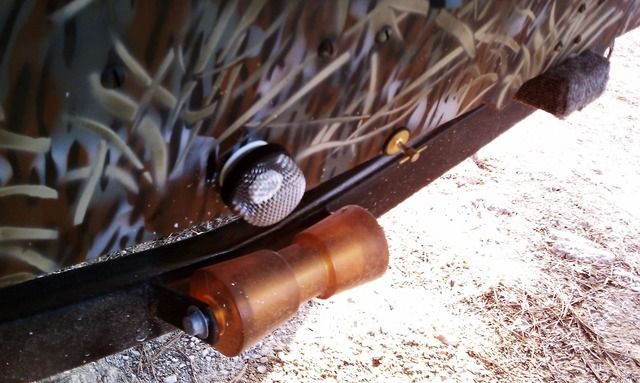
With the boat floating I was able to give the trailer a closer inspection. No major problems.
CIMG01191.jpg
 
Welcome aboard. Great looking boat. I look forward to seeing the project.
 
After suspending the boat from the carport rafters, I was able to roll the trailer out.

I went to work breaking the trailer down and attacking the surface rust. Along with a fresh coat of primer and paint I ended up replacing the wheels, tires, leaf springs, winch, coupler, safety chains, lights, bunks, and rollers.

Yep, basically everything.

The axle and the hubs were in good condition. I replaced the bearings, races, and bearing buddies. Repacked with new grease of course

Trailer before:
CIMG01261.jpg


CIMG01451.jpg


After:
CIMG04441.jpg


CIMG04292.jpg


CIMG04321.jpg
 
I scoured craigslist daily looking for deals on the parts that I was going to need to finish the boat.

I came across a MinnKota 54# bow mounted, foot controlled trolling motor for $200.00 Its a Maxxum series 24v.

CIMG02661.jpg


Once the trailer was finished, I began tearing out the boat. I took it down to the metal including all decks, flooring and foam. The foam was saturated with water and was obstructing the passages that water needed to flow to the bilge.

CIMG04141.jpg


CIMG04252.jpg


CIMG00991.jpg


CIMG00871.jpg
 
Nice boat. You should post some pictures of the trailer in trailer forum.
 
lckstckn2smknbrls said:
Nice boat. You should post some pictures of the trailer in trailer forum.

Thanks, I'll be sure to do that.

While gutting the boat I started researching some options for putting it back together.

Decided that I wanted to use the boat for fishing and duck hunting. And since I can fish year round in Texas I figured that will be the main purpose and duck hunting would be second.

Next I focused on stripping the old decals and prepping the surface to receive paint.
CIMG01041.jpg


CIMG01061.jpg


CIMG10391.jpg


CIMG15831.jpg


CIMG15791.jpg
 
Laid down 2 coats of self-etching primer. It chemically binds to the bare aluminum and because its OD green it also serves as the base layer for the camo pattern.
CIMG17081.jpg


CIMG17121.jpg


It was about this time that I came across the big motor for my boat on craigslist
Its an 1977 Evinrude 70hp and I gave $500 for it.

I went ahead and prepped it with the same etching primer that I used on the boat
555176011.jpg
 
Inspired by several projects that I saw on this forum, I wanted a professional looking camo pattern.

Decided to use a stencil kit and take my time to get it right.
Picked up some yard sale signs in both large and small formats

Made some leaf stencils first
dad72201b.jpg


Taped a few leaves and sprayed for an outline
de0621591.jpg


da3a1351f.jpg


Cut out the leaf and sprayed a test run on a piece of scrap wood. Worked well if I do say so myself.
6c4922701.jpg


Larger signs for the main camo pattern
61db22a41.jpg
 
The trick to doing a good camo pattern is to work in layers.

The base layer is the self-etching primer. On top of this I randomly placed sweeping arcs with flat white.
9ce354911.jpg


Then using a stencil I applied a layer of brown. It appears much more orange in this picture than it actually is.
171ef88c1.jpg


cfd956ef1.jpg


94f6974e1.jpg


Next comes a layer of black shot thru a stencil with many narrow slits.
6ba082751.jpg


aa1a9651e.jpg


Here's what it looks like with 4 layers done.
f8e606d1e.jpg
 
A look at the entire boat done with 4 layers. BTW the adapter that clips onto the spray cans is a life saver.
IMAG02481.jpg


Now to use the grass stencil I made
IMAG02501.jpg


IMAG02571.jpg


IMAG02581.jpg


Boat going back onto the trailer.
IMAG02751.jpg


Hung the motor and camo'd it to match the boat
IMAG03331.jpg
 
Picked up a Lowe side console and windshield off ebay.
IMAG07231.jpg


Some seats from Academy sports. Testing the layout.
IMAG07181.jpg


Built a bench for the seats and added storage
IMAG08381.jpg


IMAG08371.jpg


Installed the livewell pump
IMAG07291.jpg
 
Installed gauges and switches.
IMAG14961.jpg

Wired up the lighted rocker switches for nav lights, bilge pump, and livewells. All switches are independent of the key switch. Still leaves 2 switches unassigned. I'm thinking of installing some LED courtesy lights later which will take a switch and I will probably use the last switch for a 12V accessory outlet.

Wired the gauges. Backlights run off of the key switch. Tach runs off of the Evinrude, volts from cranking battery, and fuel from the sender in the tank. The speedo works off of a pitot attached to the transom.

I still need to install an ignition interrupter switch (a.k.a kill switch) for safe boating. Its not a requirement but I think its a good idea to have one.

Also installed the steering wheel I picked up from ebay.
 
I went back and forth trying to decide how to cover the decks and floor.

I would have preferred to of used sheet aluminum coated with a bedliner material. For the sake of expense I elected for an alternative

What I finally settled on was 5/8 exterior grade plywood treated with Thompson's WaterSeal.

I thought that a porch and floor paint with polyurethane would work well. I coated both sides of all plywood but it still didn't look quite the way I wanted.

I turned to carpet for the solution.
IMAG19162.jpg


Found so decent quality marine carpet at the local home store. I used contact cement and stainless staples to install it.

IMAG2015.jpg


I paid attention to the details and took my time. Kept the "grain" of the carpet running in the same direction.
 
Under the rear casting deck is the fuel tank, 2 Interstate 27 series deep cycle batteries, 1 cranking battery and the on board 3 bank battery charger. There is also room for an extra prop, small took kit and some 2 stroke oil.

IMAG20131.jpg
 
Carpet looks great. Good job. If you don't mind me asking, how much did it run you? How many square feet? I am looking to get carpet for my boat this weekend. I have looked at Bass Pros and Cabelas. Might be cheaper to go with the Home Depots or Lowes option.
 
Carpet looks great. Good job. If you don't mind me asking, how much did it run you? How many square feet? I am looking to get carpet for my boat this weekend. I have looked at Bass Pros and Cabelas. Might be cheaper to go with the Home Depots or Lowes option.
 

Latest posts

Top