1985 Tracker III Restore/Conversion

TinBoats.net

Help Support TinBoats.net:

This site may earn a commission from merchant affiliate links, including eBay, Amazon, and others.
Too much keeps getting in the way of progress - but the new bench cushion arrived. Colors matched perfectly to the original decals on the hull.

Yb8oJ7h.jpg
 
Back to working on the boat when the weather allows it. Main deck framing is laid, supports still need to be added to shorten the spans to about 15" or so, but they'll need to be sized around the hatches which are still a work in process.

Went a little overboard on the rod tubes, but I can use them to transport rods w/o reels and leave the rods I'm using on any given day on the deck. There will be a door under the helm where the access to the rod locker will be - not many options for locating storage for 7'+ rods in a 16' boat.

9UayVUAl.jpg


Finished the horizontal framing for the bow cap and forward end of the front deck after taking the picture, working on drilling the plate for the rod tubes to pass through this week after work along with bracing seat base supports, with the good weather forecast for the weekend in CT I'll hopefully get the hatches finished and framed so I can cut the aluminum sheet decking. ::crosses fingers:: I'm hoping to have the boat ready for a July trip up to Champlain...lots to get done by then!
 
Not much progress over the long weekend. Managed to get all the holes for the rod tubes drilled, had to abandon a few in order to add a framing rib to support the deck above. The top row of tubes will be set farther forward with a plate between them and the lower tubes allowing deeper slots for spinning rods, but setting spinning rods this high up interfered with my plan of having a support rib run perpendicular across the boat.

Finished shaping the bow cap but managed not to get a picture of it though I thought I tried. Last night was a washout with thunderstorms, hopefully tonight is better.

GCO8Kb9.jpg
 
I mentioned connecting vertical braces so the load bears on the ends of the brace and not by applying sheer pressure on the side of the rivet on someone else's thread and finally got a few pictures of what i was trying to describe.


qhQ0Y2r.jpg


The anchor of the brace has some sharpie marking on it still but if you look the metal is contoured to bear on the piece of angle riveted down to the boat's floor brace. The top side shows the floor support joist bearing on the top end of the vertical rib. The rib was snug in place before I drilled it for the rivet on the drill press. I then set it in place and drilled through the vertical upward protruding inch of the floor anchor and the vertical downward facing face underneath the joist. These rivets are just holding the vertical leg in place, and aren't experiencing any scissoring pressure to the side of the rivet from either the joist on top or the anchor below.
 
Bow deck framing done. Big push to finish it over the holiday weekend...fingers crossed that the weather will hold out for it.

Progress shot before all the final ribs were riveted:

JJHbrb5.jpg
 
Finished the vertical sidewalls for the below deck compartments and poured what foam I had left in the rod-tube area:

ccowET5.jpg


From a square center line aligned to the factory finished edge of the sheet I took measurements every 2" working my way up the deck, transcribed the marks to the sheet and plotted the measured points every 2" down the sheet giving me a rough rendering of the contour of the side of the boat.

wpS2hWJ.jpg


From there I marked square points on the ribs in the boat and kept grinding down the high points on the edge of the boat until I mated the sheet to the side contour of the boat. All in between the measuring and the grinding the process took somewhere between 4 and 5 hours. It was painfully slow but the results were worth it. There's the cap as compared to the <1/8" thick piece of sheet riveted to the boatside:

rDOg2U0.jpg


I flipped the sheet onto the other side of the boat and my contour line was about as close to the sideline as my initial starting point before grinding the edge down.

X2W07fs.jpg


So I used it as a template to mark the sheet for the opposite side of the boat, leaving it wide so the two will overlap in the middle. I shifted the completed starboard side sheet 5" to the side to serve as a fence for the circular saw to cutout the port side contour.

E93AqIS.jpg

ceDHBaV.jpg


From there I ground down the port sheet the same way - keeping it square to the bow of the boat and centerline of the boat and running a sharpie down the side of the boat only contacting the sheet at the high points where it needed to be ground down.

QiseC8o.jpg


Tedious work but the end result was just as good.

AXDTYAx.jpg

m4hcdOP.jpg


Made an end cap with rod storage for who ever is fishing from the back

d3njIC2.jpg


From there I set the sheets down and marked the cutouts for the hatches and openings from the underside, cut them out rough with the cutoff wheel and finished everything in place with the 50 grit disk on the grinder.

ku6XKsR.jpg

1FzQ2Zk.jpg

G2A1td1.jpg


End result before I cut out the through-holes for the seat bases that are going on the bow deck including the bent vertical face for the bow cap:

OktbRlk.jpg


Need to get pics on the rest of the progress, but it's been a much slower process than I ever anticipated. Waiting on another order of foam to finish the rod holder area and the underside of the forward section of bow deck on the port side before I can attach the sheets down.
 
"It was painfully slow but the results were worth it."


I agree with the results being worth it. That is about as seamless as it is going to get. Craftsmanship is really apparent.

I think I'm probably repeating myself here. When I see two part foam being used it reminds me that I saw somewhere that folks layered empty soda or water bottles among the expansion foam to save on the amount of foam needed. Not really advocating -- just thought it was an interesting and unique approach.
 
LDUBS said:
...I saw somewhere that folks layered empty soda or water bottles among the expansion foam to save on the amount of foam needed...


**** it...I'd seen that too and I meant to do that in this build...oh well, if I'm ever dumb enough to do a boat #3 I'll try better to keep that in mind! At least I can add it to the port-side front area that isn't done at all yet!
 
Awesome build man! Your attention to detail really shows in your work. I just looked up the price of 2024 aluminum sheets and my jaw dropped. That’s one expensive deck! I would’ve been sweating making cuts in a sheet like that, good job.

Any particular reason why you framed with solid rivets versus blind rivets? I have the capability to do both, but I’m just curious.
 
Not my first choice of alloy, but I got the remnants of larger sheets at a price less than what I could have gotten 5052 for. This alloy would not be a good choice for salt water for sure with its higher copper content. It's a PITA to bend as well.

I used .032" 6061 for all the vertical panels, much less expensive, easier to bend, well, less physical effort to bend at any rate, and much MUCH lighter.

Using solid over blind rivets was for the resistance to shear loading and the durability against vibration over time. I forget the exact figure, you can look it up online easy enough to confirm, but a solid rivet is many times stronger than a blind rivet when resisting a shear load. I tried my best to avoid loading the rivets this way (see my earlier post regarding the way I did the vertical bracing connections) but sometimes its inevitable and for those instances I'd rather have solid rivets holding everything together.

Downside is I need to stop working at night after work when it gets dark as not to keep the neighbors awake as they make a ton of noise to set and aren't great for tight spaces.
 
Well, hatches are fitted, hinges still need to be riveted down, but everything lines up.

HnaQTaY.jpg


Bow cap corners are rounded, drilled and ready for rivets. Cut outs are drilled for the corner nav lights. Predrilled the holes for the trolling motor mounting plate - all part of last night's noise-making efforts. Killing me needing to stop working at 9ish when I only get home from work at 7:30 each night.

wkw5kBo.jpg

sAUCnHk.jpg


Hopefully tonight I can get the holes for the electrical accessories cut in the kick panel at the base of the bow cap, get the sharp edges on the decking sheets sanded and ready for install and pour the rest of the foam once it's too noisy to be working on the metal sheets...

I've got a really long punch list and a deadline of the end of the week to make the trip this weekend...we'll see.
 
Great progress. If you need to keep the neighbors awake a little longer and slow down on picture posting we will all understand!

I'd like to know where you got that retro seat at.

Is the motor tuned and ready for the trip?

Sent from my SM-G973U using Tapatalk

 
I'm pushing the noise envelope to 9:30pm...not too bad for summertime but I'm not going any farther, neighbors have been great thus-far.

The seat came from a shop I found on Ebay that had one listed in the dimensions I needed. I messaged them and asked about the color options and they corresponded very quickly with options and called me to discuss the final design before I placed the order through ebay. Great place to deal with. Here's the link to his ebay store:

https://www.ebay.com/str/nautiupholstery

Motor? Tuned? HA! I have a new starter, new impeller, fresh lube in the lower unit, good spark on all cylinders, 125 PSI compression and a prayer that the carbs work with a set of rebuild kits on standby in case they don't! About the best I can do at this point seeing as I don't have the steering wheel or remote control reinstalled yet. I can reuse the fuel tank from my 14' so I know I don't have issues with the primer bulb or fuel line.

I made good progress last night on the rear section of the boat, though I still haven't poured foam to the front it is ready and waiting. Bench seat is 50% done, framing is all measured and cut and the sheets for the bench are cut and sized. Some assembly required...rear seat post is repaired and ready to reinstall once I attach the fuse block and livewell aerator. Somehow never purchased a bilge pump??? Need to grab one from Walmart on the way home, all I can do at this point...not a big deal.

Bigger deal is the idiot who installed the livewell pump originally set it almost flush with the bottom floor plate of the boat, cutting through the transom just above the weld leaving no material for a washer gasket or even the shoulder of any through-hull fitting securing washer, so I need to make up a patch and seal that off and install the pump a little higher up. Would have been nice to just replace the pump, but whatever was installed from 1985 is long since gone from the market, so I had to replace the housing. Playing that close to the transom weld with rivets makes me nervous, but can't be avoided.

Keep meaning to repack the trailer wheel bearings once I can't be making noise but I've been busy right up till 11pm each night and haven't gotten a chance. Got an assist from my father last night and hopefully tonight if the weather will cooperate.
 
Yike...a year later and I'm finally closing in on being done.

Too many distractions (including a 12' 1991 Tracker Tadpole that got itself a build-out amidst the Tracker III restore). Finally finished the rod locker door and hatch trim work. Restoring the motor was...challenging...but it's purring like a kitten now and all hooked up ready to go.

Trailer wheel bearings are the last on the must-do list, pictures to follow.
 
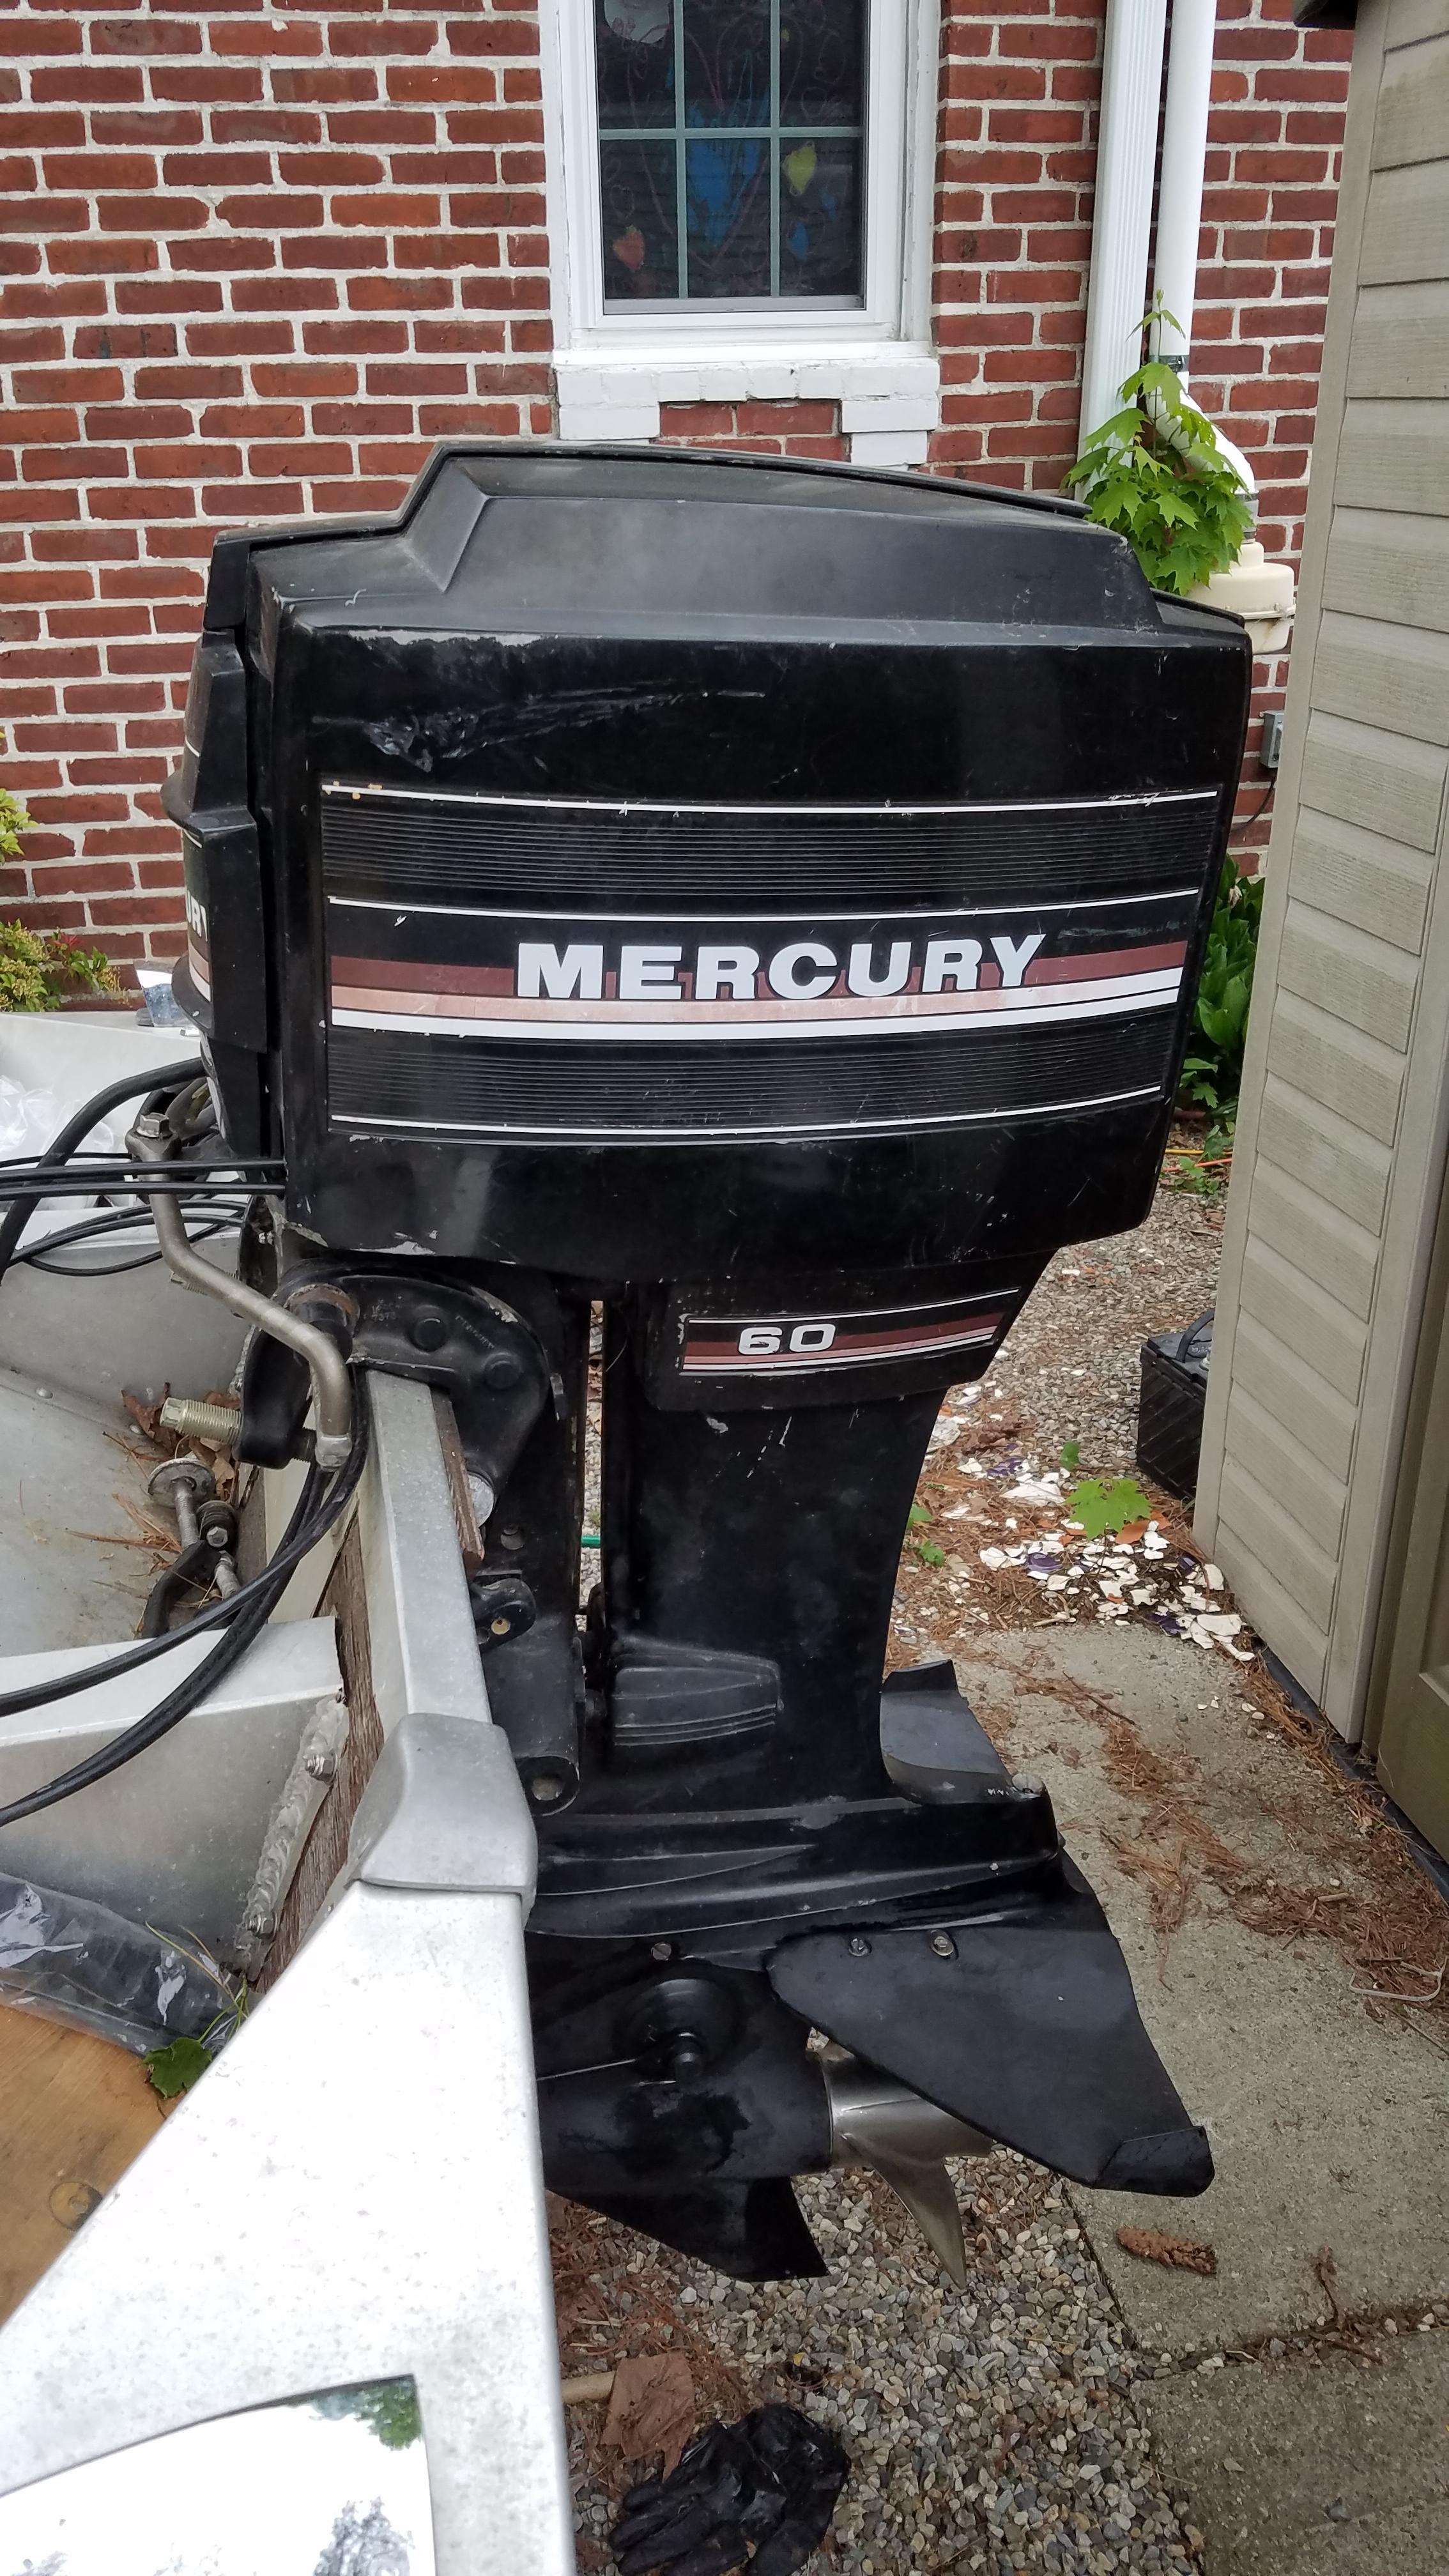
I got my Dr. Frankenmotor on, restored this old 88 Merc 60hp using the cowling and starter from an older setup and a full rebuild of the carbs, fuel pump, impeller, pivot, steering tube and who knows what else. Adjusted the timing and idle settings in the backyard and set the max spark advance per the FSM & have the thing purring like a kitten on the muffs.

lVLraZV.jpg


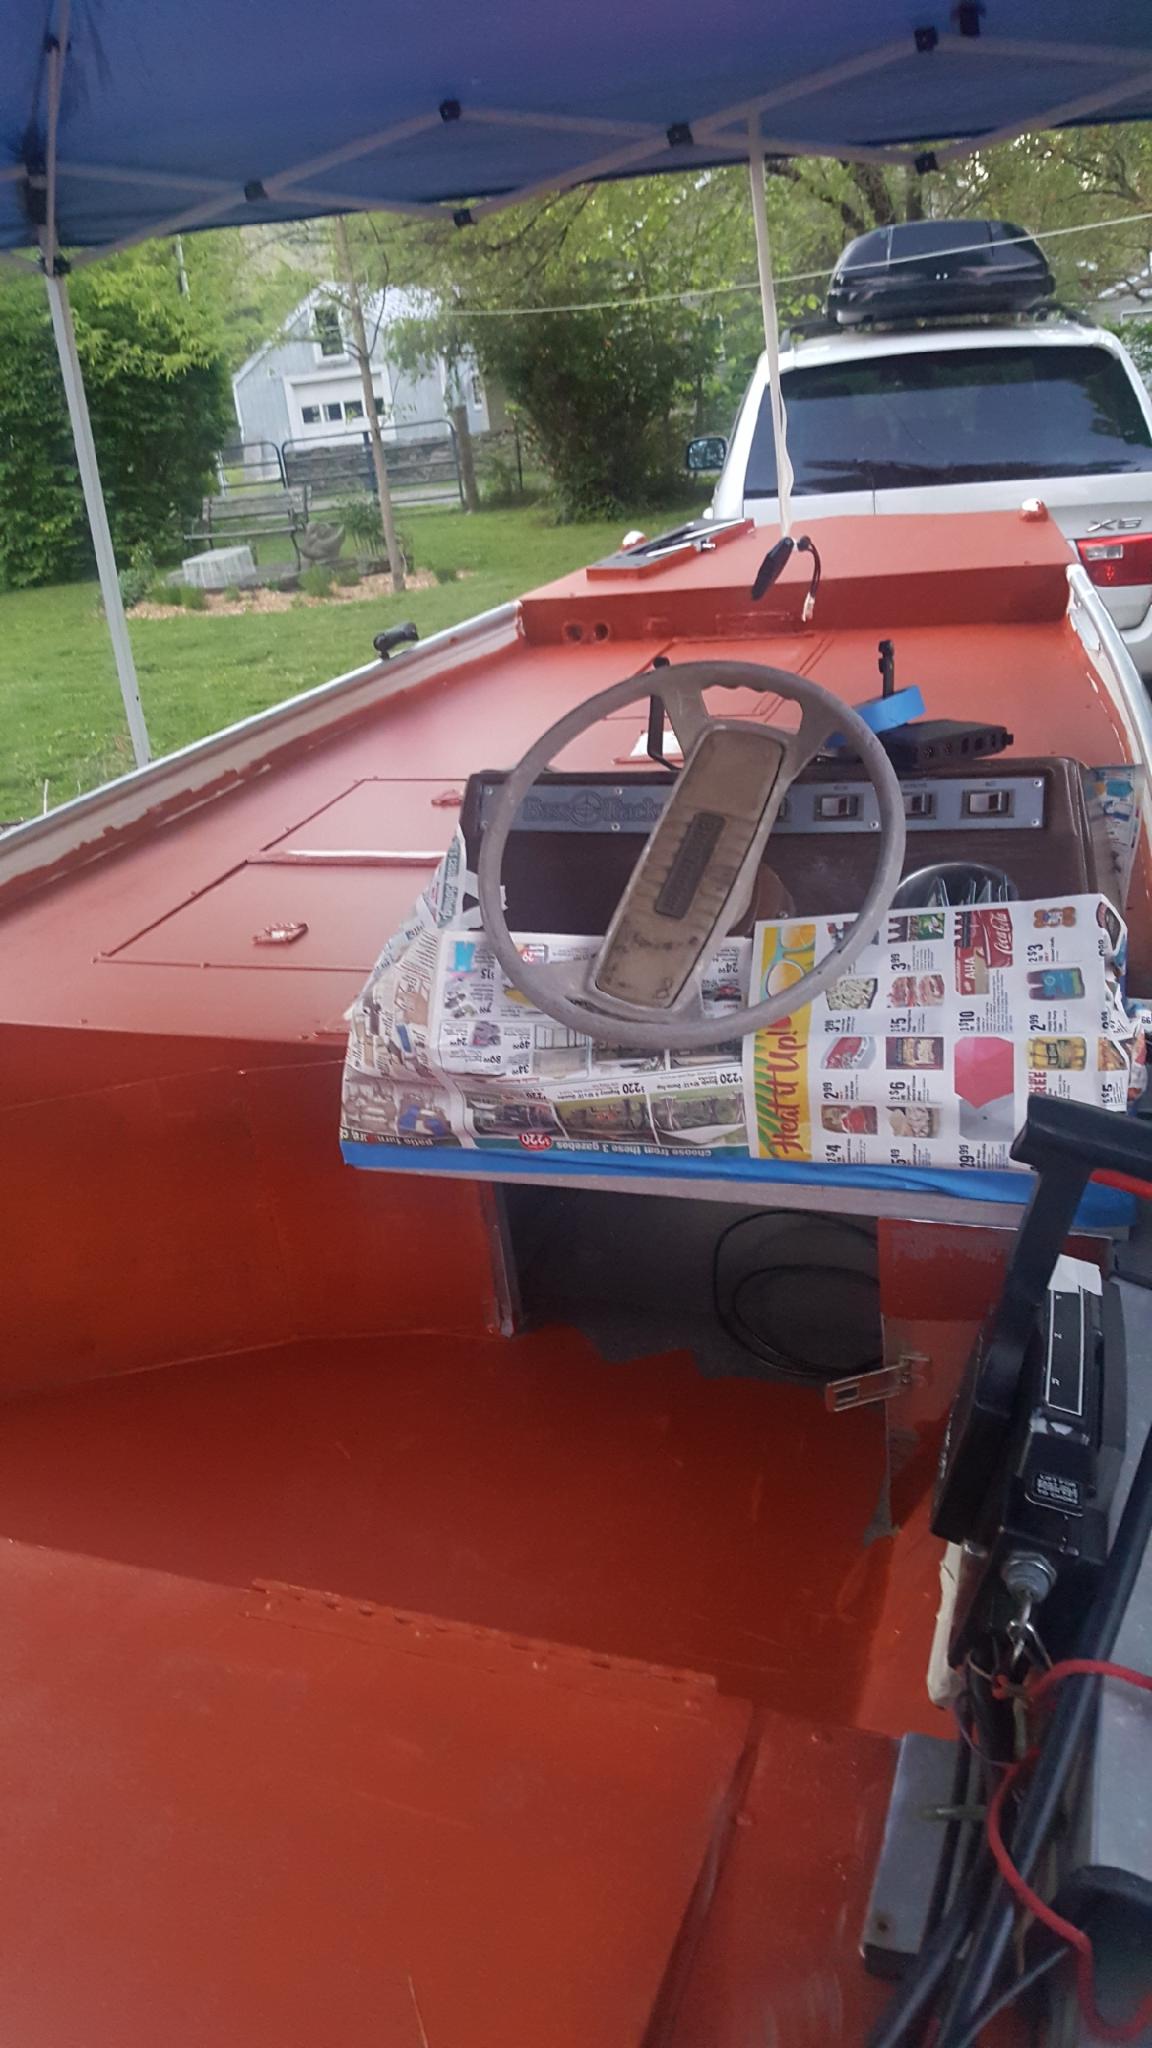
Finished the reinstallation of the shifter controls and helm, cracked as it is, to be used as a form and coated over in fiberglass at a later date.The original helm is some sort of plastic (poly by the way it seemed to melt and refuse as I cut it with the reciprocating saw in places) and doesn't seem to be responding well to my plastic welder.

rsA2Jvg.jpg


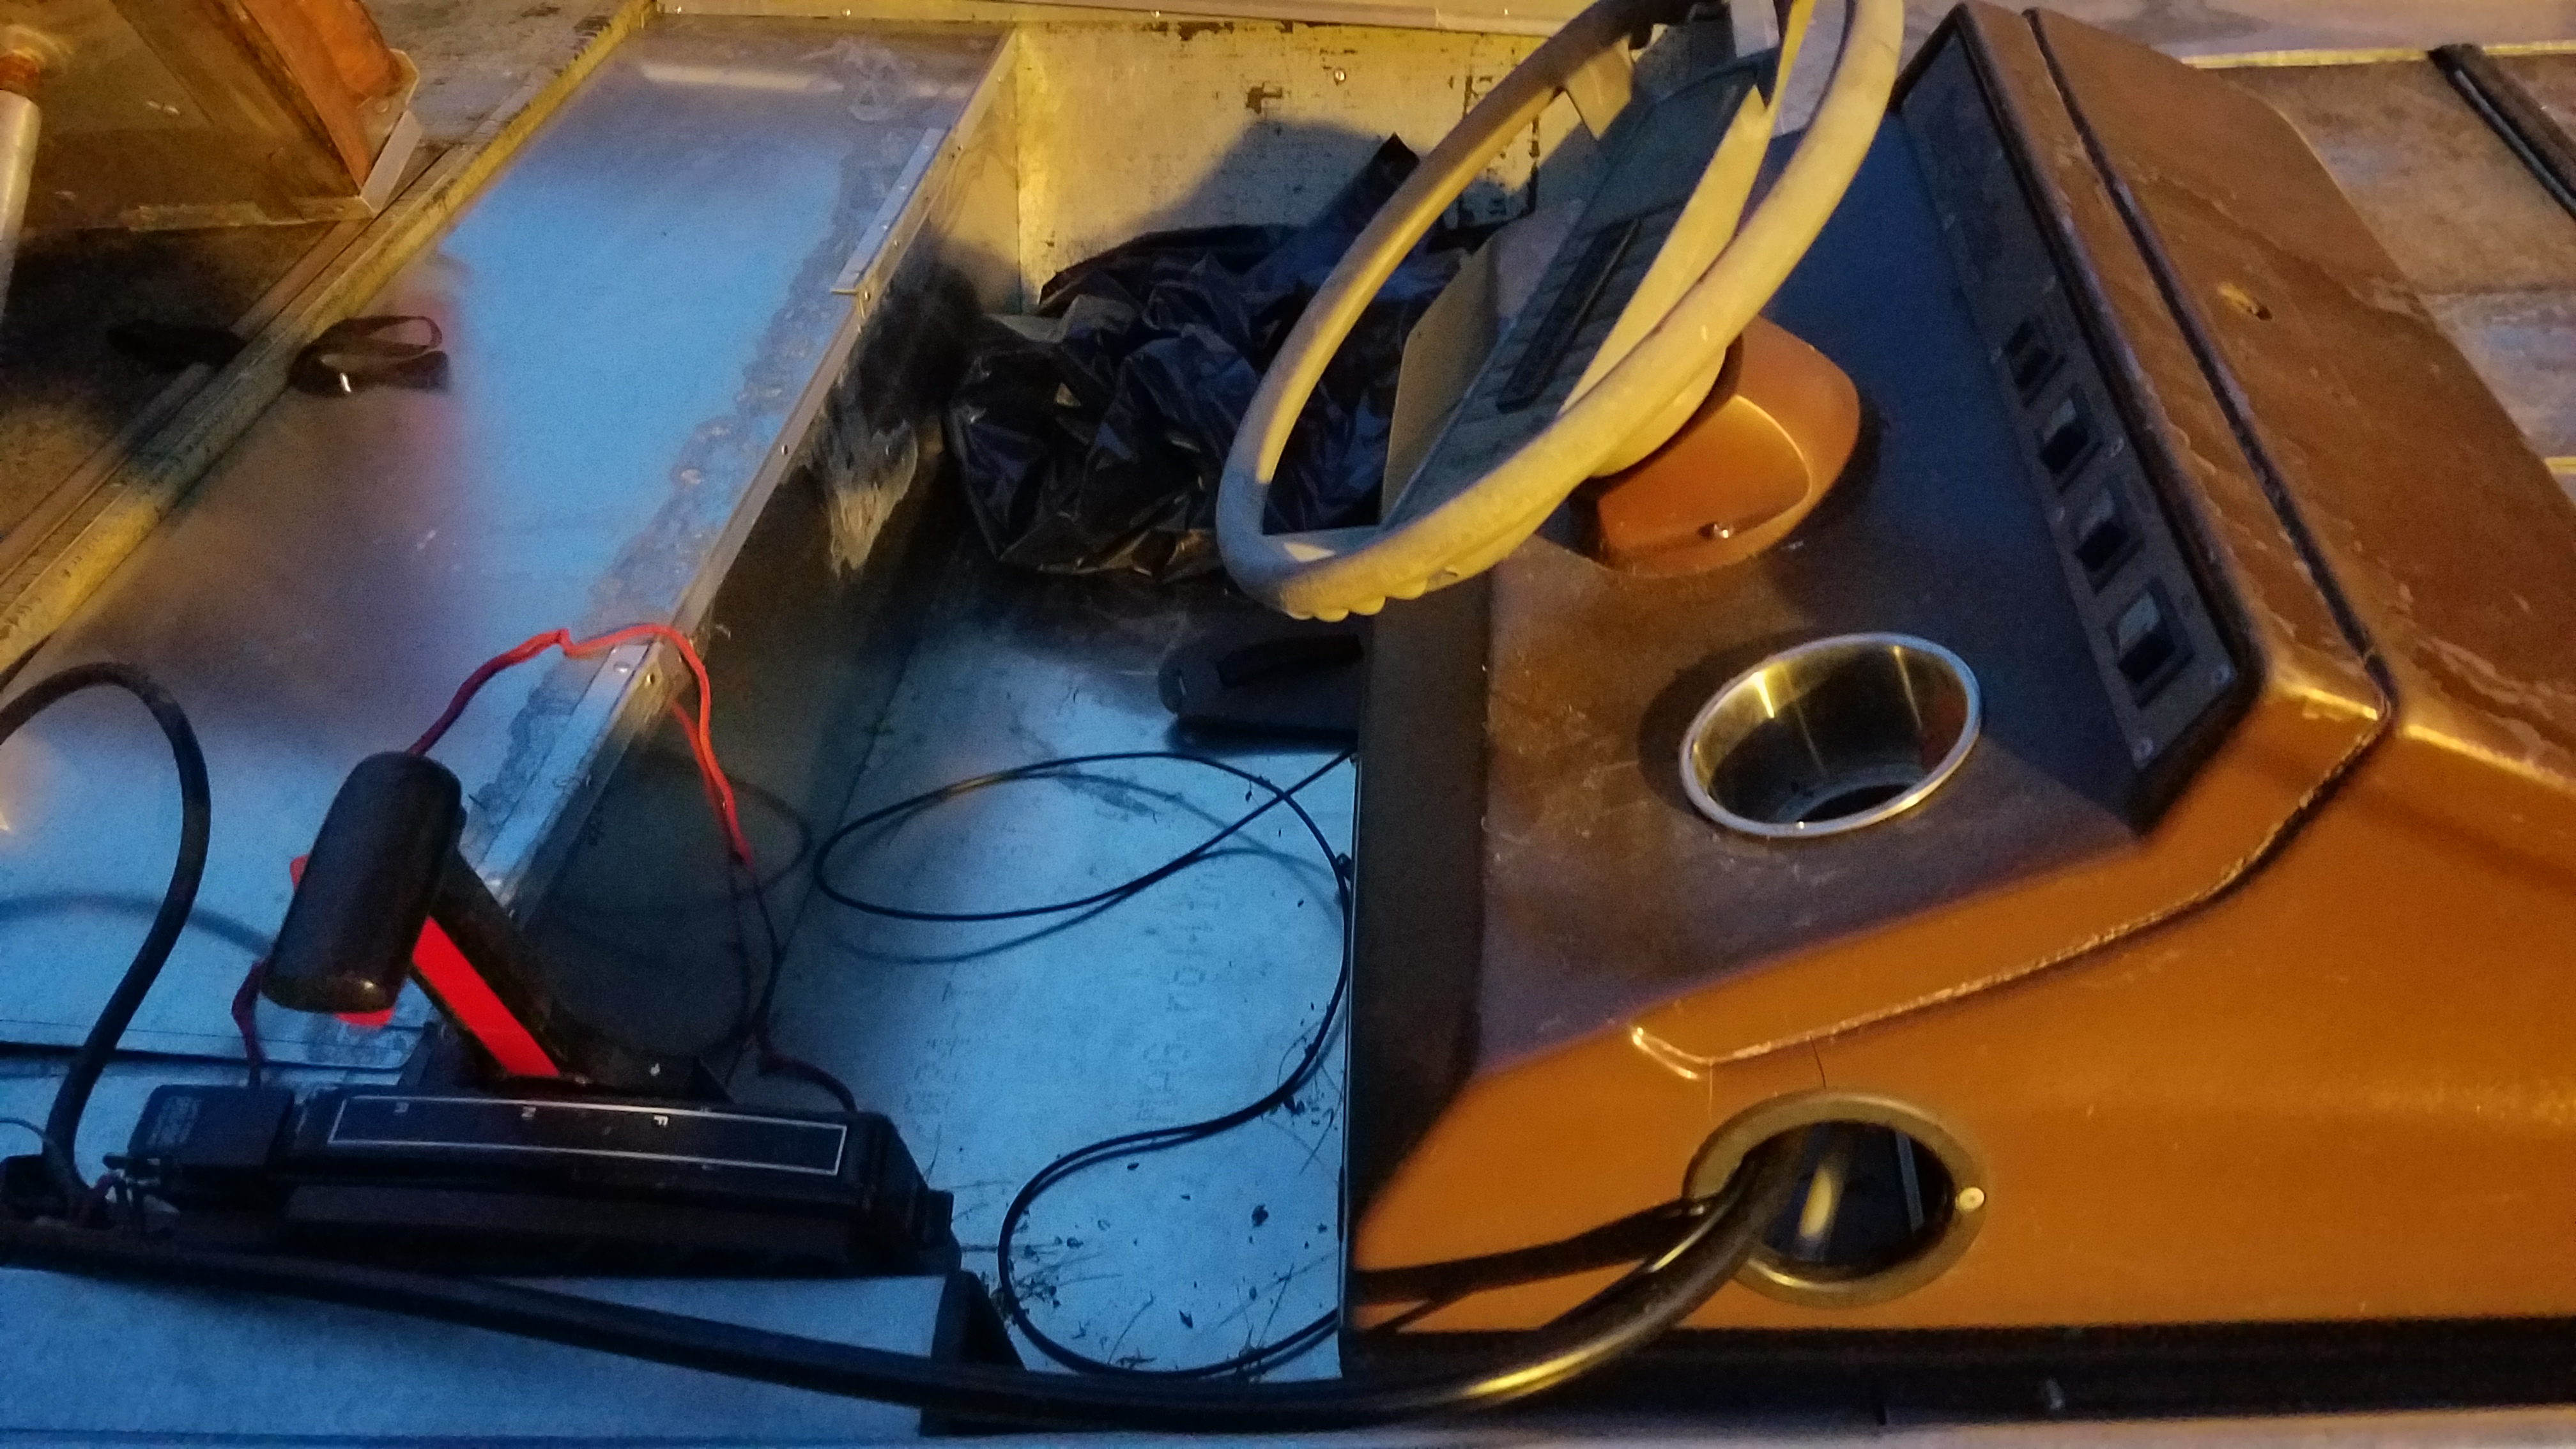
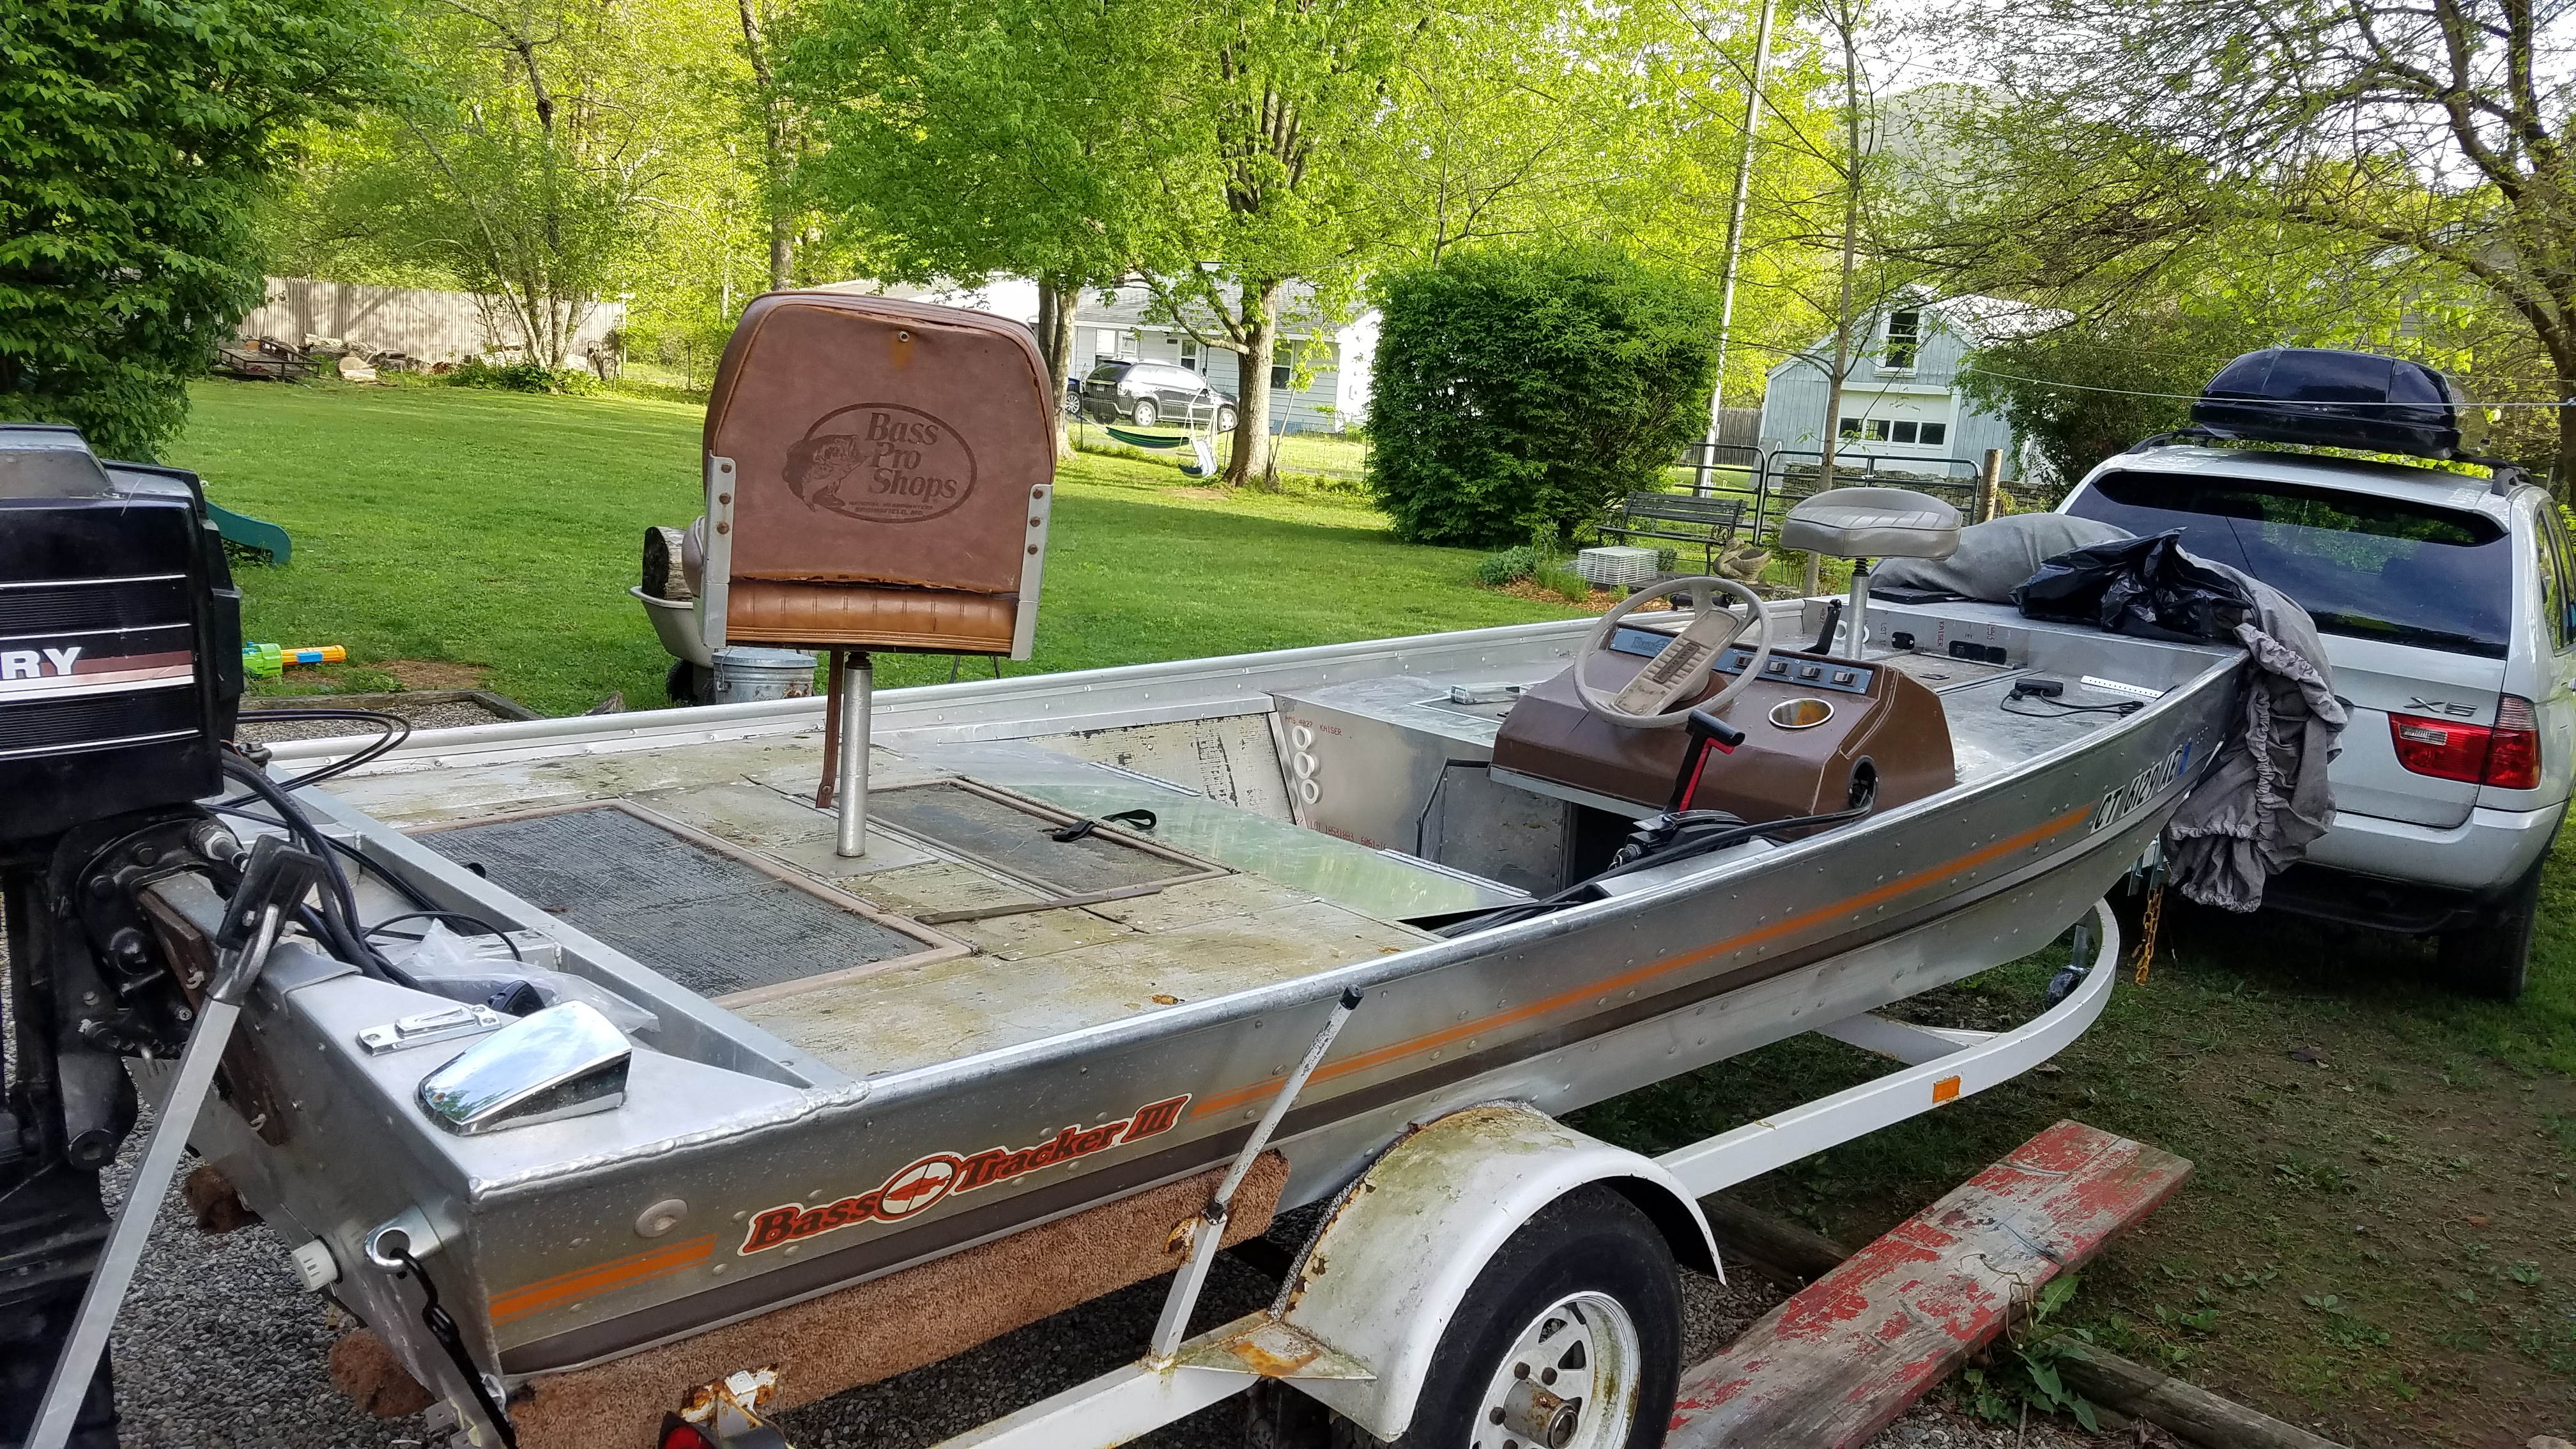
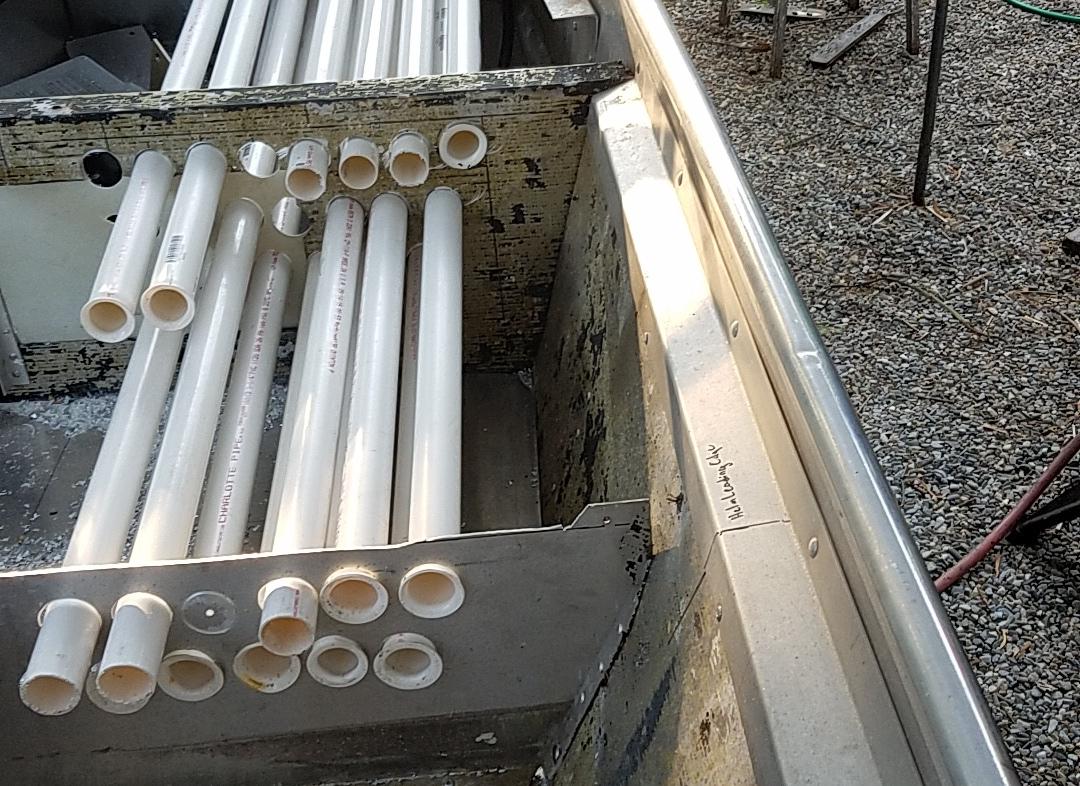
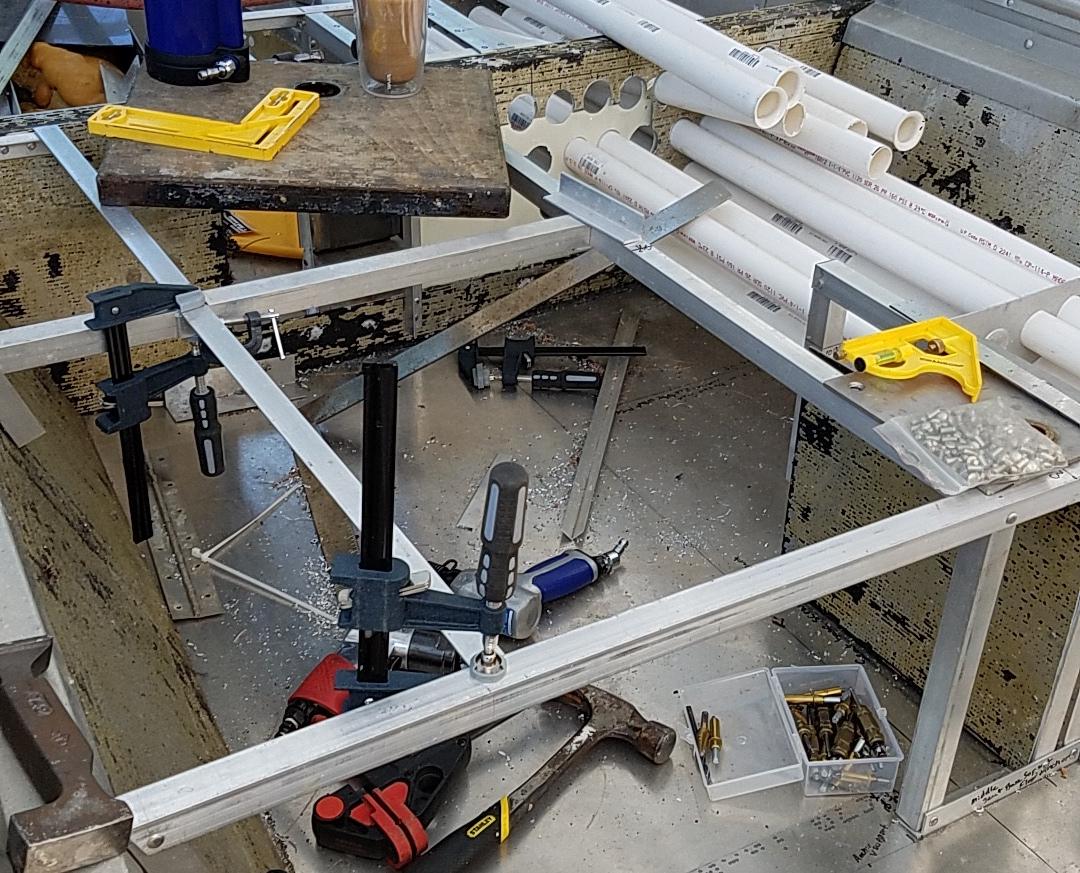
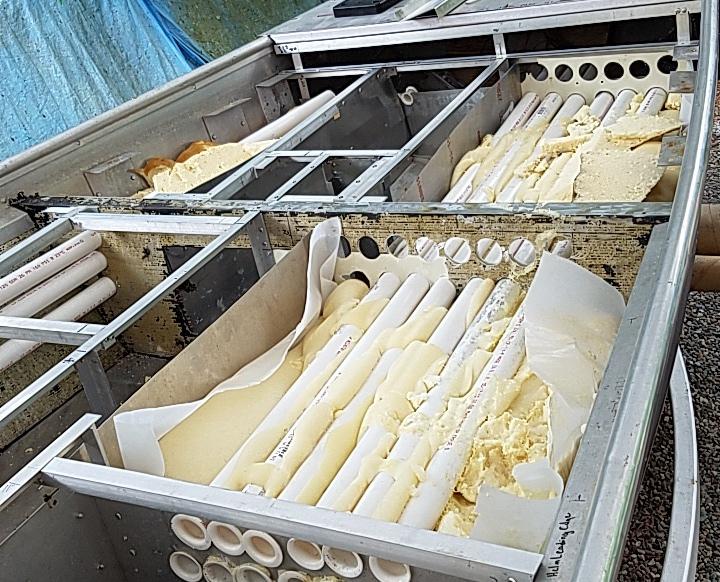
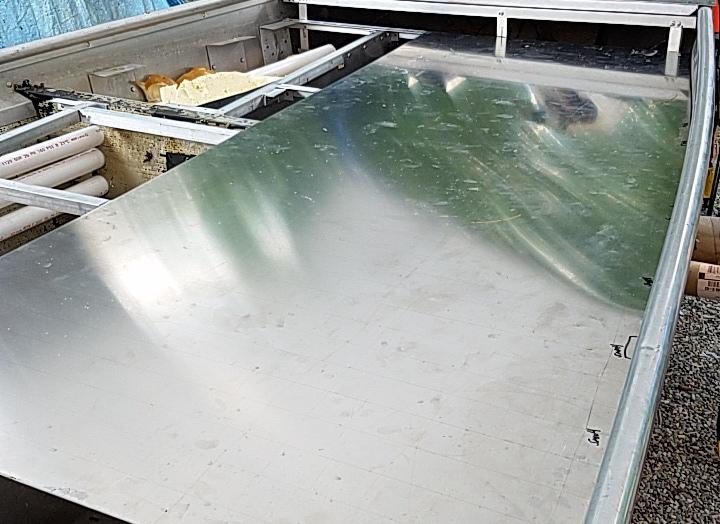
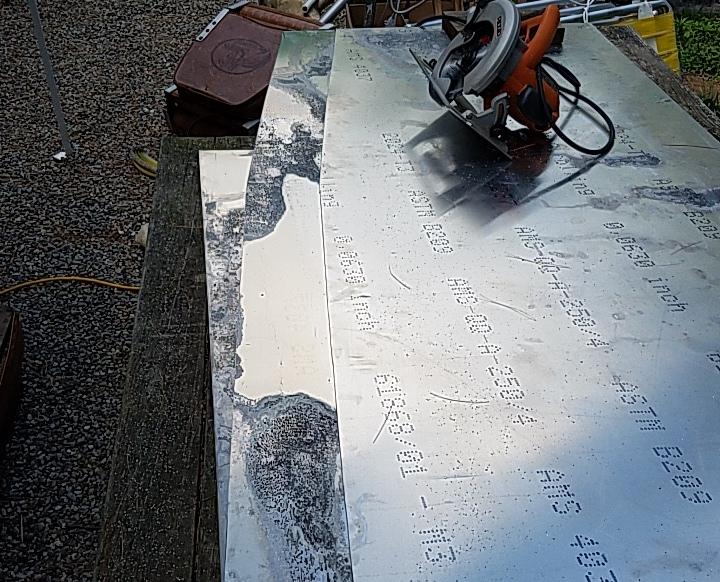
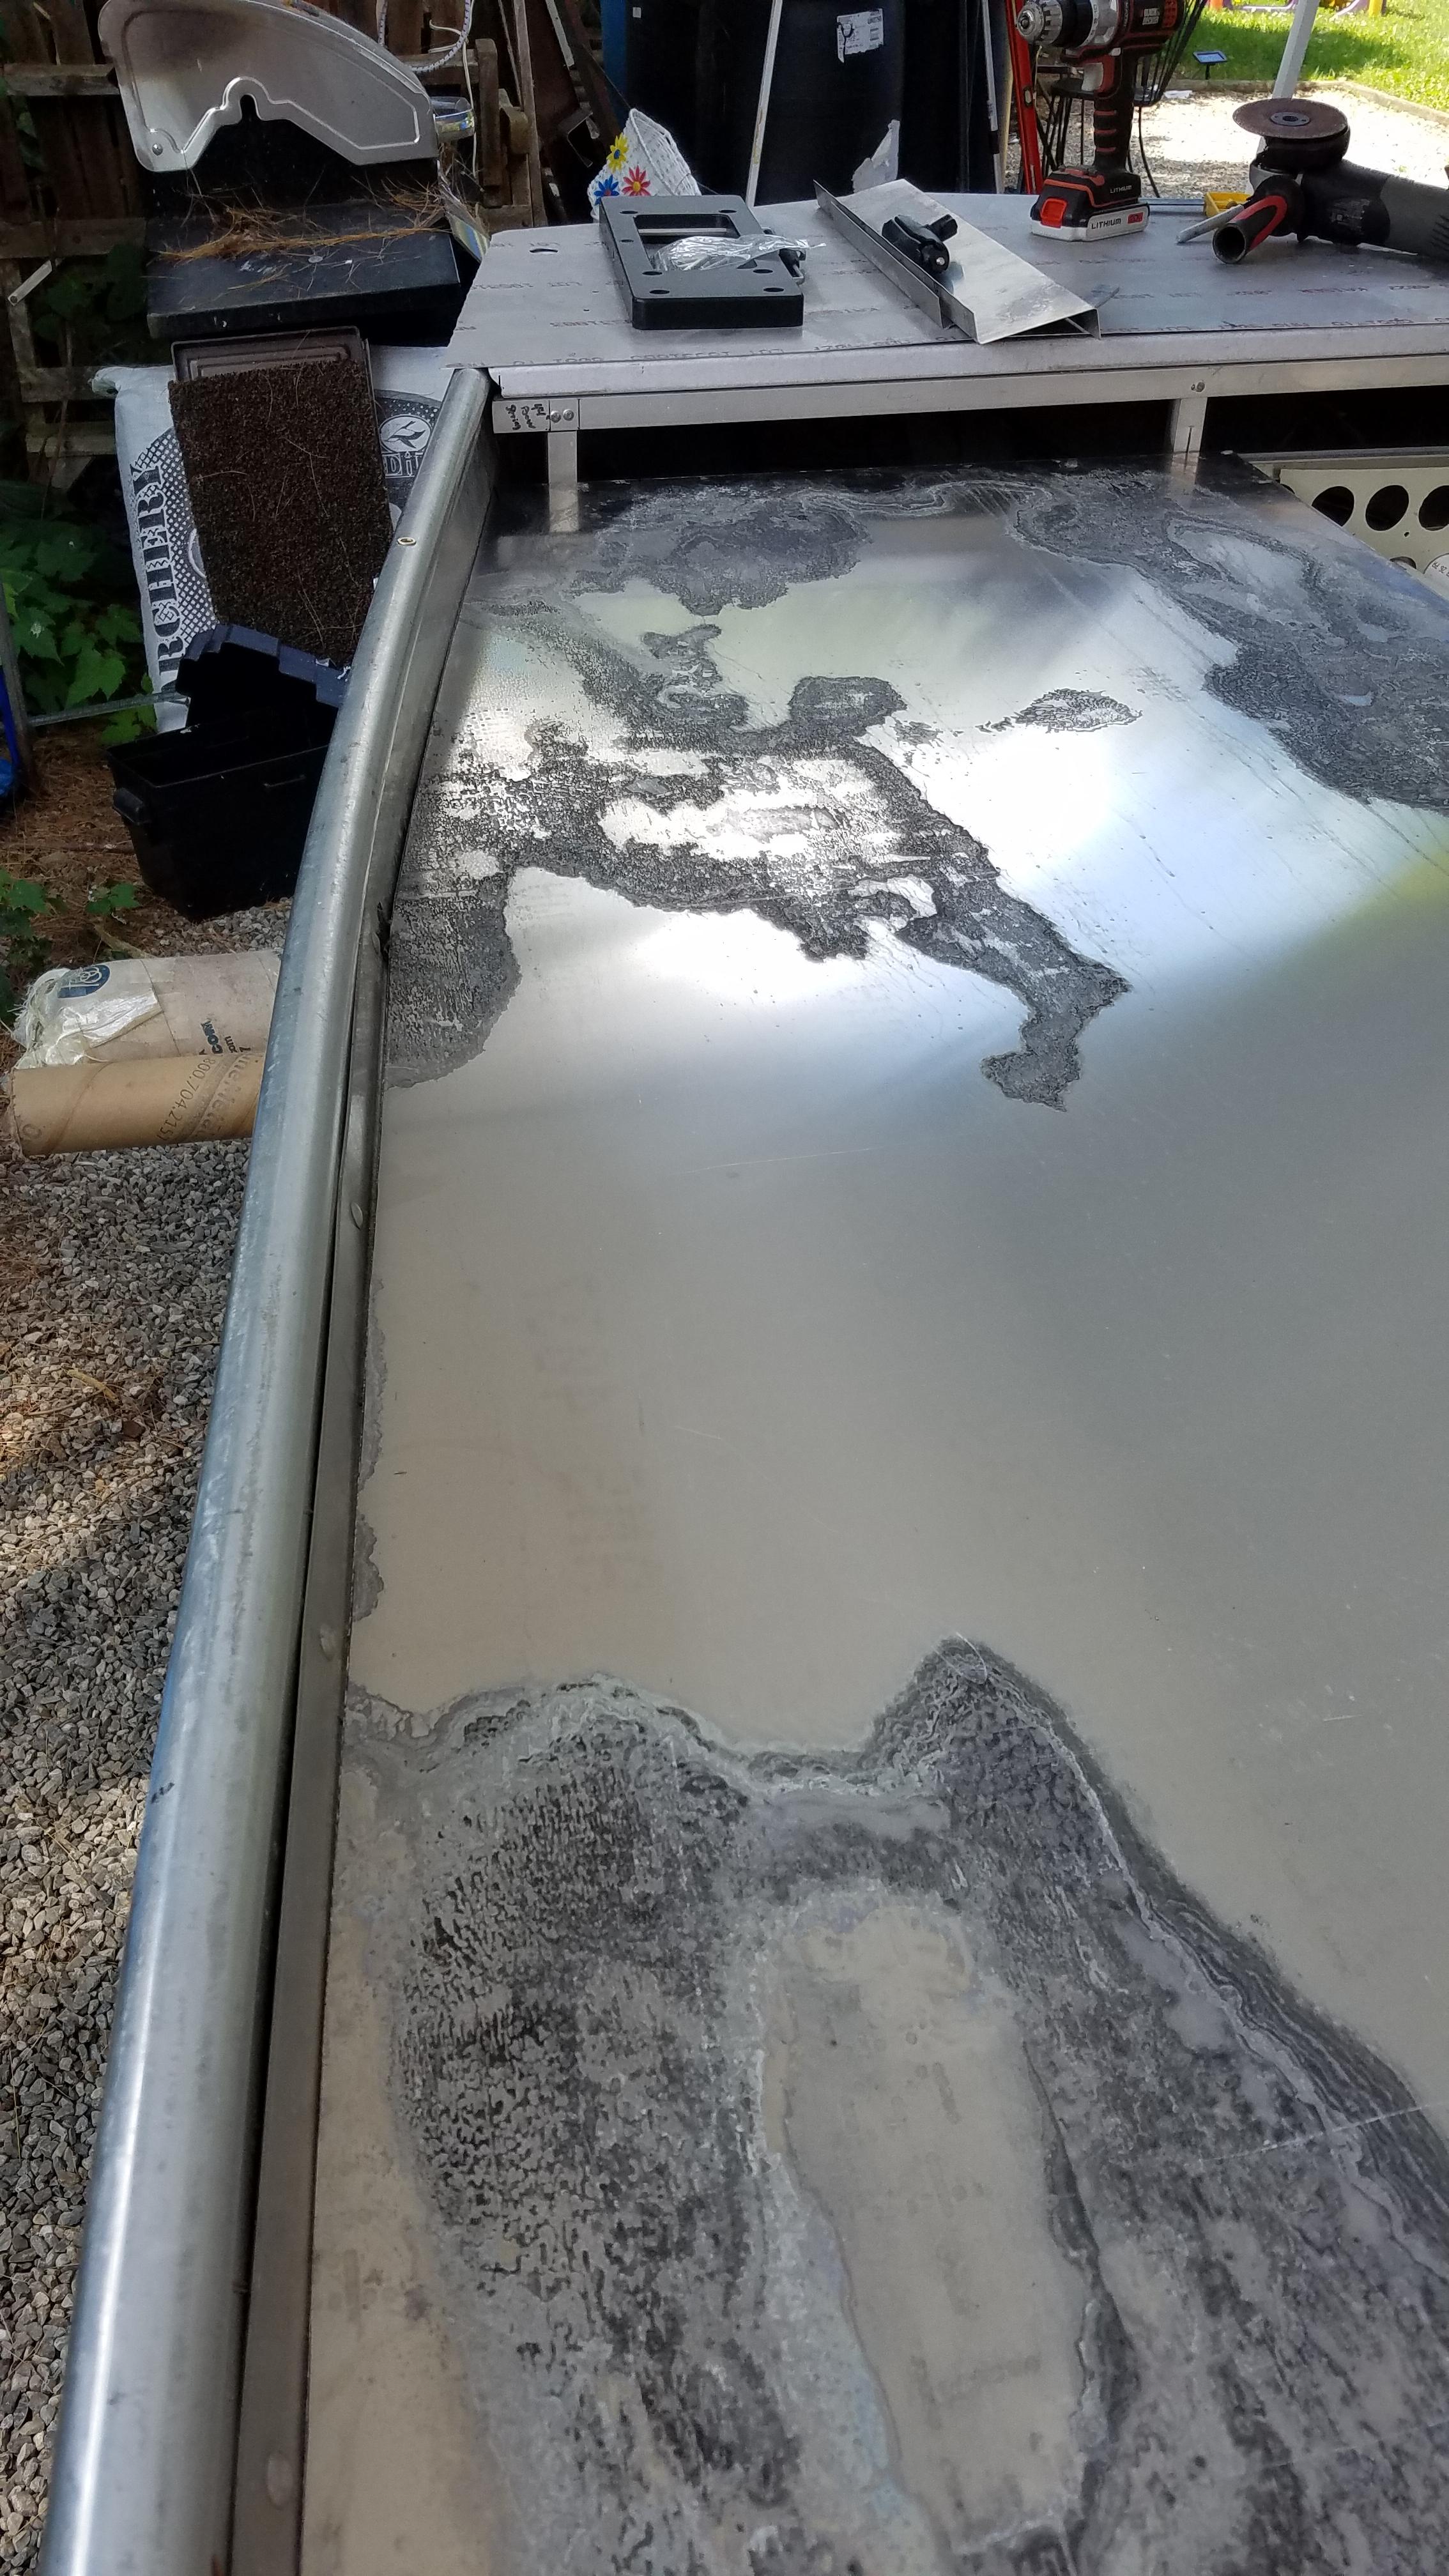
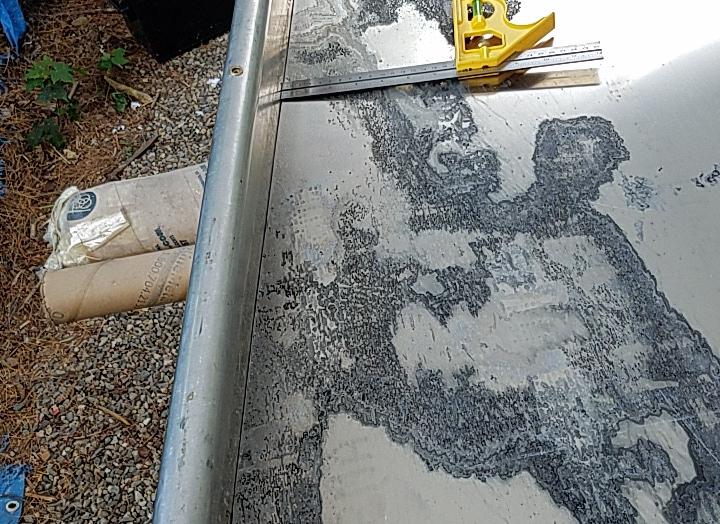
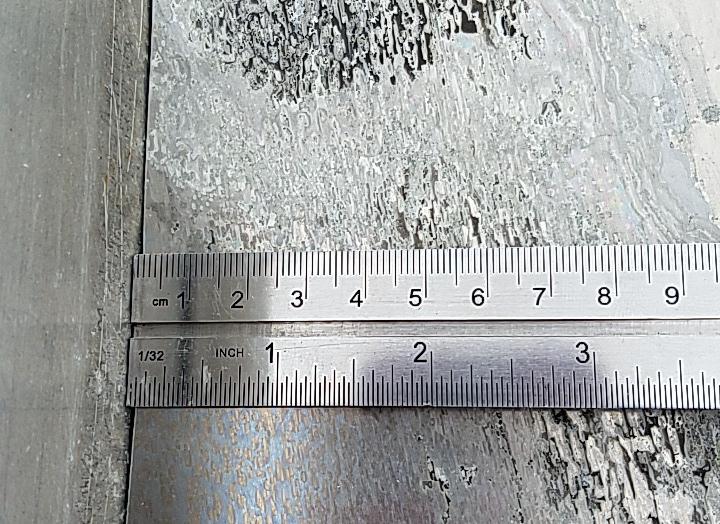
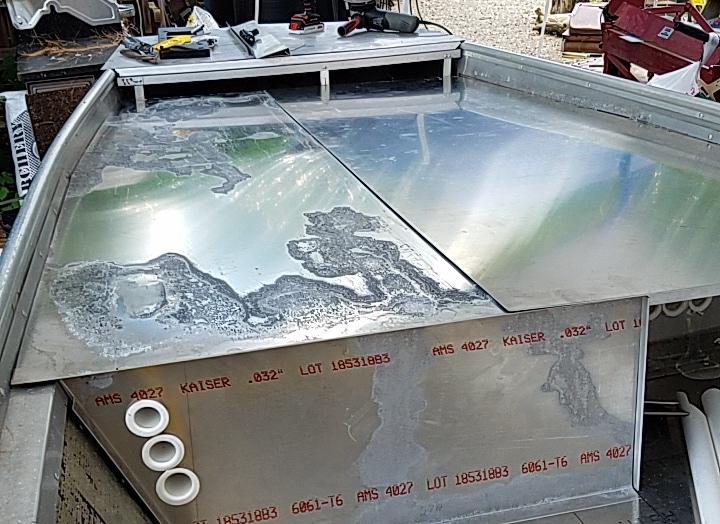
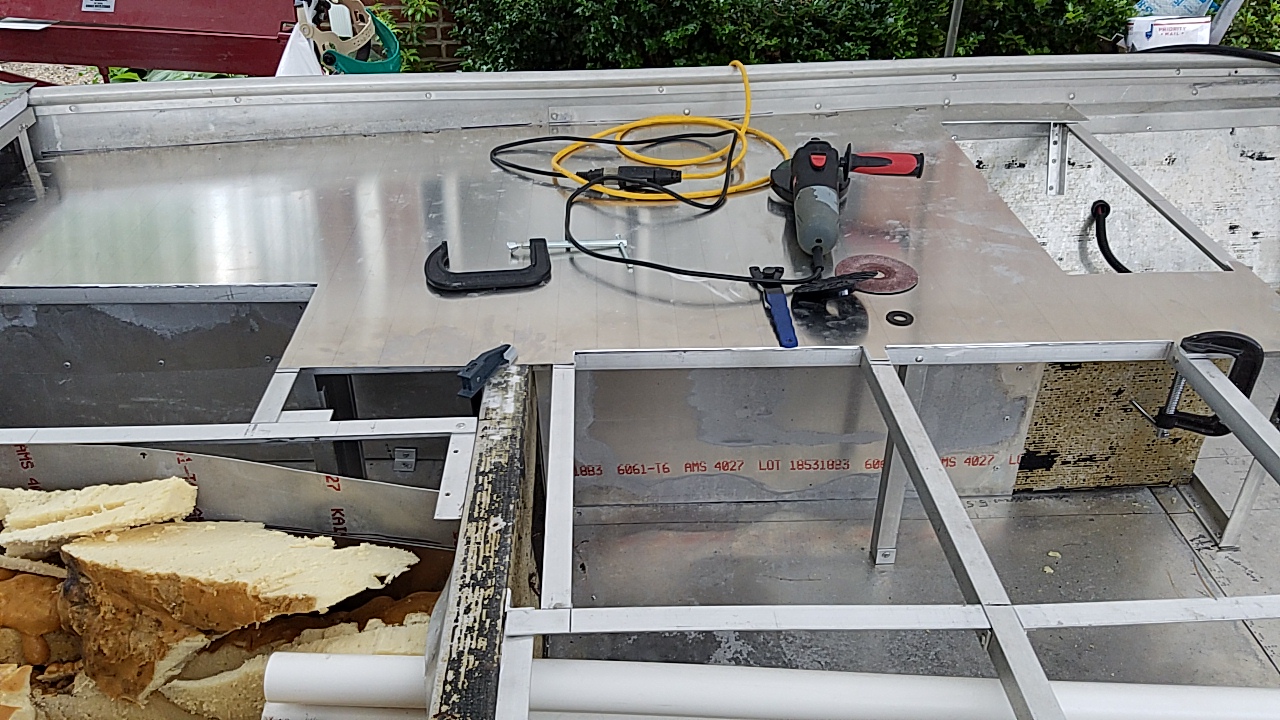
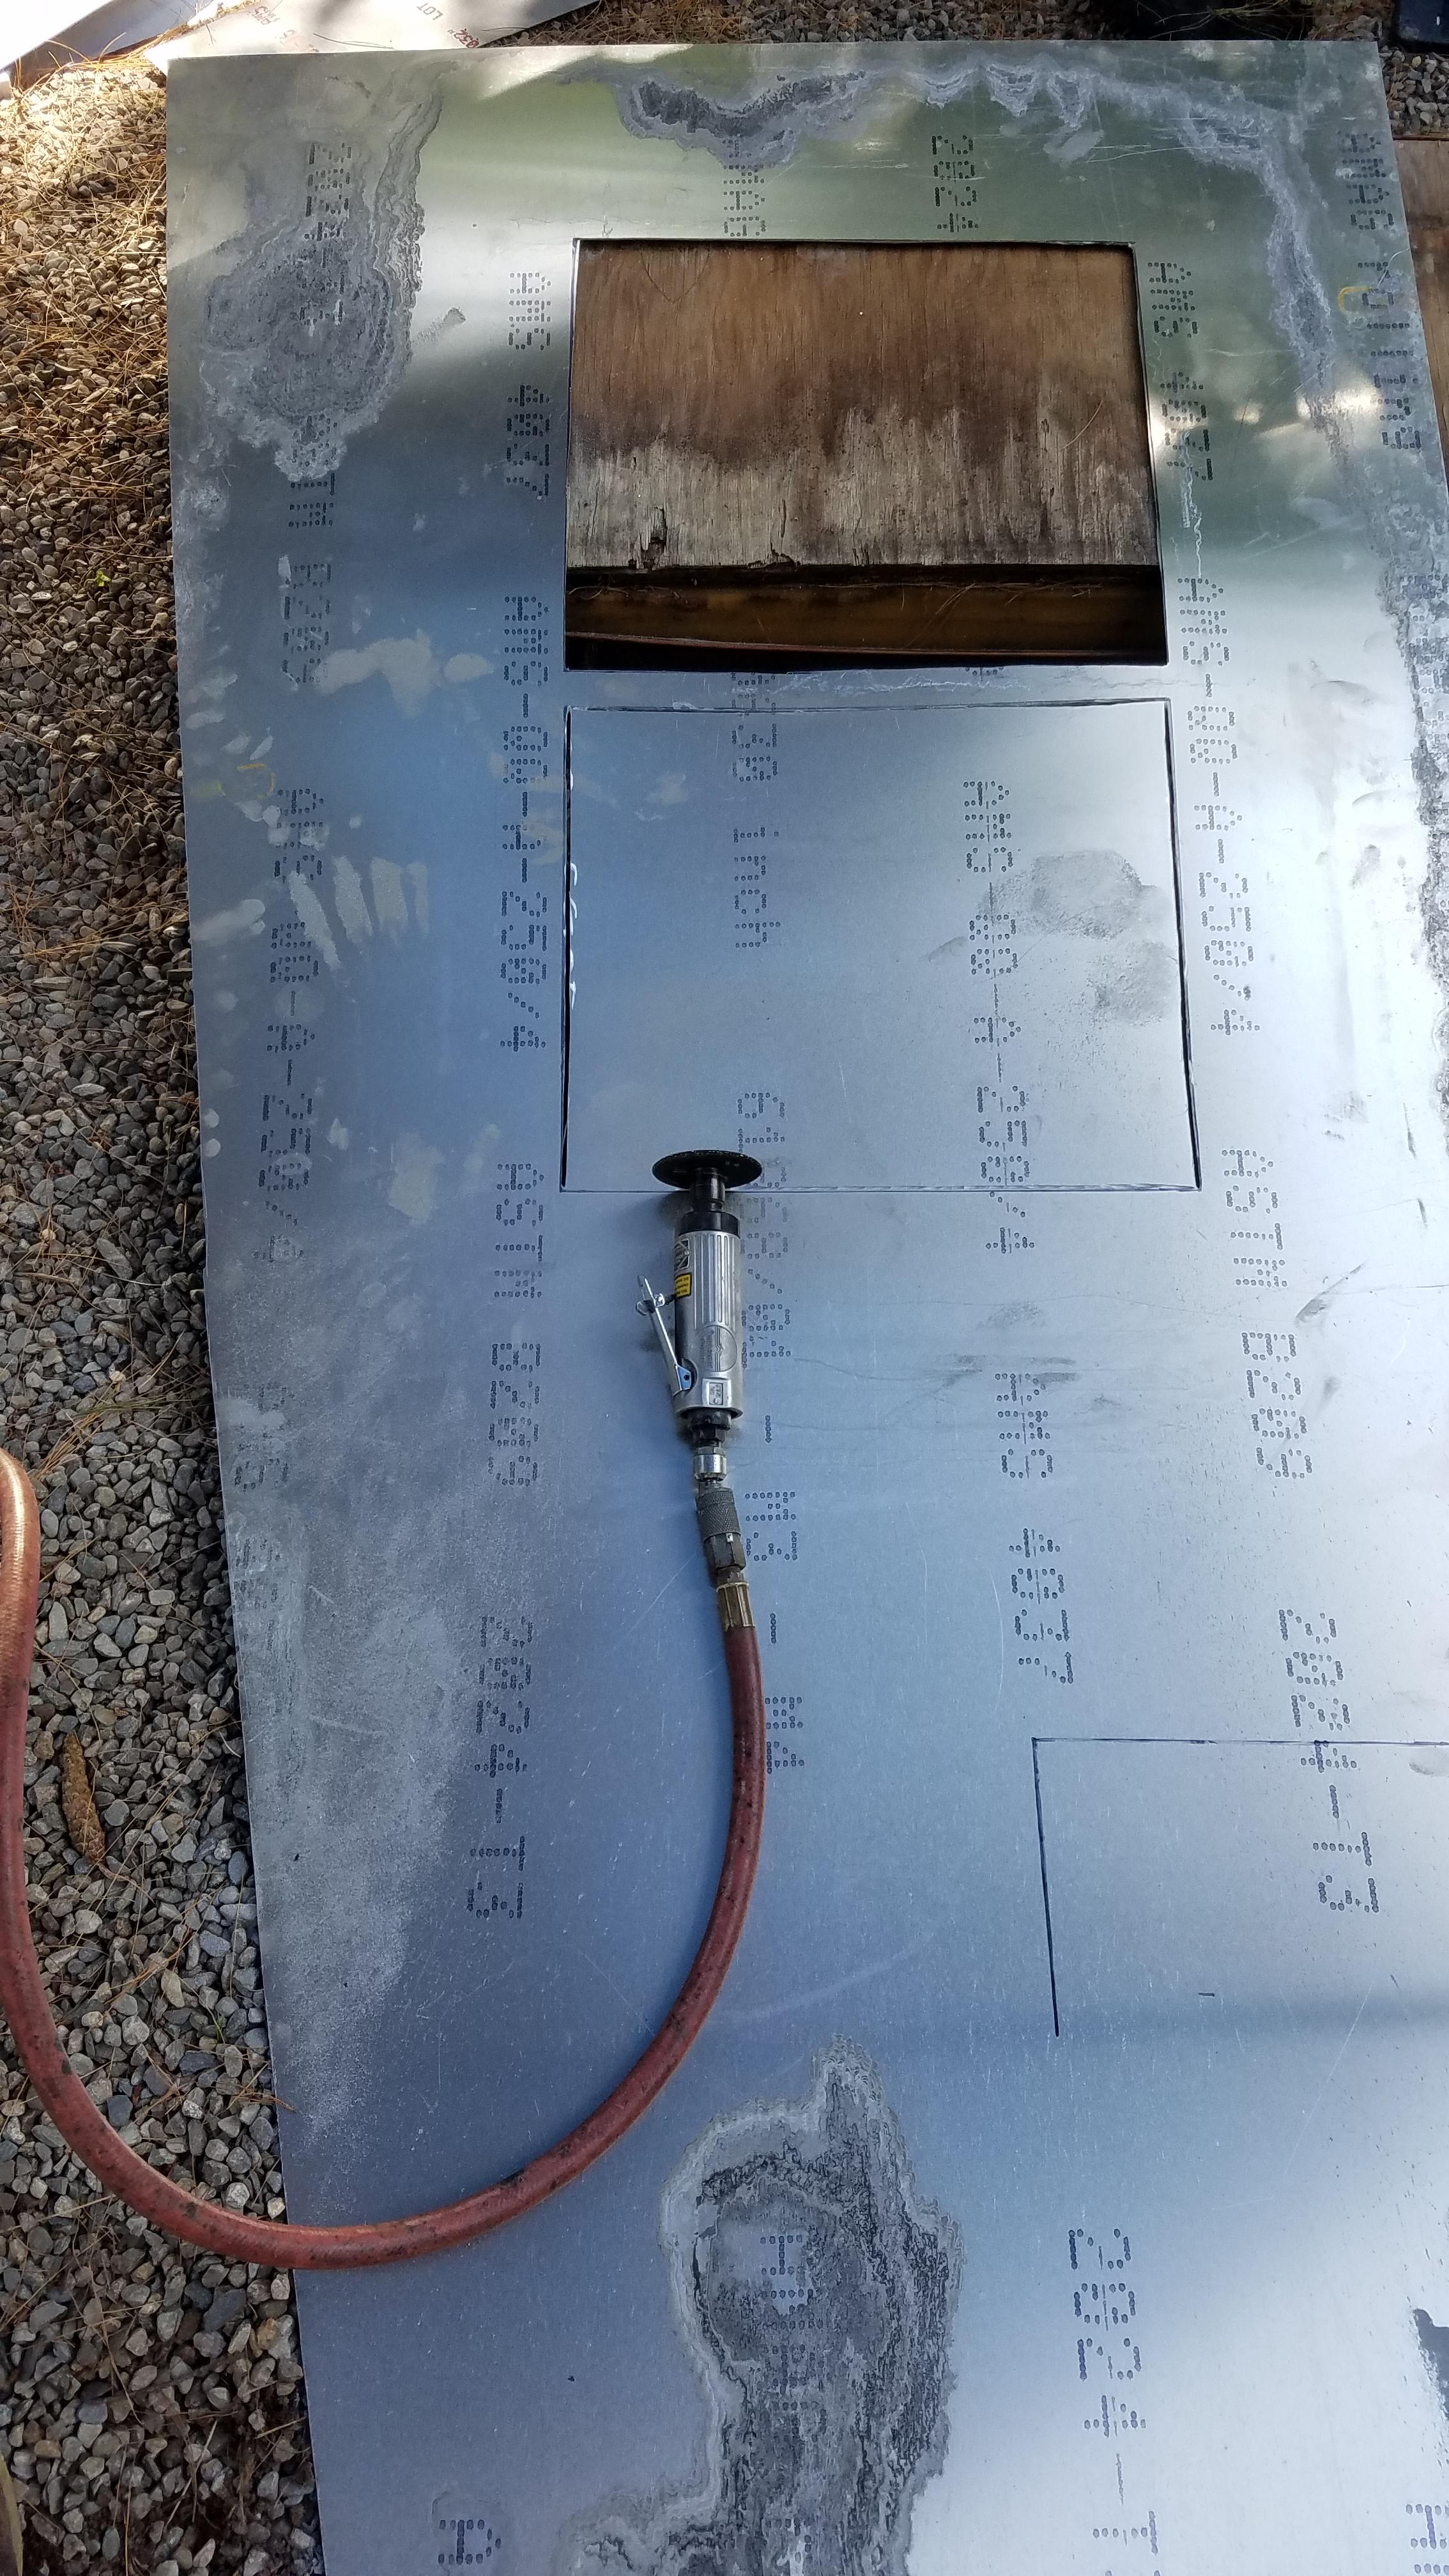
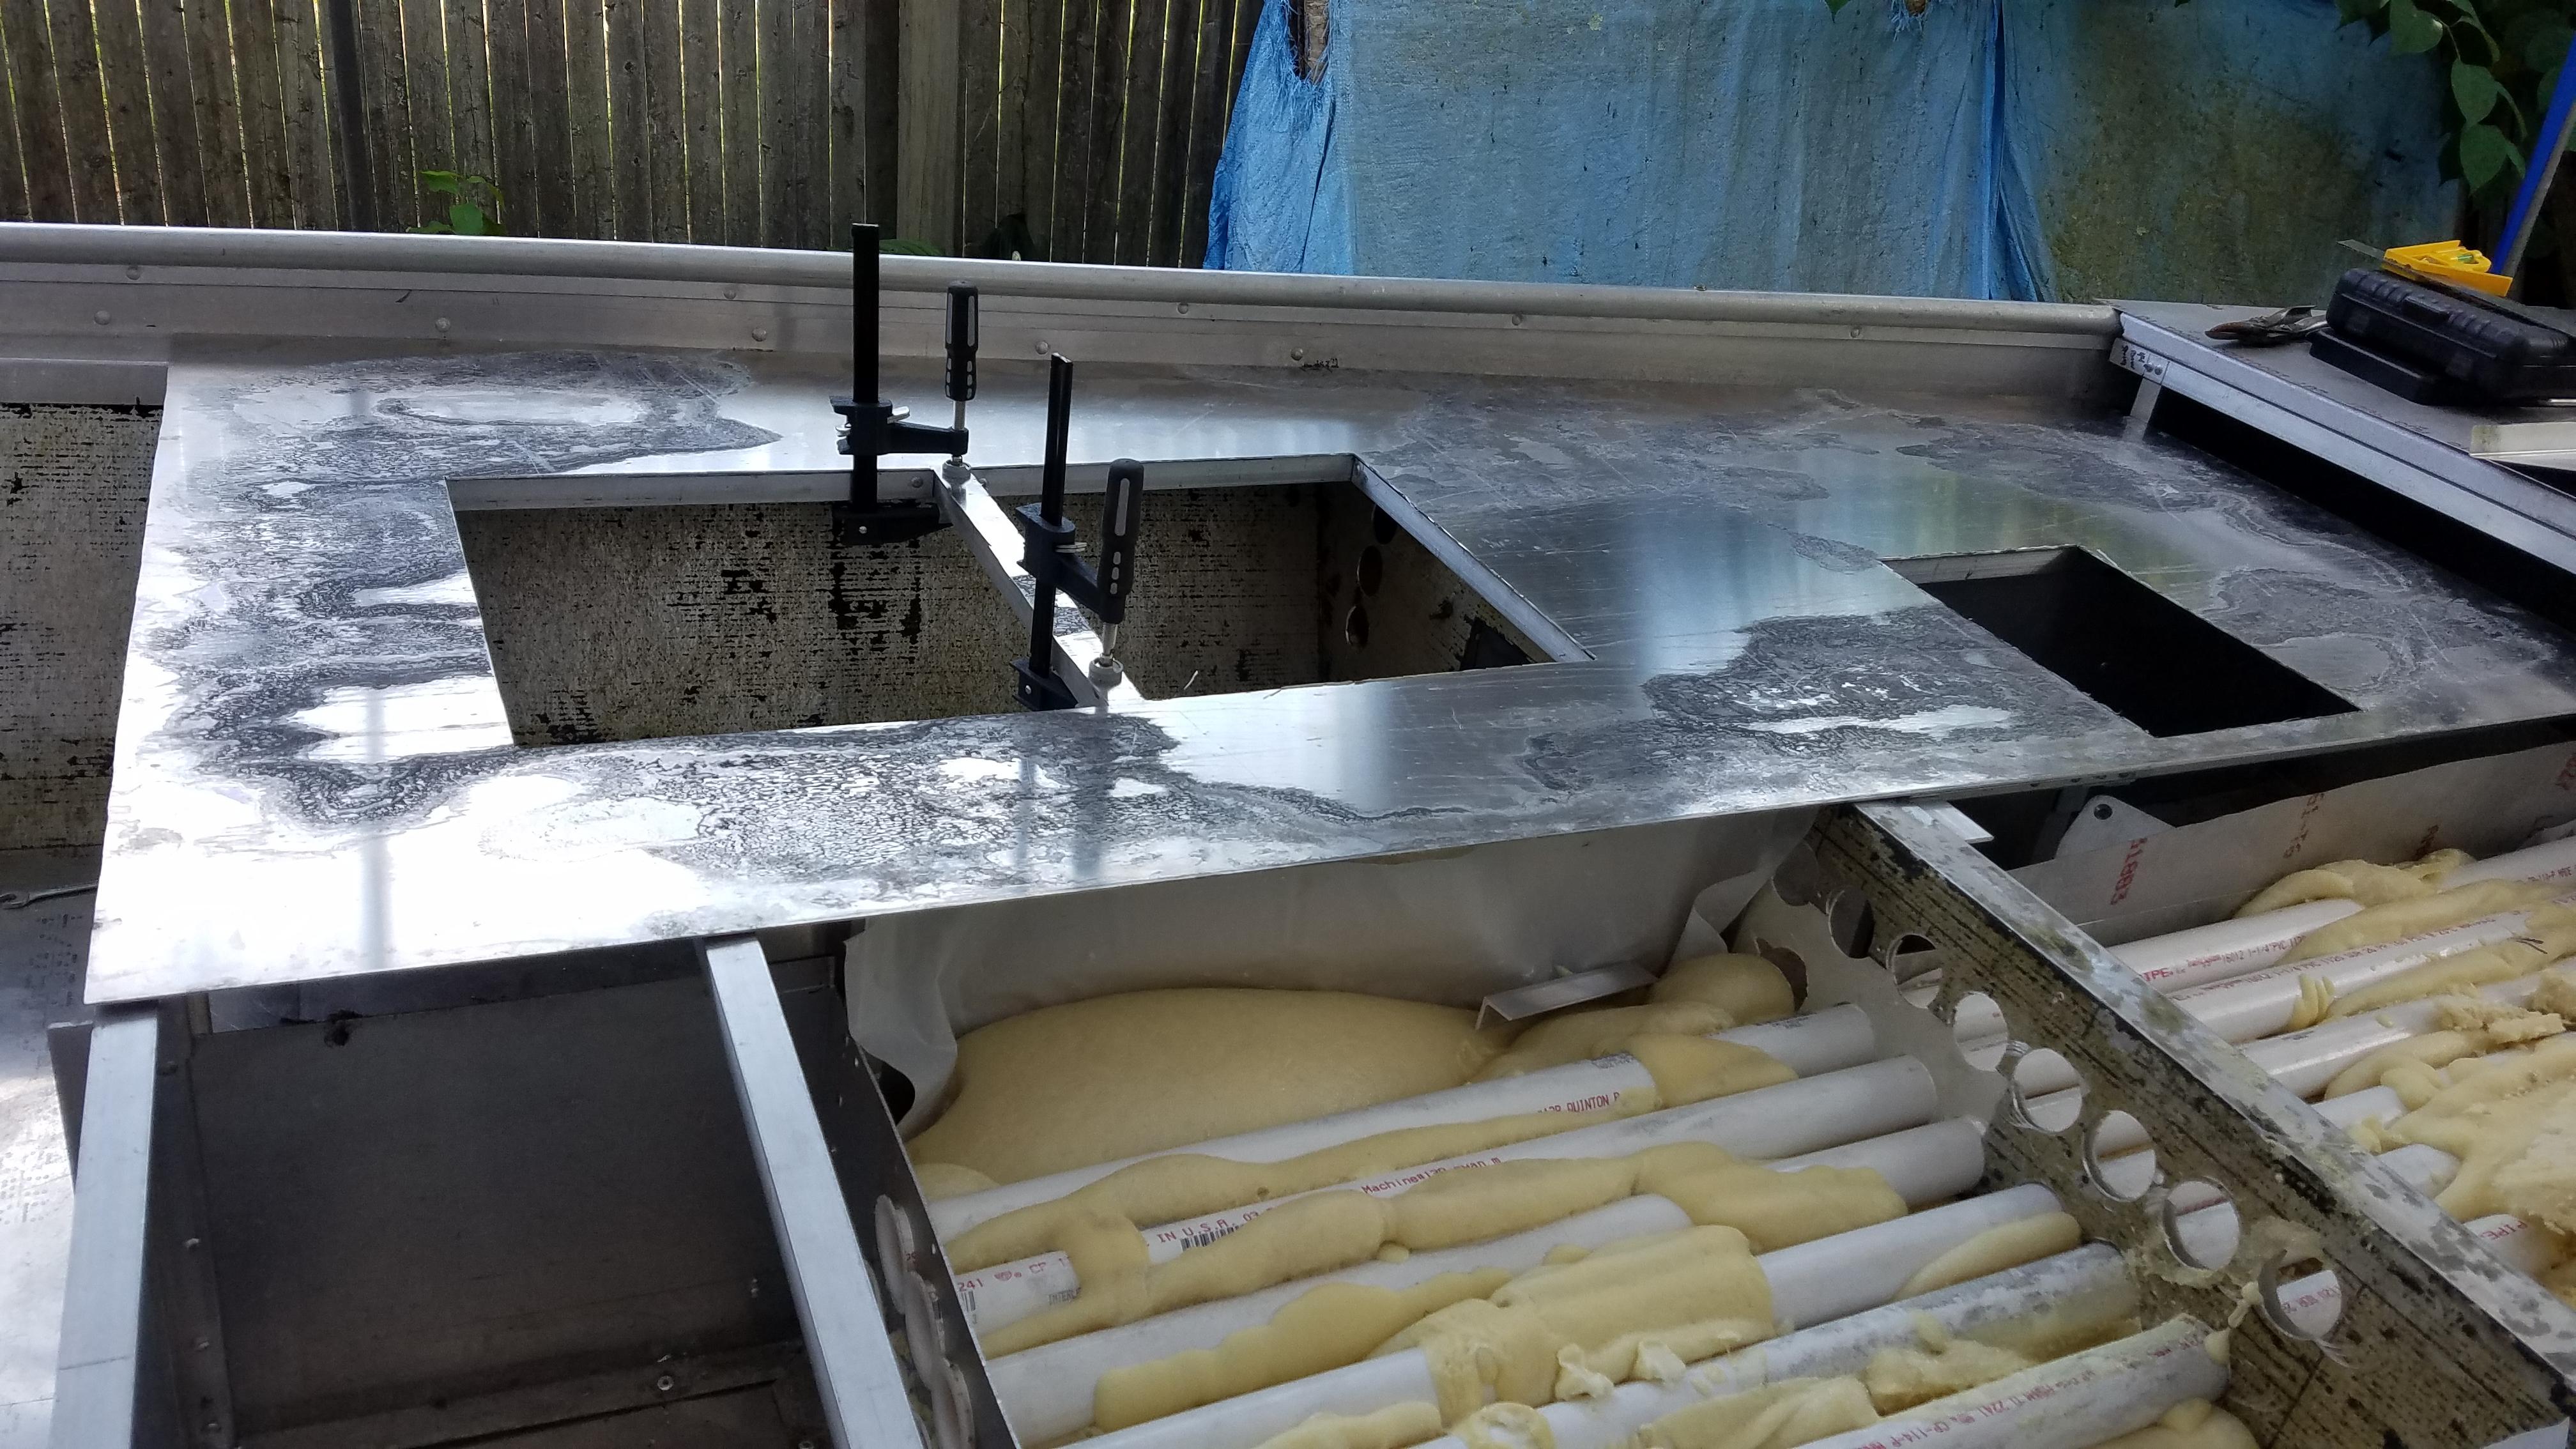
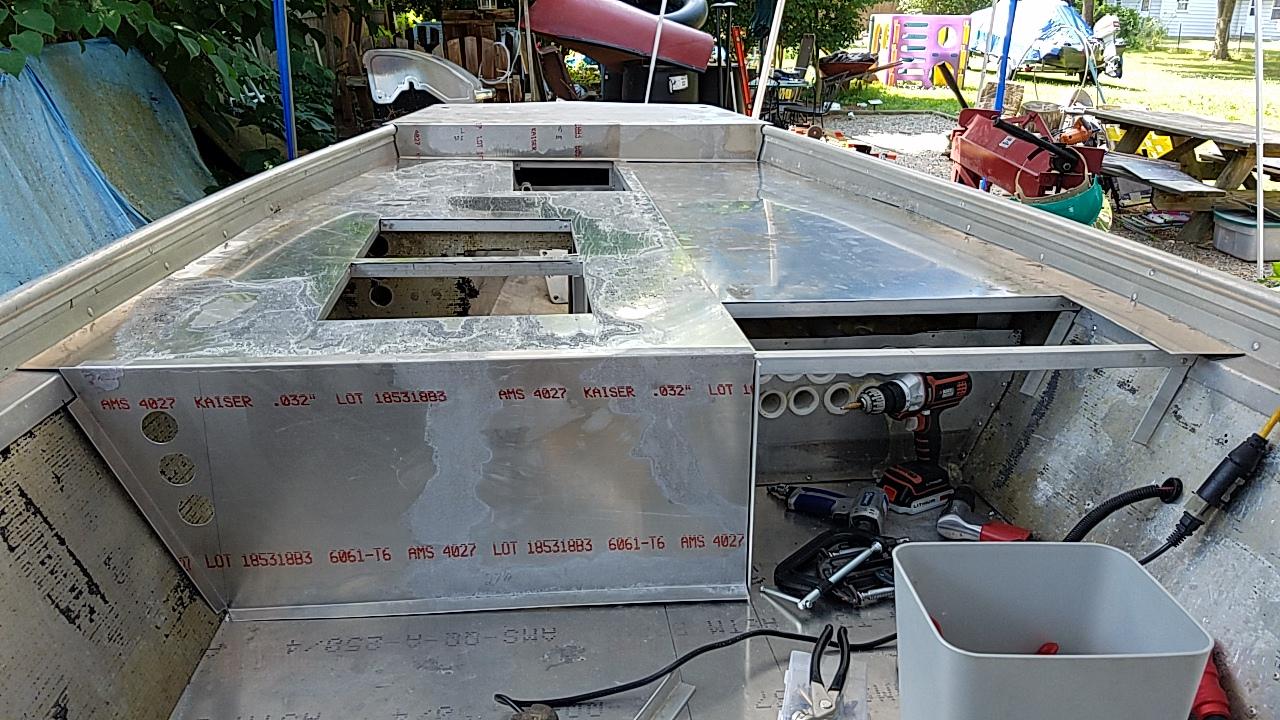
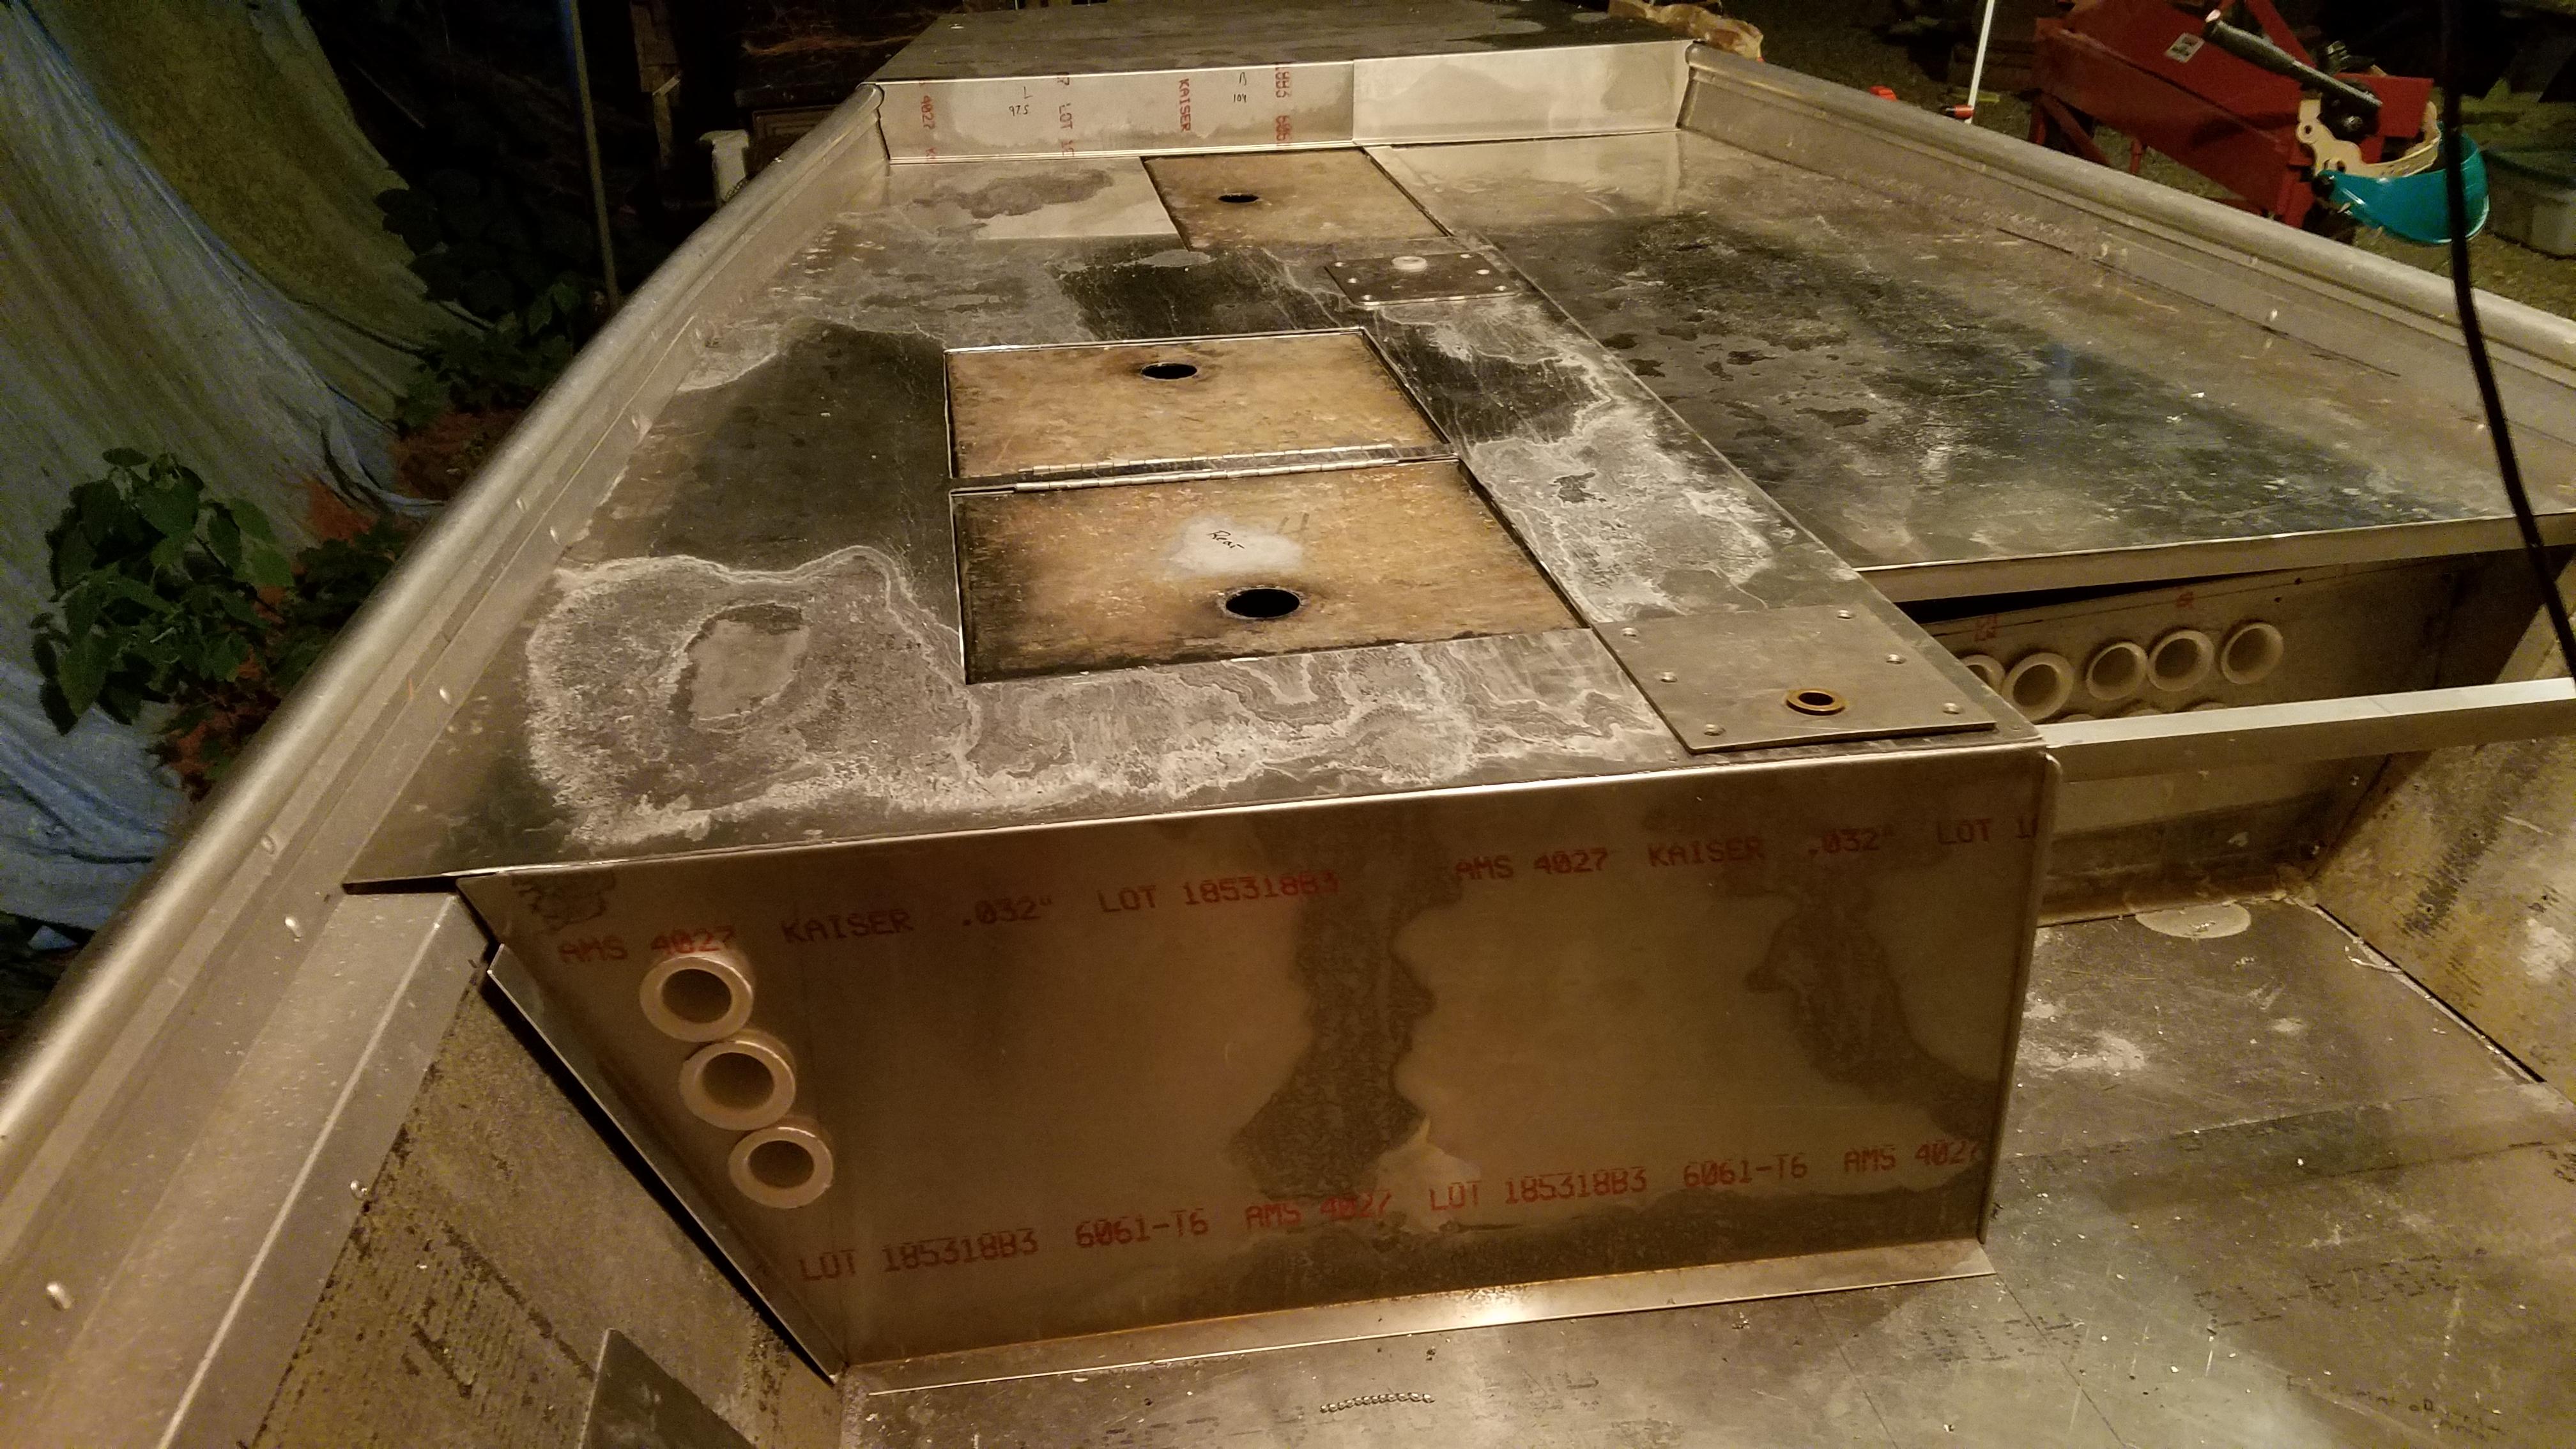
Plenty of odds and ends were done on the front deck that didn't get pictures including building the door for the rod locker, installing the new fuse box and rewiring everything, adding provisions for a pair of fish finders, replacing the livewell pump motor, bilge pump, circuit panel in the bow with the USB charger & 12v socket, separate red & green nav lights, trolling motor outlet, installing hatches & trim around the hatch openings, fabbing up a lure rack for along the gunwale in the front and probably a few dozen other little items. Also stripped any old carpet backing still glued to the rear deck and removed all but the most stubborn of the old carpet glue. Tracker did such a piss poor job laying out the rear deck it's just an overlapping collage of sheet metal and rivets I'd never be able to paint over it and have it come out clean so I ordered carpet for just the rear deck and Tuff Coat for the front 2/3 of the boat. Prior to prepping it all for paint it looked like this:

YAqEIL4.jpg


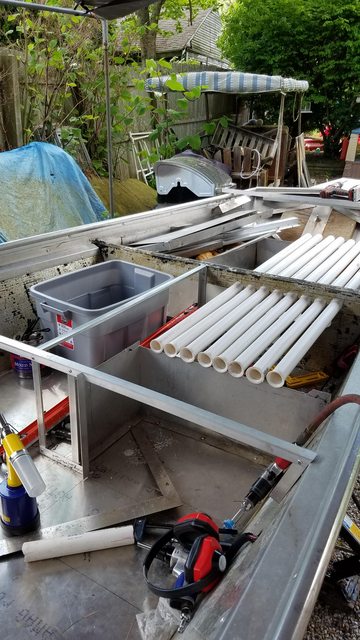
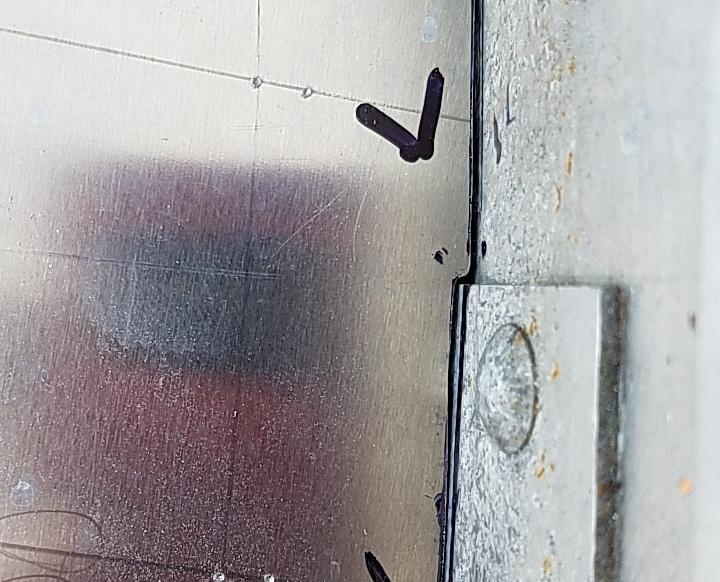
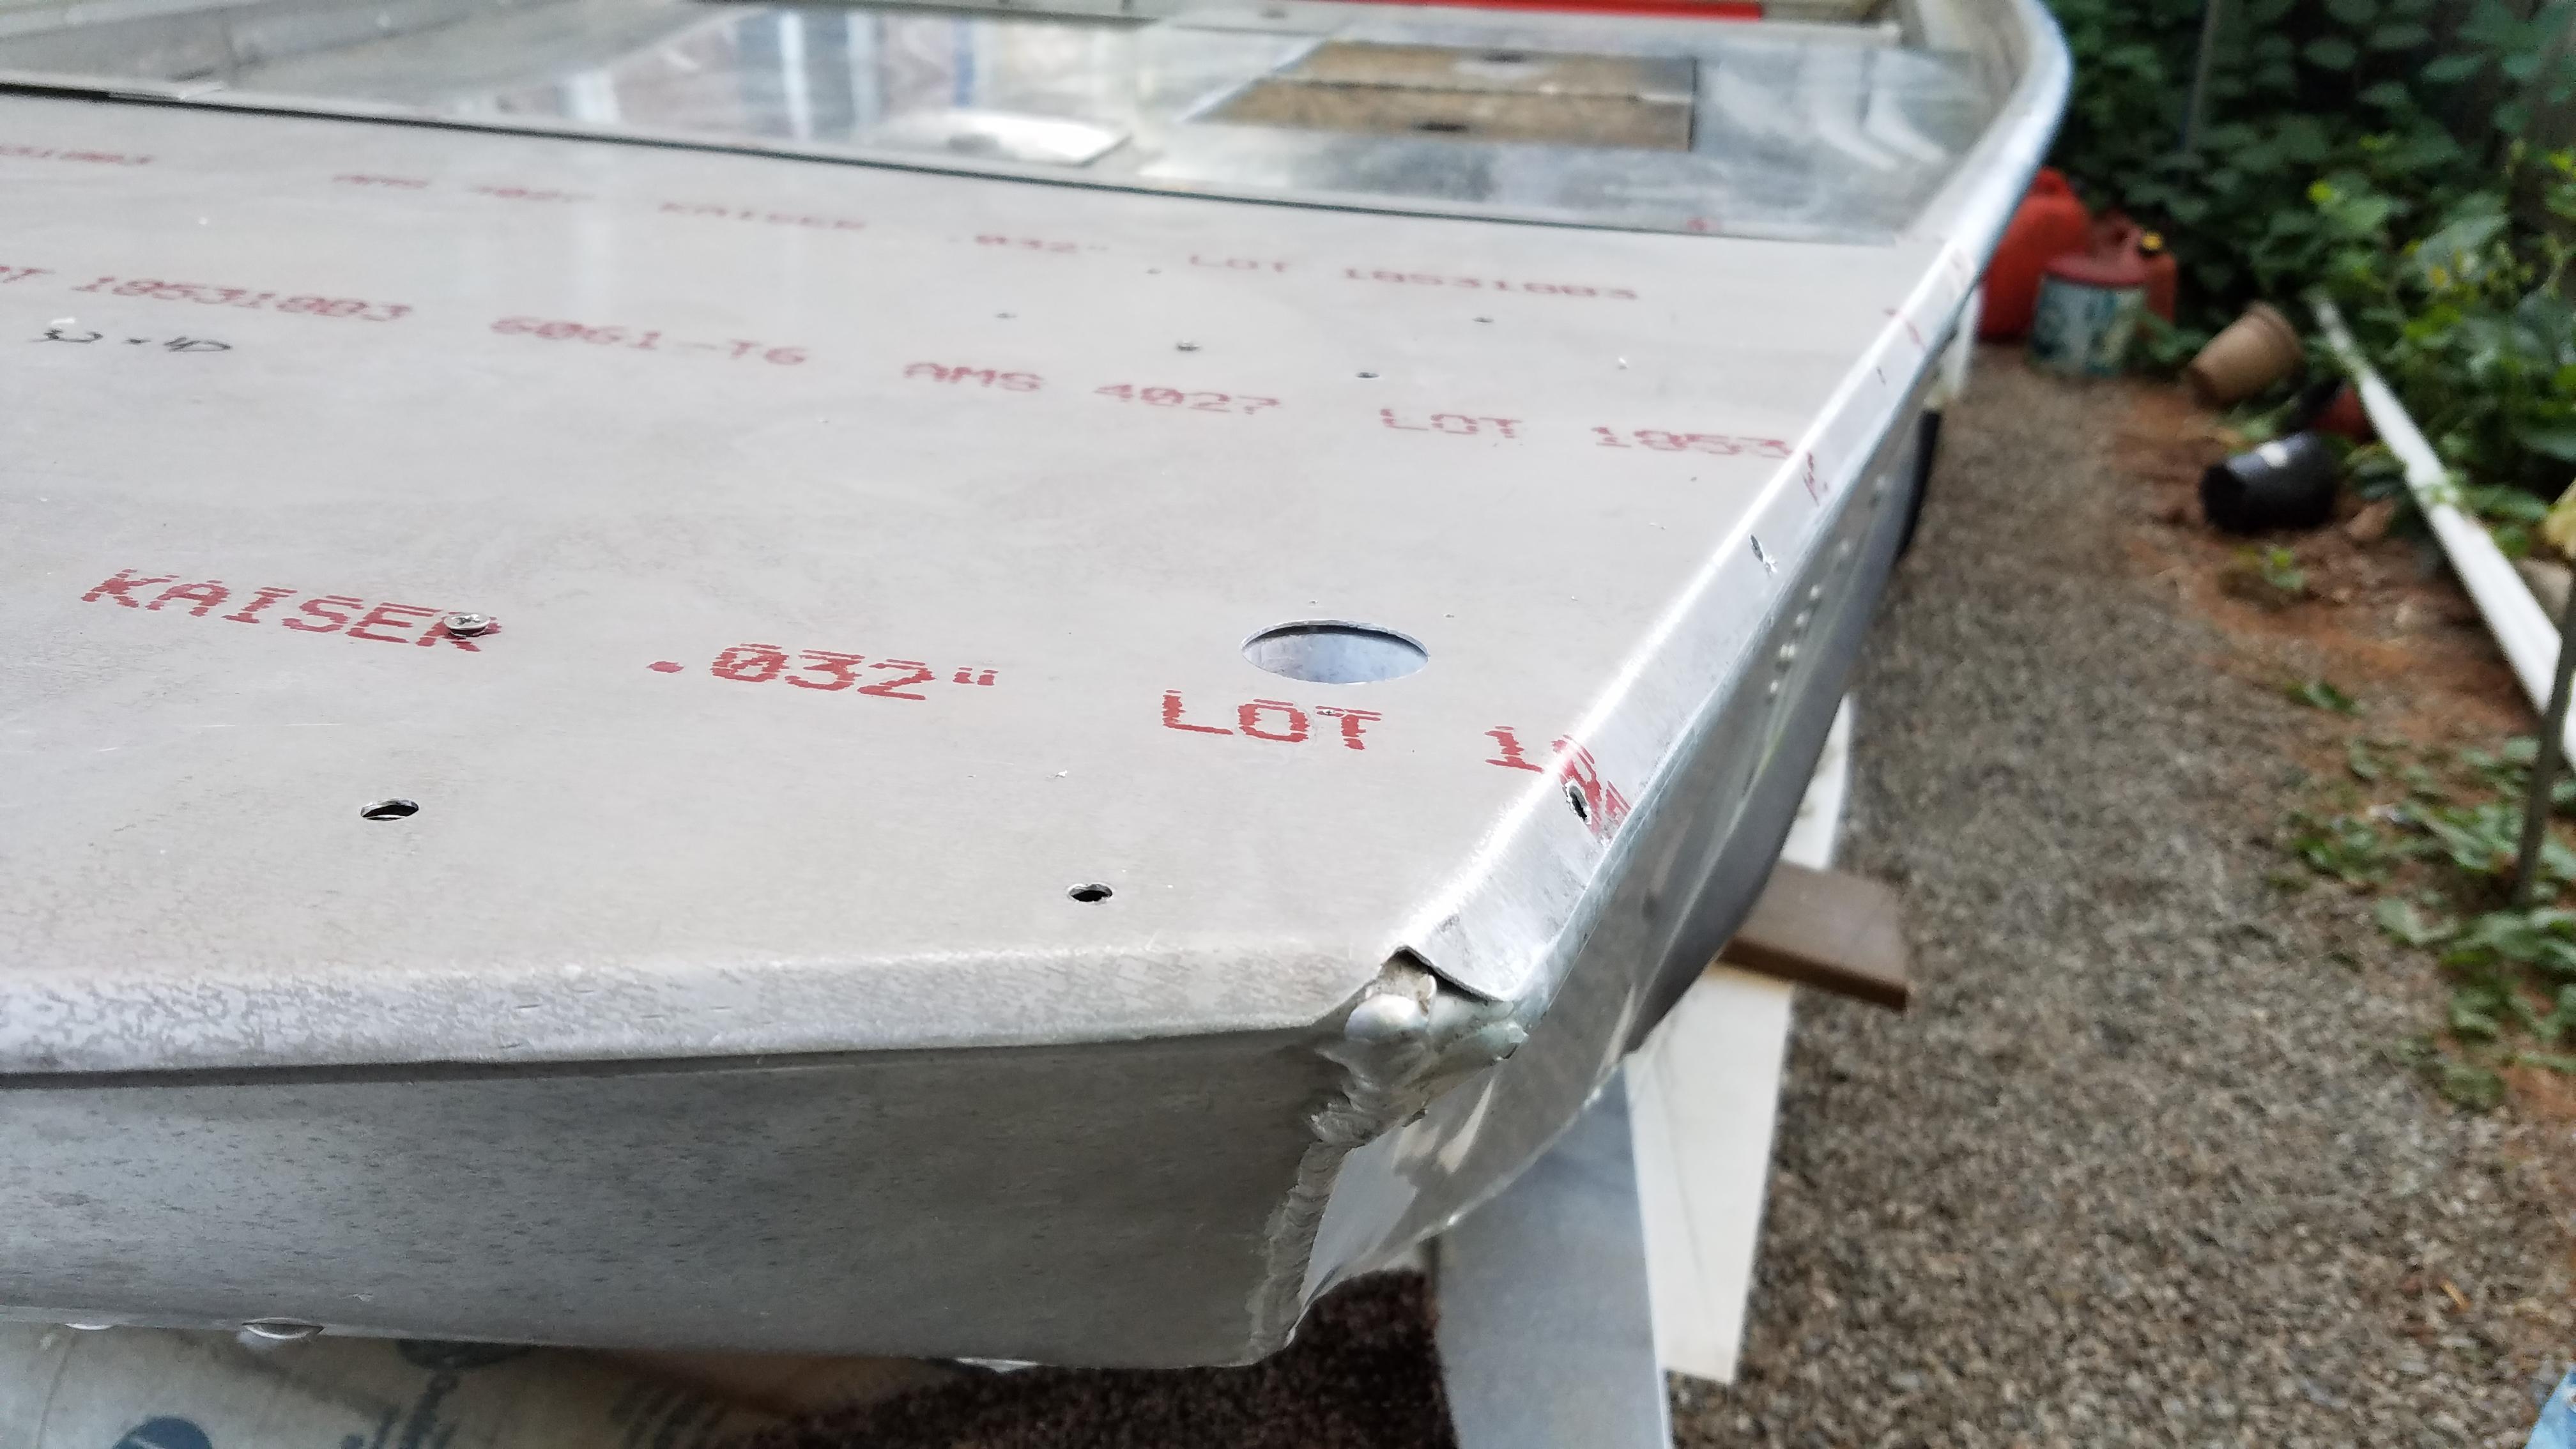
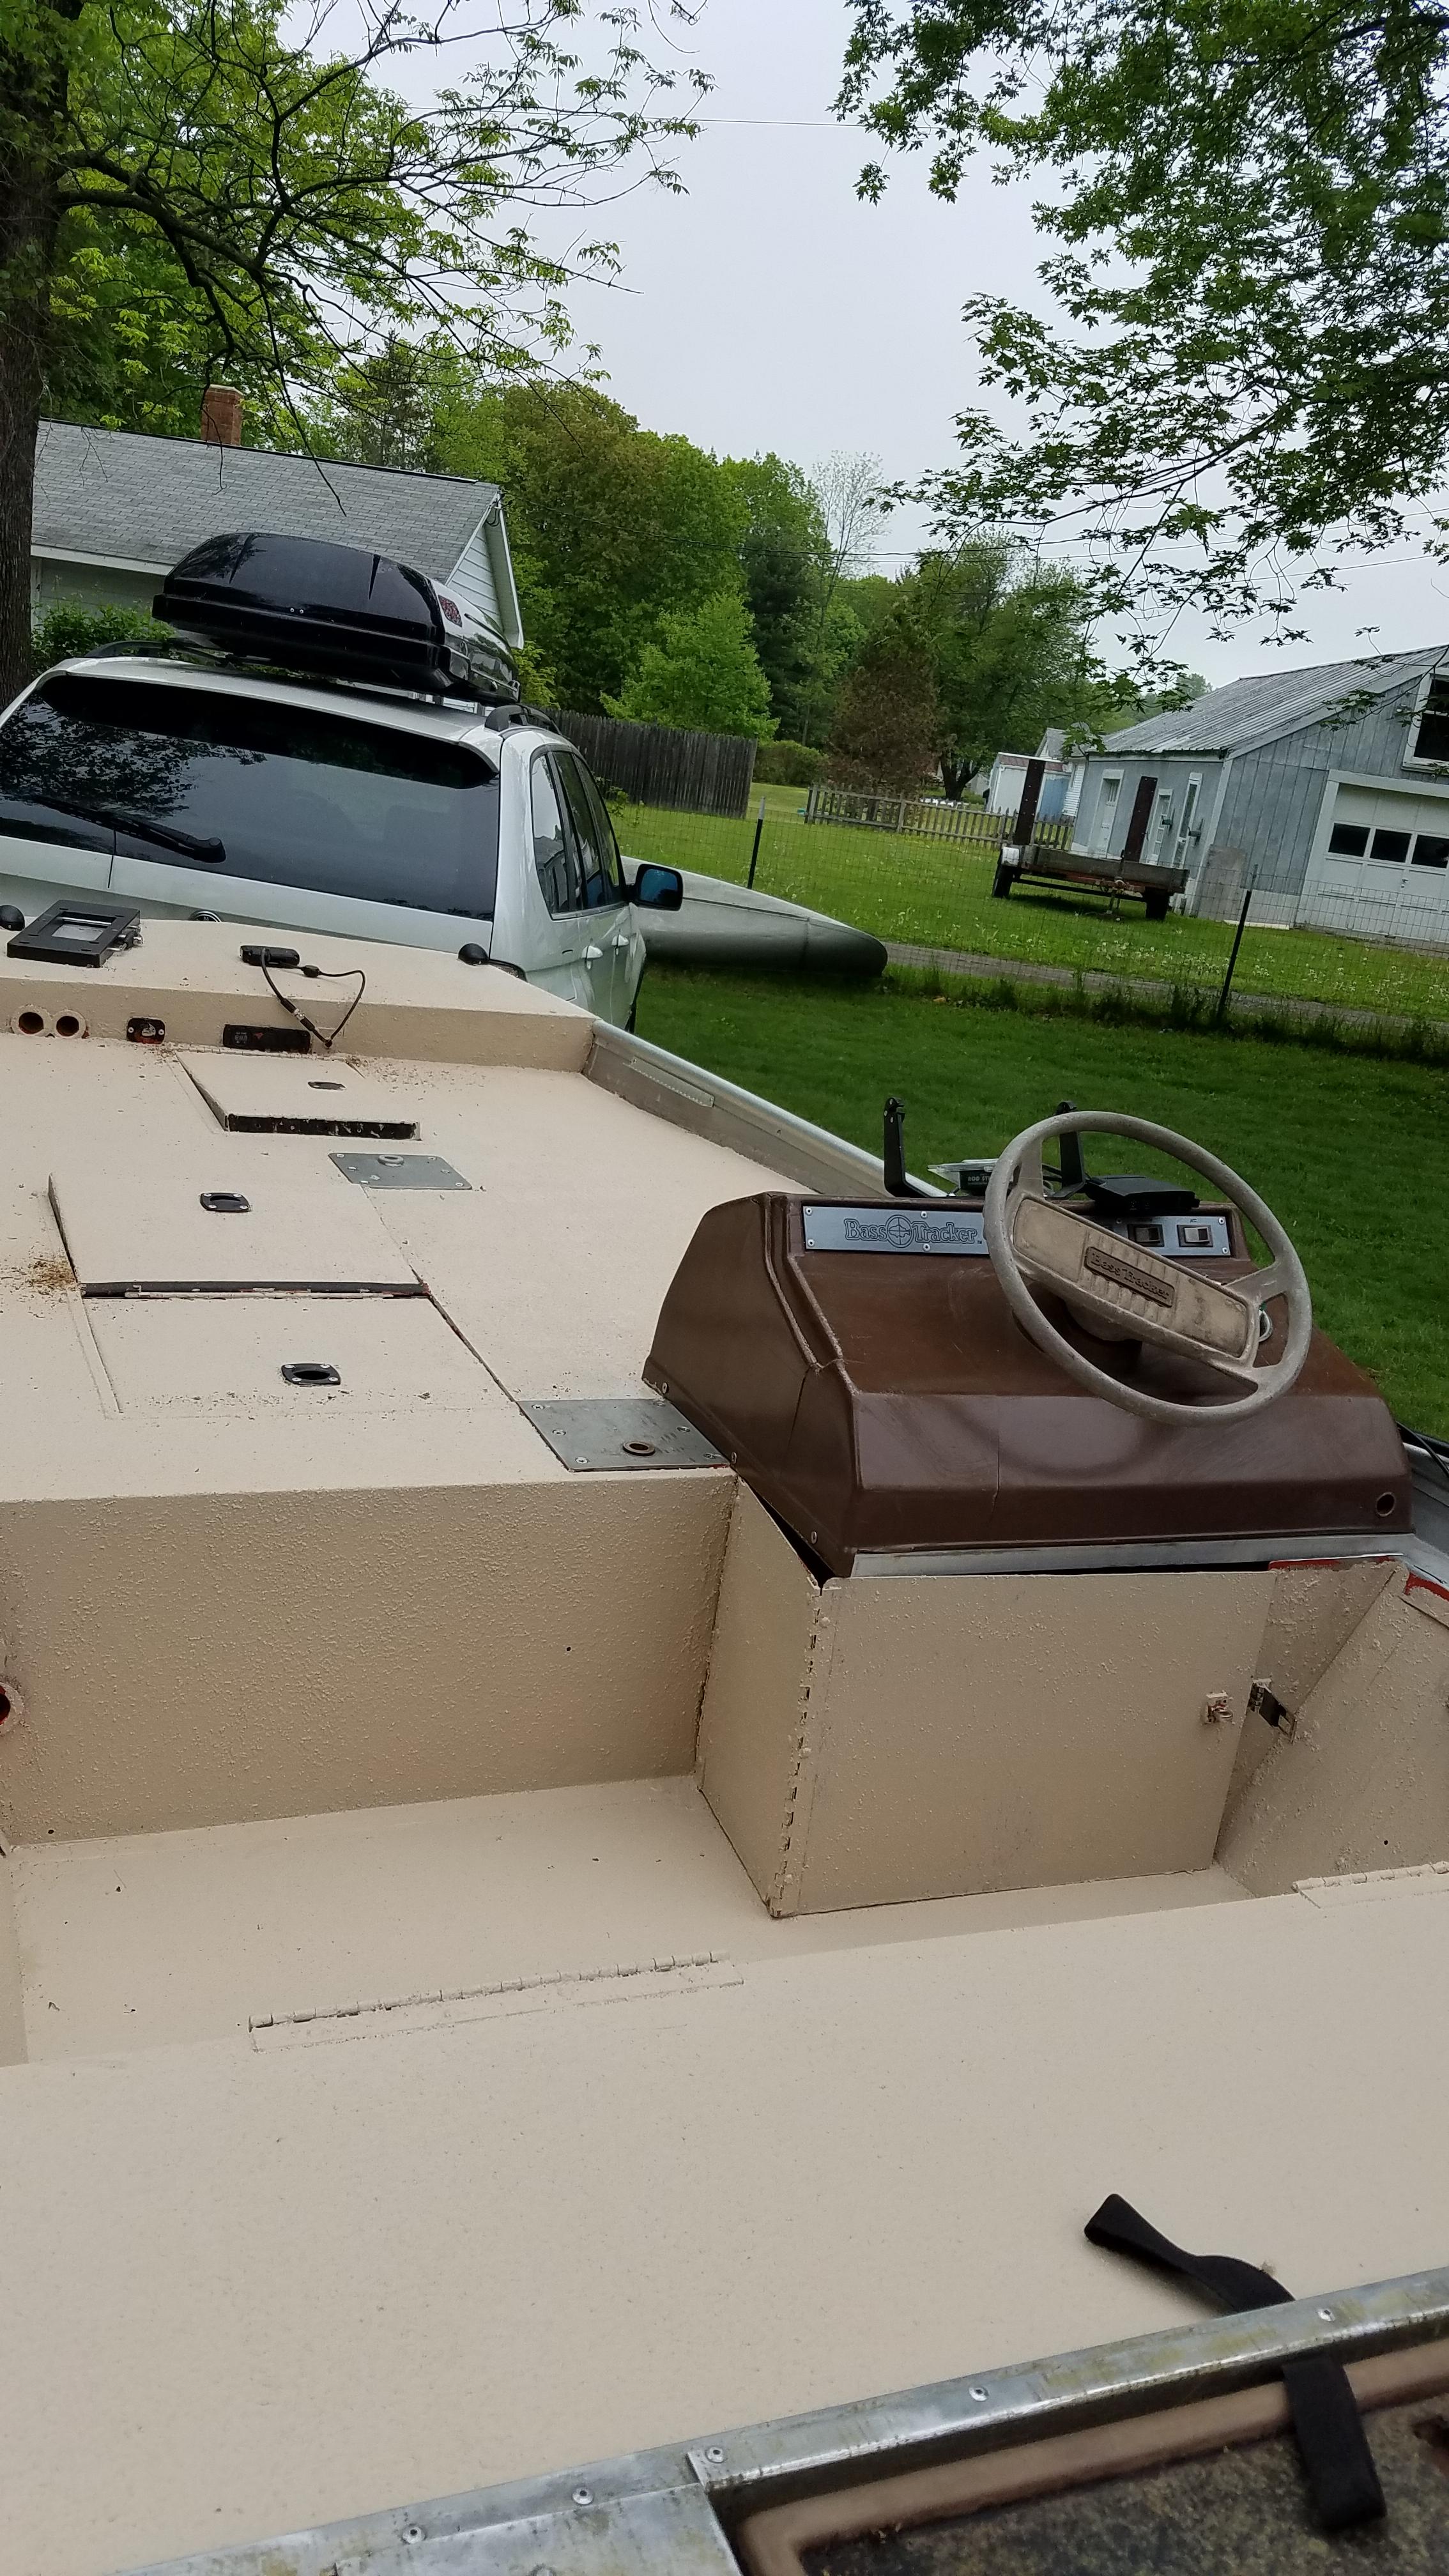
Spent a considerable amount of time taping around the edges and even more time cleaning, sanding, and cleaning all the surfaces to be painted before applying primer. All in the prep work was a full day's worth of time.

f3H94Of.jpg


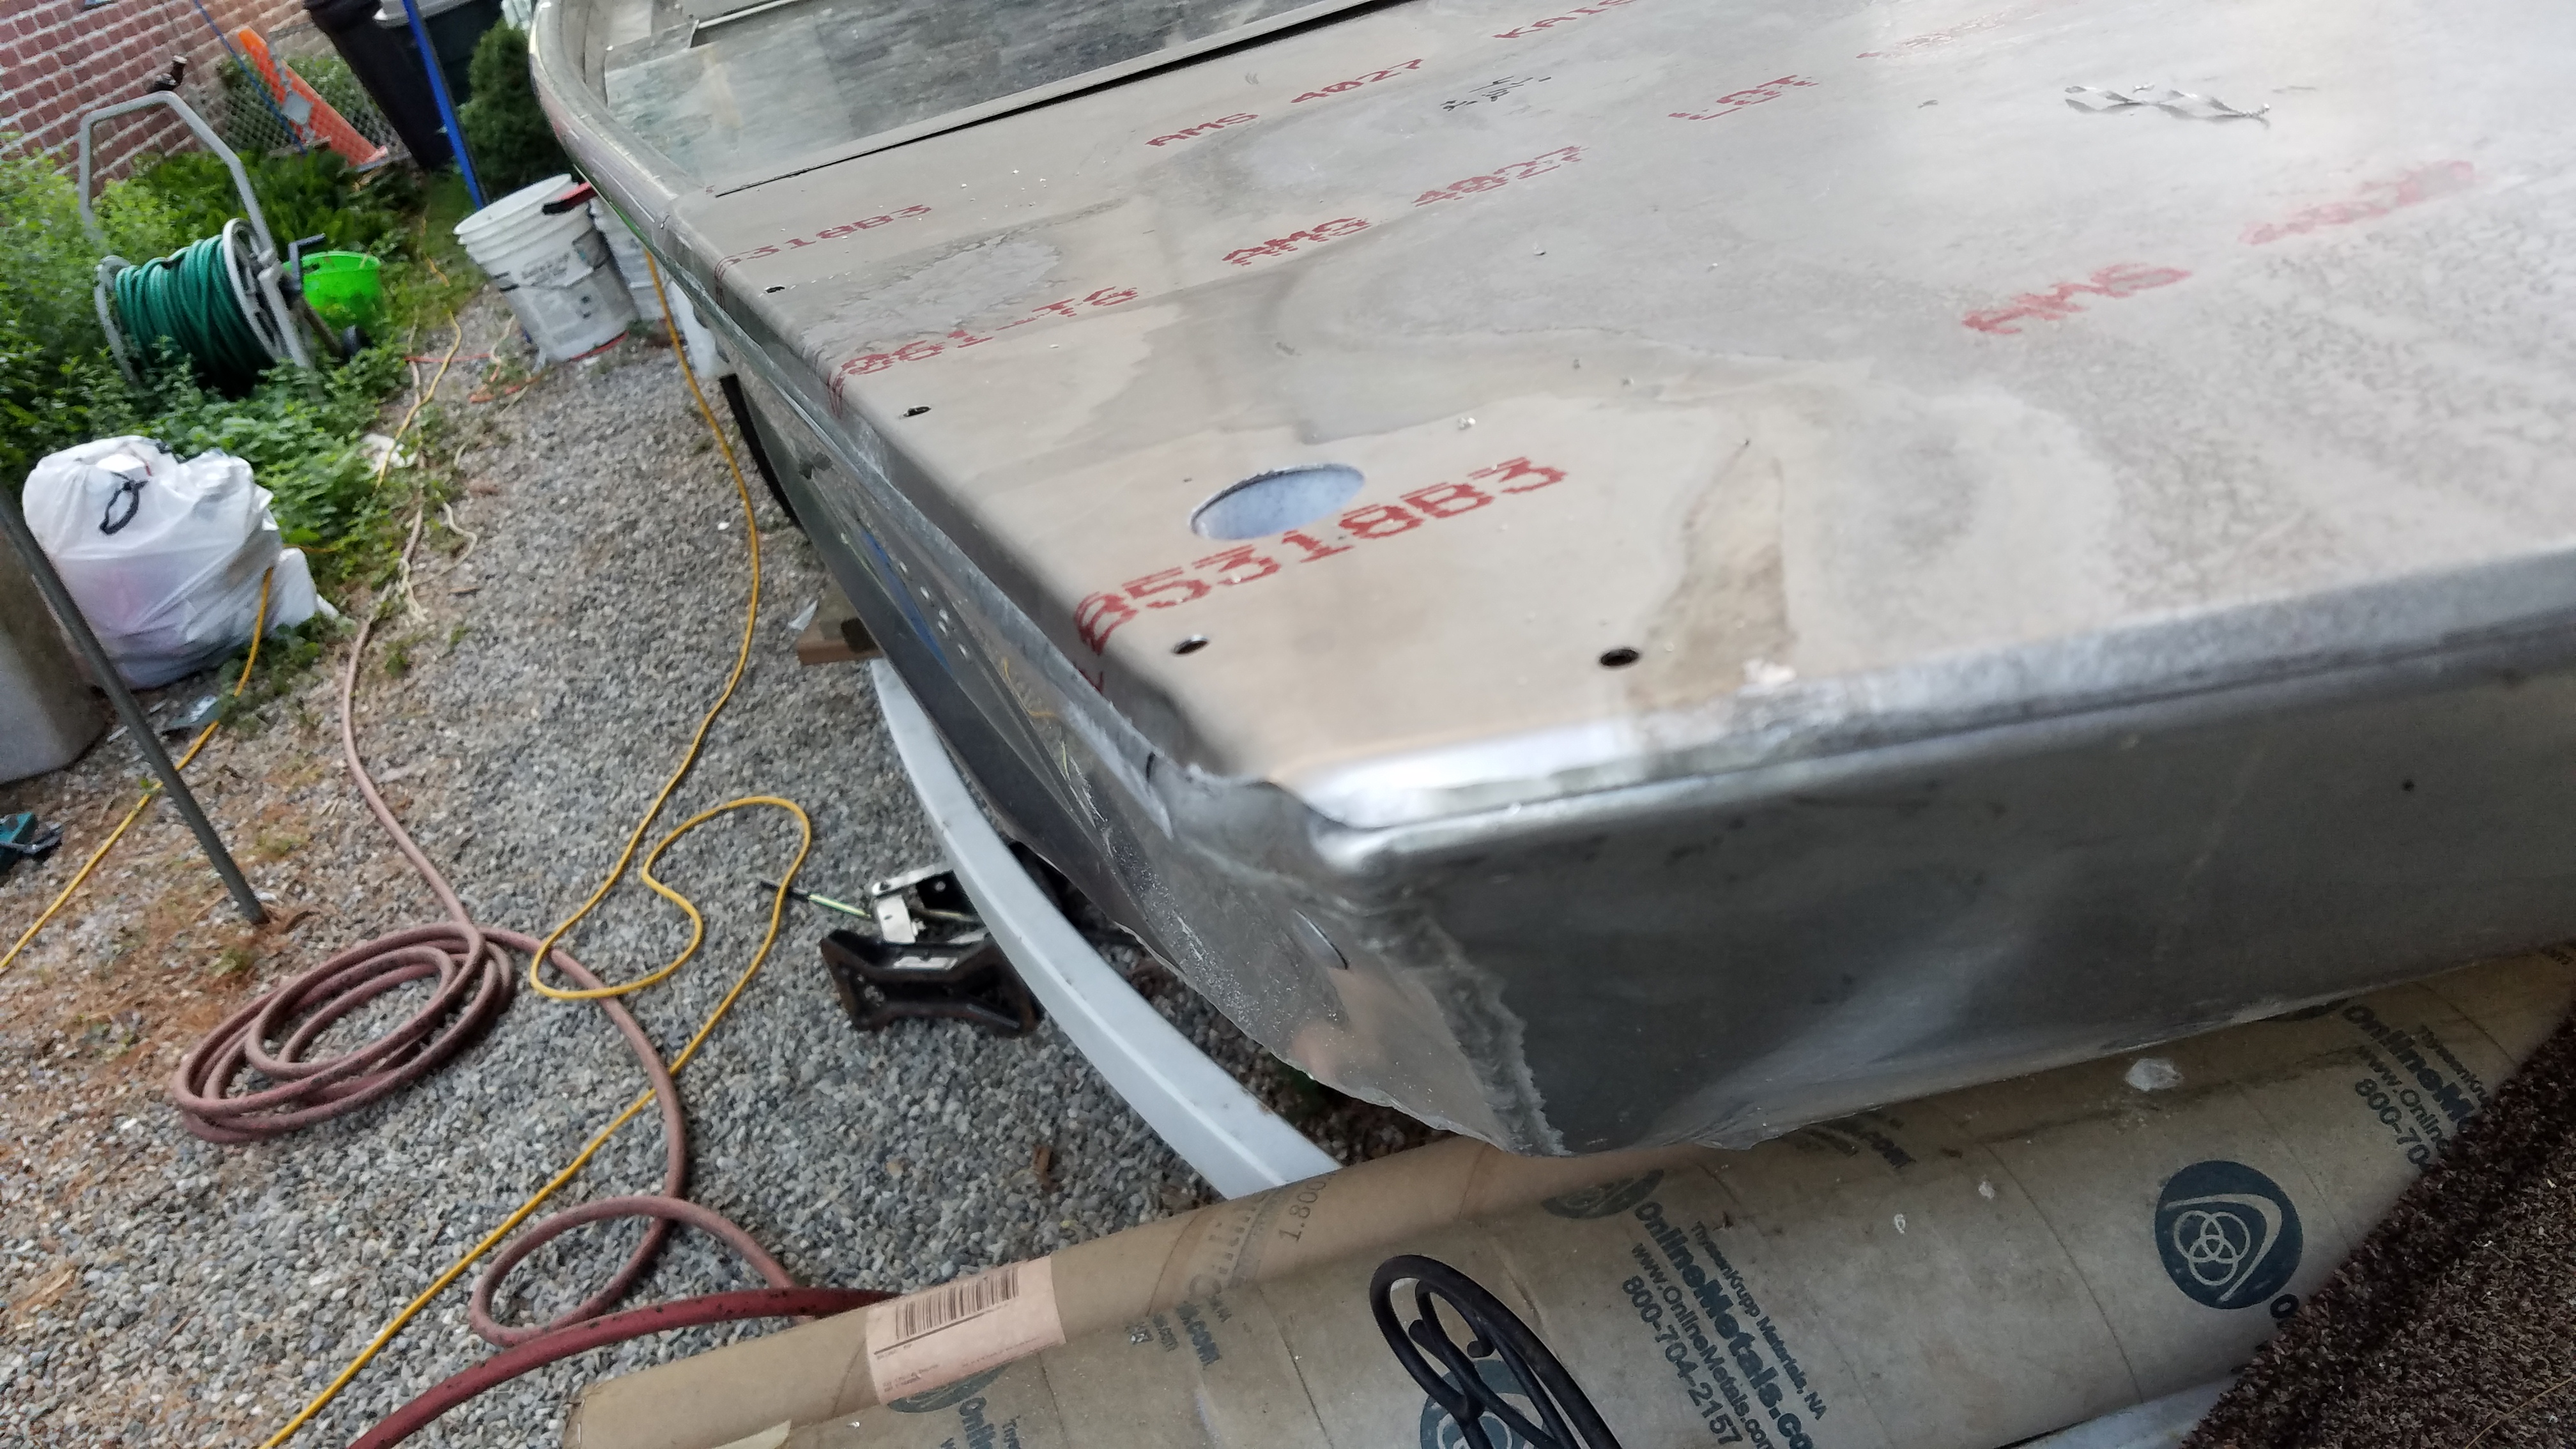
Finally got to painting from the middle bench forward over the Memorial Day weekend, so the front 2/3 of the boat are close to done, just a few bleed-throughs to be cleaned up where either the paint or primer made their way through the taped off areas to the surfaces below, mainly on the electrical sockets up front.

EcbEIpI.jpg


Bench cushion rivets to be installed now that the bench is painted, and the bench cushion shortly thereafter. Only things remaining now are the rear carpet, livewell remote controls and pull cord modification to the Terrova that I think I'll make a separate thread for.
 
LDUBS said:
I think I'm probably repeating myself here. When I see two part foam being used it reminds me that I saw somewhere that folks layered empty soda or water bottles among the expansion foam to save on the amount of foam needed.

I remember reading an old article on using milk bottles for floatation. They found that it was the metal caps that eventually failed. So with plastic soda bottles and the modern plastic caps, we should be fine. Sure beats pool noodles in any case ;)

There are so many awesome and inspiring ideas for rigging in this build thread. Thanks for taking time to document and share!

Cheers,

Brian
 
Top