Dockside85 said:
I tried to balance the weight with the batteries and trolling motor on opposite sides. Think it's doable?
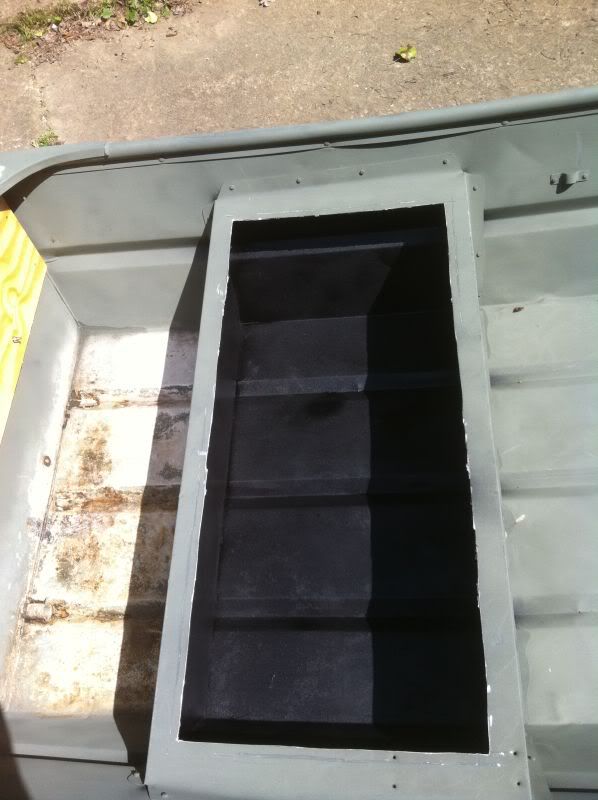
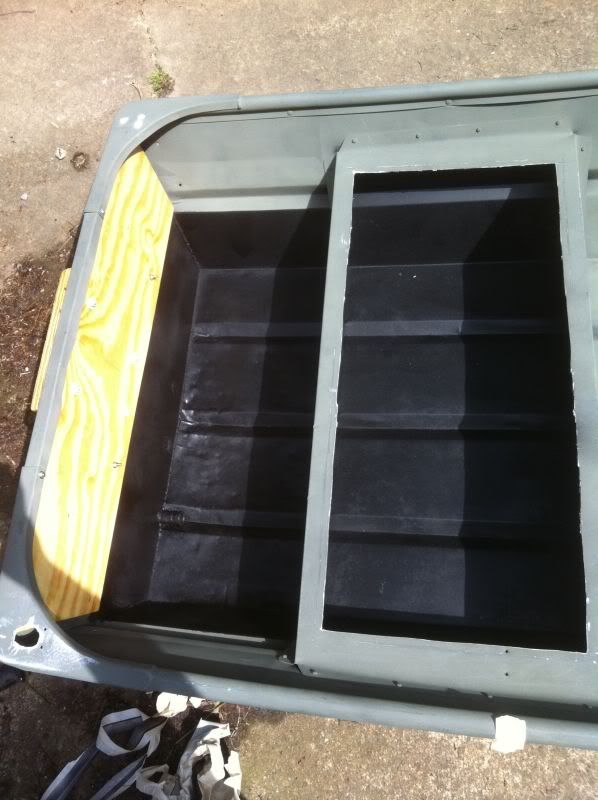
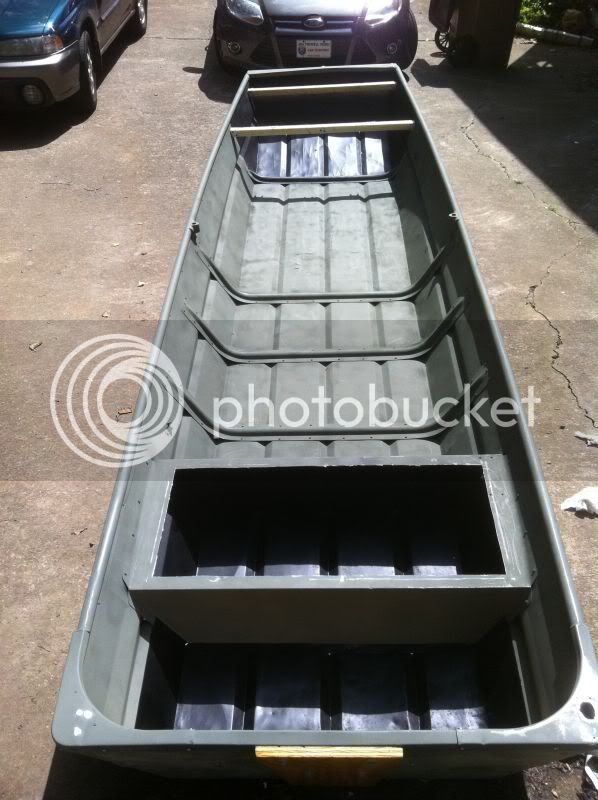
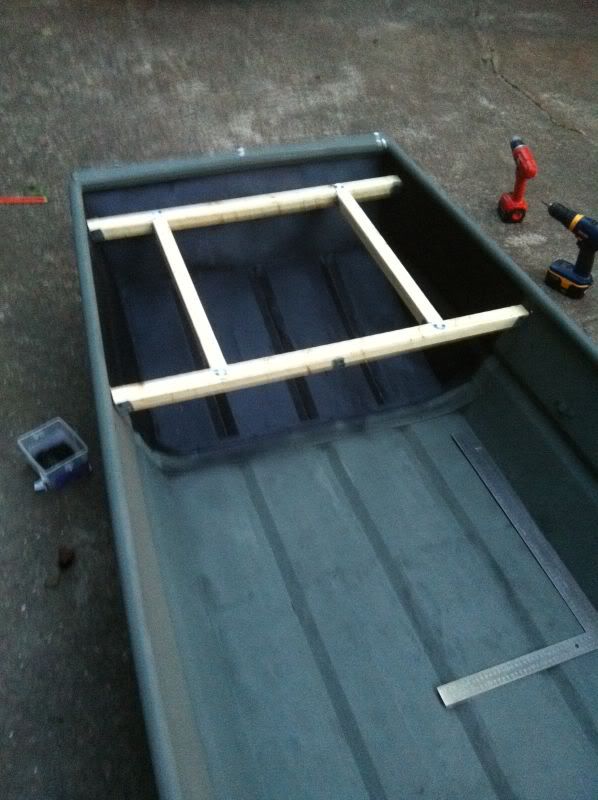
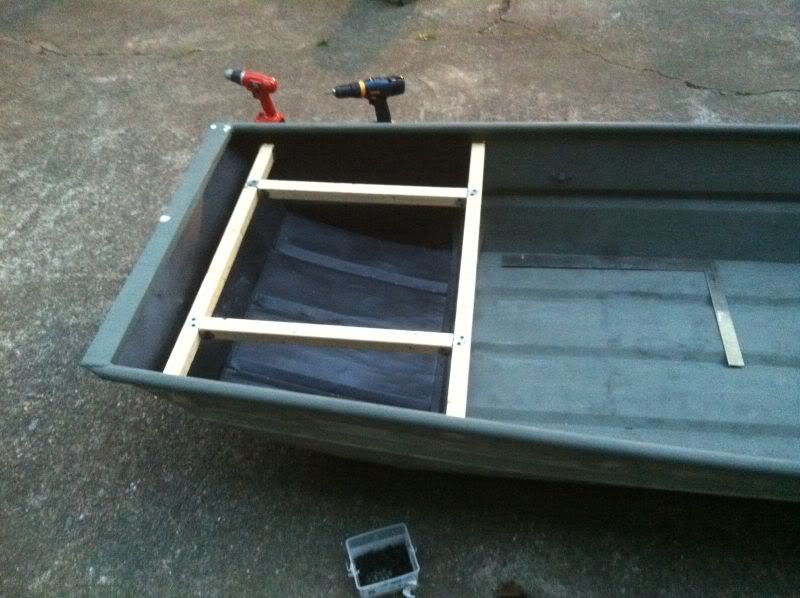
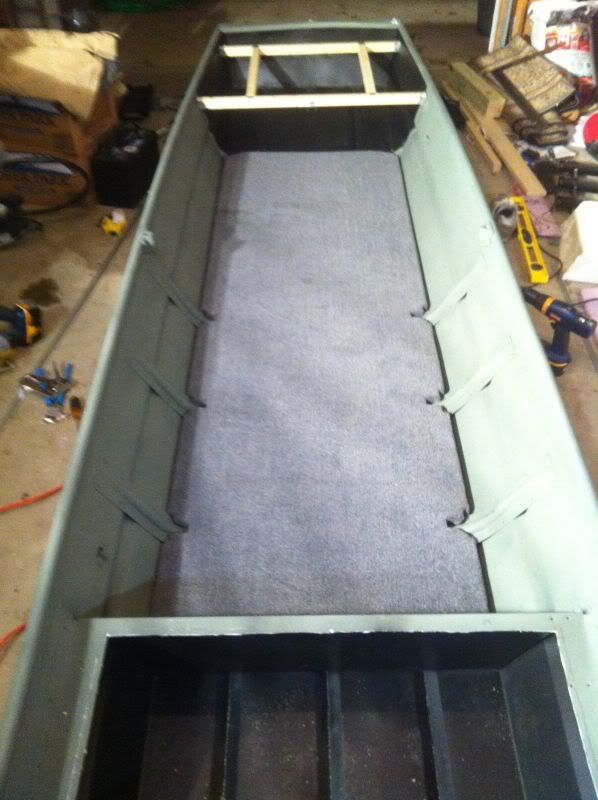
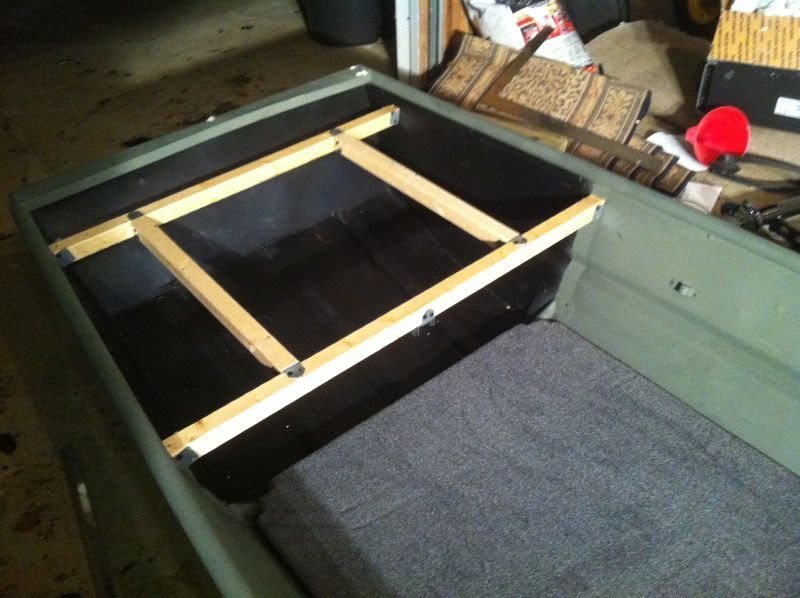
Try to keep the batteries centered, you'd have a pretty good stbd list if you shifted any of your weight to that side with both batteries there. I know when I had my cooler livewell full on one side of my 1440, if I stood on that side it would list more than you would think. On that size boat, you could probably get away with one battery, a dual purpose could crank and run the TM. Also, you may find that storage in both seats would be the biggest advantage, and using a cooler for a livewell only when needed. Then again, I don't know if this is a tournament only boat.
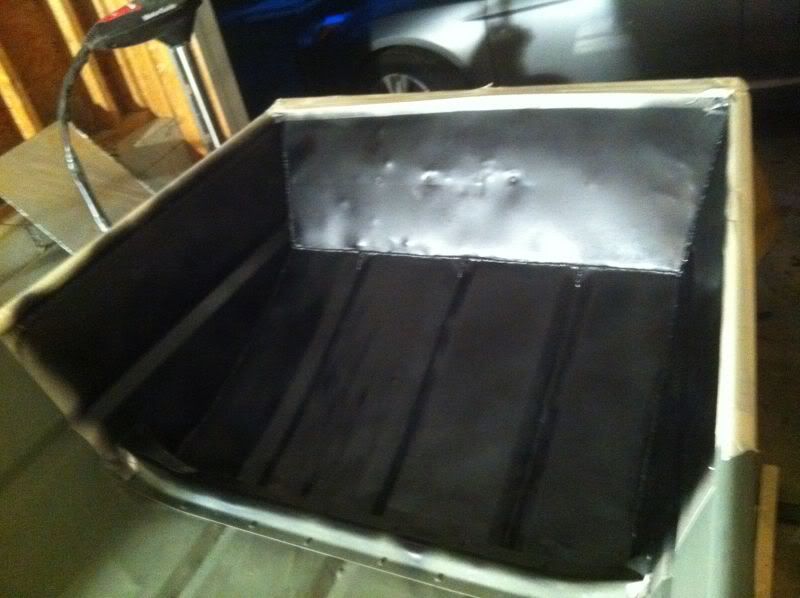
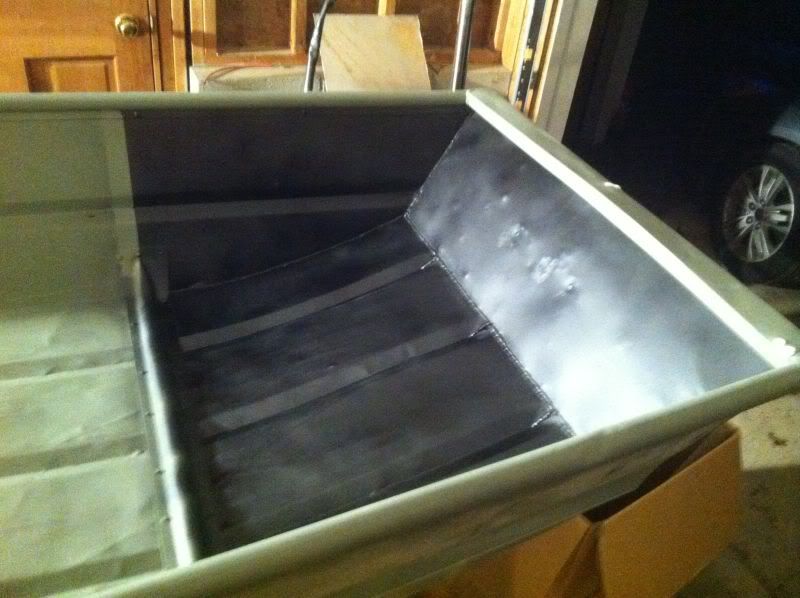
Just trying to give some helpful suggestions, as the 1430 will get small fast out on the water. Boat looks great, your removal of the seats looks sharp.


")