Delhi 1430 Build - Completed - New Pictures 7/13

TinBoats.net

Help Support TinBoats.net:

This site may earn a commission from merchant affiliate links, including eBay, Amazon, and others.
I usually get up around 11:00 and leave around 2:00 for work. I am about 3 miles from bass pro. Ill count tomorrow and let you know exactly what i got, I got it free, ill pass it for free.
 
Bugpac said:
I got 3 full sheets, and a bunch of partial, its al 1/2, if u want or if u dont no problem.

Yeah def do! Just trying to think of when I can make it out there soon. I need to get out to Bass Pro again anyways. I'll PM you and we'll work it out.
Thanks man!
 
Finally got a few hours today to put Steelflex on! I think it came out really good. I worked alone so I mixed smaller quantities of it. If anyone is wondering how much they need, mine is a 1430 and I did two generous coats of the whole exterior and used about a half gallon. Here are some pics of how it turned out.

Olive drab pigment mixed into the neutral base. I used the whole 4oz container. I got a paddle mixer for my cordless drill from Harbor Freight for like $4 to mix the pigment in well.
IMG_1529.jpg


First coat done. I held off on the transom because I was originally planning to do it later. I decided to go ahead and do it while I was finishing the second coat and ran out of mix halfway through the transom so I just stopped there. I'm going to do the transom and gunwales when I flip the boat over in a few days.
IMG_1531.jpg

IMG_1534.jpg

IMG_1535.jpg


Second coat done
IMG_1536.jpg

IMG_1537.jpg

IMG_1539.jpg

IMG_1538.jpg


I read the "everything Steelflex" thread about 3 times before I started this. Here are some things I can reaffirm or tips I can give for anyone else applying to their jon:

1.) Don't skimp on quality foam rollers. I started with $2 for 4 pack cheapos I got at Harbor Freight. They held on longer than I expected for $.50 foam rollers, but they still fell apart rather quick. I then switched to my higher quality $10 for 5 pack I got from Home Depot. These worked MUCH better. If you don't want to be picking bits of foam out of your Steelflex every 10 seconds, get quality foam rollers.
2.) Whoever said that Steelflex is like working with "frozen honey", absolutely right. As everyone else says, it's thick thick sticky stuff.
3.) Don't wear clothes (jeans) that you still occasionally wear out still when you apply it. They will become strictly "around the house project clothes".
4.) If you are working by yourself you need to work faster. Don't mix bigger batches, just make more total batches. I spoke with Jerry at Fascoe the other day and he said you want to get a thin base coat and then thicker coats on top of that. Use less for the first coat and spread it out farther. Since thinner coats take longer to cure it gives you a little bit more time to get some practice with it.
5.) Walmart sells plastic 4 cup measuring cups for $.98, squeegee spatulas 2 for $.98, a mesh bag of nylon mixing spoons for $.98 and nylon ladles for $1.98. I spent about $10 bucks got like 3 measuring cups and a couple of each of the others. I used the ladles to scoop out the amounts of the base and hardener into the plastic measuring cups. I mixed the Steelflex by hand with nylon spoons because I was also told by Jerry at Fascoe that if you use a paddle mixer while combining the two parts that it generates heat and accelerates the curing process, especially if you make a large batch. To each his own, but I mixed it by hand! When it's all over I'm not torn up about having to toss the cups, ladles, etc. They served their purpose.

All in all it wasn't as totally bad and frustrating as I was working it up to be. It was mid 80's in ATL today and I did it in my garage with the door open so I'm sure that helped. I wouldn't want to do it all over again next week, but once every few years or when I upgrade boats won't be horrible.

I was looking for options for an 8 gauge wire to extend my trolling motor wiring to reach the battery in the back bench. I looked around online for 8 gauge wire but everything I could find was pretty expensive for just the amount I needed. I found this on Amazon.com. It's an 8 gauge subwoofer amplifier kit with 23 total feet of 8 gauge wire and 6 feet of plactic split loom tubing. Got this kit delivered free with Amazon Prime for $12. Not to mention it also has some other wires, screws, terminal connectors, etc that I might find use for later on.
IMG_1527.jpg

IMG_1528.jpg


Anyways, that's all for today! I'm going to let the Steelflex cure a couple days and then get it flipped over onto the trailer to finish out the inside.
 
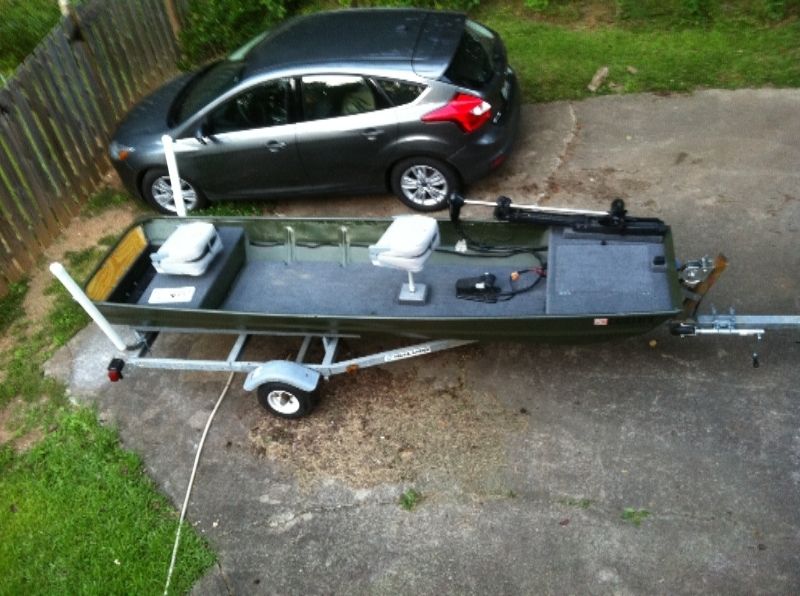
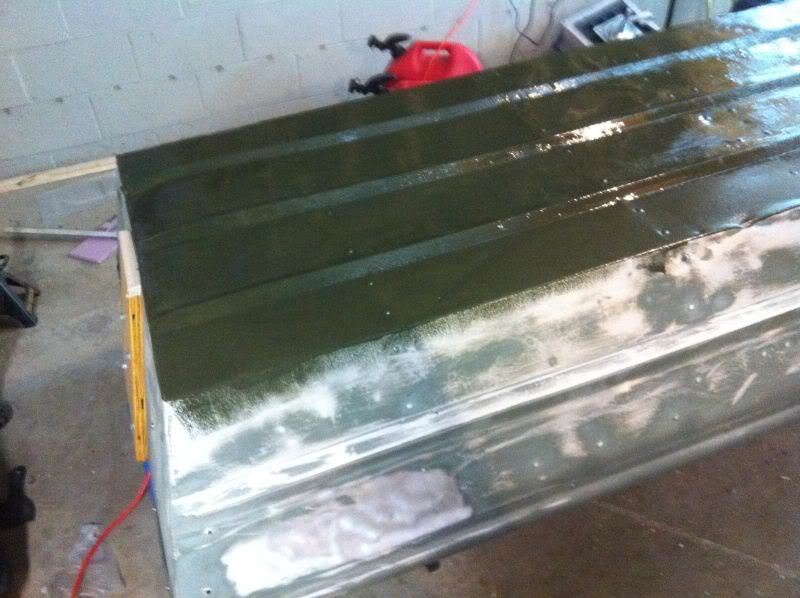
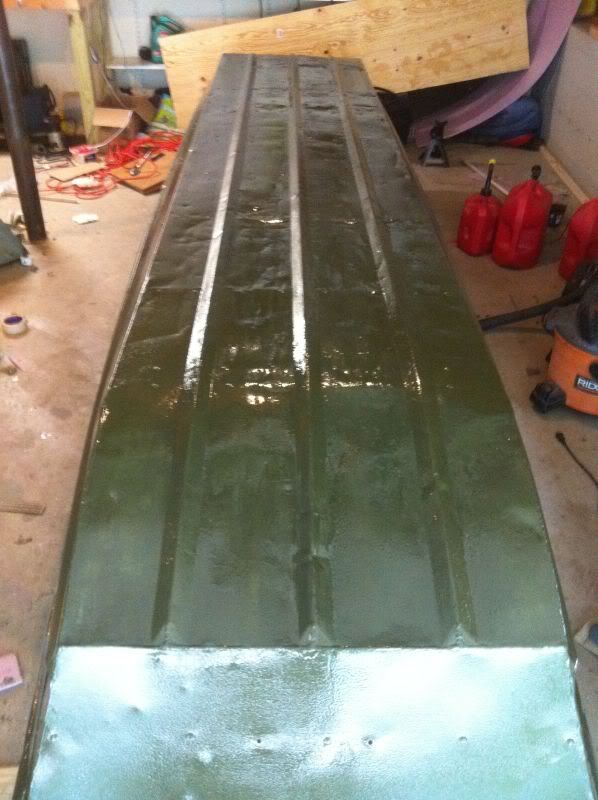
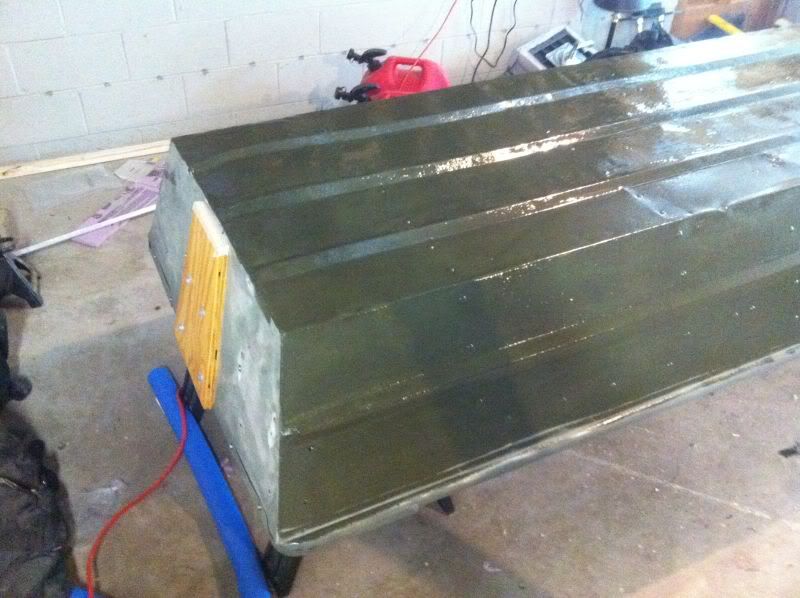
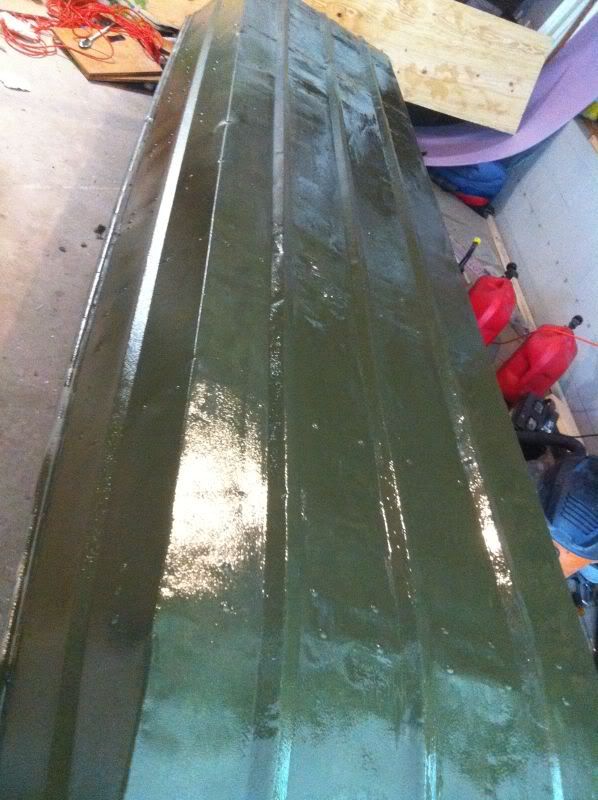
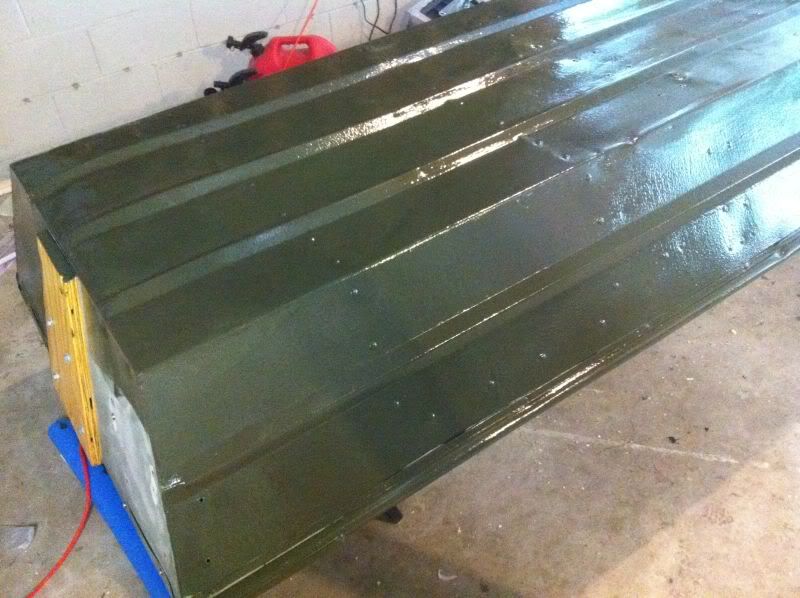
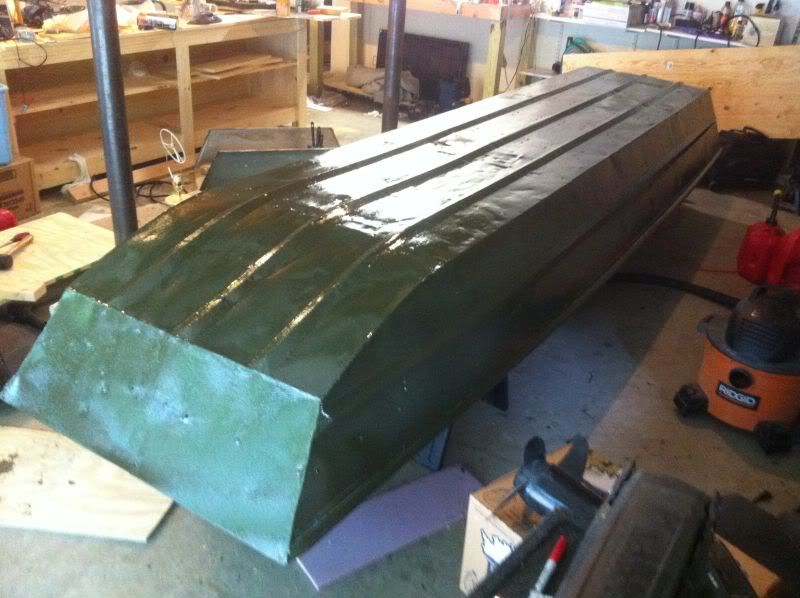
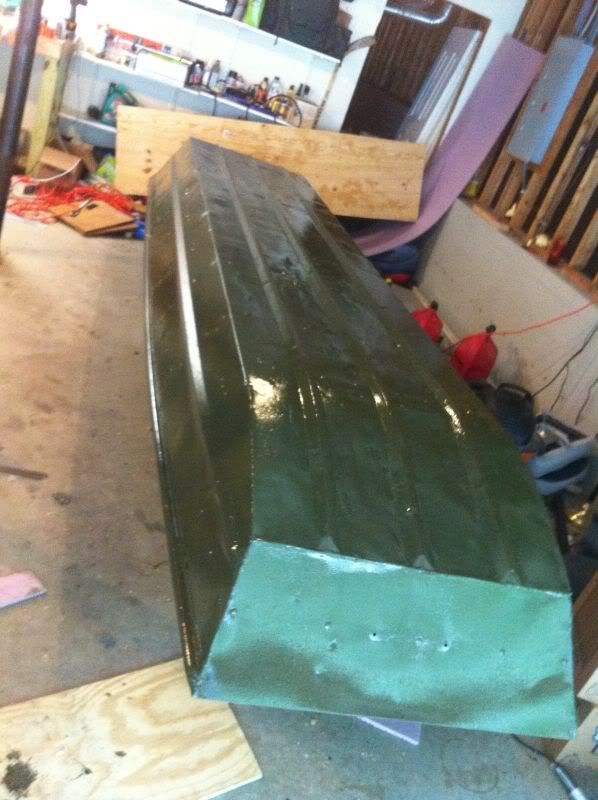
So after taking some time off to work on other home projects I got some free time to work on the boat this week. She's coming together nicely and nearly done!

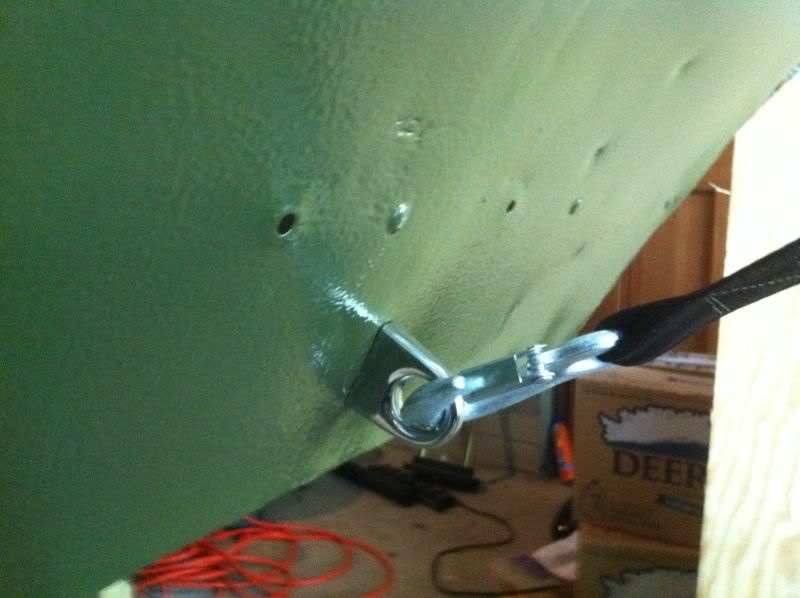
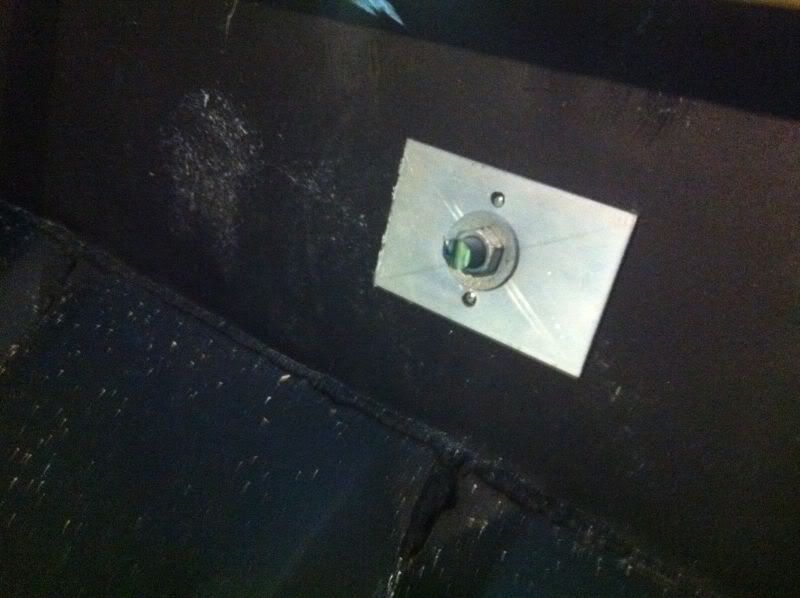
After the Steelflex was done curing I installed a bow eye since I removed the handle that was previously on it. On the inside of the hull I added a thick plate of aluminum for more support. I sealed around the bolt and the whole plate with marine silicone sealant.
IMG_1570.jpg

IMG_1571.jpg


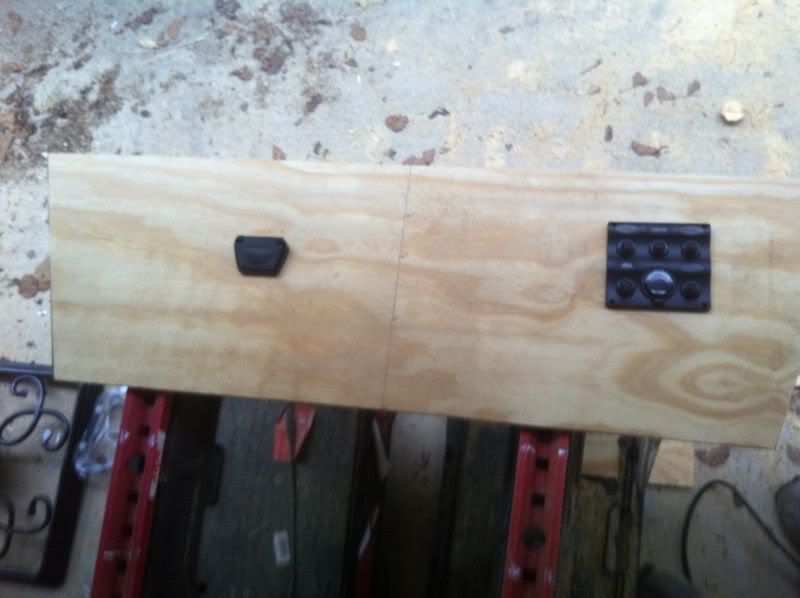
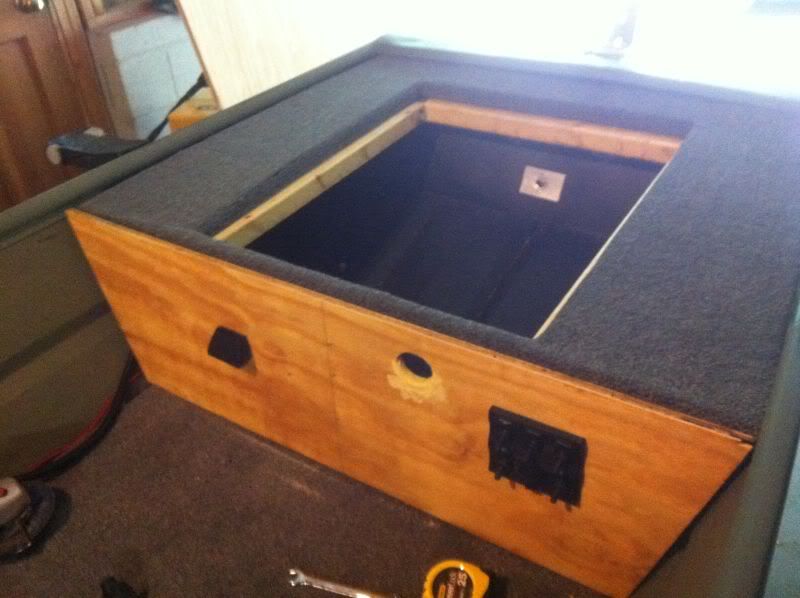
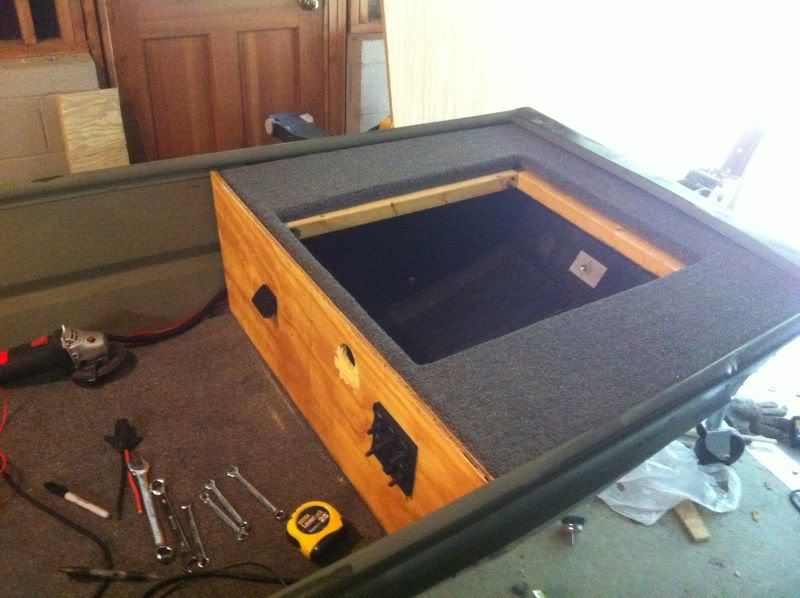
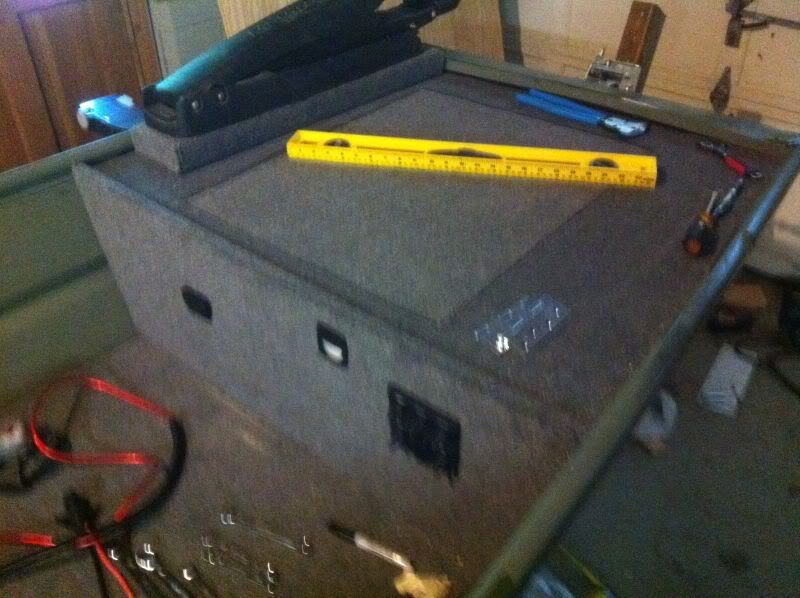
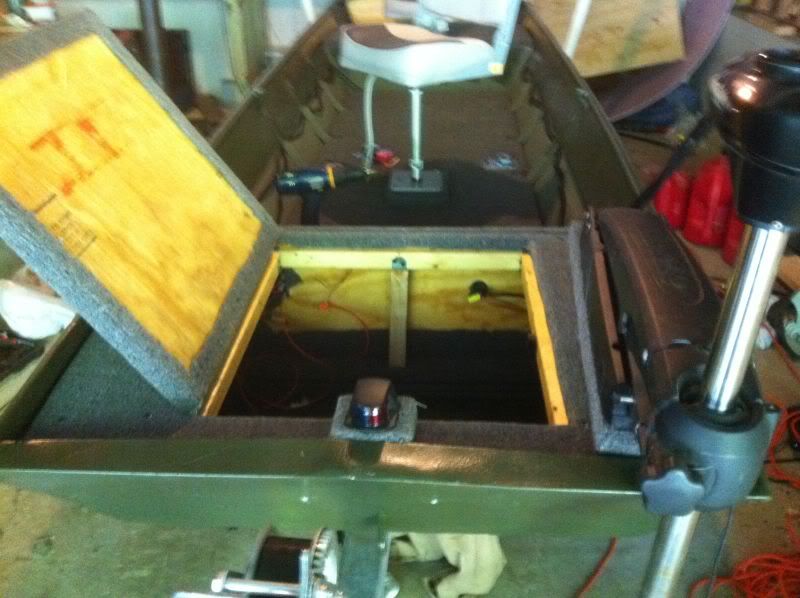
Next I started on building the front deck. I cut out pieces for the top of the deck and the inside facing and coated them with spar urethane. On the inside facing I routered holes for the instrument panel, an LED light, and the trolling motor plug receptacle. They may look crooked in the pictures but that's before the boards were carpeted and the pieces were secured. Just for reference though!
IMG_1578.jpg

IMG_1580.jpg


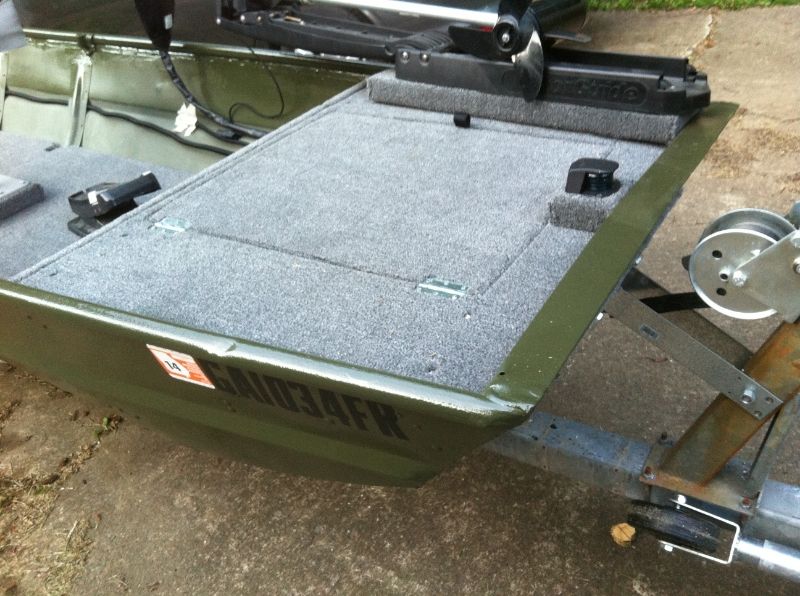
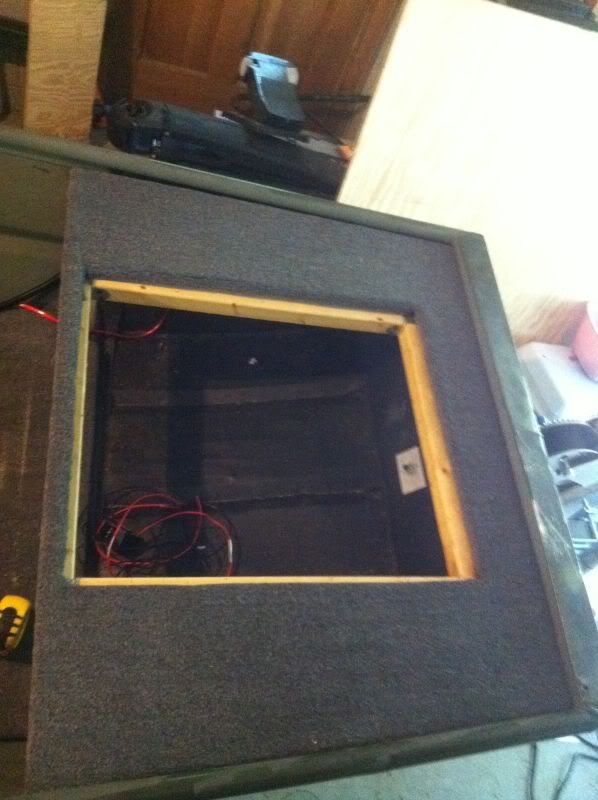
I got the top of the front deck cut and carpeted. I cut out a large hatch in the middle of the deck to access the storage area below.
IMG_1586.jpg

IMG_1587.jpg


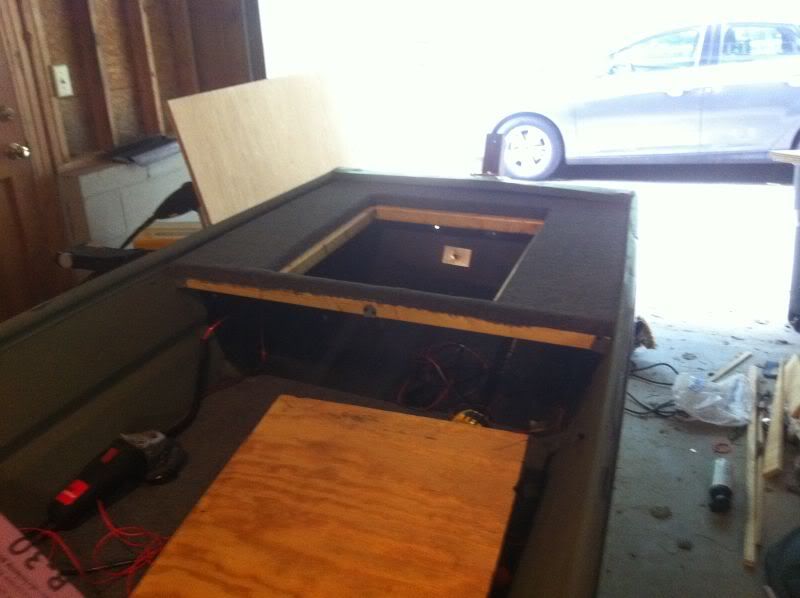
Then I placed the front facing up to it to see how it fit.
IMG_1588.jpg

IMG_1589.jpg


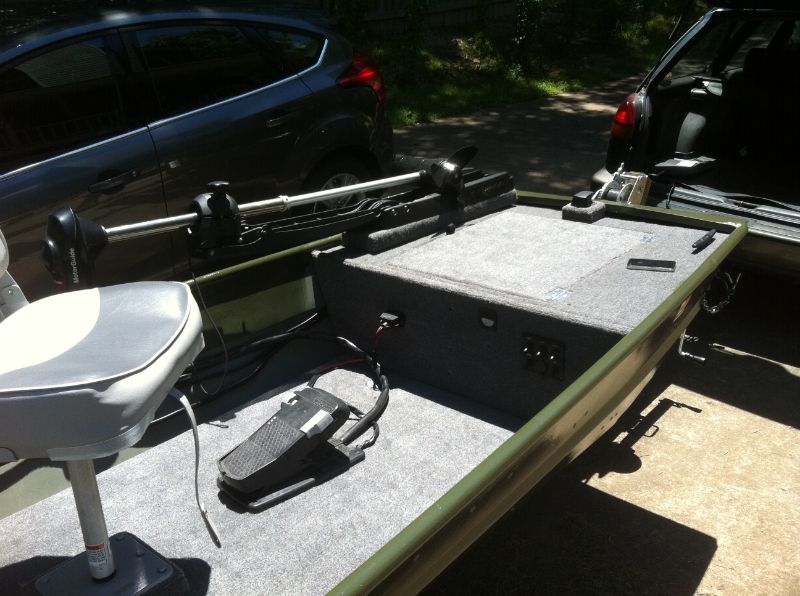
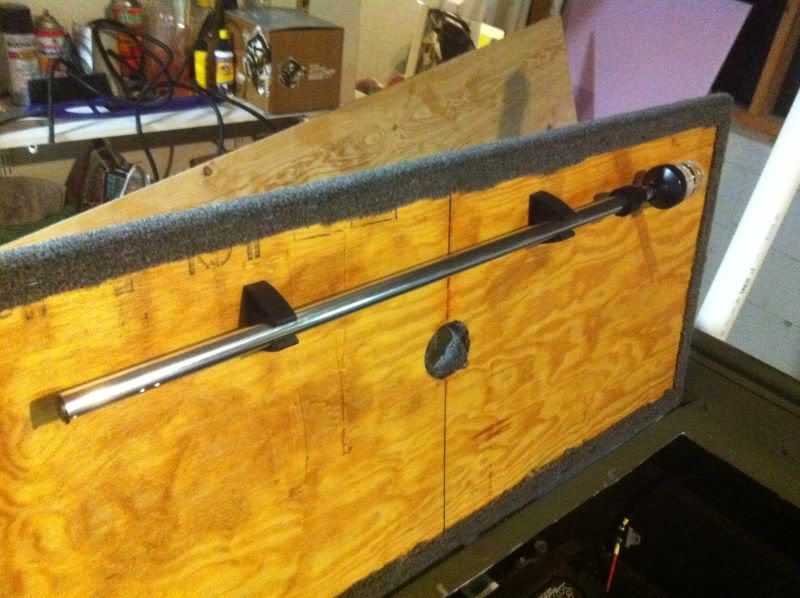
I cut out another piece for the rear bench, urethaned and carpeted it. I secured it to the bench seat with hinges riveted in the back of the bench seat. I'm using a Swivleze system so I mounted a baseplate for the rear seat in the middle of the bench. On the underside I installed the rubber clamps to hold the stern light for storage. (If anyone is curious about the thickness of wood I used, I went with 3/4" sanded pine on the top of the front deck and 1/2" for the inside facing of the deck).
IMG_1590.jpg

IMG_1593.jpg


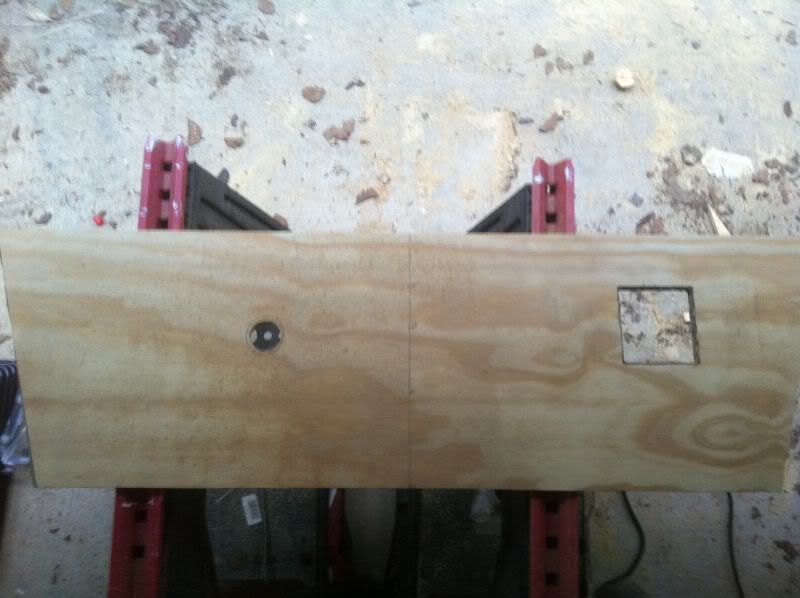
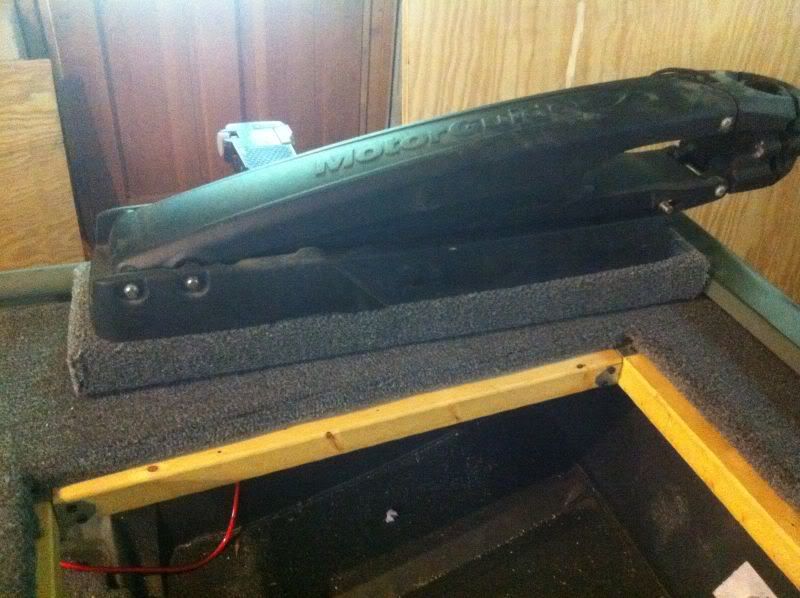
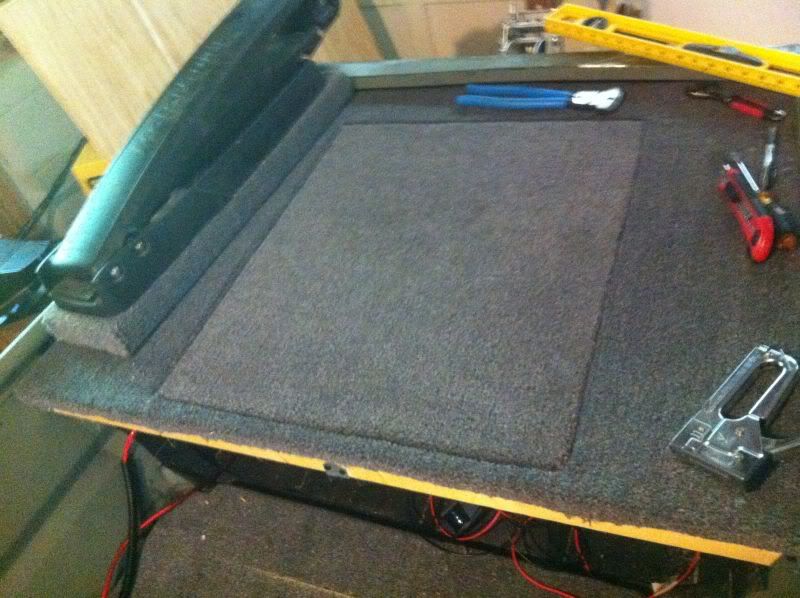
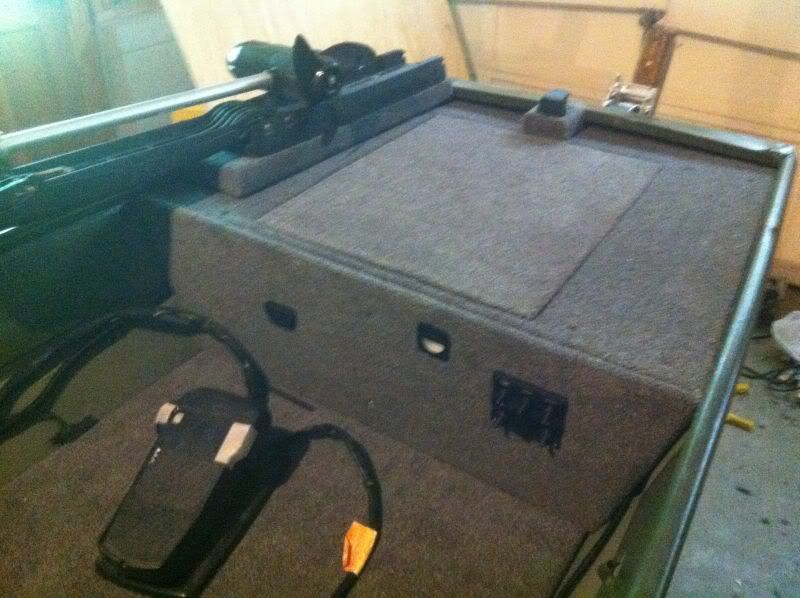
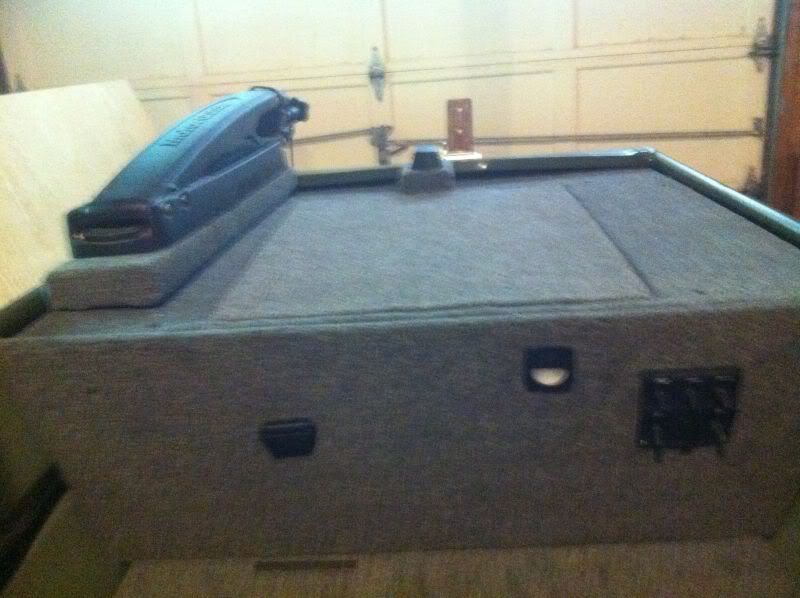
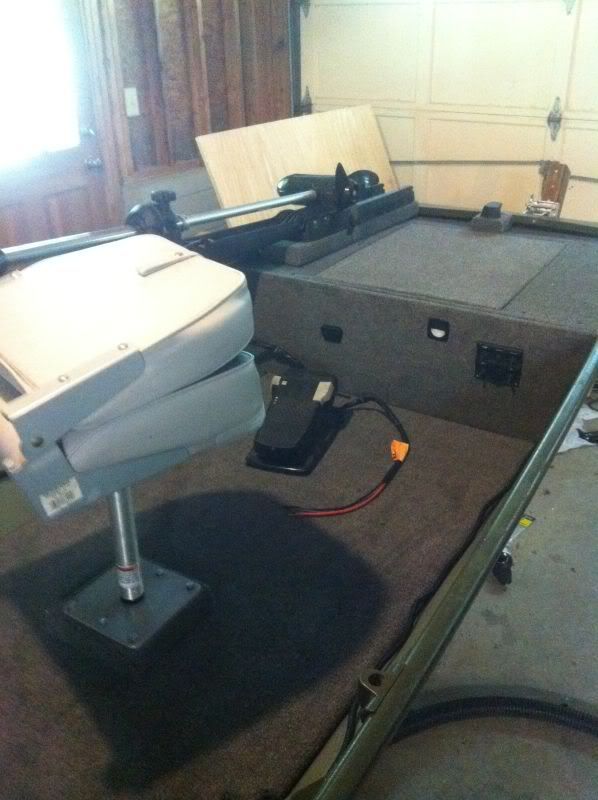
I carpeted the hatch and put it in to see how it fit. I also installed the trolling motor mount at this time. I had to make a mount for it instead of just securing it to the deck 1) because it's sturdier and 2) because I needed to raise up the motor base a few inches to clear the lip of the bow. For the trolling motor mount I used just a piece of 2x6 watersealed and carpeted. I installed it by ratcheting galvanized lag screws through the trolling motor base plate, through the 2x6, and lastly through the deck.
IMG_1594.jpg

IMG_1595.jpg


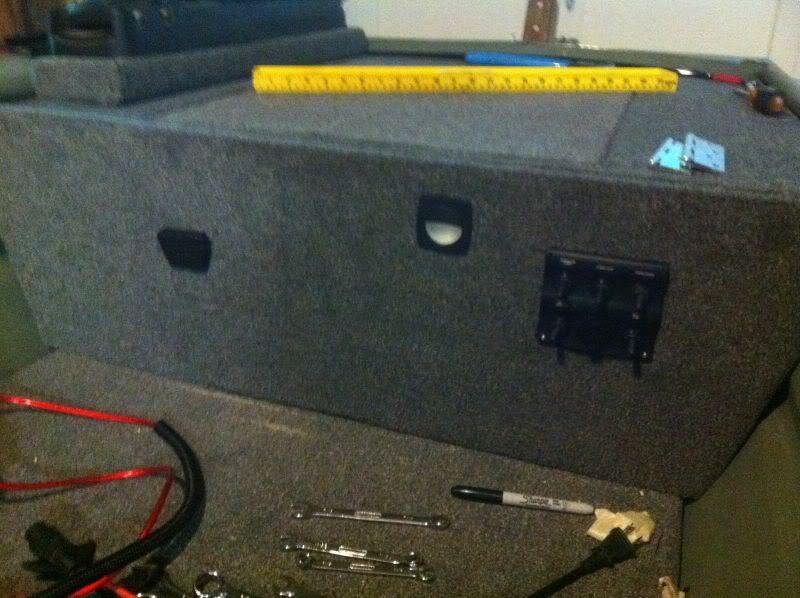
And finally the front facing panel was carpeted and ready to secure to the frame!
IMG_1596.jpg

IMG_1597.jpg

IMG_1599.jpg


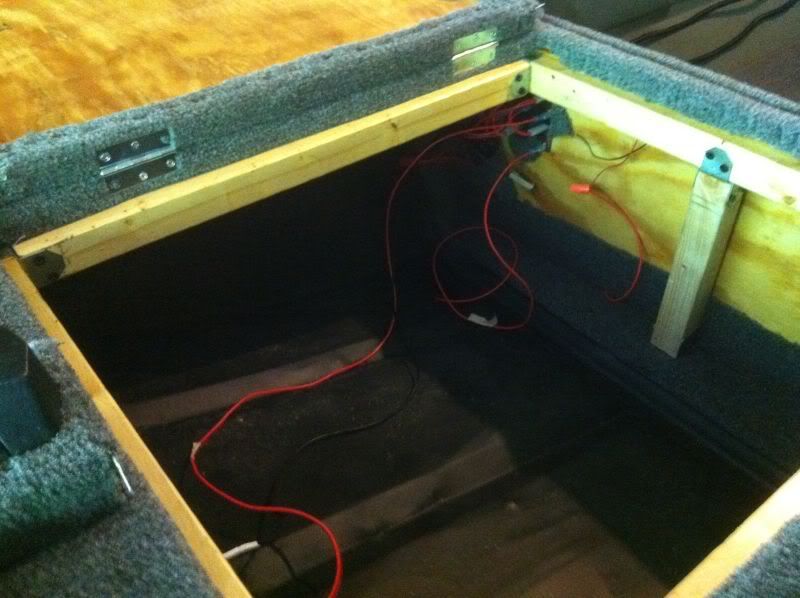
A few shots of the wiring inside:
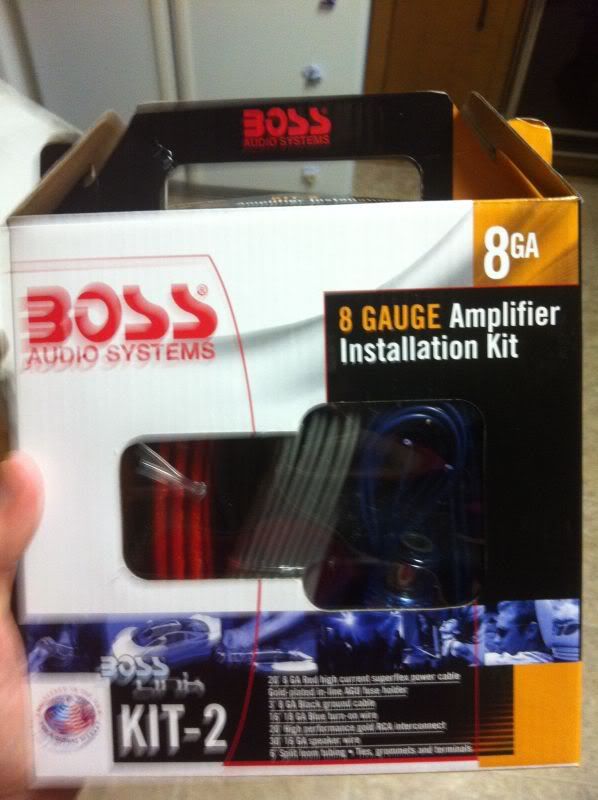
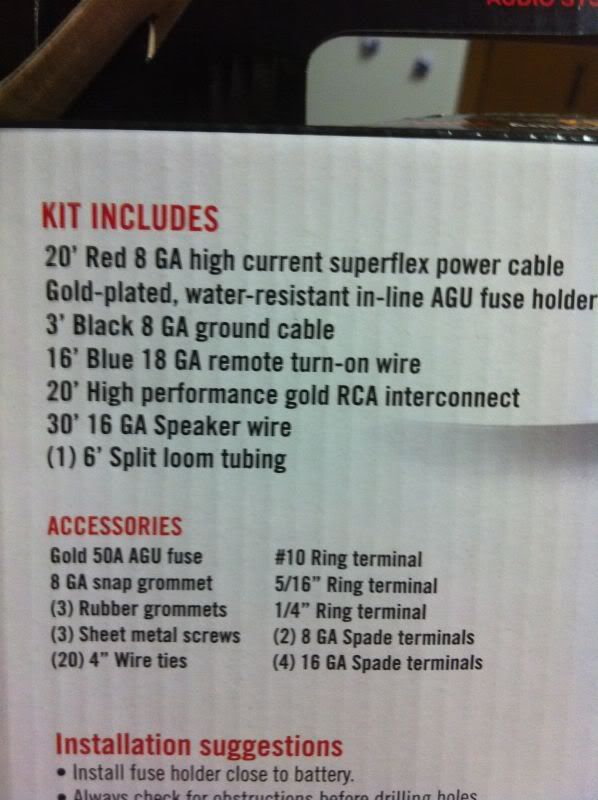
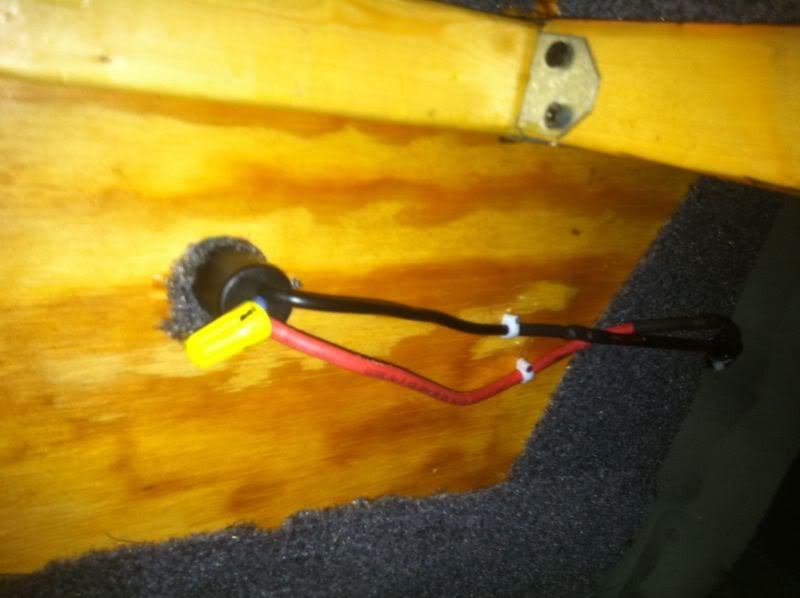
This is the back of the trolling motor receptacle plug. It's a 3 wire plug for 12/24 volts and a ground. Since my trolling motor is 12V and I didn't want an extra wire dangling around I cut it down and capped it with a wire nut. The power and ground cable going from the receptacle to the battery is an 8 gauge insulated wire from a car amplifier installation kit. The wires were soldered and heat shrink wrapped on both ends.
IMG_1619.jpg


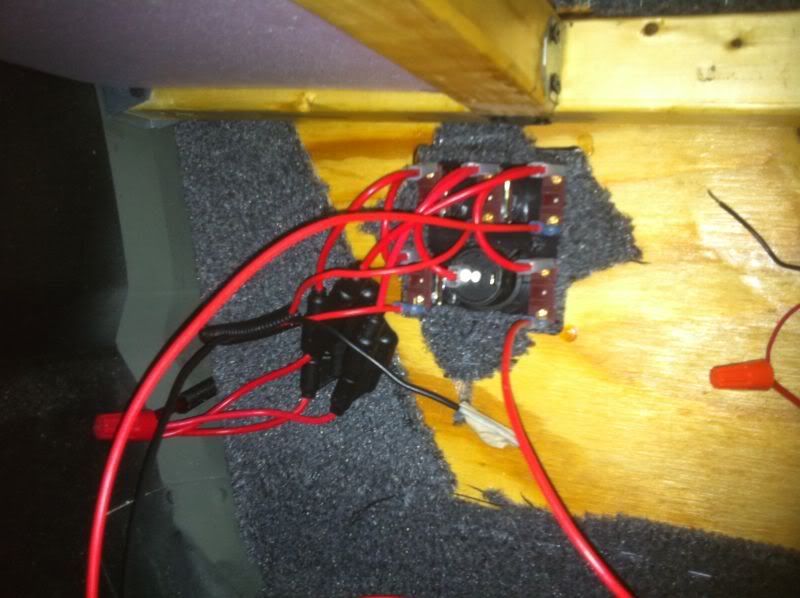
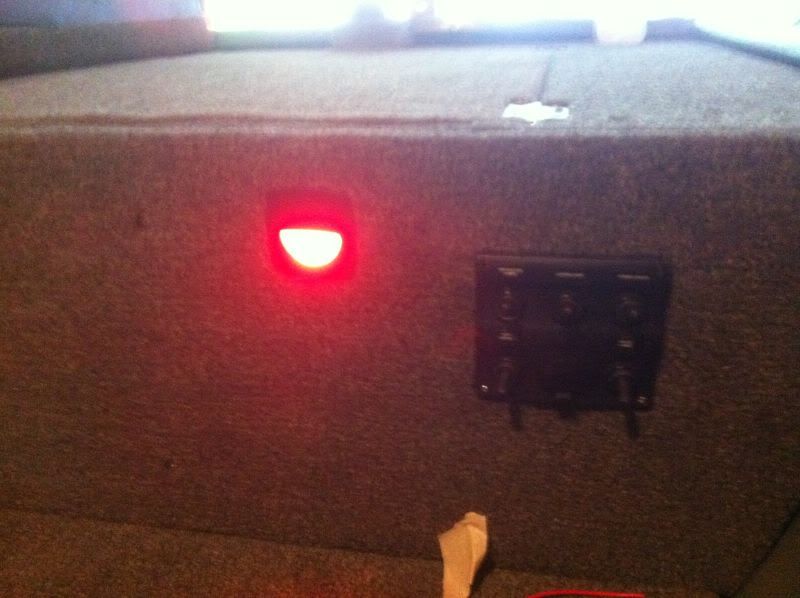
Here is the switch panel. I went with the Seasense 5 gang panel with a 12v cigarette lighter port. I will use this port to power my cooler livewell when it's done. It looks chaotic down here but I'm in the process of getting all the wires secured to the frame and tucked away.
IMG_1612.jpg

IMG_1620.jpg


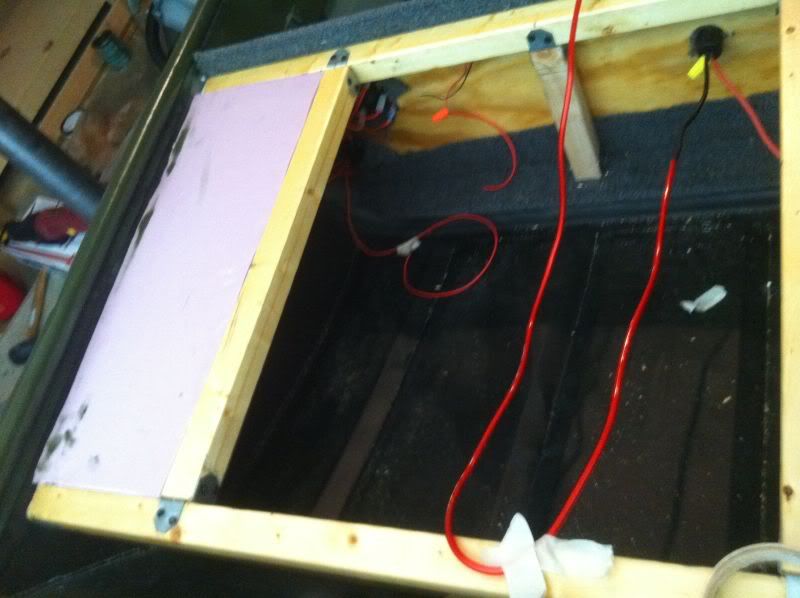
Another shot inside the storage compartment.
IMG_1621.jpg

IMG_1618.jpg


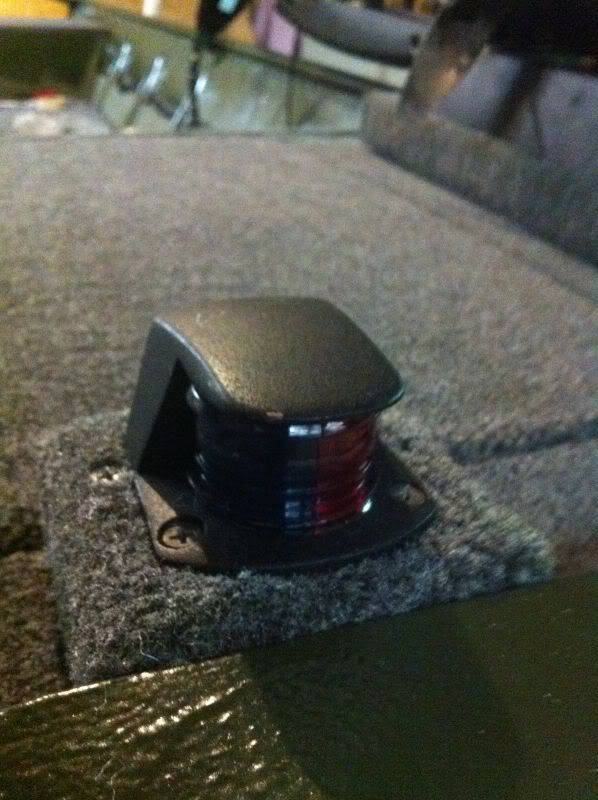
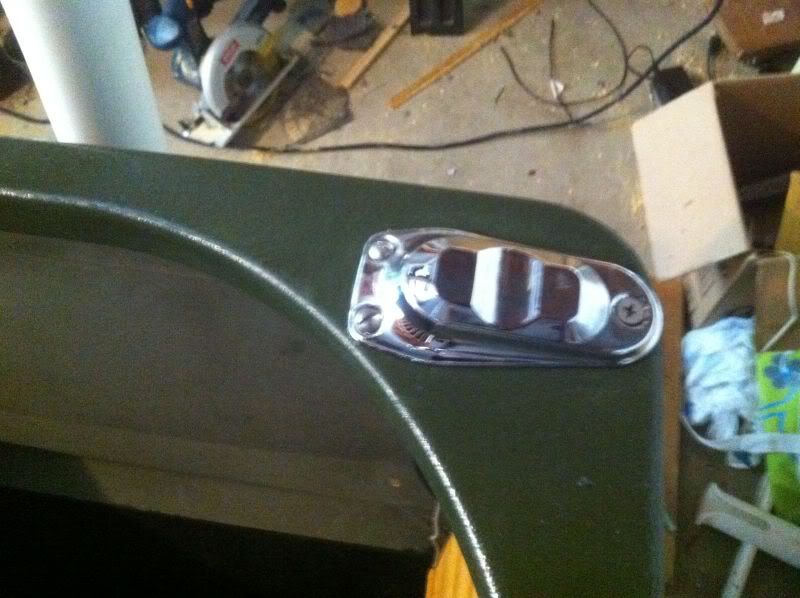
I made a little elevated carpeted base for the new bow light. It came with a shiny chrome finish which I didn't like, so I coated the outside with truck bedliner. Gives it a rough more durable surface and looks cooler!
IMG_1611.jpg


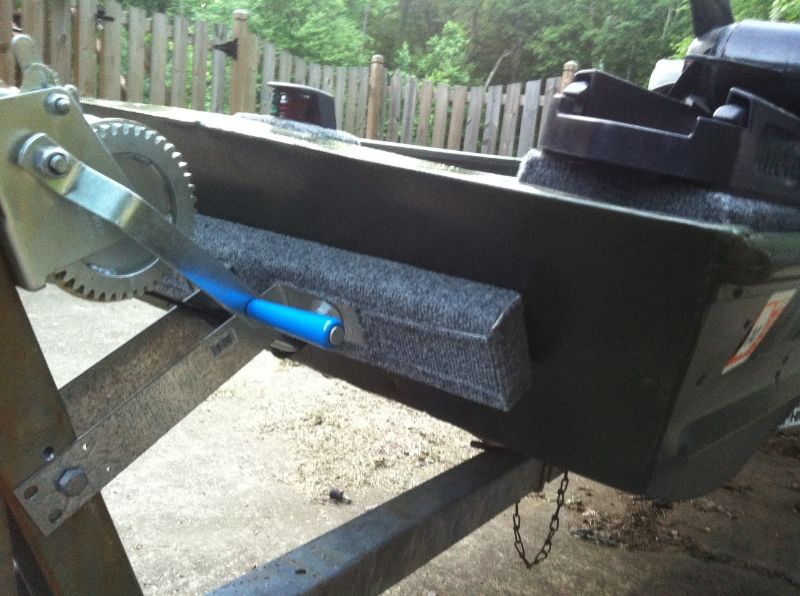
Stern light base installed and the edges sealed with silicone sealant.
IMG_1601.jpg

IMG_1602.jpg


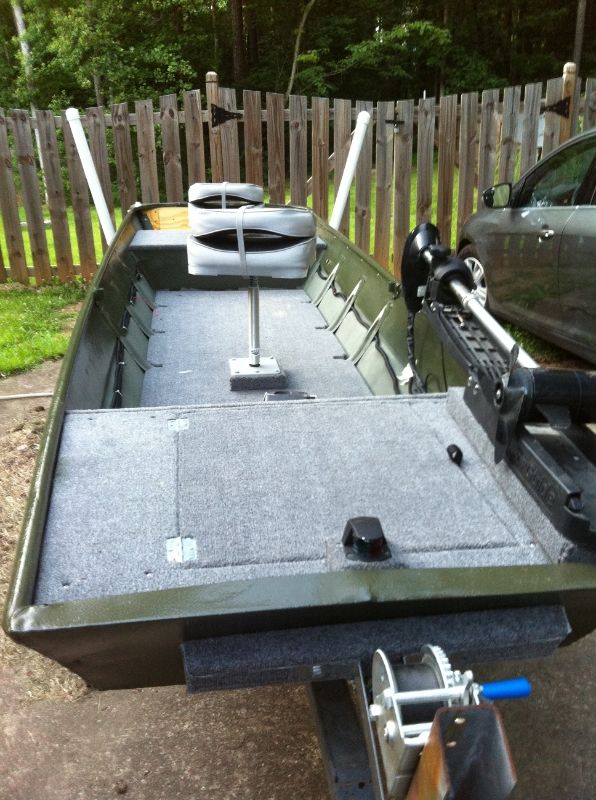
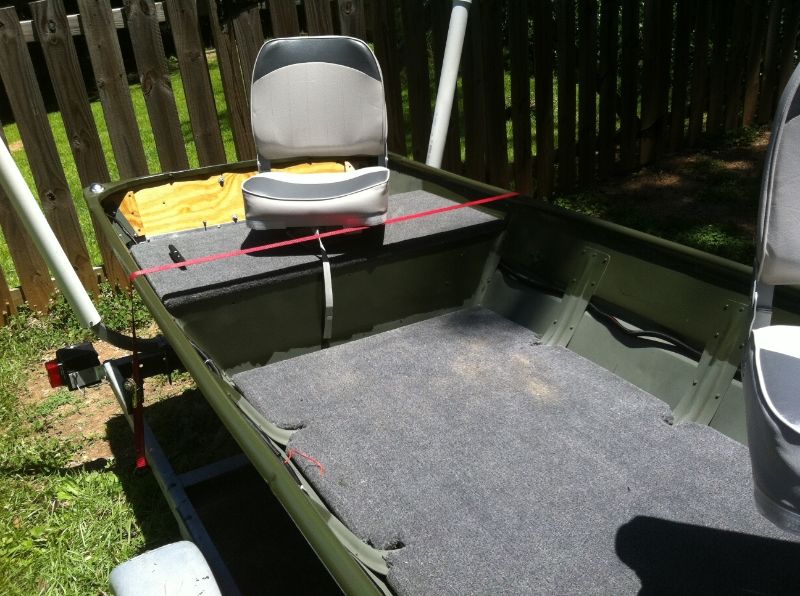
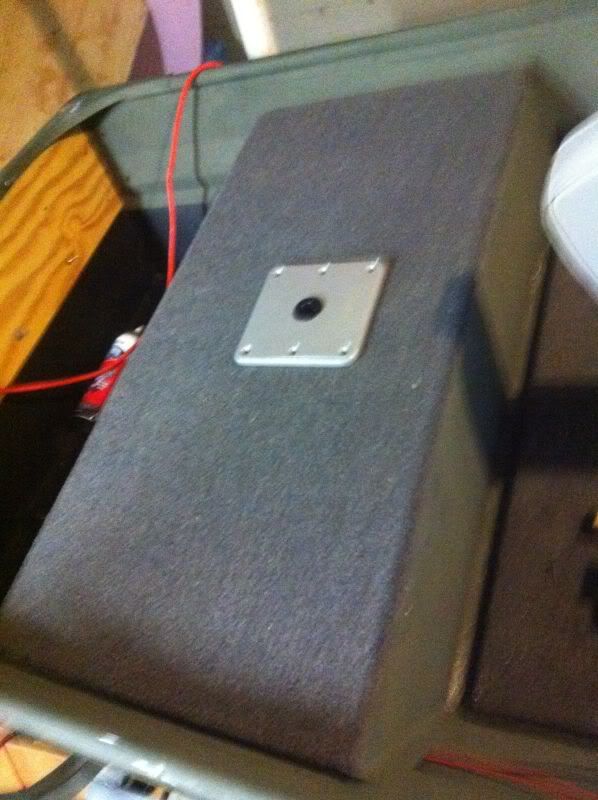
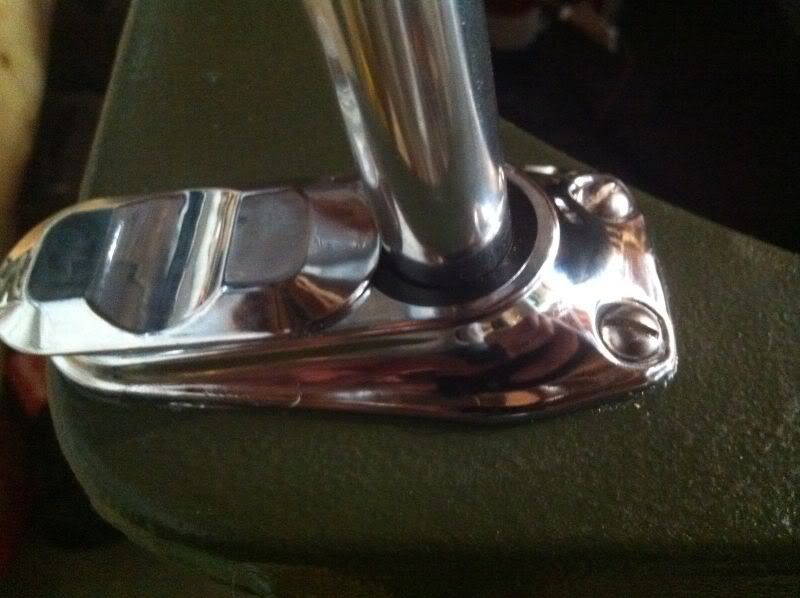
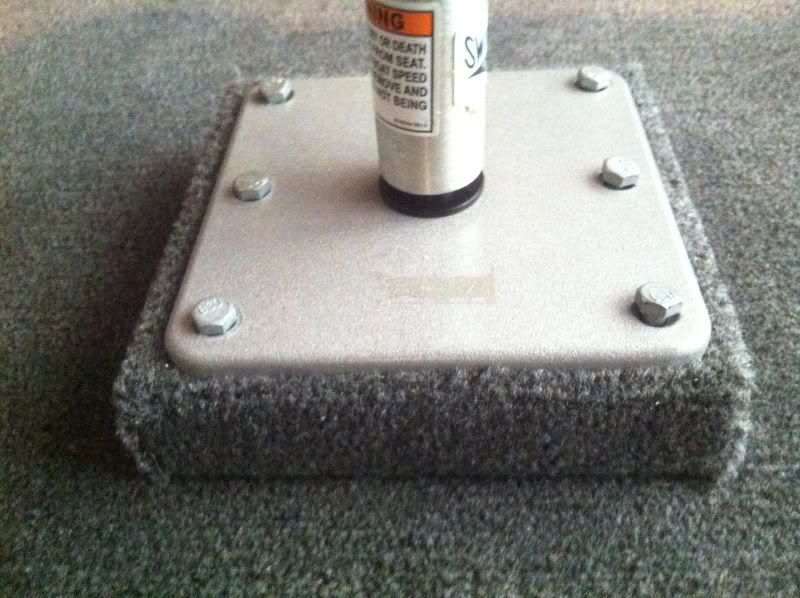
As I mentioned I'm doing a locking pin Swivleze pedestal system for both seats. Main reason is that I had all the parts laying around from a previous project boat! I also prefer them to the thicker stationary pedestal stands because those cannot be removed whenever you want to. One issue I faced was the forward seat. The pin goes below the base about 2" when the pedestal stand is inserted in the base. There wasn't 2" for it to go down in the middle of the floor, so I had to raise it up. I made a carpeted block with a piece of 2x8" for the base to mount ontop of. I used a drillbit for boring holes in doors to go all the way through the block so the base and pin could sit flush. Carpeted it up and secured it to the floor. I think it came out pretty good!
IMG_1604.jpg


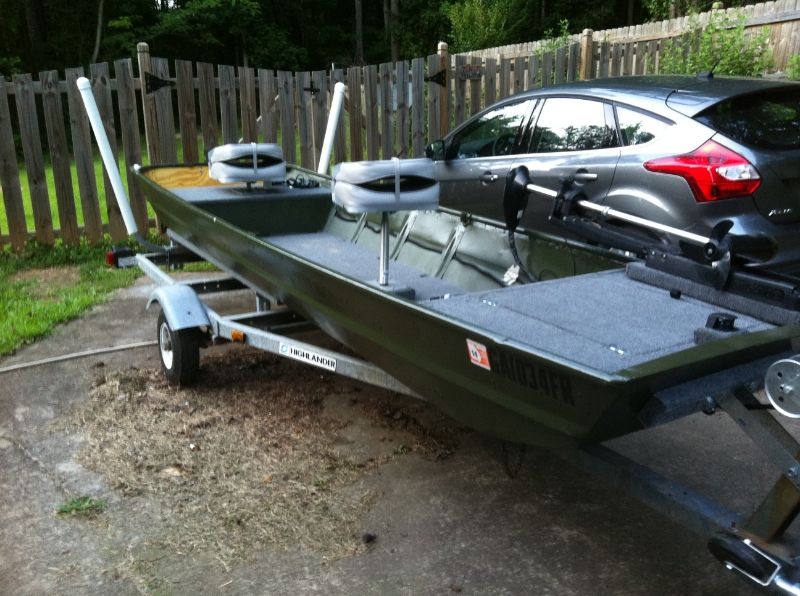
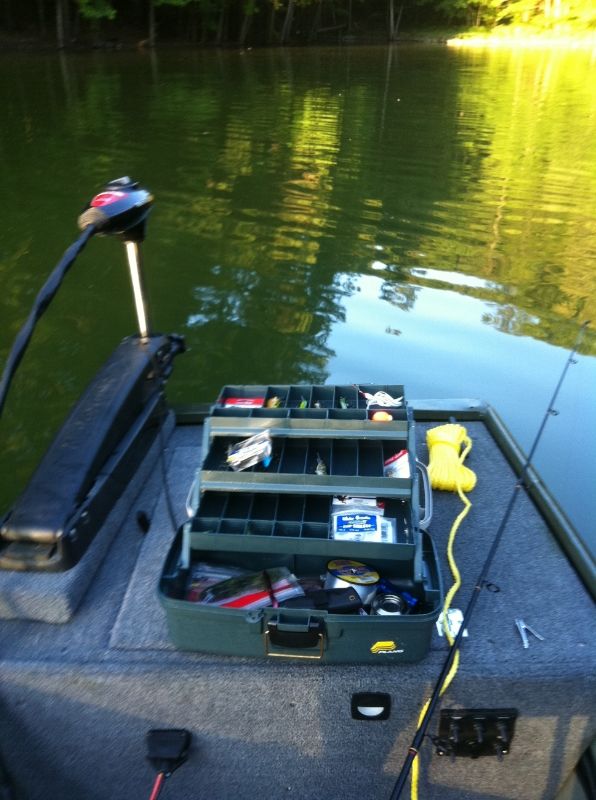
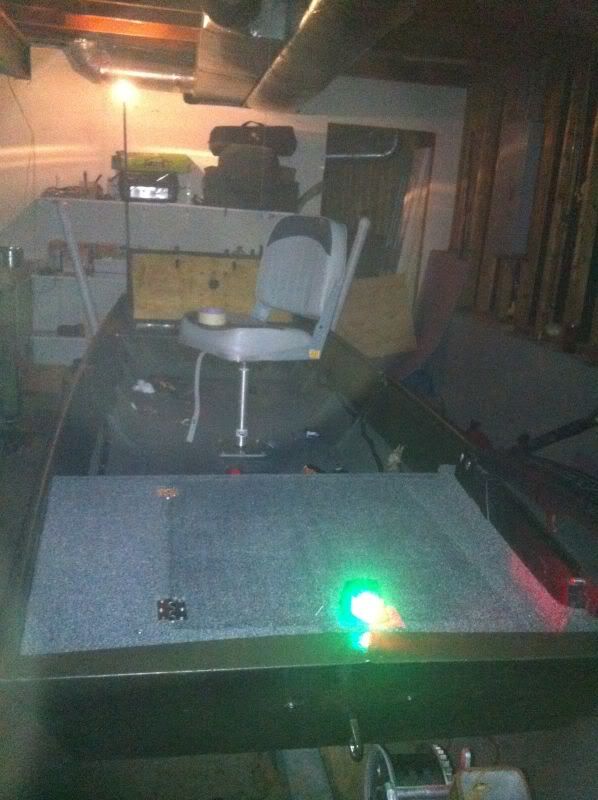
Here's some more photos of what it looks like now:

IMG_1608.jpg

IMG_1606.jpg

IMG_1614.jpg

IMG_1616.jpg


Here's the red LED light I got for the boat. I actually got 3 of them; one on the front and two on the sides. I went with the red because I've heard the white/blue is a little bright for the night vision when you're fishing after dark. I still have 2 to install so I'll see how it looks when all 3 are in.
IMG_1622.jpg


Front and stern lights on.
IMG_1626.jpg


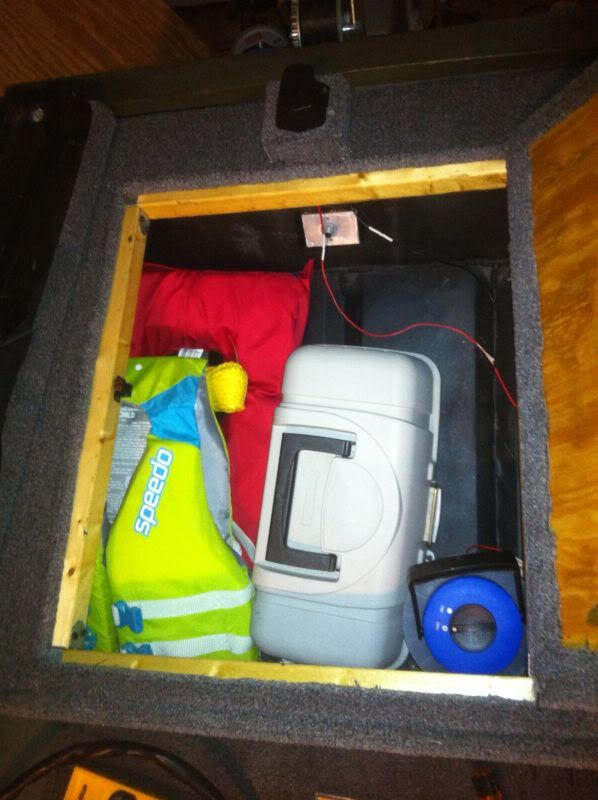
Storage under front compartment. I'm going to fill any free space with closed cell foam or lifevests/seats.
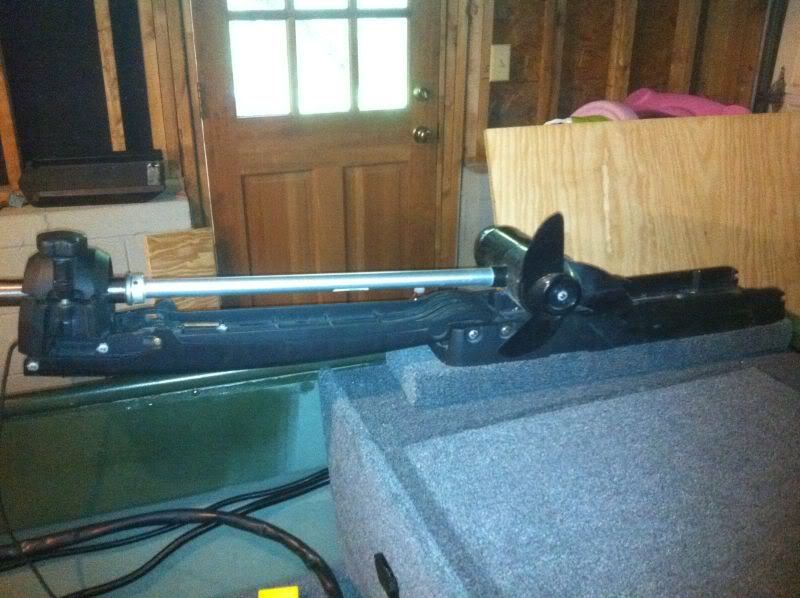
IMG_1627.jpg


Trolling motor.
IMG_1628.jpg


So that's where I'm at right now! Still have a couple more little tasks to do. I'm debating on whether I wanted to carpet sideboards to go from the floor to the gunwales to hide all the wire, but I'm not sure I want to do that anymore. I don't like the exposed wire tubing showing though; doesn't look clean to me. I should have her out on the water early next week!
 
Sorry to revive an old thread but I just wanted to upload a few final pictures of the build I completed (or as much as I have time to do these days) Still need to cover the sides with something. Took it out a lot last spring and summer and this spring. It does great! It's pretty stable for a 1430 but it helps that I lowered the center of gravity in the boat with the lower mounted seats. Still need an outboard, so if anyone has one in the Atlanta area they can part with for a deal let me know!

IMG_1636.jpg


IMG_1637.jpg


IMG_1638.jpg


IMG_1639-1.jpg


IMG_1641.jpg


IMG_1642.jpg


IMG_1643.jpg


View from the front seat
IMG_1648.jpg


First catch in the boat!
IMG_1647.jpg
 
That last picture is what it's all about,they can keep the hokey pokey LOL
You done well on that project and in the end it's the result most of us want,on the water catching fish

Regards
Shaun
 
Nice work!
You said you might want to do something with the sides. I used a mesh cargo net; for a small boat it's light and hugs the sides when not in use. I bought a cheap one and cut it down the middle lengthways to fit both sides. The nets regularly hold a small telescoping paddle, fish net, bags of potato chips, extra cloths we bring etc.
 

Attachments

  • boat 99percentfinished 003.JPG
    boat 99percentfinished 003.JPG
    341.1 KB · Views: 1,486
[url=https://www.tinboats.net/forum/viewtopic.php?p=326526#p326526 said:
Scott1298 » 19 Aug 2013, 00:04[/url]"]Nice work!
You said you might want to do something with the sides. I used a mesh cargo net; for a small boat it's light and hugs the sides when not in use. I bought a cheap one and cut it down the middle lengthways to fit both sides. The nets regularly hold a small telescoping paddle, fish net, bags of potato chips, extra cloths we bring etc.


What did you buy and how did you cut it down -- I want to do the same all around my boat! Do you have any specifics?

Cheers
Herc
 
What did you buy and how did you cut it down -- I want to do the same all around my boat! Do you have any specifics?

I got mine at Canadian Tire (the Canadian Walmart) in the car organizer department for less than $15. It was originally 45x24" & I cut it down to 45x12", this one will stretch to 60". Just search cargo net, it looks like you can find others for longer truck boxes, maybe you can find one you can cut and fit between your seats... or you could try lashing two smaller ones together for length.
Take a look at Maestro's nets @ https://www.tinboats.net/forum/viewtopic.php?f=21&t=25479, he shrunk his nets right down and used hockey tape for the trim (although he called it something much more exotic). I used the seams at the ends of the seats for S hooks, and I added rope at the bottom inside the S hooks and just kept shortening the shock cord until I had satisfactory tension around the edges. Lastly I used a torch to melt the nylon netting ends left when I cut. Check my mod below for a little more detail and a few more pictures.
 
Top