MeanMouth
Well-known member
Thanks everyone. The plans have changed a little.SrPhatness said:That's a good first step.
GUT IT
Then start fresh.
That's a good looking boat with lots of room = lots of potential. What are your plans with it?? Let us know how the brazing goes.
Rock On
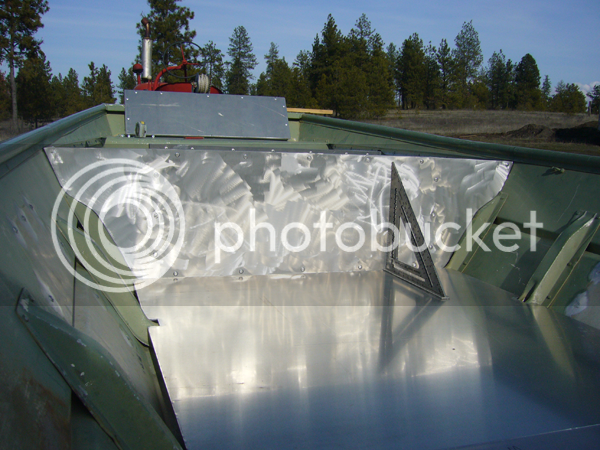
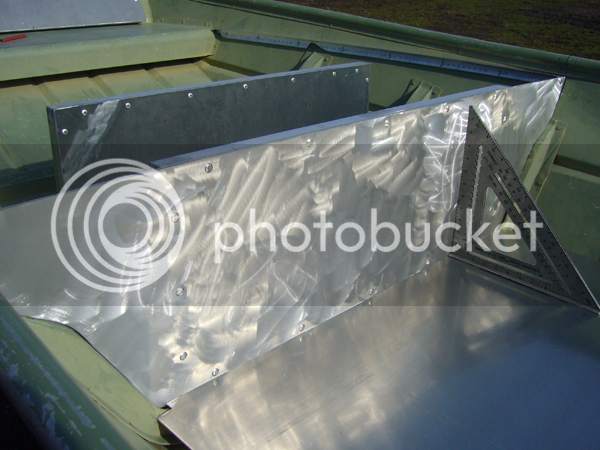
Front
We are going with a front casting deck. We are not adding a single piece of wood to this boat, so the framing and deck will be aluminum. The boat is trailered over rural country, so cleaning is necessary.
A new Minn Kota Edge 40 and a Humminbird 570 will be added upfront, with the battery underneath the deck along with lifevest storage.
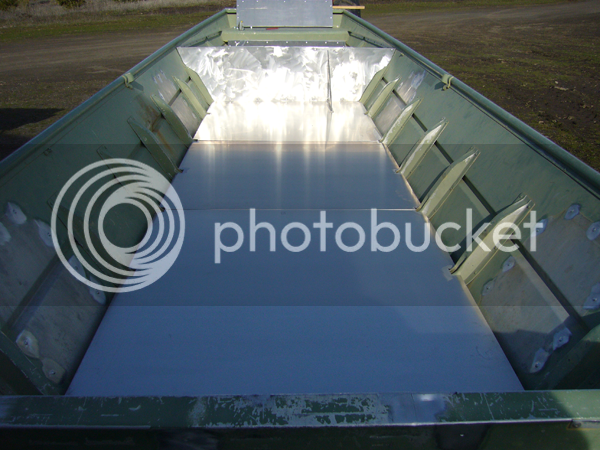
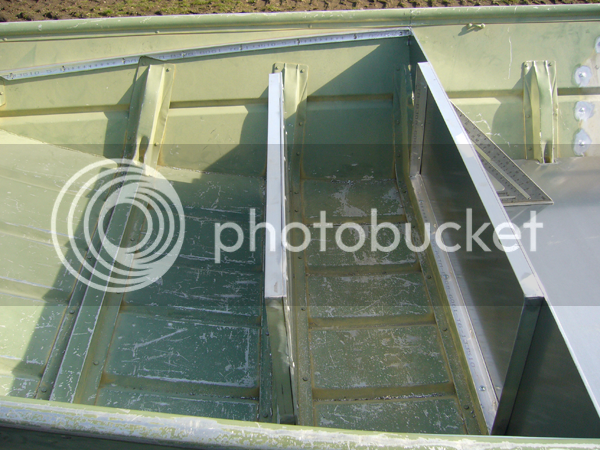
Floor
We will also be putting a floor down, once again, aluminum. Underneath will be styrofoam, which will lay over the channels and inbetween the ribs so that water can still make it's way aft.
Seats
Planning on 3 pedestal seats. 1 up on the casting deck, 1 in the middle, and the driver's seat which will probably be placed off-center, starboard side.
Trailer
It's an old steel trailer, well built, but in need of tlc. We are planning on the ruste converter route, and maybe herculiner over the top. We'll be adding new wheels/tires, or getting the wheels powedercoated, replacing the bunks and carpet, and also adding bunk style guide-ons.
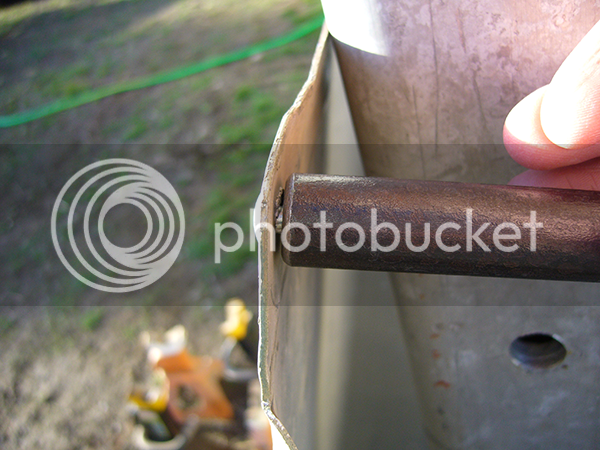
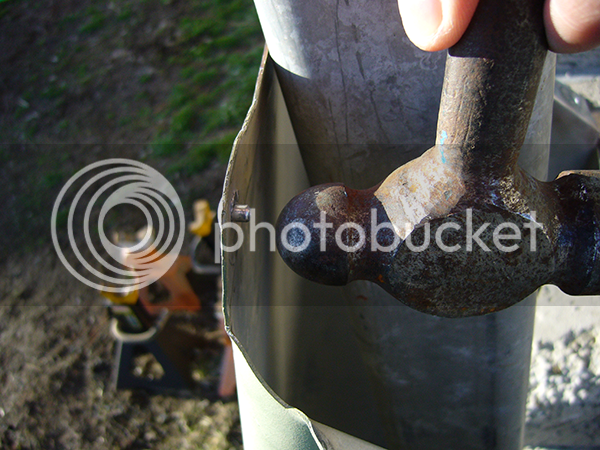
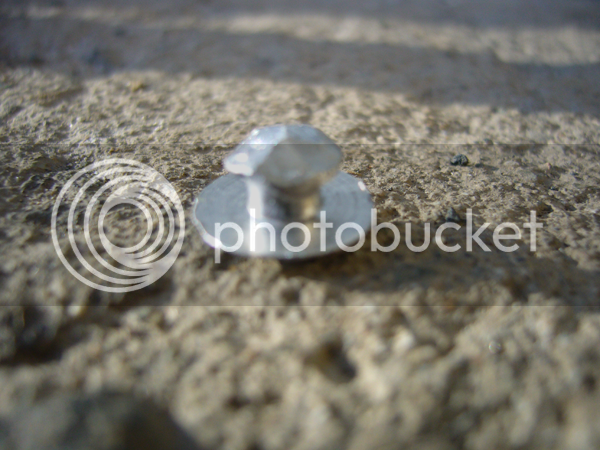
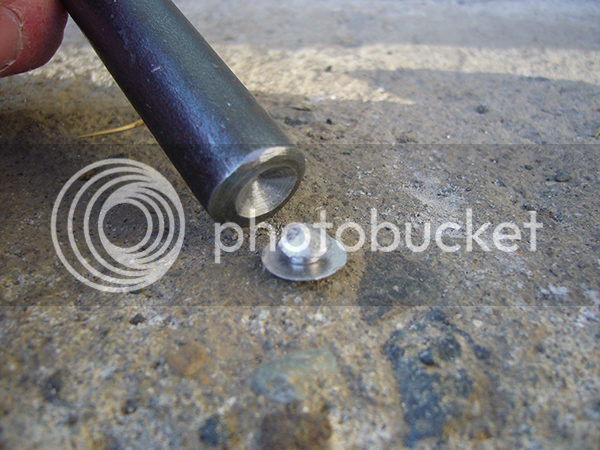
I'll post pics of the HTS-2000 once we get started...lots of things going on right now with college.


") . Great post and step-by-step pics! =D>
. Great post and step-by-step pics! =D>