
ATW
Well-known member
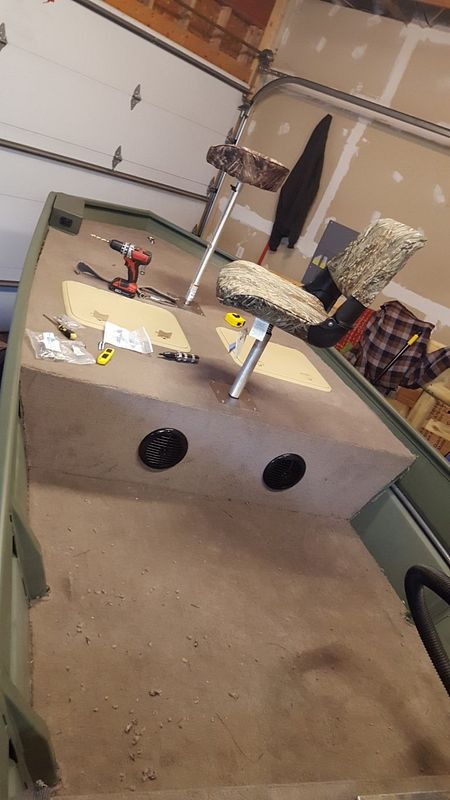
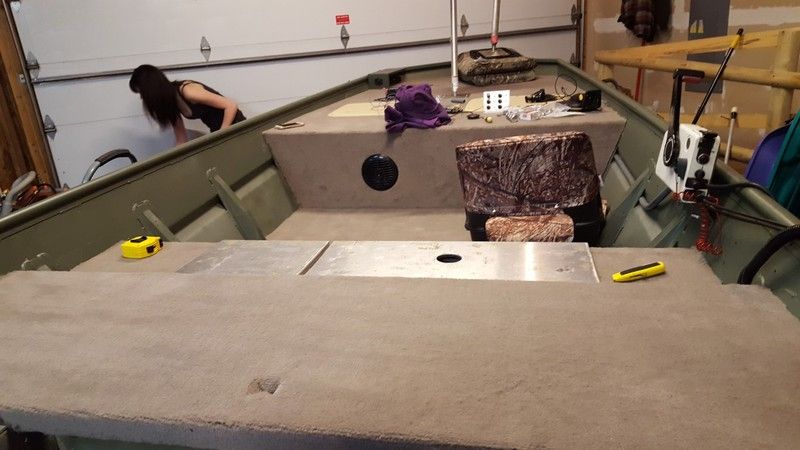
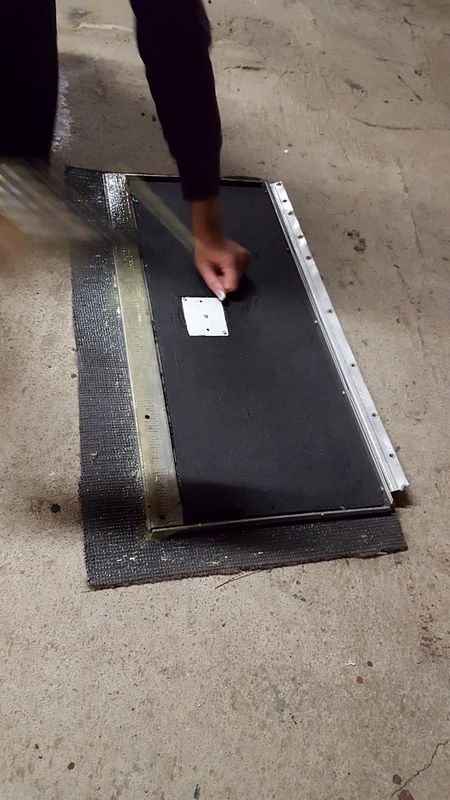
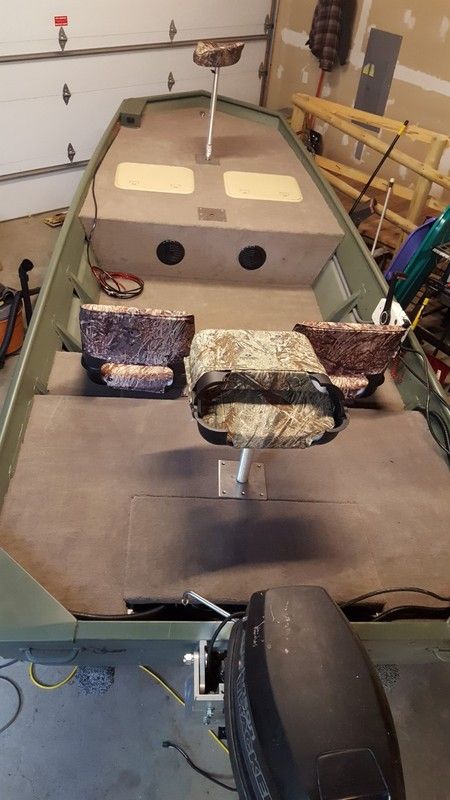
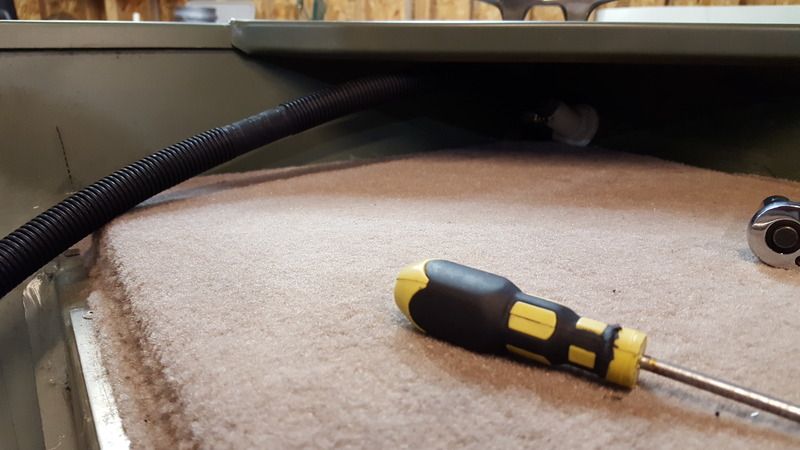
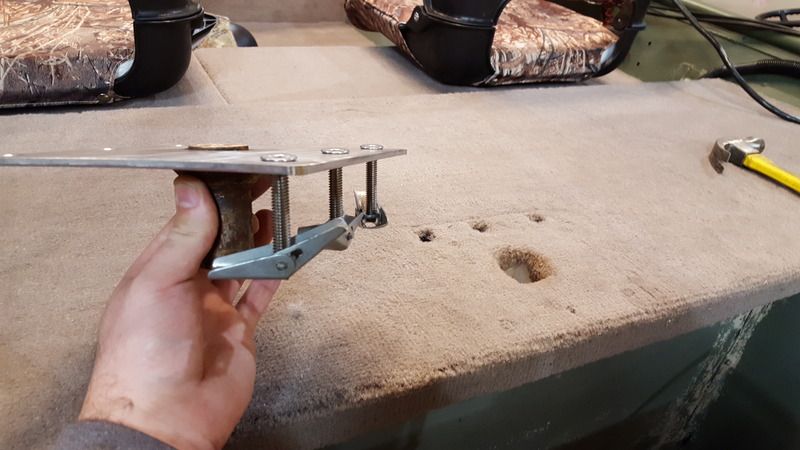
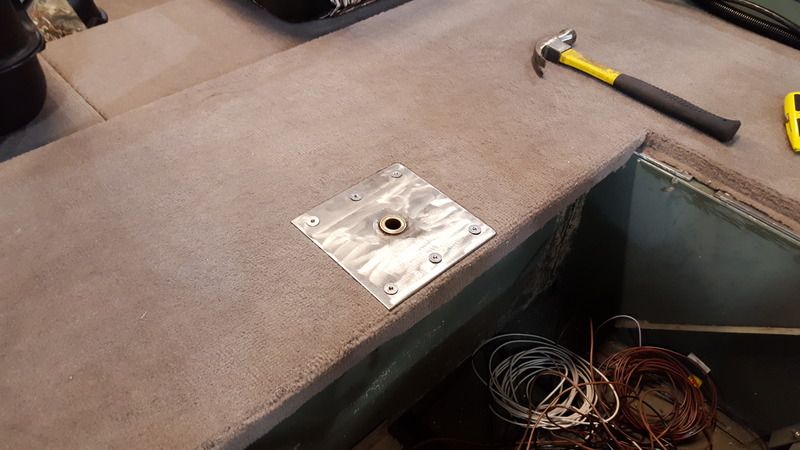
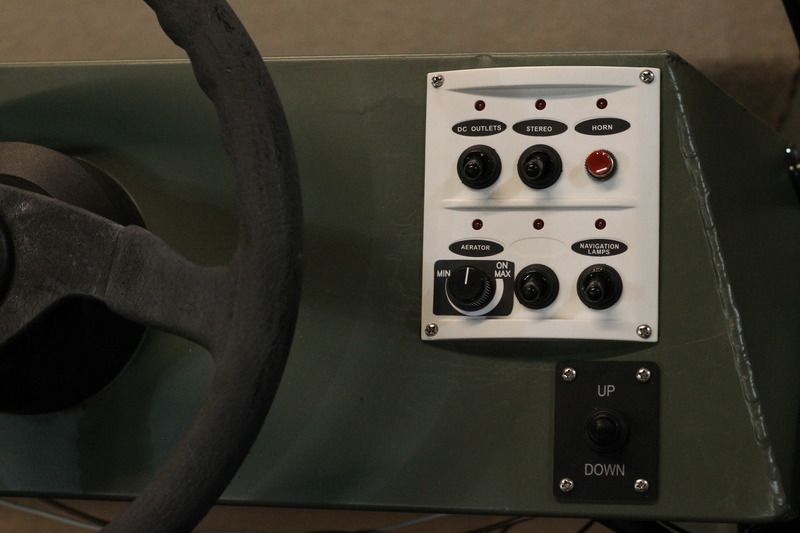
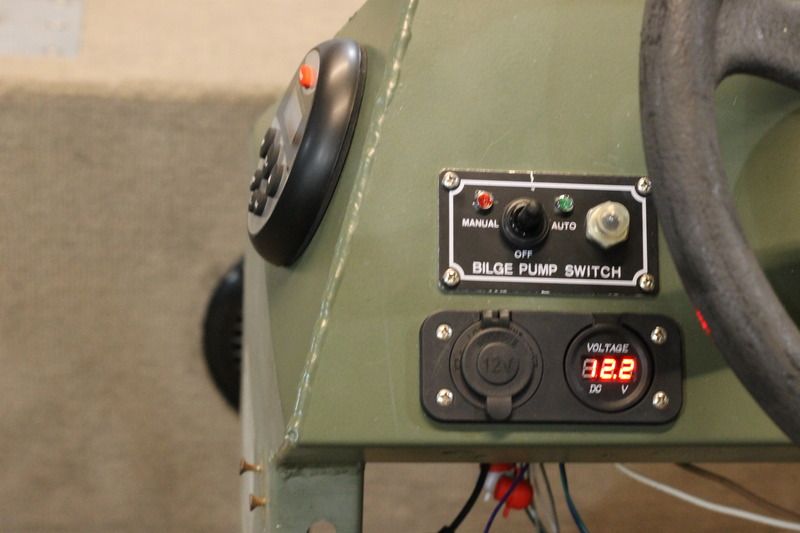
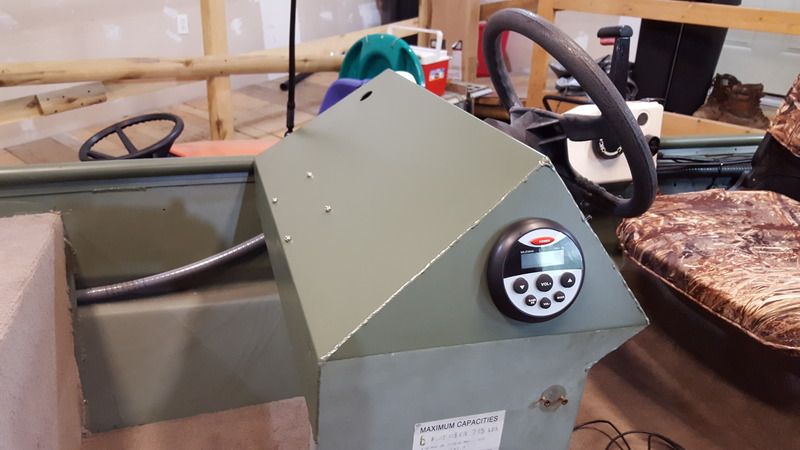
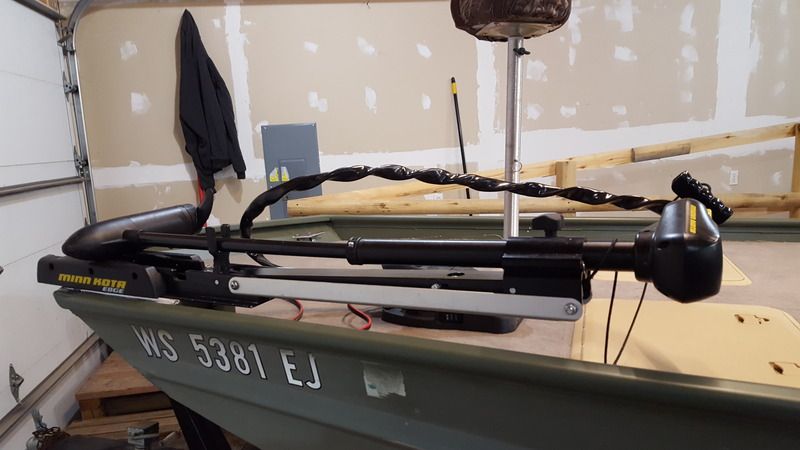
Next came the floor...


bamalivin said:If you didn't already know, your engine can be somewhat easily modified to a 35 hp. If you, like myself find yourself in need of the extra ponies, that is something to keep in mind. Boat looks great btw! Happy boating!


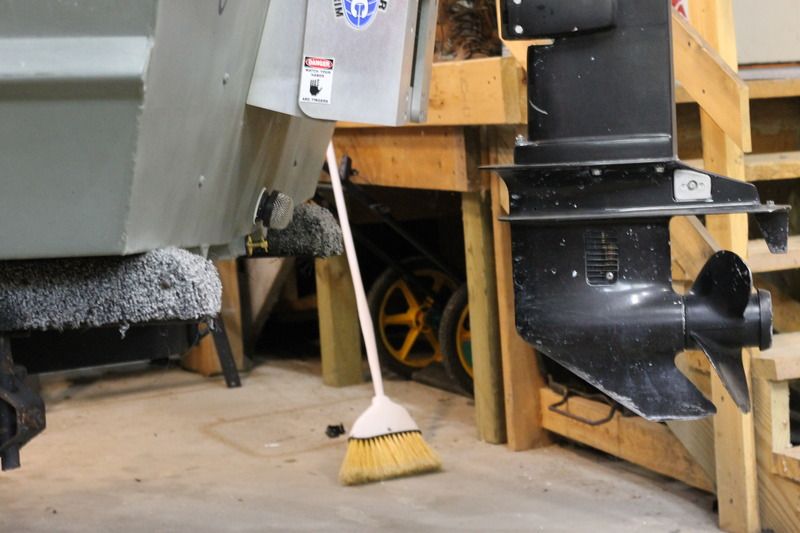
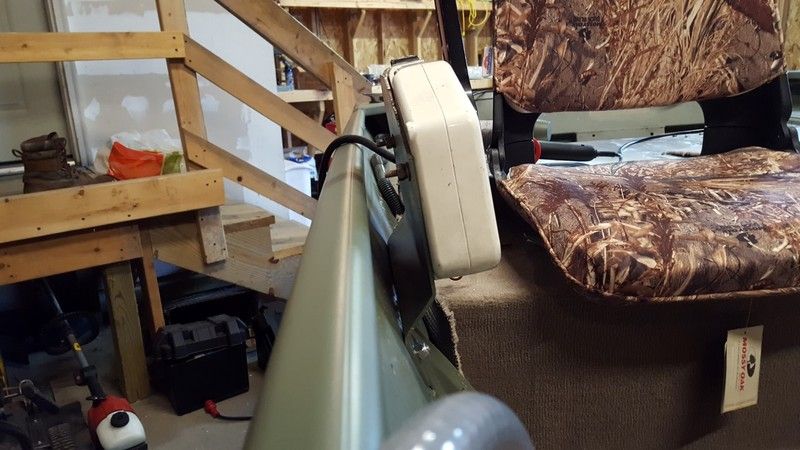
fl.graderman said:I'll be interested to see if this height works out for you... I read about the "rules" for elevating the motor with setback when I was dialing mine in. I also have a jackplate with 4" of setback and I started out at about 3/4" above the keel with the AV plate. Long story short, I'm getting the highest speeds and best performance now and my AV plate is about 1/2" below the keel.
Any higher and it blows out in turns. It may be different in your case...I'll be following...
2015 Tracker Grizzly 1448 MVX
1996 Evinrude 25hp 3 cylinder looper
Enter your email address to join: