1980 15ft Polar Kraft Bass Boat Restoration

TinBoats.net

Help Support TinBoats.net:

This site may earn a commission from merchant affiliate links, including eBay, Amazon, and others.

jlshoup

Member
Joined
Feb 17, 2011
Messages
7
Reaction score
0
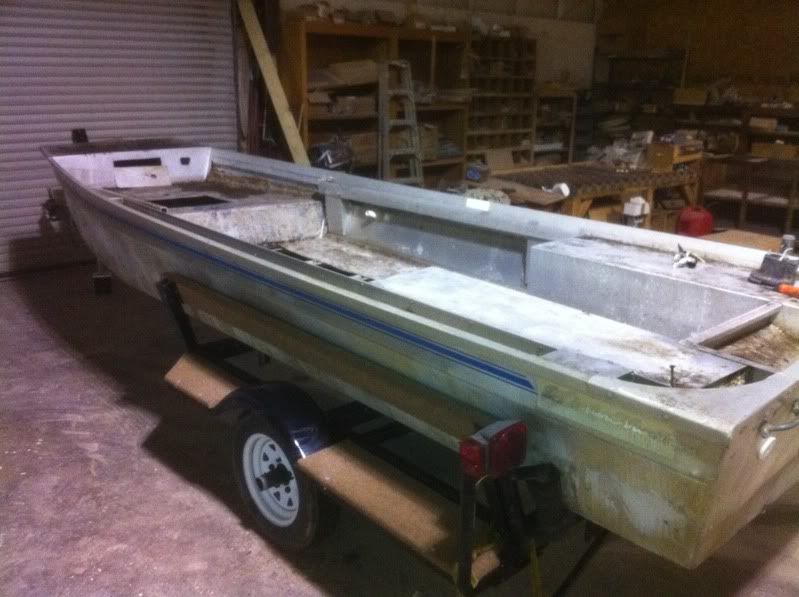
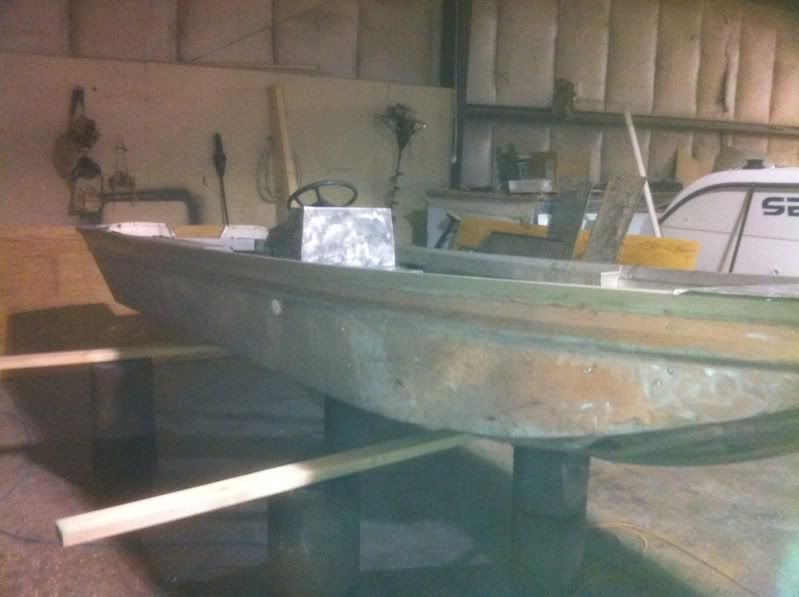
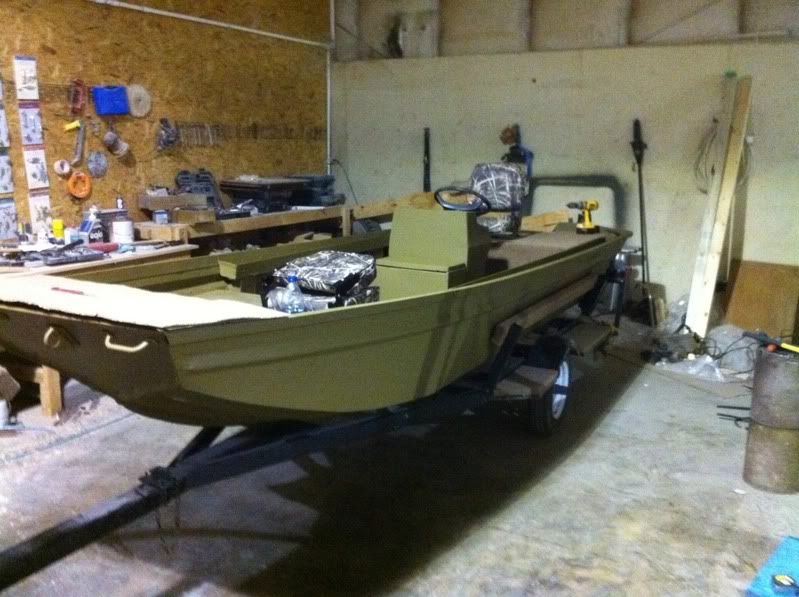
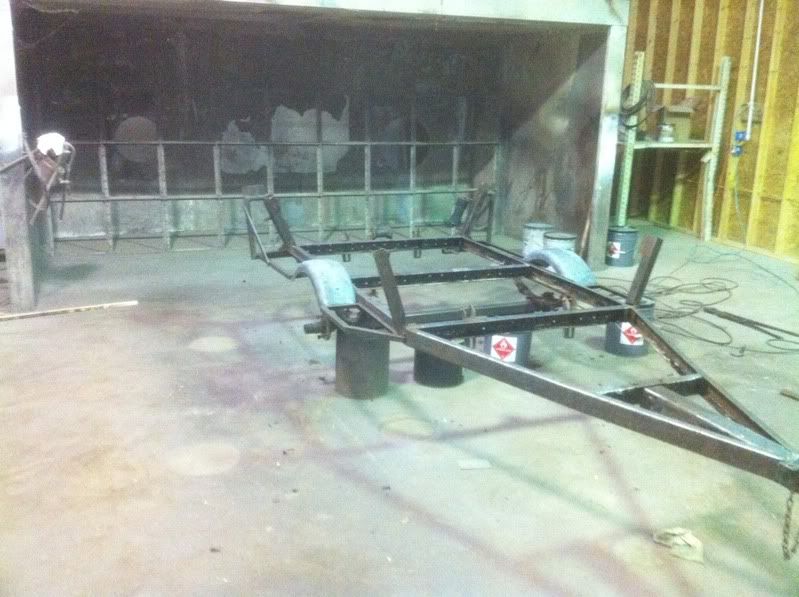
First off let me say I have been a long time troll of this site silently learning and not posting so I decided that I would post my current project and see what ya'll think. I was logging it on another site but not getting any feedback so I decided to start logging it here instead.The boat is a 1980 PolarKraft bass boat that my brother gave me that was literally falling to pieces growing up in the weeds. I plan to push it with a 50 Evinrude we pulled off another boat that works fine. First off I started with the trailer as it wasn't even towable. I replaced the tires and wheels and wire wheeled it down to the bare metal.
IMG_0246.jpg

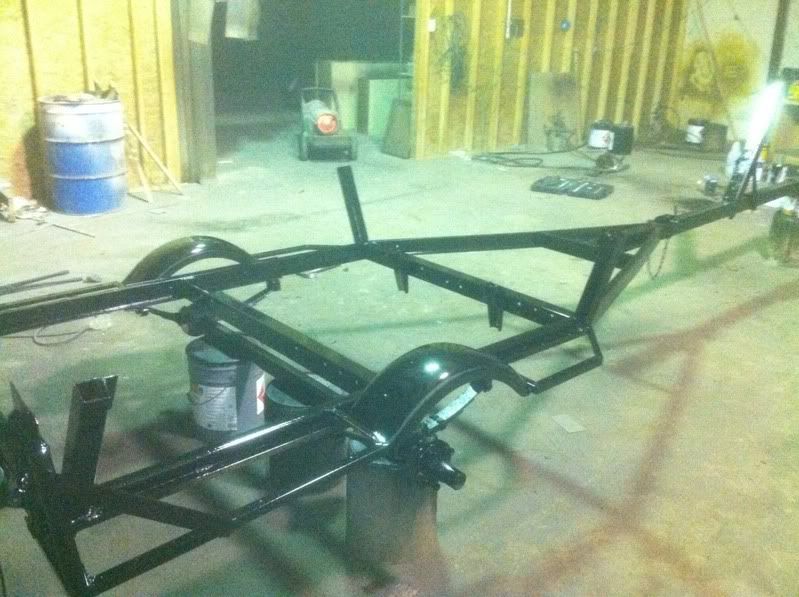
Then I sprayed the trailer with napa primer and sprayed it with black napa tractor implement paint with a little hardner added.
IMG_0250.jpg

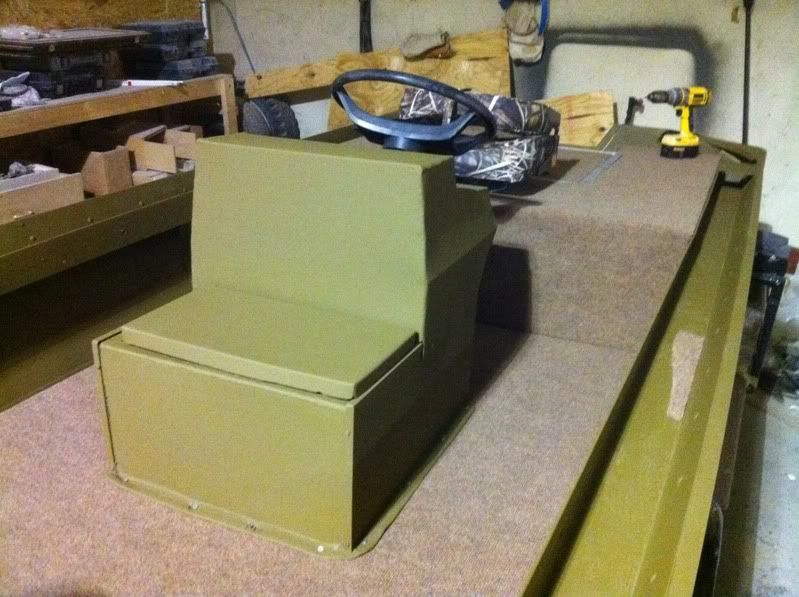
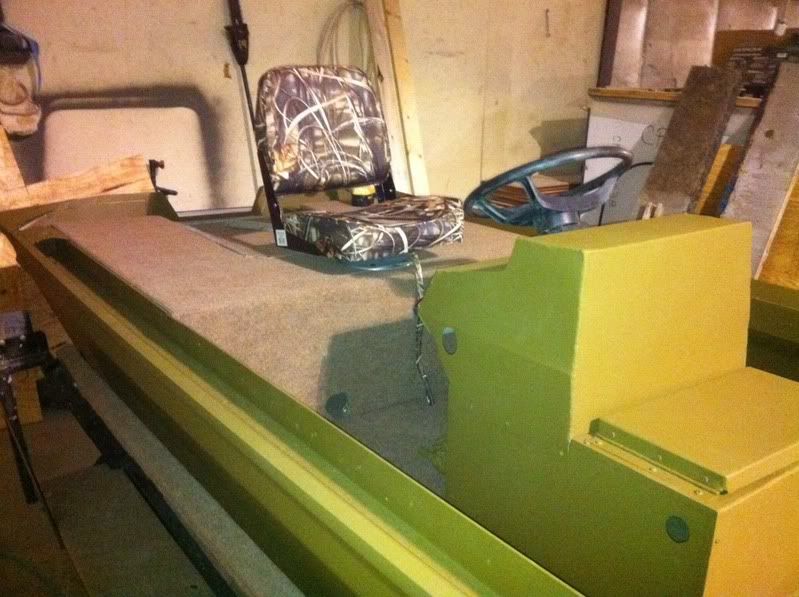
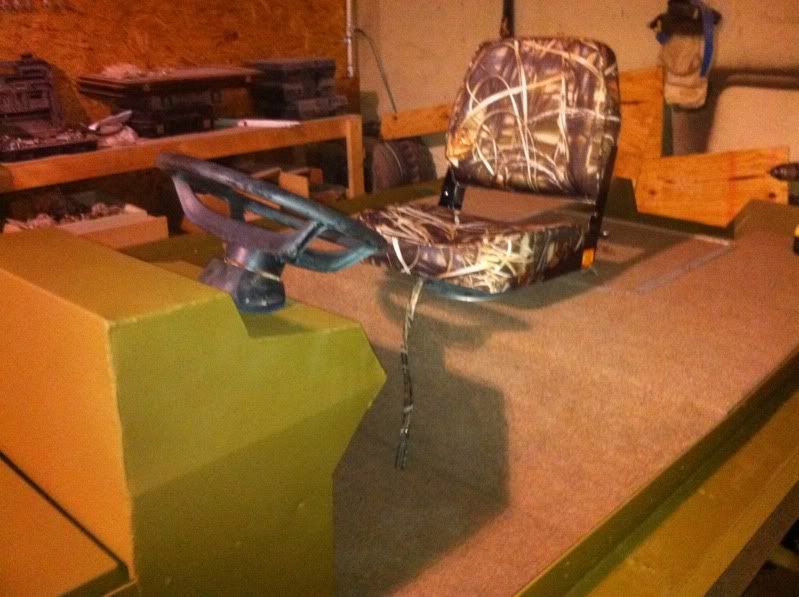
I decided to go with Home Depot Indoor Outdoor carpet for my boat and carpeted the runners and side steps with the same color as the boat will be done.
IMG_0253.jpg

IMG_0254.jpg

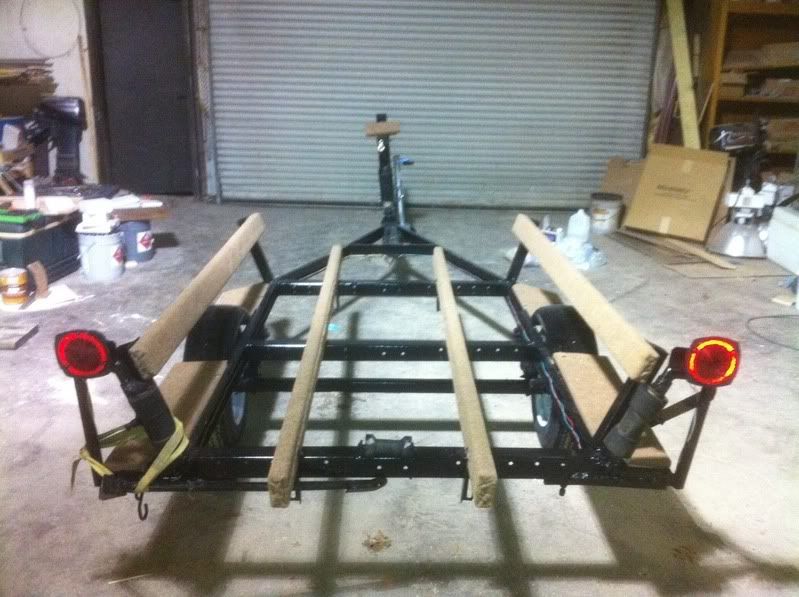
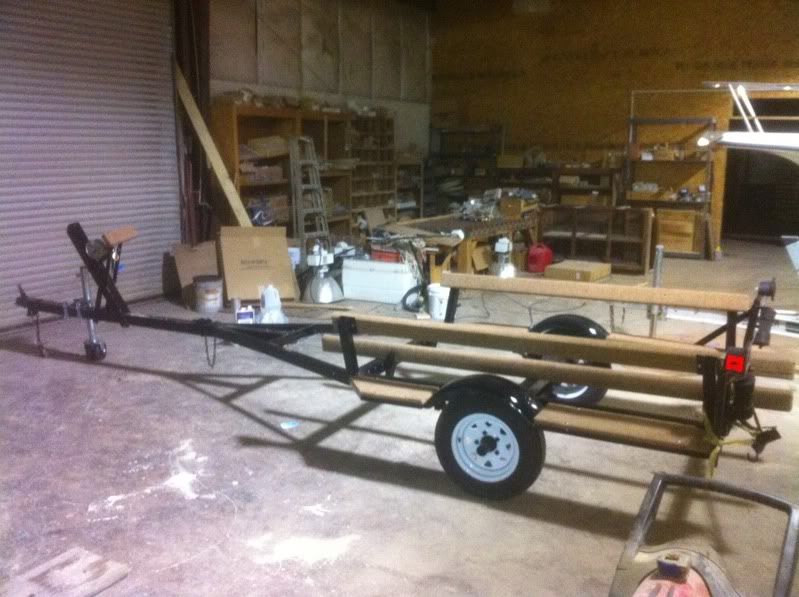
I rewired the trailer with a new light kit I had laying around and replaced the jack and the winch both I got at Harbor Freight. The jack is actually pretty impressive for the price and I have gotten more compliments on my jack than I have the trailer paint job. BTW the jack was only like 25.00, thinking about buying another for a future project. Anyway all in all I think the trailer turned out really nice.
 
After finishing the trailer it was then time to move on with the fun part... grinding old paint,grime, and decals off the side of the aluminum. I really wished that I had taken pictures of this old boat still in the weeds but I didn't This is the only two before pics I have of the boat.
IMG_0268.jpg

IMG_0267.jpg

Anyway, first off pressure washed the boat and used some good degreaser and removed all the old leaves,junk,etc... and washed with soap and water. Next, the fun part started and I got my monies worth out of my 9 dollar Harbor Freight grinder This took absolutely forever. Anyway got it done and here are the pics.
IMG_0279.jpg

IMG_0278.jpg

IMG_0276.jpg

I took it back outside and washed it off again took it back in the shop to let it dry before painting. This boat is originally a right hand drive but I thought it would be cool to make it a center console, it would also free up a bunch of space. EXPERTS: Since I am making it a center console, Does anyone have any ideas how I can run the livewell overflow? Originally it ran out the starboard side. Any ideas? Sorry about the low quality pics didn't realize until I put the on the computer that my lens was covered in saw dust. I also don't know yet how to post big pics only thunmbnails. Chime in for overflow ideas.
 
Thanks Reedjj, I put a bunch of work into the trailer, didn't want a good looking boat sitting on a junky trailer. It was so bad I had to limp it to the shop.
 
Before I started with the paint work, I decided to get the deck pieces cut so I didn't scuff up my new paint job as bad having to put pieces in and out and trimming etc... I used 3/4 inch plywood that I coated with fiberglass resin. They aren't coated in the pictures yet but I did do them a few days ago to give them time to dry before carpeting.
IMG_0285.jpg

IMG_0284.jpg

IMG_0282.jpg

IMG_0280.jpg

IMG_0281.jpg

The front deck was riveted in, but was removed during a previous restoration attempt several years prior. Another note on that most all the interior pieces are missing so I am having to fabricate almost all of it. That really didn't matter to me because I was going to put it back like I wanted it anyway. I decided to use the original aluminum piece and reinforce it with plywood. I riveted it back and and it is extremely sturdy. After I had cut all the wood and built all the frames I pulled everything back out to get some prep work done for paint. I think the console/livewell looks good in the center free's up so much more deck space what do ya'll think?
 
So paint day finally came and I was really looking forward to getting started laying some down. I moved the boat into the paint booth. BTW it really helps to have a brother with a huge shop full of tools and equipment and SPACE to work on something. He just lets me keep my boat over in a corner and never complains. Glad he isn't a reader or may that statement would prolly go to his head. First step was to rub the boat down with some thinner to clean the surface of grime and or grease. I used just a cotton cloth with ended up leaving some fibers in my paint Will not do that again. What do ya'll use for that? After surface prep was done I sprayed on DuPont ecthing primer with my elcheapo 14 dollar spray gun(who would have guessed it came from Harbor Freight) and let it dry for a week or so before proceeding any further.When I came back to the shop I gave it a quick dry wipe down to free any loose particles. I used Parker's Marsh Grass duck boat paint. I have heard of other guys thinning it some but I didn't have to, It sprayed just fine out of the can. After several coats I let it dry. It covered excellent and went on real smooth. I only used about half a gallon. I sprayed it inside and out.
IMG_0333.jpg

IMG_0332.jpg

IMG_0331.jpg

IMG_0330.jpg

I think the paint turned out really well, I just hope it holds up within reason. Please post any comment's, suggestions, or you idiot you should have done this. This is a learning process for me as this is my first major boat restoration. Most of what I have done I have learned from reading all ya'lls posts, this website truly has a wealth of information! Thanks
 
Awesome start, i've contemplated wire wheeling my boat down to bare aluminum... but i think i'm too old and fat for that. looks like a great start though, keep posting progress!
 
So after the paint dried for several days it was carpet time. I actually did the carpet today so this post will catch everyone up to my progress to this point. I used Home Depot Indoor/Outdoor carpet and indoor/outdoor carpet adhesive. This was my favorite part so far of the restoration, I love carpet work for some reason. It is finally starting to look like a bass boat! I started with the deck first.
IMG_0335.jpg

IMG_0336.jpg


I ran my Navigation light wire's under the deck and stubbed them out under the console. The glue I used was very good but Do NOT, apply too much adhesive as it will bled through the carpet, I learned that the hard way after applying to my deck piece it eventually dried but at first I had big white splotched where it bleed through so be careful. I can only imagine what would have happened if my carpet had been darker. I finished the rear deck on the bow piece. I underestimated my carpet and went until I ran out. A Home Depot trip will take care of that. I got it all done except for the tray's, front deck, and the side cover pieces. All in all the carpet looked really good and I was proud of what it looked like. No visible seams! I installed my pedestal and I decided to go with advantage max 4 seats. The hatch trim is still aluminum color but thinking of spraying it flat black or marsh grass to match the boat. I also have to install my aluminum trim pieces and cant decide if I want to go black or marsh with those either. Ideas? Also someone hit me up on an idea about how to pipe the live well overflow. Does anyone have any pics of this boat when it was original, I can't find any factory pics or any pics period for that matter on the net of this boat in a original condition.
IMG_0342.jpg

IMG_0340.jpg

IMG_0338.jpg


Thats what I have so far let me know what you think. I will update as i get more work done. Hopefully I can have it water ready by the first of March. Thanks for looking and as always feel free to comment.
 
Flat Bottom,
Wire wheeling the hull was a very time consuming process but worth it as the paint went on real smooth and looked great. Hopefully it will hold good enough. Thanks for your comment.
 
my boat is huge... and i really thought about wire wheeling the hole thing, and still do, i wish i knew someone close who had a soda blaster, i how yours turned out though, it looks really good. I will be there some day haha.
 

Latest posts

Top