1981 15 foot Yazoo. FINALLY - UPDATE!!

TinBoats.net

Help Support TinBoats.net:

This site may earn a commission from merchant affiliate links, including eBay, Amazon, and others.
This is going to look like a masterpiece when finished, I'm thinking.

Great work Bassboy!

I find it even more impressive that you will be able to rebuild the lower unit on the motor. Three weeks ago I had to get my '86 28HP Evinrude on my "refurb" Lund serviced for a new water pump/impeller/carb cleaner and I wouldn't even know where to start! Spent $350, but if my dad or I can't or don't know how to do it, then someone's gotta! https://fishing-headquarters.com/galleries/thumbnails.php?album=43

Are you planning on having a trolling motor mounted up at the bow? Have you decided on which one you will be going with?

Not only do I like the mods you're putting into this boat, but I love the style and design of the boat itself as it would be perfect for the kind of fishing I envision - making float trips down rivers. If I get another boat for cheap that I can work on and rebuild, it's going to be similar to the style of boat you have (not mods but boat itself). Awesome overall design.


andrew
 
AndrewR said:
I find it even more impressive that you will be able to rebuild the lower unit on the motor.
Once you take a couple apart, and learn the inner workings, it is fairly simple. A good shop manual is a necessity to take it apart, but the actual disassembling is what will give the best understanding as to the inner workings. We have parted out a couple old motors, and that gives one the opportunity to fully dismantle a motor. Though there are minor changes with each year and hp, most outboards operate on the same general principles, so it isn't all that hard.

Are you planning on having a trolling motor mounted up at the bow? Have you decided on which one you will be going with?
I have a 2001 MK 40 pound All Terrain I bought off of the BBC boards last year (their swap and sell section is the only reason I am a member). I bought it to put on my Grumman, but ended up selling that boat in favor of this one.

At some point, I will get a pair of transom mount 70 pound thrust MKs that will take the place of the outboard when in electric only lakes. I sized the fuel hatch so that four group 29 batteries will fit back there when the fuel tank is out.

I have an Eagle Fishmark 320 to put on the bow, and a 480 to put at the stern. At some point though, I am going to put side imaging on the stern. There are a few guys on a local board who have 797s, and will probably upgrade to 997s or 1197s in a year or so, so I might buy a used 797 from them.

At the stern, I am putting sunk in rod holders in a trolling configuration, so this boat should be a great striper trolling rig. Also will have a smaller kicker for running trolling speeds.
 
Well, I want to be working on it today, but I need some aluminum, and the scrapyard is on fire again. Shot from the base of my driveway.
Yazoo.jpg


Second time they have had a fire in three months. First time, a propane tank in the equipment maintenance shed blew up, blowing a truck lift well clear of the building, destroying their newest (and biggest) semi tractor. Not to mention that the building isn't much of a building anymore. Also burned tires and about 50 pallets of crushed cardboard.

This one looked like a stack of tires or something else. Couldn't quite see. Might head over there later when the rush from this is gone and get what I need. Luckily the material sales building is on the other side of the complex, so they haven't been hit either time.
 
Alright, been a bit busy, so I am running a little slower, but here is what we got.

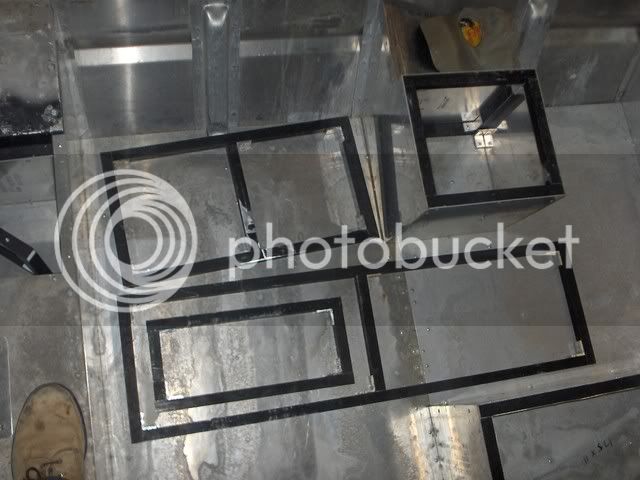
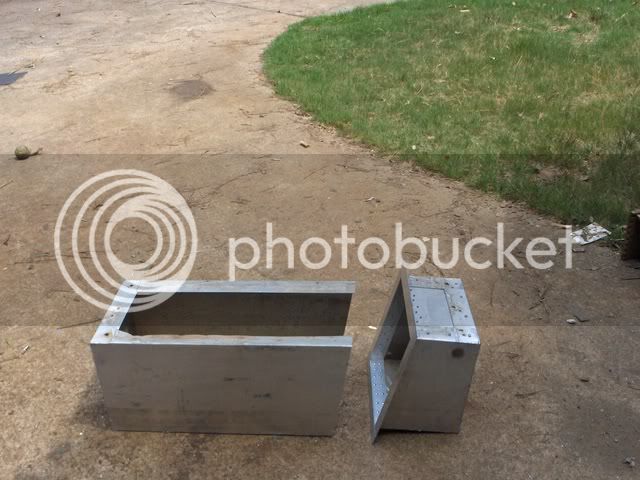
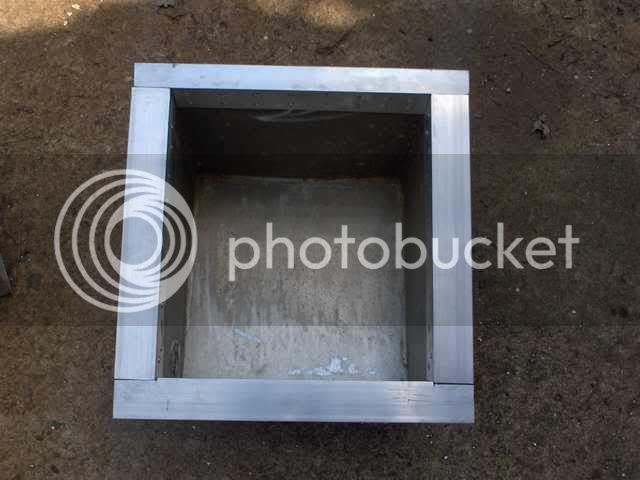
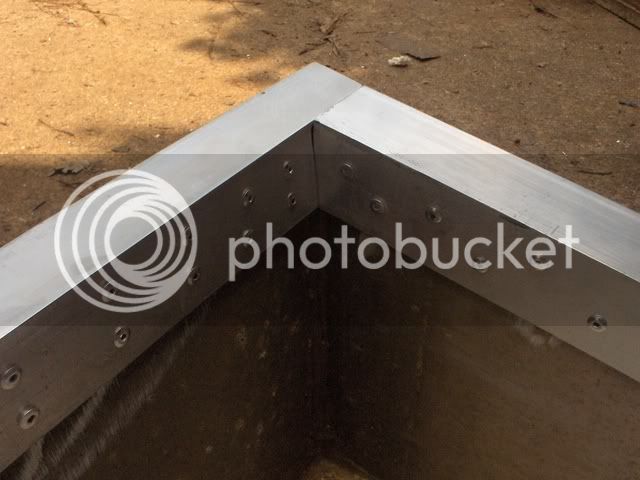
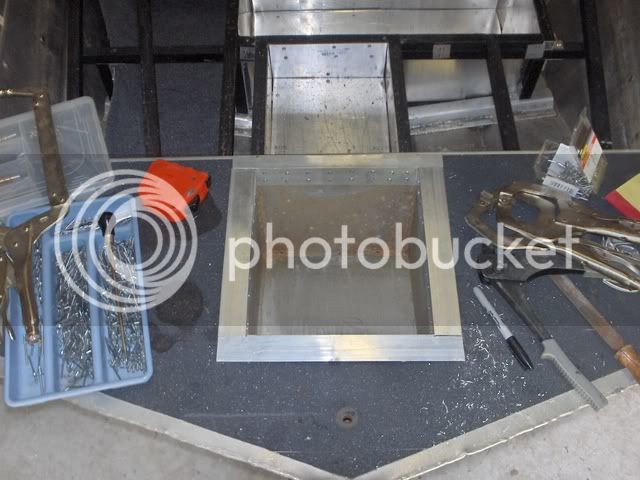
Here are the frames for a couple of my hatch lids.
Yazoo007.jpg


Here are the finished lids.
Yazoo010.jpg


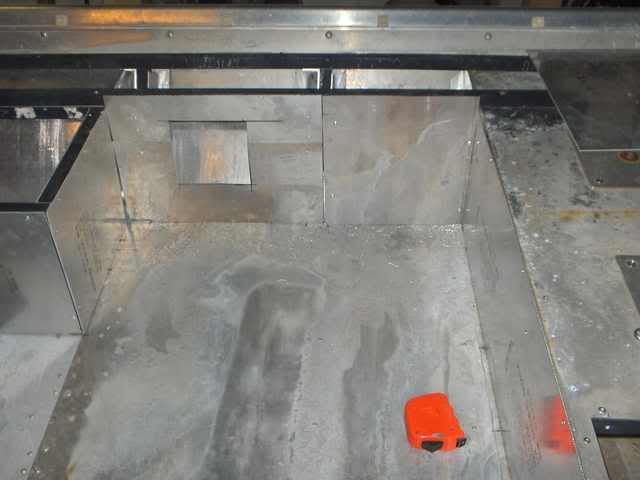
Also, I made the side panel that the wiring chase runs behind, and the cutout for my switch board. Not sure if I am going to make the switch board out of diamond plate aluminum, or plexiglass with the back painted.
Yazoo009.jpg


The only aluminum work left is the anchor hatch up in the bow, but that may wait until later in the week. Carpeting probably will start tomorrow. (Well, technically today looking at the clock right now) Waterwings, are you going to be somewhere around Atlanta in the next week or so? I am not exactly looking forward to carpet work.

I have got all the motor parts here, except for a spaghetti seal for the lower unit, which dad will probably pick up on Wednesday. Should have the lower unit back together, and the motor running this weekend. After that, it leaves electrical, and just bolting all the accessories on.
 
I didn't quite realize how much storage space this thing had until I stacked those lids up. Now, mind you, one is a battery hatch, and one is a fuel hatch, but the rest of the lids are for "stuff." The anchor will be tucked away in its hatch (lid uses no frame, so not pictured), and all the needed safety equipment/emergency tools/spare prop etc have a space made for them in the fuel hatch, so they won't be taking up storage space. Also, there is one storage hatch that will be under the passenger seat, that I don't have a pictured lid for, as it doesn't need a framed one.

This thing rivals the storage space of my buddies 18 foot Ranger. I don't think it beats it, but it sure tries. I am fairly sure that it does beat another friends 17 foot Stratos.

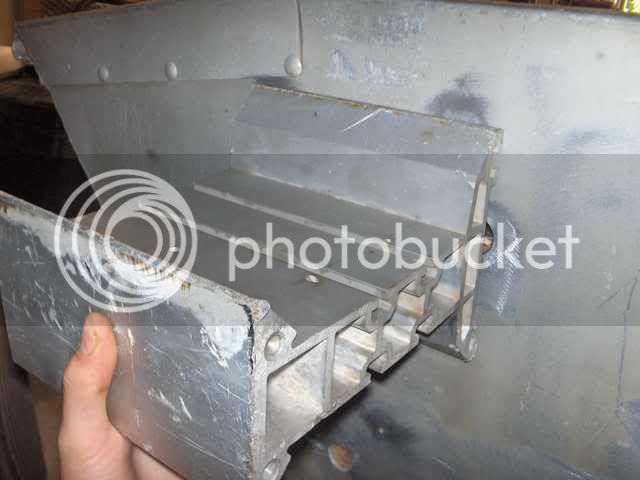
I forgot to post pics of my kicker bracket. It is a short piece off an overhead track system that the Postal Service used, then scrapped.
Yazoo004.jpg

Yazoo005.jpg

Going to mount it somewhat close to where it is held in the second picture, but probably a little lower. It will allow me to run my 15 inch shaft kickers on this 20 inch transom. It has 9 inches of setback by itself, and by the time I add the aluminum/plywood "transom," per se, it will have 11 inches of setback. I needed 10 inches to be able to put most Johnnyrude outboards in the under 15 range on and in the full tilt/full turn position.
 
We have gotten the winch post completed.
yazoo030.jpg


We also made the anchor hatch out of one of the livewells I pulled out of the boat.
yazoo014.jpg


The end was cut off, and framed with 1 x 1 1/2, 1/16 thick angle.
yazoo015.jpg

yazoo016-1.jpg

yazoo018-1.jpg
 
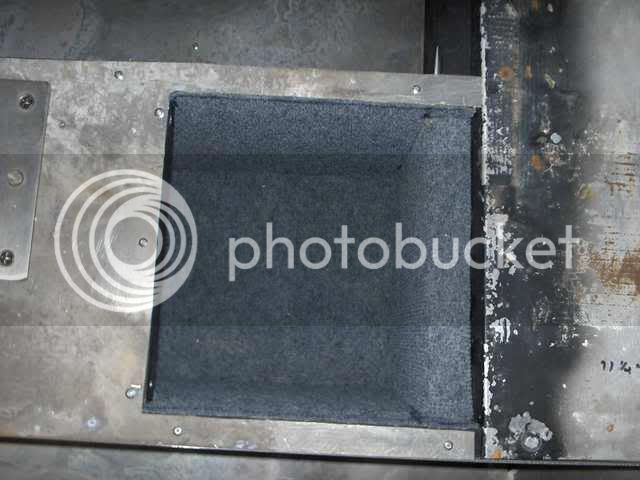
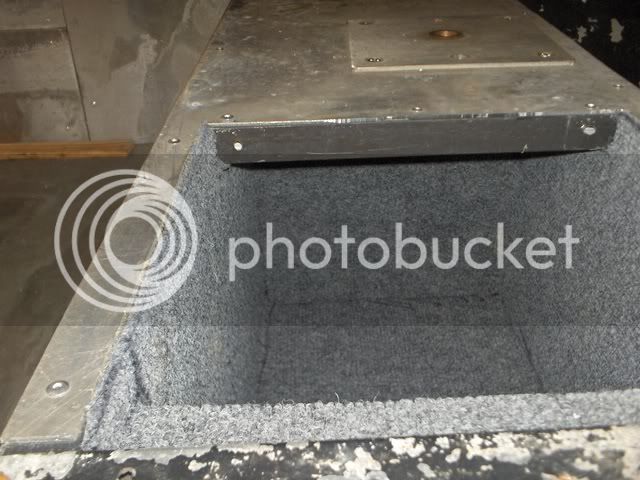
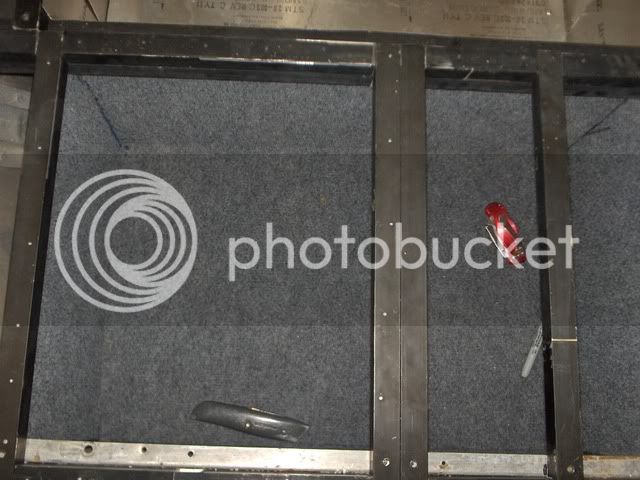
I have also been driving myself crazy putting this carpet in.
Stern hatch.
yazoo026-1.jpg

yazoo027.jpg


One of the bow hatches.
yazoo025-1.jpg


Rod locker.
yazoo023-1.jpg

yazoo022-1.jpg


Thought I had pictures of the bow and stern deck, but the camera has done something with them. Will post later tonight.
 
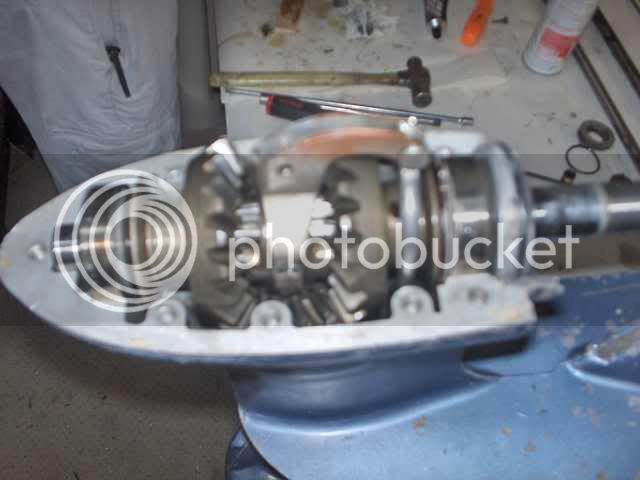
In an effort to save time, dad ended up reassembling this lower unit. Here is a picture from when he was almost done.
yazoo028.jpg


We have a carb kit, and new points to put on the motor as well, and will probably get to that on Saturday.

This carpet work is absolutely driving me insane. This is probably the only part of the project that I actually disliked doing.
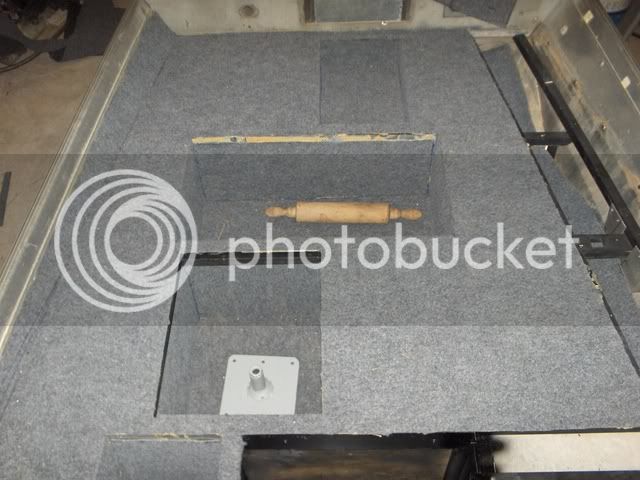
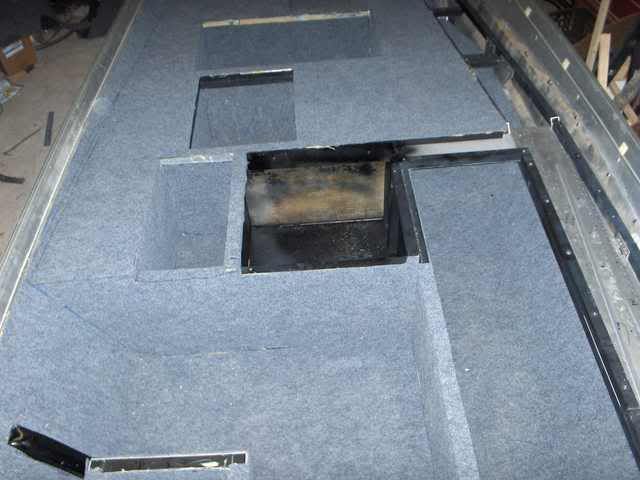
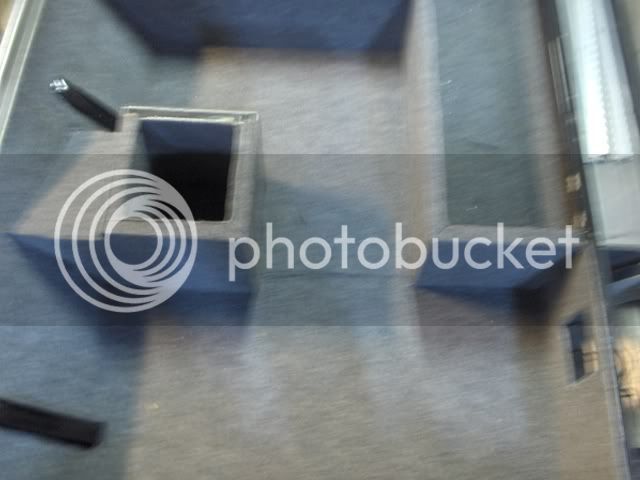
I have finished probably 98% of the carpet on the deck and in the hatches (haven't yet done the lids). Here is the bow deck. I am not the best photographer, so bear with me.
yazoocarpet022.jpg

yazoocarpet023.jpg

yazoocarpet019.jpg

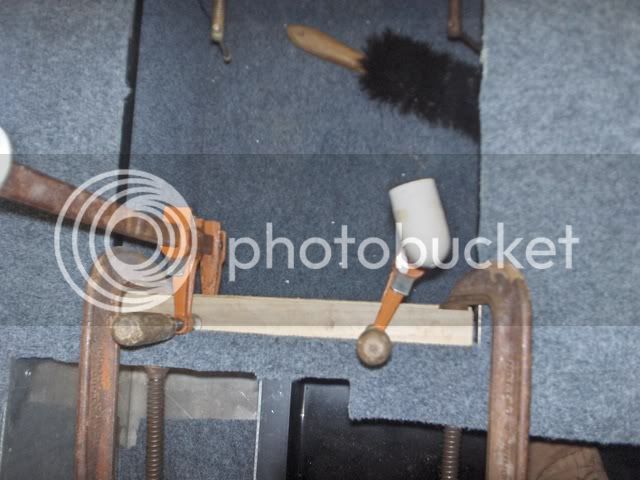
Jigged this one so the crease where there were multiple bends for the lid rest would dry tight and crisp.
yazoo032-1.jpg


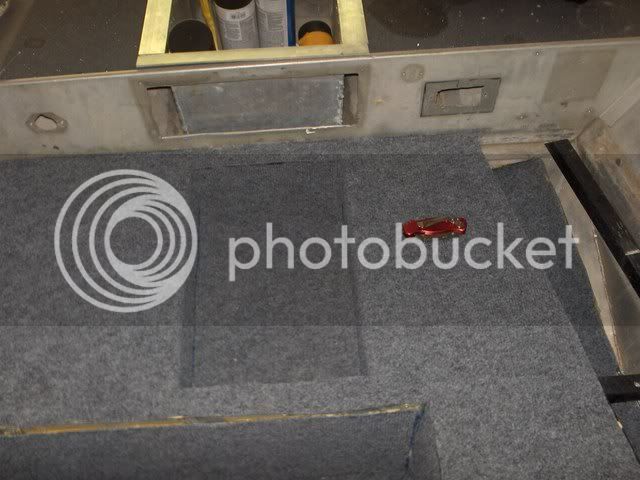
Here is the middle seat box and back end of rod locker. The part without carpet is where the hinge goes, not a bad cut. :D Also, I bet you cannot point out the seam in between the seat box and rod locker. The lines you see are some stray sharpie lines (which will hopefully wear away soon). The seam is actually off to the side of these.
yazoocarpet028.jpg


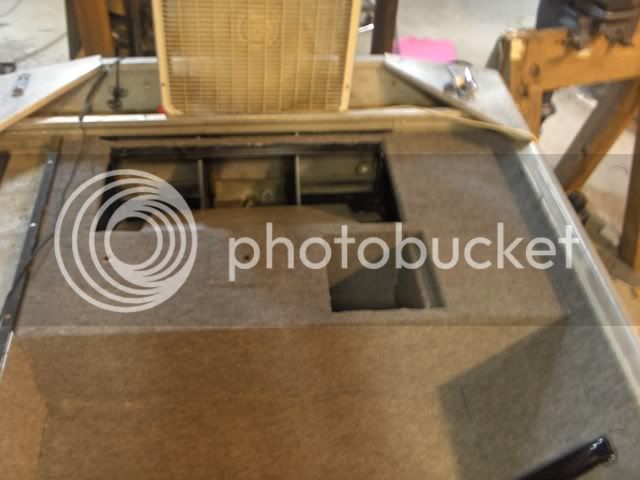
Here is the stern deck. The two exposed ribs on the side of the hull were painted black, and carpeted around. That way, I have an exposed mounting surface to put accessories, or tie down loops, and not have carpet in the way.
yazoocarpet027.jpg


Will work on hatch lids later tonight, and possibly into tomorrow as well.
 
She's coming together now. Great job. Now that you are an experienced boat carpeteer will you come and help me with mine? I, like you, dread it with a passion. All jokes aside that is going to be a terrific boat.
 
Now that you are an experienced boat carpeteer will you come and help me with mine?
I was hoping Waterwings would come help with mine......

Notice I am still doing it myself #-o .
 
bassboy1 said:
In an effort to save time, dad ended up reassembling this lower unit. Here is a picture from when he was almost done.
yazoo028.jpg


We have a carb kit, and new points to put on the motor as well, and will probably get to that on Saturday.

This carpet work is absolutely driving me insane. This is probably the only part of the project that I actually disliked doing.
I have finished probably 98% of the carpet on the deck and in the hatches (haven't yet done the lids). Here is the bow deck. I am not the best photographer, so bear with me.
yazoocarpet022.jpg

yazoocarpet023.jpg

yazoocarpet019.jpg

Jigged this one so the crease where there were multiple bends for the lid rest would dry tight and crisp.
yazoo032-1.jpg


Here is the middle seat box and back end of rod locker. The part without carpet is where the hinge goes, not a bad cut. :D Also, I bet you cannot point out the seam in between the seat box and rod locker. The lines you see are some stray sharpie lines (which will hopefully wear away soon). The seam is actually off to the side of these.
yazoocarpet028.jpg


Here is the stern deck. The two exposed ribs on the side of the hull were painted black, and carpeted around. That way, I have an exposed mounting surface to put accessories, or tie down loops, and not have carpet in the way.
yazoocarpet027.jpg


Will work on hatch lids later tonight, and possibly into tomorrow as well.


hey bassboy.....its pretty cool setup in the last pic..... but i think u need a bigger fan to propell u through the water... xD :mrgreen: .....just messin with ya.. NICE. =D>
 
bassboy1 said:
but i think u need a bigger fan to propell u through the water
Longer extension cord too...... :lol:


ya maybe... and some wings just like that video jim posted of the flying boat!!! talk about fly fishing. :p :lol: :D :) :eek: :shock: 8) :mrgreen: =D> =P~ :wink: :mrgreen:
 
How exactly did you do the side walls with your carpet? i'm trying to figure out how to do mine but can't come up with anything cause i'm trying to keep away from having to buy more plywood.
 
Waterwings said:
bassboy1 said:
Now that you are an experienced boat carpeteer will you come and help me with mine?
I was hoping Waterwings would come help with mine......

Notice I am still doing it myself #-o .

Carpet job looks great! The rolling pin does help doesn't it :wink:
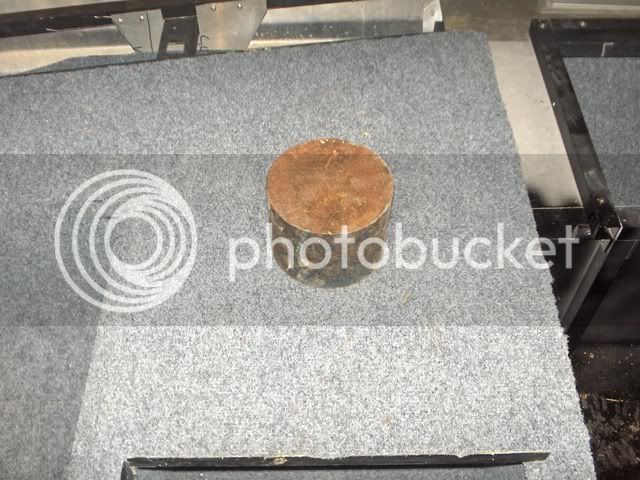
Actually it hasn't been used. :D Dad found it under a bench, and pulled it out for me, but that is as far as it got. Instead, I have been using this piece of steel billet.
yazoocarpet031.jpg

It is about 5 inches wide, and weighs 21 pounds, so it fits inside hatches, and between lid openings on the deck. On the vertical surfaces, I am just pressing by hand.
 
quote]Actually it hasn't been used. :D Dad found it under a bench, and pulled it out for me, but that is as far as it got. Instead, I have been using this piece of steel billet.
yazoocarpet031.jpg

It is about 5 inches wide, and weighs 21 pounds, so it fits inside hatches, and between lid openings on the deck. On the vertical surfaces, I am just pressing by hand.[/quote]

Well that'll certainly do the trick 8) . Don't drop that sucker on your fingers! :shock:
 

Latest posts

Top