1989 Bass Tracker TX17

TinBoats.net

Help Support TinBoats.net:

This site may earn a commission from merchant affiliate links, including eBay, Amazon, and others.
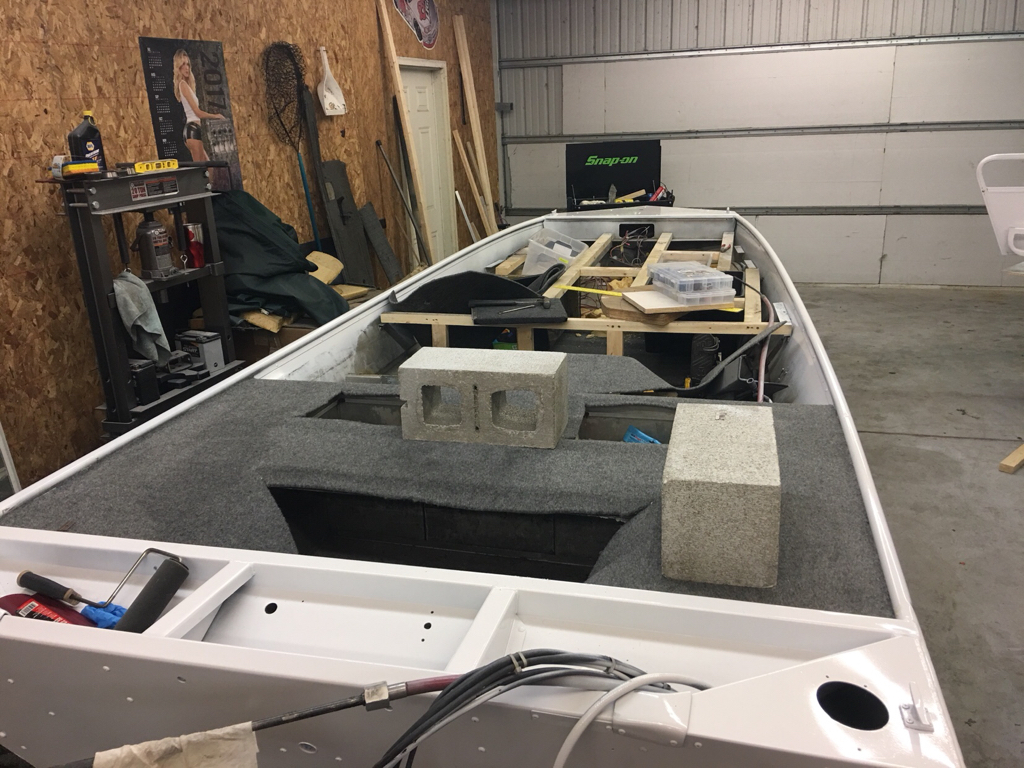
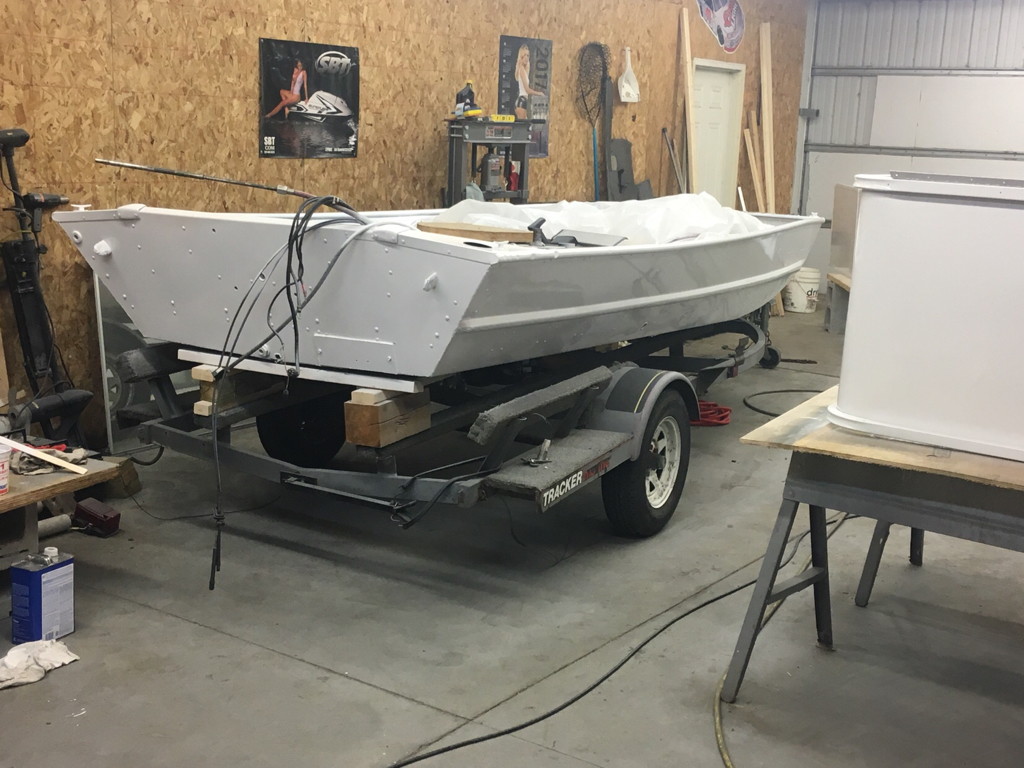
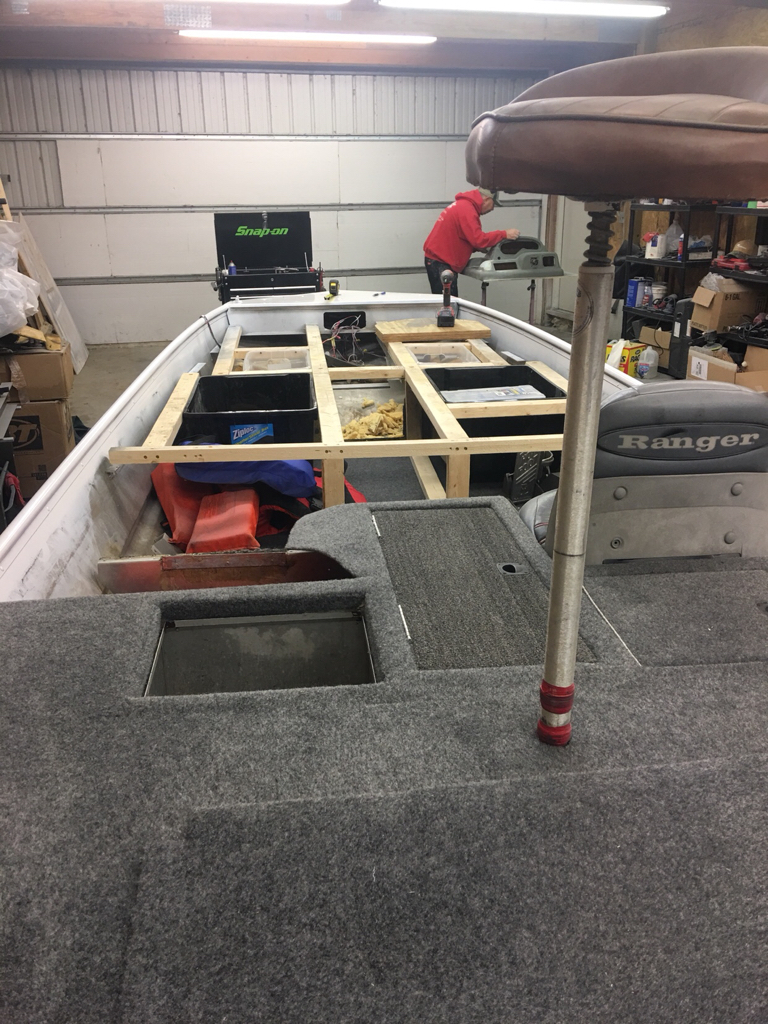
Getting back on it this weekend hopefully. As long we don't get on a crazy ice fishing bite Saturday I'll b e spending Sunday working on the boat. Got 2 of my four pumps in the mail and a new fuse panel. Plan is to hook everything up to the new fuse panel and hook it up to a battery to see if the switches actually work or not. Ideally they will and then its just the matter of renaming the switches and running the hot wires from the switches to where ever I want them. If that all goes well, then maybe spend some time hooking up the new livewell pump and maybe buy some plumbing materials for the livewell too. We'll see what the weekend has in store but this is the plan of attack as soon as I get to start back up on it.......oh and waiting for my buddy to bring his heater back to my garage, with the high on Saturday at -2 and 15-20 mph winds, a heater is the only way I'll be doing anything in the garage. lol
 
Got all thee wires labeled and mapped out, much better understanding of the fuse panel and the wiring on the boat now. So I'll be doing some small stuff over the next few days, still have some oil residue to clean up, and then replace a bunch of terminals since most of them have some corrosion. Have to order new switches, an aerator/spray bar, 30amp in line fuse and one or two other things. The idea is to get it so all the switches work again and then just reroute the power coming from the switch to whatever I want to control it with and relabel the switches. If it works that easily I'll be a very happy camper. Also, the nut used to secure the livewell pump back in the bilge, it looks like it is pretty secure inside the transom I'm not real sure I need to replace it, I'm thinking clean up the outside, new silicone around it and go. Any thoughts on that? I just don't see the point in making a big hole in my transom if I don't need to lol
Once I get some stuff done where its worth taking a picture I'll take a few but for now just labeling wires and such....
 
Also guys, I need to know what I can use to put down carpet, its an outdoor carpet that is NOT rubber backed and it will be going down on wood and aluminum. Thoughts on this? I'd like to order the foam and carpet stuff next week hopefully, also is 12' x 25' of carpet enough to do one of these, I thought I remembered reading someone used 25' x 8' and had to order just a little more....
 
Alright any idea on how much carpet to get would be great! In the time being however I've continued to clean up my pieces of aluminum. I ordered my last pump, recirc pump for the livewell. Ordered a recirc nozzle as well, and a new switch panel. Then yesterday I ordered rivets (Which I'm 98% sure will fit), 2 part marine foam, and a troll n' tray. Planning on getting the rest of the aluminum cleaned up and wiring with the switch panel and fuse block done over Friday and Saturday. Going to look at carpet options tonight at a local carpet store, if I can get remnants for a good prices I may do all the hatch lids in one color and the rest in a different color. Think it would add something unique to the boat and might be more cost efficient. Slowly but surely making progress, I think now that I'm ordering as much as I can now I shouldn't have to stop and wait for parts again for a while.
 
Sounds like it is really coming together. As far as carpet goes I believe I bought mine from menards it was 6 foot wide and I think I bought 20 feet of it. I’ve done the rear deck and the bottom floor and have plenty left for the deck. Guessing I’ll need more for the front hatches but I’ll get it when I need it. Glue I always use on pontoon decks is Henry 263 and you will also need some contact cement for the recessed edges in your hatches.


Sent from my iPhone using Tapatalk
 
Not hijacking but here’s updates on mine
5e0e00ede17708270826e61c761d75d8.jpg
3341daf6870adc8be575bd8df0ad6dba.jpg


Sent from my iPhone using Tapatalk
 
Thanks, I actually went down to a local carpet store (family owned) last night after work, they had some really nice rubber backed marine carpet for $1.10 a square foot, she dropped it down to $1 a square foot and I wanted to make sure I had enough so I bought 28' x 6' along with outdoor carpet glue that they called around and recommended to me.......they do a lot of boats every summer so I trust them. That's it for me now though. Got the right size rivets and switch panel and pump are coming in today so this weekend's goal is to get the switch panel wired up, bilge pumps installed, and the rest of the aluminum cleaned up.

Jbower, lookin good can't wait to see how your rod locker comes out as I think you'll be on it before me
 
Rod locker is coming along besides I just ran out of 2x3s
97a1db6661dfa258f6a04485b4ae5aae.jpg


Sent from my iPhone using Tapatalk
 
Ranger seats??? lol and you're garage is so much cleaner than mine, currently looks like a bomb went off in mine! lol

So I have about 90% of the aluminum cleaned up for carpeting, and got a few more pieces taken off the boat that I've been putting off. Debating on if I want to paint the bottom aluminum pan for the bilge or just leave it. However the real fun began today when I decided to do something extremely stupid. Got my new switch panel and wanted to cut a hold for installing it in the console today. While this is an extremely easy task, in my mind I decided if I just tape the rubber gasket that came with it in place and trace the outside of it that I'd have a good template to cut. Well two things went wrong here. First since my switch panel is 4.5" high and 5" wide it's pretty close, and I managed to cut the hole the wrong way. On top of that since I traced the outside of the gasket the entire switch panel now fits right through the hole. Don't ask me what I was thinking because I honestly don't know. I'm usually very methodical about measuring and checking before cutting but that didn't happen. So, now I'm looking at ways to fix it. I'm thinking if I buy some 1/8" plastic sheet and cut it the right size I could mount that over the front of the console covering up my mistake and giving me a blank slate to mount my switch panel to.... not sure yet though. Attached a link to the plastic I'm looking at using.

https://www.lowes.com/pd/Palight-ProjectPVC-Black-Foam-PVC-Sheet-Common-18-in-x-24-in-Actual-18-in-x-24-in/1000088547?cm_mmc=SCE_PLA_ONLY-_-ToolsAndHardware-_-SosScreenGlass-_-1000088547:palight_ProjectPVC&CAWELAID=&kpid=1000088547&CAGPSPN=pla&k_clickID=e1953c98-b4bd-430f-bfd1-274998761375&gclid=EAIaIQobChMIqN_p_rnW2AIV17bACh1NAAGDEAQYASABEgIFffD_BwE
 
Haha figured you’d get a kick out of the ranger seat. It was a pedestal seat a buddy kept out of one of his old boats. Although I do have a lead on a pair of white and grey legend seats that will go nicely [emoji16]. Man I hate when stupid mistakes happen. That plastic should work. I have a sheet of it in the shop I could possibly mail you a piece of you didn’t want to buy the whole piece or if you want my console and it’s the same you pay shipping and it’s yours. And the shop is clean mainly because I have to work in it everyday lol otherwise it would be a disaster. Rebuilding a etec 225 currently that snapped the crankshaft and also a Yamaha 4 stroke 150 that threw a rod out the side of the crankcase. In other words shops gotta be pretty clean for that.
e60643735afc117beffcf3978468e4fb.jpg
16346da87d2e040182545f5dfc2137d5.jpg


Sent from my iPhone using Tapatalk
 
I was set on building a new fiberglass console but my buddy ran across this online and we had to order one up. Cheap and looks great. https://m.ebay.com/itm/New-2016-G3-Sportsman-17-Steering-Console-Or-Tracker-Boat-Shell-FREE-SHIPPING/282801998072?hash=item41d85008f8:g:6wQAAOSw-kdX0bF4


Sent from my iPhone using Tapatalk
 
That looks nice!! However, today I found some spare aluminum and fab'd up a piece to fit over the front of the console. Currently in the process of painting it to compliment the rest of the console, also painting the bilge pan. Got the two bilge pumps installed today, still have to run the hoses though. Planning on installing the bilge pan Tuesday and starting to plumb the livewell as well as re-assembling the rear deck since my foam should be here this week. Once painting is done I'll update with some pics this week.
 
Good deal. Glad to hear it’s coming along. This stuff definitely adds up to be very time consuming. I got my deck framing painted and the deck boards cut out and one coat of paint on them. Nearing the finish besides the finish work lol. I still need to finish cutting the seat bases down I am removing 4 inches so that the seats don’t sit up so high. Also may have a deal worked out on a motor that’s a little bigger than the rated hp but if you go off the coast guard site and go off their calculations it would be in spec I believe. Oh well I have a vinyl plotter and can change the 115 real easy [emoji57]
82c62d5dde90bedfcb149a6c62869cd2.jpg
31f95c65ce4af4109f93028703f8ae11.jpg


Sent from my iPhone using Tapatalk
 
Nice! looking good, hoping to get some more done tonight, got some pieces painted yesterday, so We'll see where we end up tonight, if I can remember though I'll post some pics of all of the little things I've been doing
 
Alright so I guess its time for some pics. Mounted both the bilge pumps, the one on the bottom is going to need to be moved unfortunately as where it is both side of the hull come together at a n angle and its not allowing the pump to sit well without breaking loose. The one on the step is the manual "oh $h!t" pump, both are 1000gph. Then we have the metal plate I fab'd up to cover my botches hole in the console, I'm pretty happy with how it turned out honestly and its strong too!. Now last night I tested the overflow hose for the livewell and imagine that it had leaks, so I tore that off and will be going to Lowe's to get a new one tonight (easy fix). After that I ran new wire that will be providing power to the fuse panel, the old wire was 14awg which I didn't like and from reading on here no one else did either, so it now has 10awg. Then vacuumed out the bilge area and laid in the foam pieces I cut last weekend. I then took 1.88" painters tape and sealed up pretty much every crevice the expanding foam would be able to get into, primarily to keep it out of the water flow channels on the bottom. After that I wanted to mock up some of the back and see how easily it would all go back together. Got it mocked up but it appears the plate that seperates the livewell from the bilge, I forgot to clean all the oil residue off of it. So plan for tonight is cut a section out of that plate because I need to have access to cut two more holes in the livewell and mount the pump, nozzle, and hose. then clean up that plate. Replace the livewell overflow hose and from there it'll be time to start throwing down some rivets. Fingers crossed make some progress tonight.
 

Attachments

  • IMG_3341.JPG
    IMG_3341.JPG
    61.8 KB · Views: 3,804
  • IMG_3340.JPG
    IMG_3340.JPG
    38.6 KB · Views: 3,804
  • IMG_3339.JPG
    IMG_3339.JPG
    35.3 KB · Views: 3,804
  • IMG_3338.JPG
    IMG_3338.JPG
    37.5 KB · Views: 3,804
  • IMG_3333.JPG
    IMG_3333.JPG
    75.5 KB · Views: 3,804
  • IMG_3334.JPG
    IMG_3334.JPG
    44.5 KB · Views: 3,804
Alright got the back all riveted back together......I need to order more rivets lol. Livewell drain/overflow hose was replaced as well. The sheet of aluminum that separates the bilge from the back of the livewell also shed some weight. Increases the opening at the top and cut a hole in the bottom to make more room for pumps and hoses. Pretty excited to see the back deck come together like this! Foam also came in yesterday so hopefully Sunday will be foam day. Then I'm waiting on carpet glue which should be in next week, then we can carpet the side panels and put those in. Once those are in a whole new world really opens up. Then we can finish wiring, build the floor for the center and start on the front deck. However for now I'm more than happy to work on some foam and get the back deck solid. Just one pic for an update but its all riveted together this time!
 

Attachments

  • IMG_3343.JPG
    IMG_3343.JPG
    69.3 KB · Views: 3,772
Got the compartments behind the seats riveted back in. About half the foam in before I ran out and had to order more, and the bottom pans to the compartments under the seats as well riveted back in. Also got the center floor cut out, spar urethane is going on in a couple days so it'll be ready for carpet. Waiting on more 2 part foam and carpet glue. Have a little more cleaning up of carpet and glue residue before I can start carpeting, and I'll probably do some more bilge and livewell plumbing over the next day or so since I now have those parts
 

Attachments

  • IMG_3357.JPG
    IMG_3357.JPG
    35.5 KB · Views: 3,721
  • IMG_3356.JPG
    IMG_3356.JPG
    56.7 KB · Views: 3,721
Alright been making some slow progress, got all the foam board pieces cut last night for the cockpit floor, and I have two more coats of Spar to put on the plywood for the cockpit floor. Got a few hoses hooked up and some more pieces silicone in. Second shipment of foam came in yesterday, so Thursday's big goal is to finish up the 2 part foam in the back and figure out how I'm going to successfully mount the automatic bilge pump. Then this weekend will have some carpeting and assembly being done so I can move forward with wiring. Also would like to finish up all the plumbing in the back this weekend. So come next Monday I should have another round of pictures!! hopefully with some real progress!!!
 
Finally finished the foam in the back deck!!!!!!!!!! Lots more to do this weekend, plumbing, carpeting, etc... but the foam is done! now just need to spend some time cleaning it up tonight.
 

Attachments

  • IMG_3378.JPG
    IMG_3378.JPG
    56 KB · Views: 3,618
  • IMG_3379.JPG
    IMG_3379.JPG
    62.9 KB · Views: 3,618
  • IMG_3380.JPG
    IMG_3380.JPG
    38.7 KB · Views: 3,618
Top