Well, I've been meaning to follow up on this, but I just got the pics loaded.
First things first. I have never worked on an outboard, so be patient with my explanations and possible incorrect terminology. If I do make a mistake, let me know tho, cuz I'm all about learning.
Anyway, my last post left off with me not being able to seat the driveshaft. For the purpose of putting on some pics, I will backtrack a little then explain what I found the problem to be.
After reading about replacing the impellers on the site so much, I thought it was time to do it to mine, since I know it had not ever been done. I didn't have the luxury (or smarts) of having a service manual first, but after reading a bit on here and on other sites, I figured as long as I put everything back the way I found it, I would be ok.
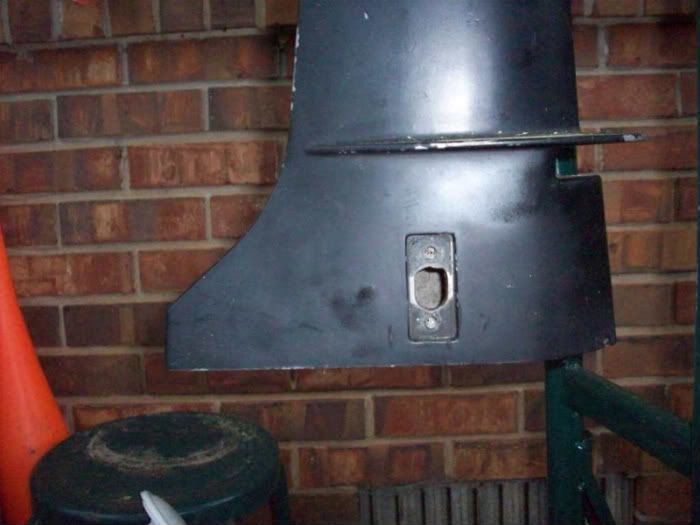
First off, I started by removing this plate.
What the picture doesn't show is the black wax that was in the larger hole. When I first removed the two small screws, I stared and thought, hmmmmm, I guess this one doesn't have a hole. :roll: Fortunately, I pushed on it with my finger which made the wax collapse and fall down.

[-X laughing....
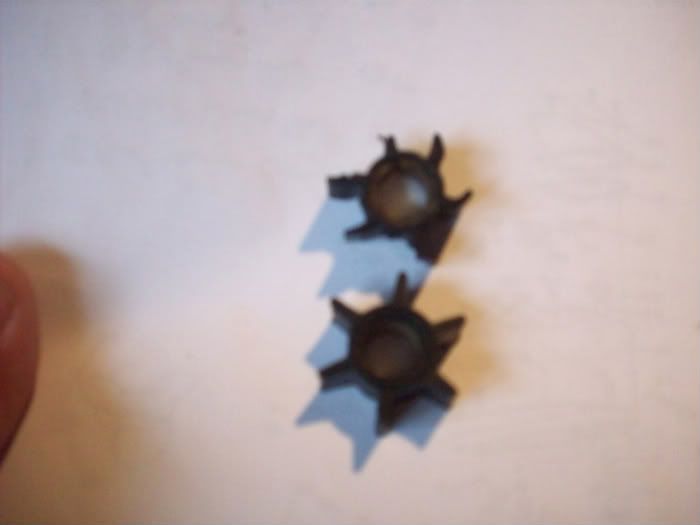
Ok, so fast forward to the impeller. I figured this one was due to be replaced.
I think you can guess which is the new one :shock:
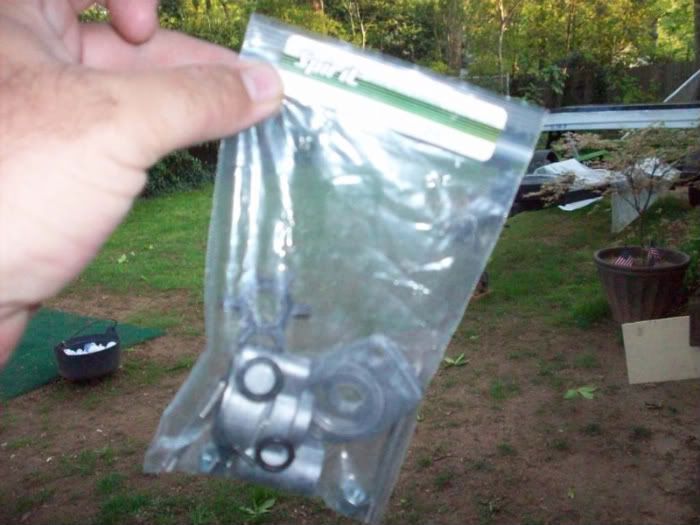
And here is the kit I purchased
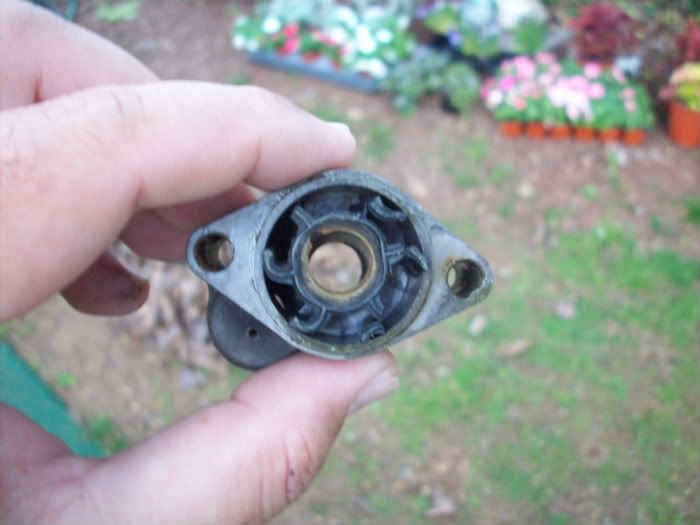
As it turned out, I don't see why I needed to repace the actual housing, as the old one looked just fine, but I put the new one on anyway.
Now, fast forward to putting it all back together (the gears will be a seperate post). Upon reassembly, I am not getting the driveshaft to seat the last 1/2-5/8". I finally gave up on trying to make it work and decided to back track the whole process. #-o
Doing so allowed me to discover this!!!
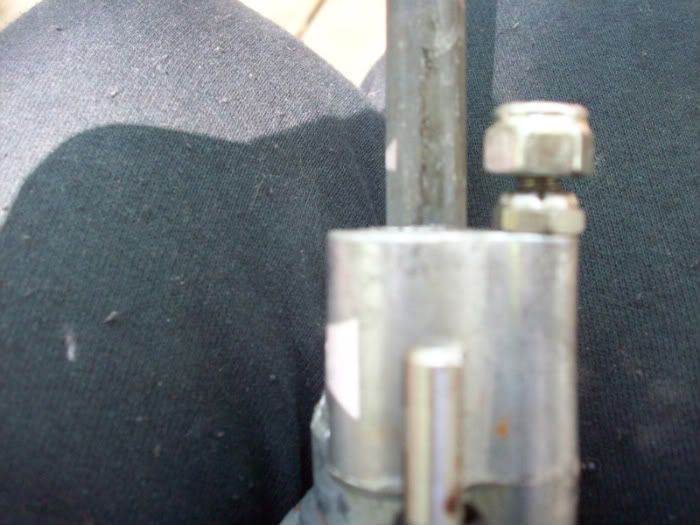
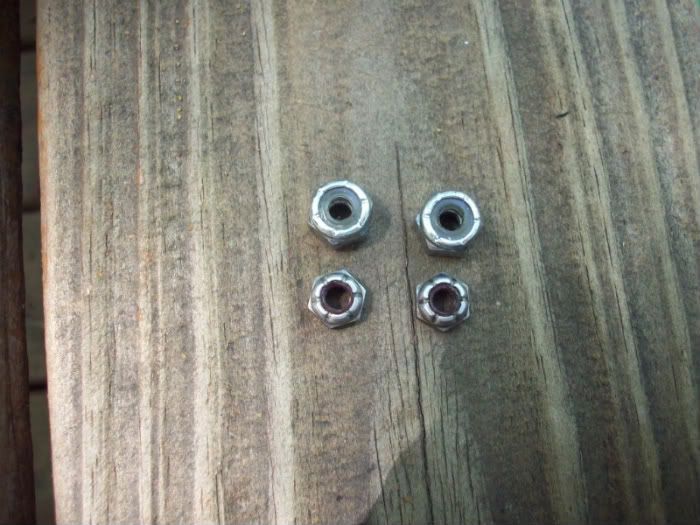
The nuts that were sent with the new pump were bigger than the previous. Here is a pic of the new nut above the old to show the difference.
and then side by side
:idea:
The diameter of the new nuts overhung the impeller housing and were hitting the inside of the drive shaft housing, thus prohibiting the driveshaft from lining up properly. =D> =D> =D>
As soon as I put on the old (smaller) nuts, it slid right in.