Weldbilt 1752 build (Finally complete)

TinBoats.net

Help Support TinBoats.net:

This site may earn a commission from merchant affiliate links, including eBay, Amazon, and others.
Wow! It's been a while since I posted anything.

As of now, I've almost completely stripped the boat of paint. It's currently sitting upside down on the trailer. The leaning post is mounted with 1/4 x 20 aluminum rivnuts.

I'm getting closer to painting, and should be finished with paint in a few weeks. It seems the trend on here is using self etching rattle can primer, and duck boat paint. I've chosen to go with Pettit 6455/044 epoxy primer,
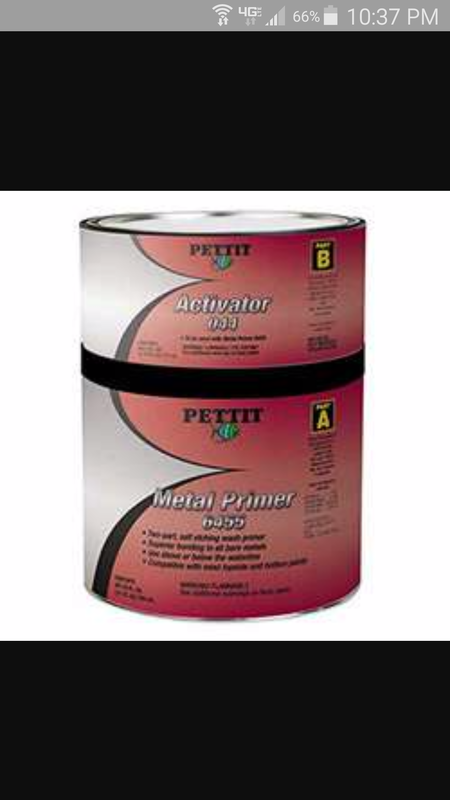
and Pettit 4700/4701 primer.
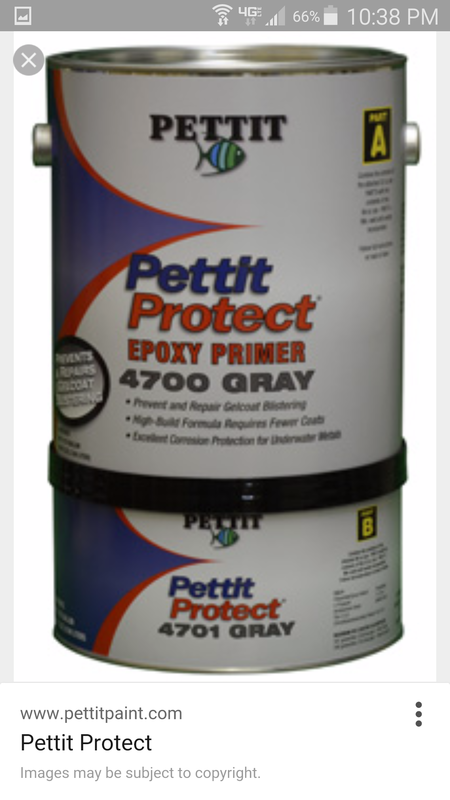
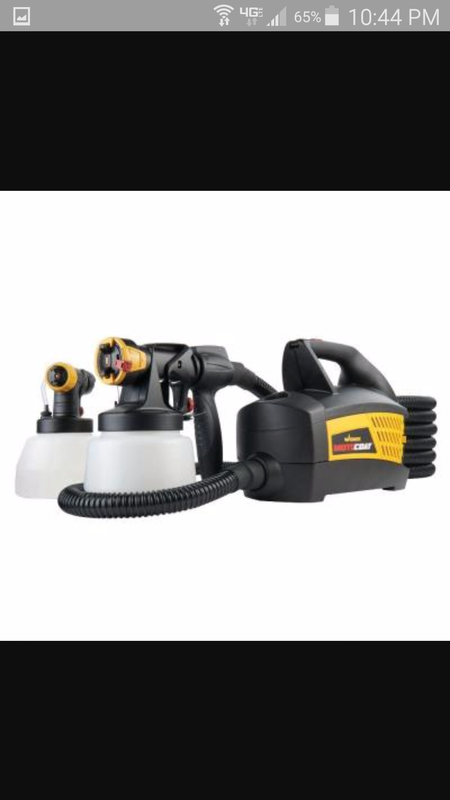
6455 is a self etching two part paint, and is applied as a semi transparent coat, then the 4700 is applied over it. I'm going for a gray look, so I probably won't put a top coat over the primer. On the decks, and floor I'll be going with Durabak in light gray. 
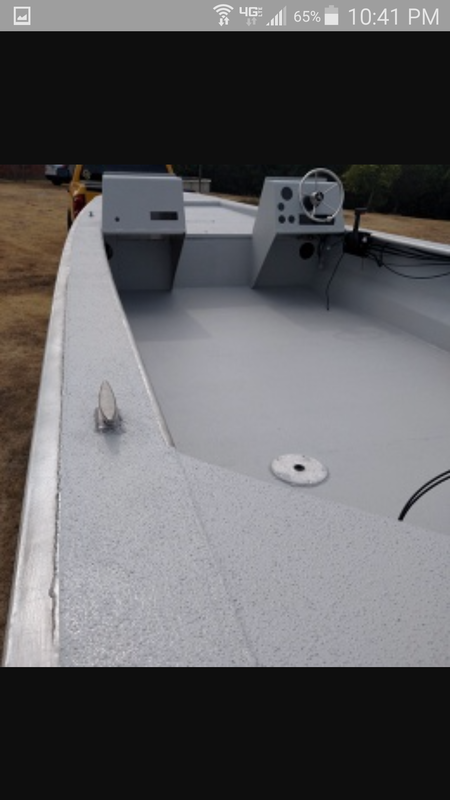
With any luck it will look like this. It's a thick, nonskid finish similar to truck bed liner. I'll be spraying everything with this bad boy. It's capable of spraying thick undercoating, and bed liner, as well as thinner paints!
 
Alright, I'm almost ready for paint. Man...stripping paint off a 17ft boat is no joke. I should have logged all the hours I put into it so far.

I ordered the Wagner paint sprayer on Amazon, and it'll be here tomorrow. Went and bought my paint from West Marine today.


I really have to step my game up now, because my sister and her boyfriend are coming to visit from Texas in July. I still have so much to do!

Last weekend I went to visit my parents in Tennessee. Did plenty of fishing, and spent time with family.


Got to hand feed some hungry carp.


Sister's boyfriend caught a 14" crappie off the dock


Me and my sister got a double header
 
Progress:

The last few weeks have been hell. The south Florida heat is down right oppressing. I got all the paint stripped off the boat, sanded it, wiped with down, and when I finally got to spray it I had a major malfunction with the sprayer. I ended up getting over spray on the entire bottom of the hull somehow. So back so sanding I go...

In the mean time I'm working on the console. Stripped the upper half down to bare metal after getting a bad can of paint. It had non skid material in it when it shouldn't have. Here's a few pics of the progress.


Before


The instructions for the primers and top coat are very specific, and I've learned the hard way TWICE that there are consequences for not following them exactly. Each coat must be sprayed extremely thin. Then recoated between 8-48 hours. It's hard to pull that off with the south Florida weather, but the wait will be worth it. I'll check back in in a few days when I get some more painting done.
 
First coat of two part epoxy primer laid down really nice. Gotta wait 8 hours to recoated with the next epoxy.

If there's one thing I've learned about painting with epoxies, it's be patient and follow the instructions EXACTLY how they say. I also had no idea I would soend this much on other things like paint thinners, strainers, etc. I've already been through two boxes of 150 shop rags. I keep telling myself it'll be worth it in the end. This paint job will be BULLETPROOF. Here's some pics.


More spraying tonight. Got the first coat of 4700 epoxy primer on over the metal primer. I did a thumbnail test with the metal primer this afternoon, and couldn't scrape it off, no matter how hard I tried. I'm really impressed with this stuff so far. Two more coats of the 4700 will go on in the next 2 days, then 3 coats of the top coat.

Here's a couple pics of the 4700.


Looks awesome! Forgive me if you stated in an earlier post, but what lights did you use on the trailer guide posts? I think that would be handy!

Sent from my SM-G900R4 using Tapatalk
 
Thanks.... CE Smith makes both post kits with lights, and light toppers for 2" PVC

Sent from my SM-G900R4 using Tapatalk
 
Guys, this thing is taking waaaay longer than expected. BUT I've started spraying my top coat, and I've got one coat left before flip it over and start all over on the inside.

One of the reasons it's taking so long is because of the heat. You're not supposed to spray in temps over 90 degrees, and down here in South Florida temps seldom get below 90! The other reason is that each coat must dry a minimum of 8-24 hours. But this paint is super easy to work with.

Something else that's also come up, is that I applied to be a fish and wildlife officer back in November last year, and was finally offered the position, under the condition that I pass a psychological exam. I took the exam Thursday, so I should have a final offer of employment in the next week or so. If I get it, I'll be moving to Tallahassee for 6 months to go through the academy. It'd be nice o be able to take this boat with me if that happens, so I gotta start hurrying!

Here's a few pics of the top coat.


I'm finally picking up momentum with my build. Now that the weather down here in South Florida is cool enough, I've been able to get quite a bit done. I decided to lay a few more coats of paint on for good measure. I didn't sand the primer down like I should have, so it's orange peeled quite a bit, but I'm OK that.


I've also been working on the console. It's painted and right now I'm just about finished with the livewell. I posted some pics on another thread, but didn't get any responses, but I got everything figured out. I have a 3/4" inlet that will be hooked up to a 500gph livewell pump. The overflow is 1", and the drain is 1 1/4". With the ball valve I'll be able to fine tune it so that if the overflow can't keep up, I just crack the valve to equalize it. I did some testing with the garden hose, and even with it turned all the way on, the overflow and drain opened, it still drops the water level.


I got a little wiring done too. Mounted everything on starboard to keep from drilling tons of holes in the console. The space at the top is where the Kenwood Bluetooth amp will be mounted.


That's it for now. Probably won't get anything done until after the first of the year. I'm traveling to East Tennessee to see my parents for Christmas.
 
Nice boat, and nice work on the wiring, etc. As a boat mechanic, I have a definite appreciation for clean rigging!
 
Thanks fishizzle! I'm an electronics tech for the Fish and Wildlife Commission here in FL. I do this kind of work every day, but on my own rig I really take my time to make it look nice.
 
That's cool, I'm right down the road from you in north palm beach. I started working for a new company about 7 months ago, Nautical Ventures. I do outboards and electronics primarily. Just got started on a little aluminum boat project and joined this forum, lots of cool builds and info here.
 
Nice! There aren't too many people from south florida on here. Let me know if you need any help with your project.
 
Happy New Year everyone! I was able to get a few things done on the boa this weekend. The paint is cured on the bottom, so my girlfriend and I flipped it back over on the trailer. Then I started working on the floor. I bought a 4x8 piece of 0.090 aluminum to try to save as much weight as I could. I hope I don't regret going with the .090 vs .125. Anyway, my plan is to cover the floor, deck, and rear bench with Tuff Coat. It's a rubberized coating very similar to truck bed liner. The best I can tell its about the same price as Hydro Turf and other similar products. Its way tougher, but probably not as comfortable. But hey...it's a jon boat, not a Yellowfin. The Tuff Coat is stupid easy to work with. On bare aluminum you acid etch it with one part muratic acid, and one part water. Then prime with MP-10 metal primer, let it dry, and roll the tuff coat on. I'm debating using it on the whole inside of the boat, but it's going to add a lot of weight. Here's some pics of the progress.


The texture is pretty aggressive, but still comfortable to walk on with bare feet. It also remains much cooler than bare aluminum in direct sunlight.

Test fit

The directions state you must acid etch with muratic acid and water. Gloves must be worn, even when diluted. I mixed it in a bucket, then used a stiff brush to spread it and scrub lightly at the same time. You'll see a vapor coming from the metal that looks like steam, and the acid will start to bubble. Before acid etching I sanded with 80 grit for some additional mechanical bond.

After acid etching.

The primer is a one part epoxy and it's water based. Super easy clean up. I put two coats on to cover the streaks. The instructions say only one coat is necessary, but the video instructions say two coats will not hurt anything.

I applied in thin coats to build up to the thickness I want. I intentionally didn't cover the seat base in the middle because I have a hatch going in it's place.

I have tons of chores to do today, but hopefully I'll be able to get some more done. Stay tuned!
 
I'm so excited I finally got to install my hatch yesterday! I got an awesome deal on a jig saw from Harbor Freight yesterday. It was originally $60 but I got it for $22.

Anyway started by cutting out the seat base. Then I traced out my template, drilled a few holes and started cutting away. Weldbilt had some kind of stupid aluminum backing for the seat base. It made it really difficult to cut through.


You can see the angled aluminum underneath. I couldn't cut through it with my saw, so I had to cut around it.


A drill with a wire wheel made quick work of the foam. The good news is, there's about a 5" gap between the bottom of the foam, and the bottom of the boat. This means I can replace the foam I took out for the hatch, and fill that gap. Also...The foam in the bench looks like styrofoam. That's not closed cell is it? It's the same stuff they make coolers out of. If that's a no-no I'll pull the rest out and put the purple home depot foam in like everyone else does.

Next I laid the hatch liner in. Do the be fooled by the pics. After I cut the template out, I spent a good hour grinding the corners out so the hatch would drop in.


The hatch slides down right into the liner.

That's pretty much it for now. It's been raining on and off all morning so I haven't done anything yet today...More to come tomorrow.
 
Last night I got bored, so I started piecing together what I had so far. I laid the floor in, bolted the leaning post down and positioned the console where I wanted it mounted.


Nice build, but as a metal guy you are definitely going to regret the. 090. Good luck

Sent from my SM-G920T using Tapatalk
 
I hope not. It seems sturdy enough even though it's not riveted down. I'll have closed cell foam under the floor for a little added support as well.
 
Top