Good job bassboy! Glad to see your working on it!
TinBoats.net
The original aluminum boat site!
You are using an out of date browser. It may not display this or other websites correctly.
You should upgrade or use an alternative browser.
You should upgrade or use an alternative browser.
1981 15 foot Yazoo. FINALLY - UPDATE!!
- Thread starter bassboy1
- Start date


Help Support TinBoats.net:
This site may earn a commission from merchant affiliate
links, including eBay, Amazon, and others.
Captain Ahab
Well-known member
Nice job Bassboy - you should do this as a career, I woudl hire you
I wish. I hate my current job. :?esquired said:Nice job Bassboy - you should do this as a career, I woudl hire you
Got the stern bottom deck cut, and installed. Pictures a little fuzzy. It was too bright, so I held my hand to the side of the lens, to shield it, and it turned out dark and fuzzy. I need to hone my photography skills, it would seem.:roll:
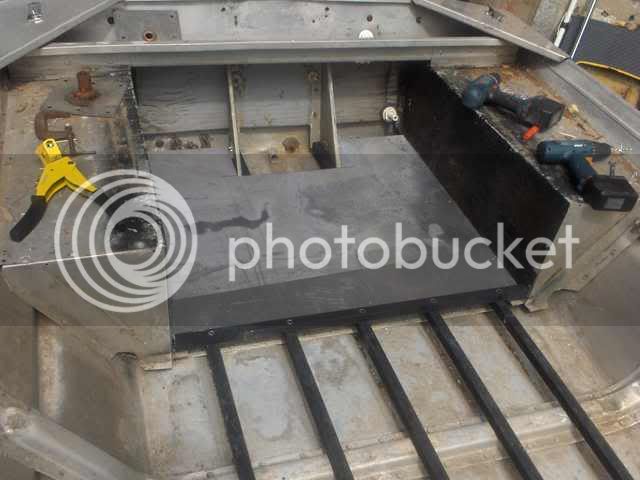
Well, I got one more section of deck in today.
The front of that section looks crooked, but actually, it is straight in relation to the transom, and the sides of the hull, and the the rib is crooked.
I also got started on the stern casting deck. The pieces are not all attached, many just have rivets loosely put in the hole, to keep things from shifting while I measure.
Captain Ahab
Well-known member
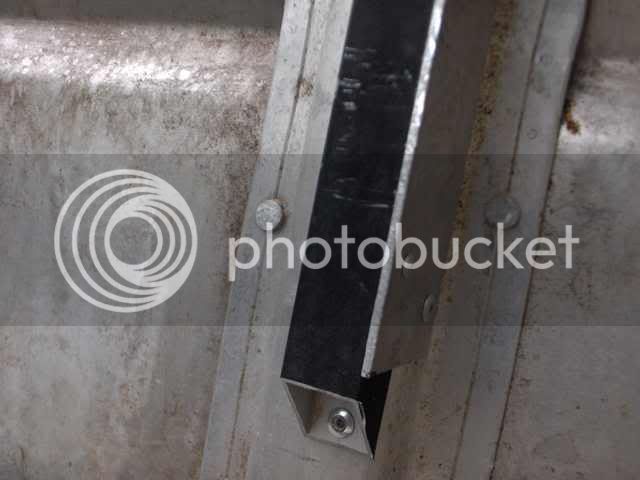
Man - that is how I would do it if I had the skills and time. Tell me again why the bracing parts are black?
And everyone else, go back and read this thread from the start - what a huge difference BassBoy1 made here.
Jim, we have to add this to the front page, the photos and descriptions are great, from buying and stripping the boat to building this - awesome work
And everyone else, go back and read this thread from the start - what a huge difference BassBoy1 made here.
Jim, we have to add this to the front page, the photos and descriptions are great, from buying and stripping the boat to building this - awesome work
The homepage is almost done....we are moving in a better direction (I think anyway) Stay tuned! 8)
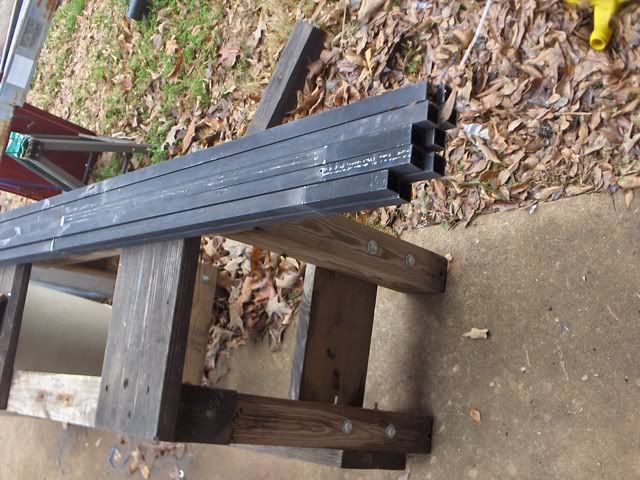
I am buying much of the aluminum used. I found a few of these fence sections at the scrapyard, and I am getting the square tubing from them.esquired said:Tell me again why the bracing parts are black?
Each section weighs right around 35 pounds, and the current aluminum scrap price is 2 bucks a pound, so these cost about 70 bucks. This one has 15 bars, and I think they are somewhere around 75 inches in length.
Waterwings
Well-known member
Nice work! 8)
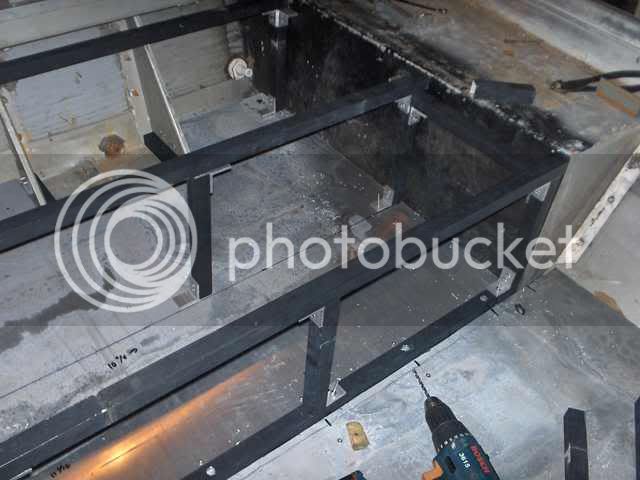
I finished assembling and attaching the stern deck structure.

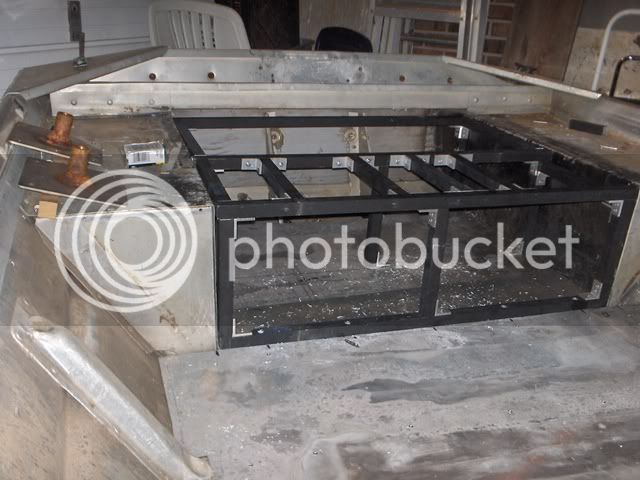
In this picture, I laid the pedestals in their approximate locations, as well as the fuel tank. One base is in the center to put a pedestal in to fish from, and the other is off to the side to put the seat directly into the base, to operate the outboard from.
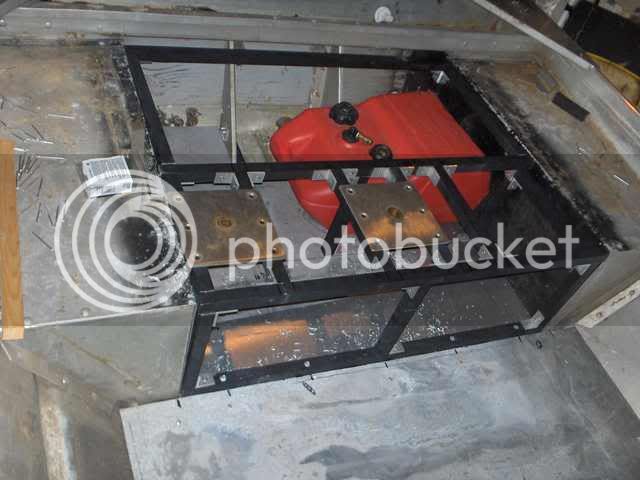
In this picture, I laid the pedestals in their approximate locations, as well as the fuel tank. One base is in the center to put a pedestal in to fish from, and the other is off to the side to put the seat directly into the base, to operate the outboard from.
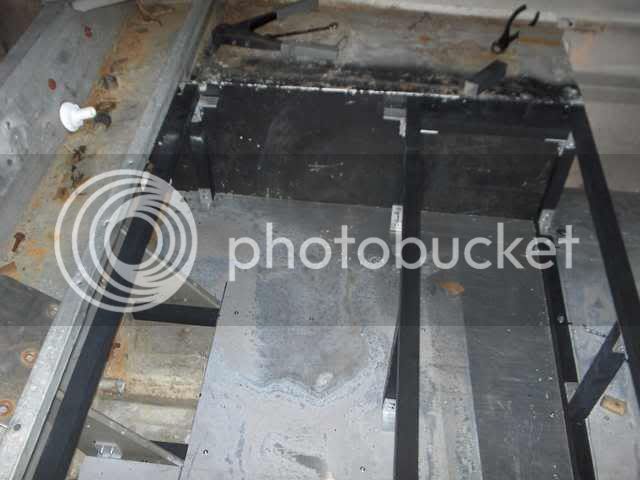
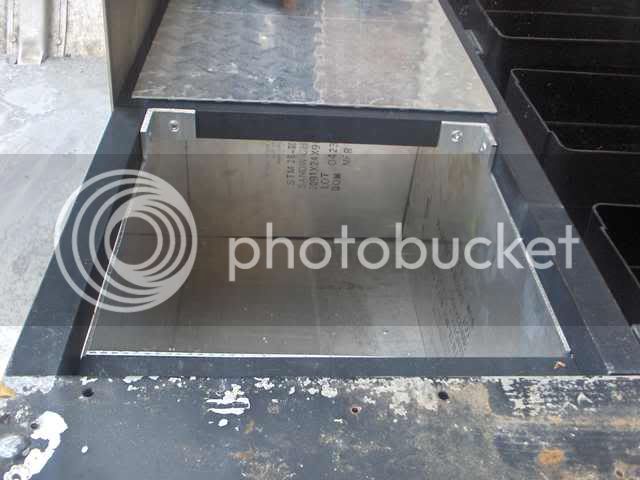
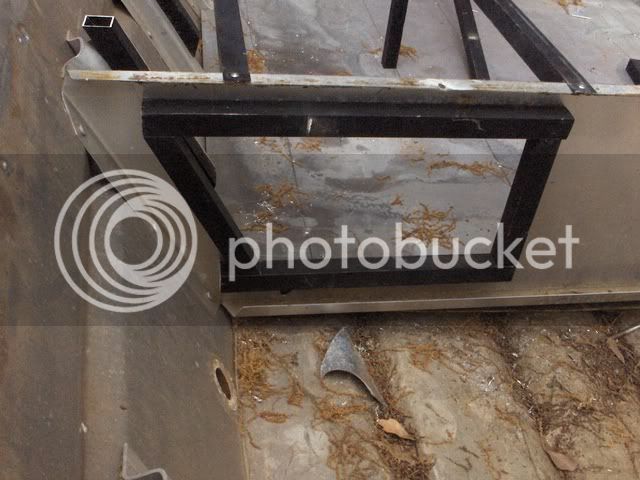
Well, I got the stern hatch lined. This picture didn't turn out too good, but it will do. In both photos, I layed a couple scrap pieces of aluminum to demonstrate the deck, and the front panel.
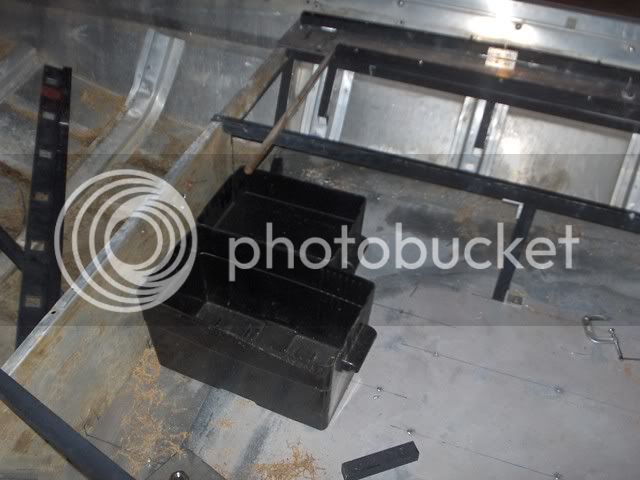
Here, I have laid 4 battery boxes in to show how they would fit in an electric only tourney set up. This would allow for 2 24v transom mount motors, and my bow battery box will have 2 slots, so I could have a 24v on the bow as well. With the 40 horse gas motor, the fuel tank would go here, and the trolling battery as well as the starting battery will go in the bow box.
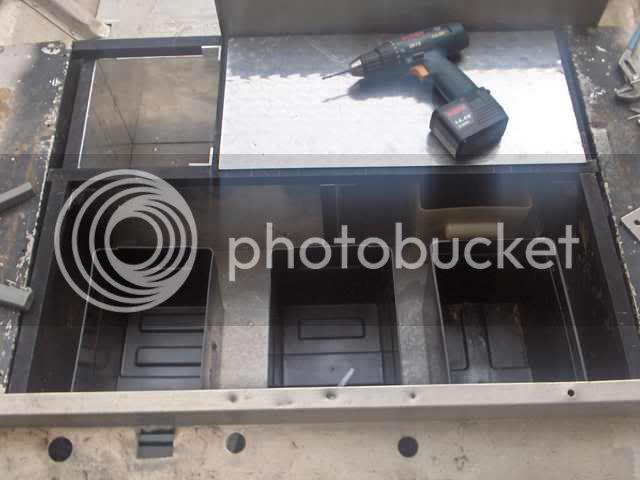
Here, I have laid 4 battery boxes in to show how they would fit in an electric only tourney set up. This would allow for 2 24v transom mount motors, and my bow battery box will have 2 slots, so I could have a 24v on the bow as well. With the 40 horse gas motor, the fuel tank would go here, and the trolling battery as well as the starting battery will go in the bow box.
Wow! Very nice work! 8)
Well, that isn't where I was planning on stopping today, but I am just lucky I got all the power cords in before the bottom fell out of the sky. The drain hole and the second hole where the livewell pump used to be were not keeping up with the initial rainfall.
Any questions, comments, or critisizms? Heaven knows that I have enough of all 3 for other projects.
Any questions, comments, or critisizms? Heaven knows that I have enough of all 3 for other projects.
GatorTom
Active member
Any updates?
Is the suspense killing y'all? I may have to hold off the updates for a bit....GatorTom said:Any updates?
Naw, just kidding. Seeing that spring break is over, I have been way too busy again, so work is slow. So far, I have cut and framed in the hole in the forward bulkhead for the rod locker, and gotten most of the rod locker structure in place. Should have the rod locker structure in place later tonight. Will post pics probably tonight or tomorrow.
bassboy1 said:Is the suspense killing y'all? I may have to hold off the updates for a bit....GatorTom said:Any updates?
Naw, just kidding. Seeing that spring break is over, I have been way too busy again, so work is slow. So far, I have cut and framed in the hole in the forward bulkhead for the rod locker, and gotten most of the rod locker structure in place. Should have the rod locker structure in place later tonight. Will post pics probably tonight or tomorrow.
HECK YES DUDE! IM DIEING TO SEE THE UPDATES!
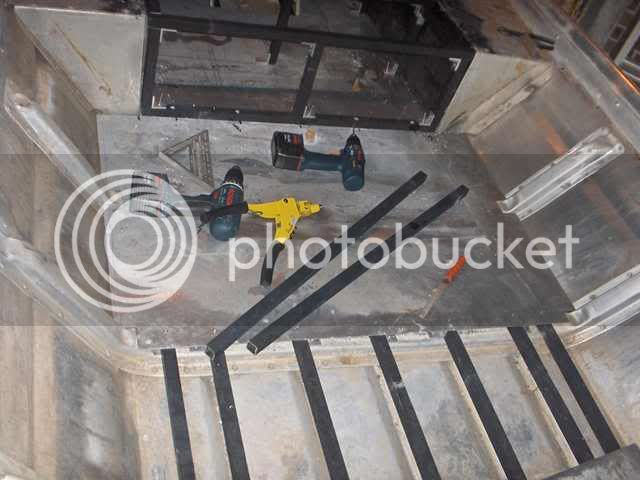
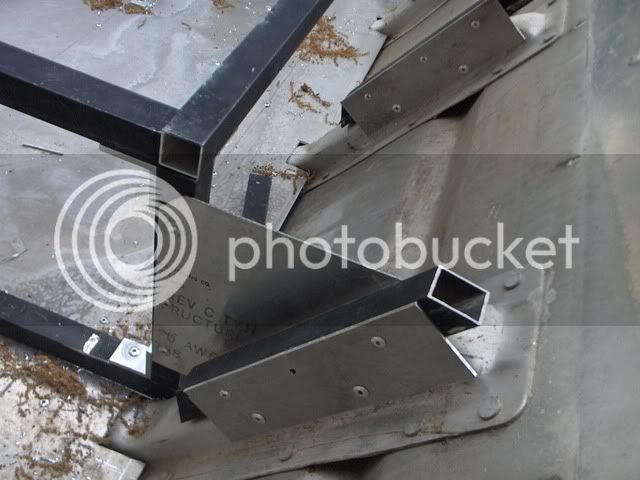
Alright, I got my hole cut in the bulkhead for the rod locker. I framed it in with 1 inch square. Soon, I will cut some angles to put on the corners, which will unify all four pieces on the backside as well. Recently, we picked up another 1930s or 40s Delta bandsaw, to convert to metal cutting. Once the blade comes in to that, and we change the gearing, I will make the brackets. Beats the heck out of the old saber saw.
Also got the next deck section in.

I am going to post pictures of these right now, but am not going to explain. Going to have to wait a few hours on that one, as I think it will be easier to post up another picture, than try to explain.
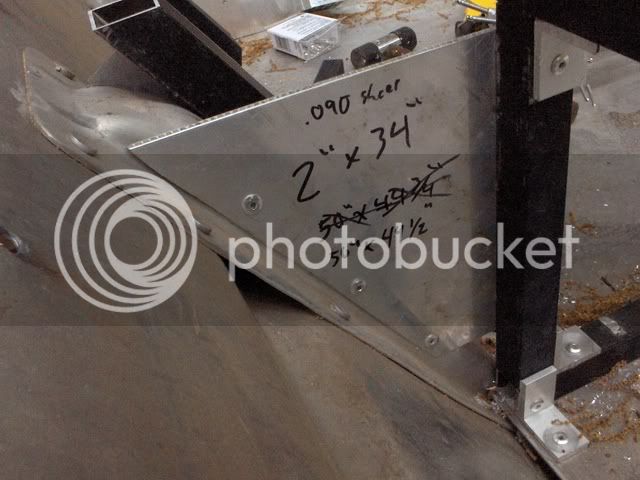
Here is a gusset that really stiffens up the rod locker. Didn't have to cut a bit, as the cut off just happened to be the perfect width and angle, and then we had used it for a test cut last week, so the other cut was perfect too. Ignore the writing. I am not allowed to use the table saw alone, and dads and my schedule don't match up, so I write the dimensions I need, and he cuts the long rip cuts for me after work.
Also got the next deck section in.
I am going to post pictures of these right now, but am not going to explain. Going to have to wait a few hours on that one, as I think it will be easier to post up another picture, than try to explain.
Here is a gusset that really stiffens up the rod locker. Didn't have to cut a bit, as the cut off just happened to be the perfect width and angle, and then we had used it for a test cut last week, so the other cut was perfect too. Ignore the writing. I am not allowed to use the table saw alone, and dads and my schedule don't match up, so I write the dimensions I need, and he cuts the long rip cuts for me after work.
Waterwings
Well-known member
Great metal work! The Navy could use you as a HT (Hull Technician)! All the metal (and major tools/machinery) you'dl ever want to work with 8)
I would love to be able to mess around in a nice metal shop. Dad has worked with wood since he was little, so we have an excellent wood setup, plus years of experience and tips to teach me, but metal was something new to us fairly recently. I have been teaching myself most everything I know about aluminum work, and he and I have been learning as we go with steel (he still won't let me touch his welder. ). I am also limited quite a bit in the tooling department. Even though I grew up around lotsa woodworking and carpentry, and am fairly fluent in that, I enjoy metal working a lot more.
Anyway, here is the next update.
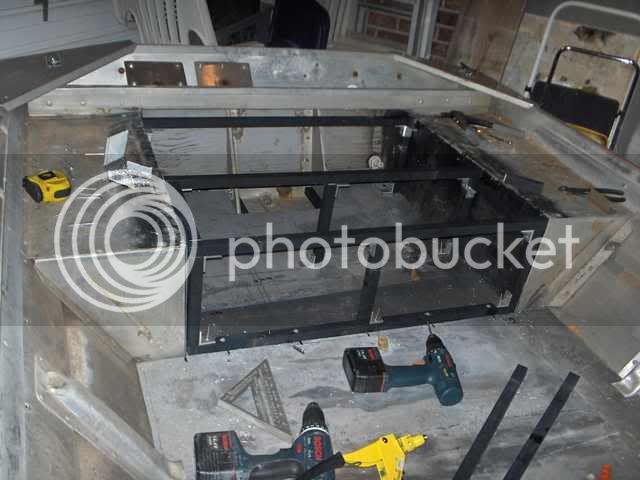
Those aforementioned things connect to this.
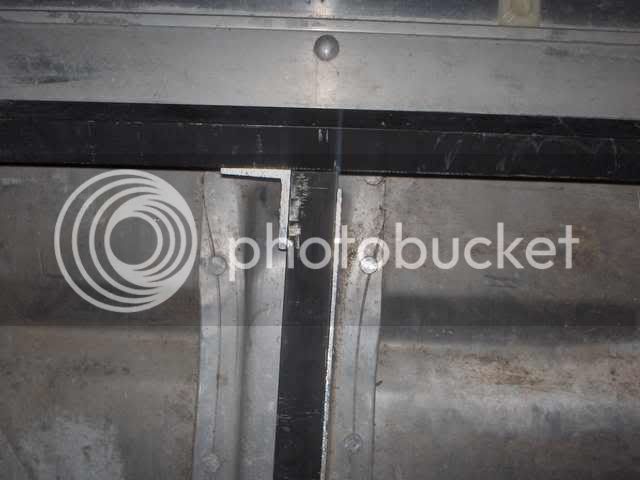
That top bar is the one farthest to starboard in this picture.

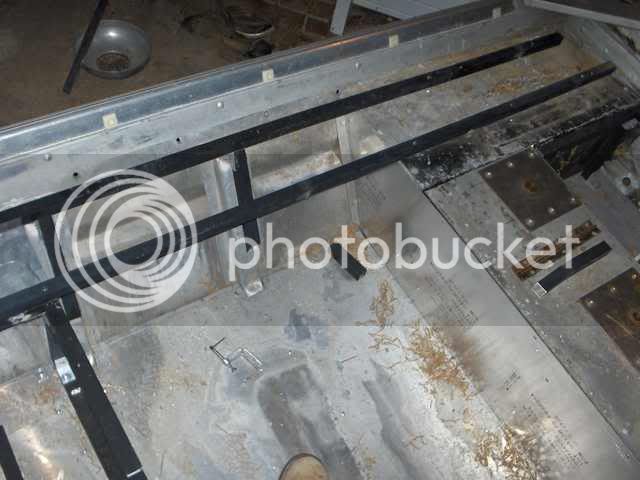
Now, to answer y'all's question of why is the structure above the sheet. That will be my fully accessible wiring chase. The rod locker door will be right in front of that area, and that will have a cover, held on with stainless screws, into rivnuts that I will set into the square. That way, it is fully accessible, from the batteries, to the switch panel, and to each of the items that require power. Will make things easier down the road if I have to update/repair something.
My bow deck will extend to the back end of the longer battery box. Where those boxes are will be the approximate location of the batteries. The wiring chase will run across the top of the rod locker where that piece of copper pipe is.
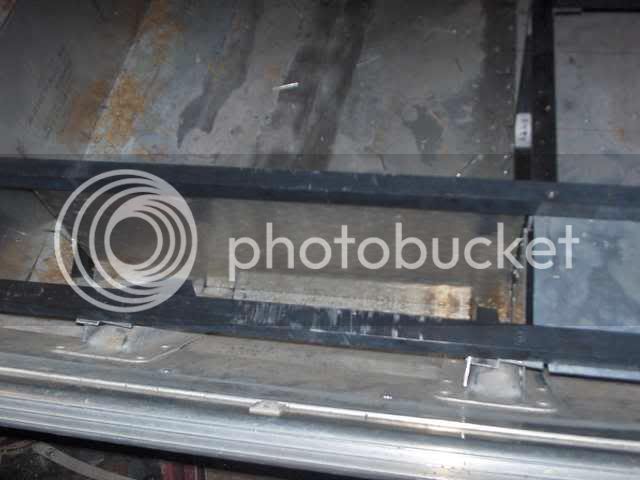
Now, back here, I will have my switch panel. As you can see, there is a nice big opening, and with the top open, one can easily reach the back to service/repair it. And, there is ample room to organize all the wiring neatly. I have rested a piece of diamond plate in place to show the size of the opening, in the second picture.
Here is my first bonehead move of the day.
Remember that little gusset I had to strengthen the rod locker? Well, I forgot that I had to put a back on the rod locker. #-o The back will cover the back of the rod locker, and extend over in place of the gusset. Basically it will just be making the back of the locker, and the gusset one piece. I knew having that thing fit was too good to be true. #-o
). I am also limited quite a bit in the tooling department. Even though I grew up around lotsa woodworking and carpentry, and am fairly fluent in that, I enjoy metal working a lot more.Anyway, here is the next update.
Those aforementioned things connect to this.
That top bar is the one farthest to starboard in this picture.
Now, to answer y'all's question of why is the structure above the sheet. That will be my fully accessible wiring chase. The rod locker door will be right in front of that area, and that will have a cover, held on with stainless screws, into rivnuts that I will set into the square. That way, it is fully accessible, from the batteries, to the switch panel, and to each of the items that require power. Will make things easier down the road if I have to update/repair something.
My bow deck will extend to the back end of the longer battery box. Where those boxes are will be the approximate location of the batteries. The wiring chase will run across the top of the rod locker where that piece of copper pipe is.
Now, back here, I will have my switch panel. As you can see, there is a nice big opening, and with the top open, one can easily reach the back to service/repair it. And, there is ample room to organize all the wiring neatly. I have rested a piece of diamond plate in place to show the size of the opening, in the second picture.
Here is my first bonehead move of the day.
Remember that little gusset I had to strengthen the rod locker? Well, I forgot that I had to put a back on the rod locker. #-o The back will cover the back of the rod locker, and extend over in place of the gusset. Basically it will just be making the back of the locker, and the gusset one piece. I knew having that thing fit was too good to be true. #-o
AndrewR
Well-known member
Greetings Bassboy,
I'm new to the forums here and I've been checking this topic off and on during the past few months. All I have to say is you have a freakin' sweet boat. I'd love to have something like what you've got on your hands.
Can't wait to see what the final product will end up looking like. Keep up the good work!
andrew
Similar threads
- Replies
- 36
- Views
- 2K
- Replies
- 0
- Views
- 712
- Replies
- 4
- Views
- 1K