86BassTrackerV17 1st fishing trip w/son 10/11/13 vids p15

TinBoats.net

Help Support TinBoats.net:

This site may earn a commission from merchant affiliate links, including eBay, Amazon, and others.
Bugpac said:
How thick is the aluminum, they added the wood backing to stiffen them correct? If they were like .080 you could probably just add a spine "stiffener" to the back sides, and ditch the wood.

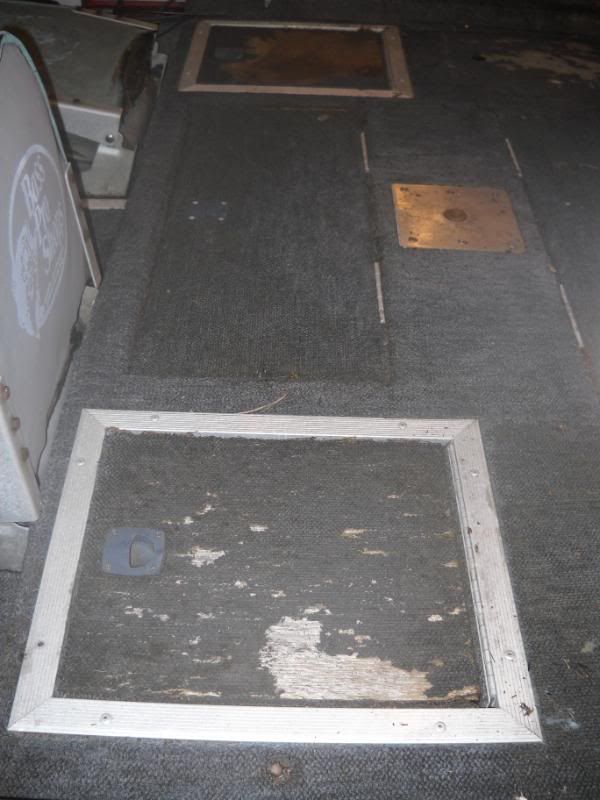
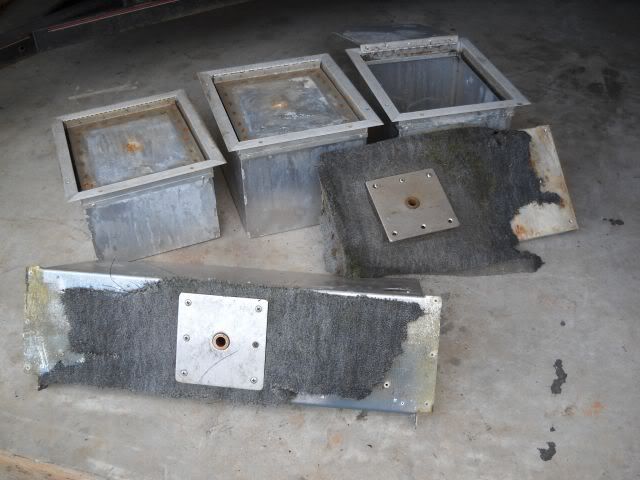
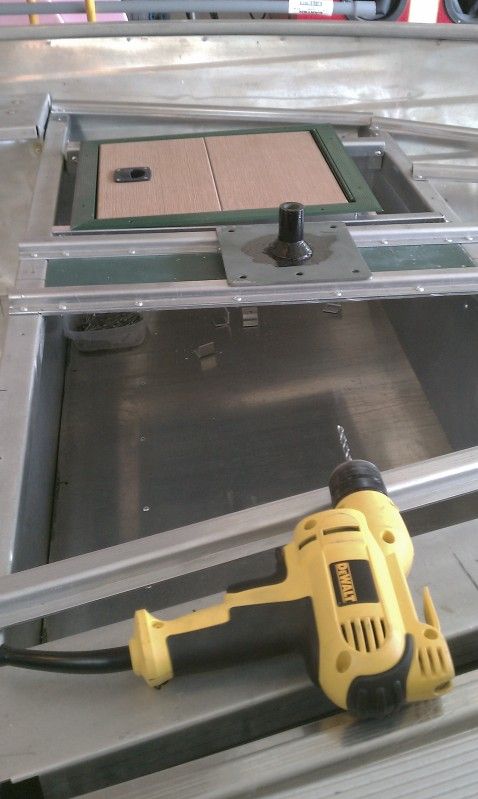
With the exception of one hatch cover that was entirely wood and needs replacing, the rest had aluminum stiffeners. Right now, I'm planning on getting Bassboy to make an aluminum hatch to replace the wood one.

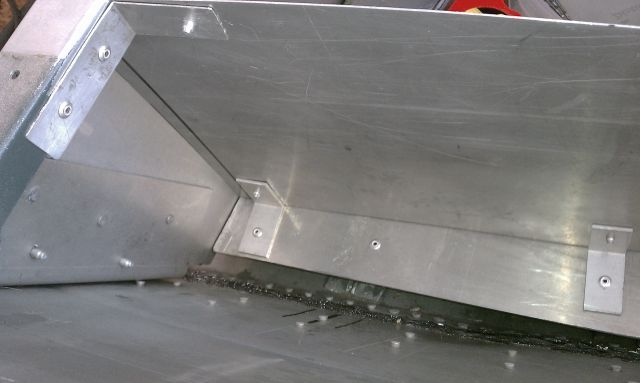
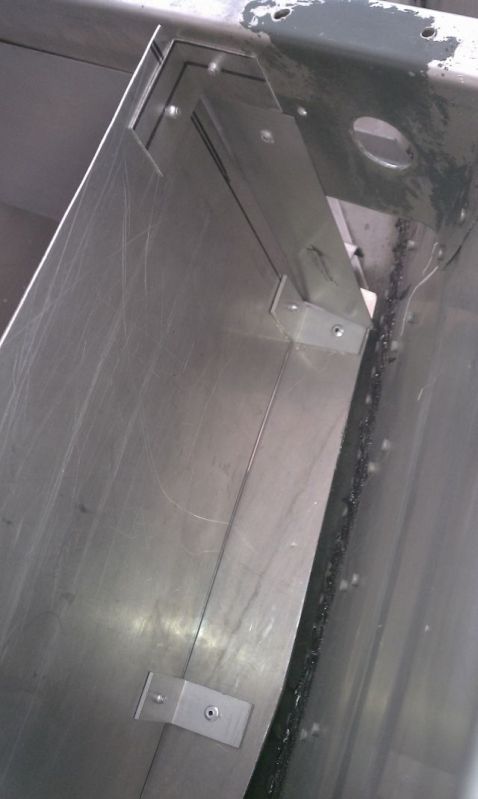
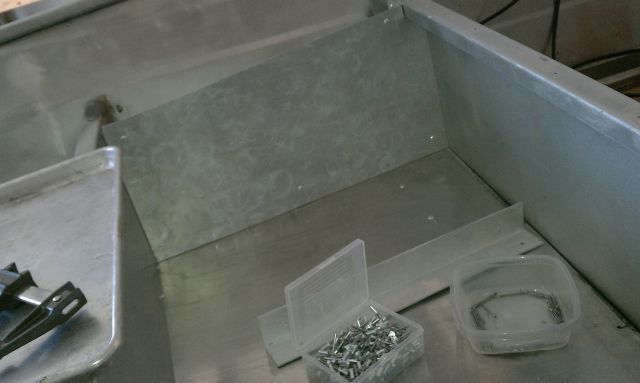
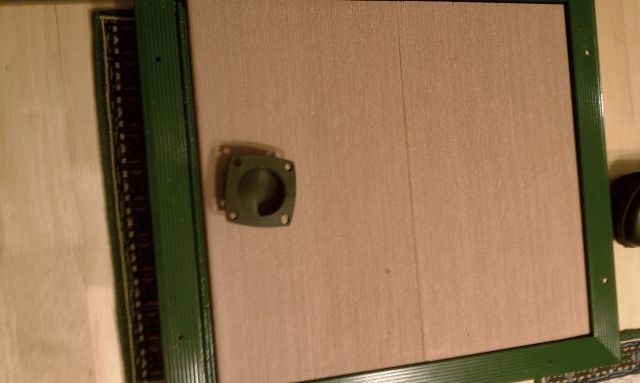
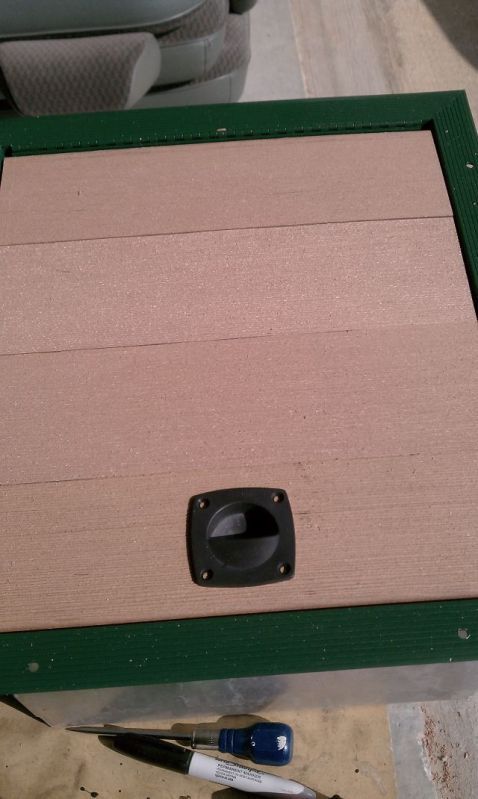
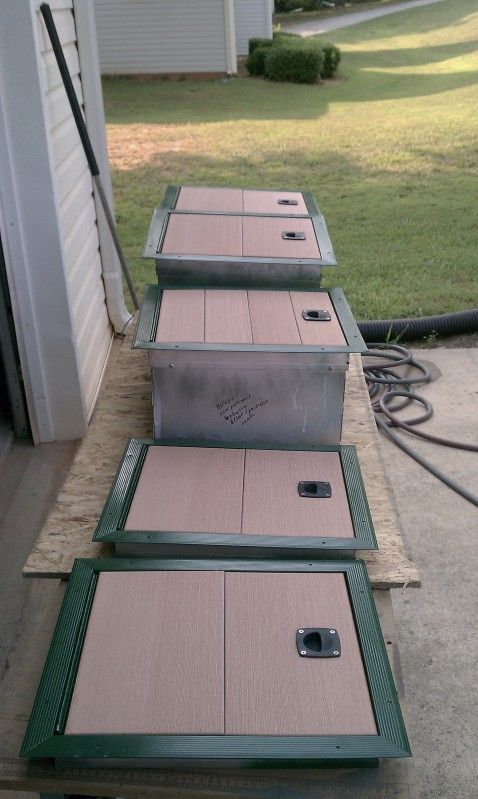
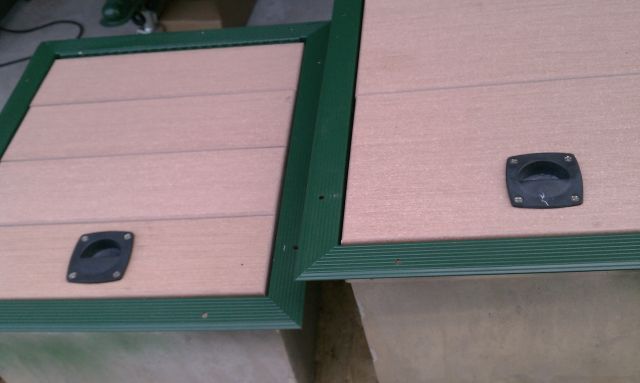
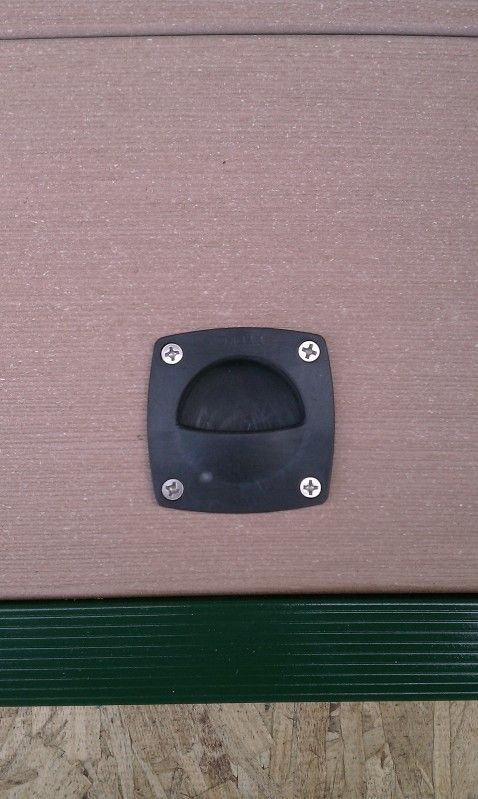
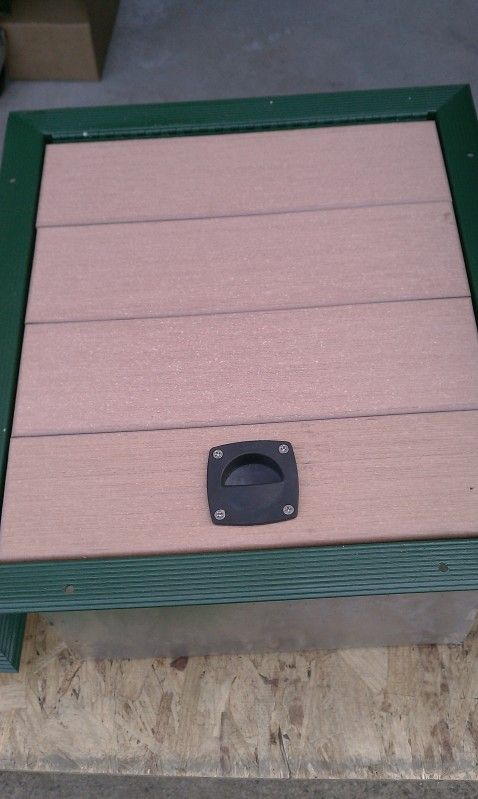
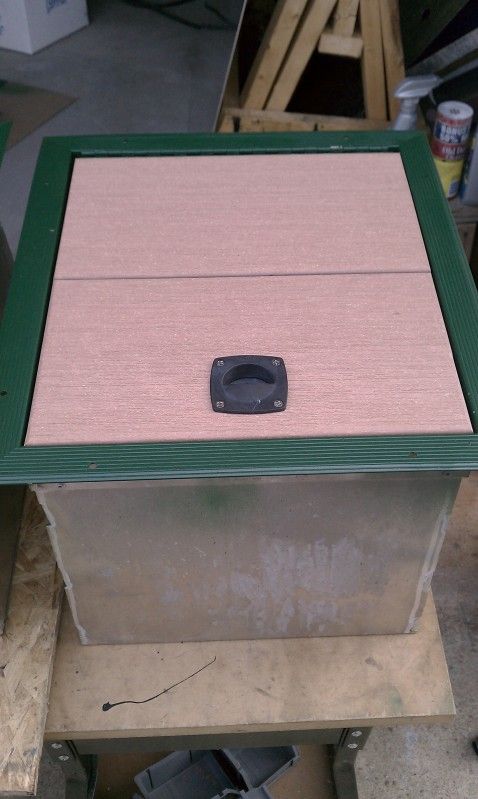
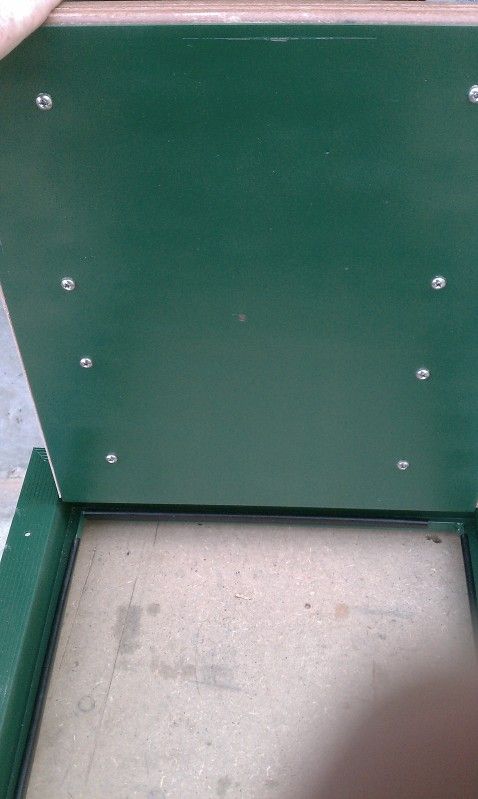
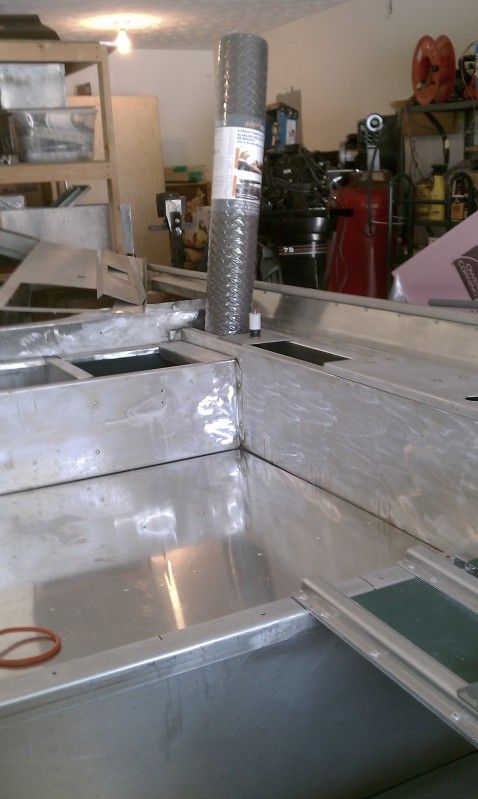
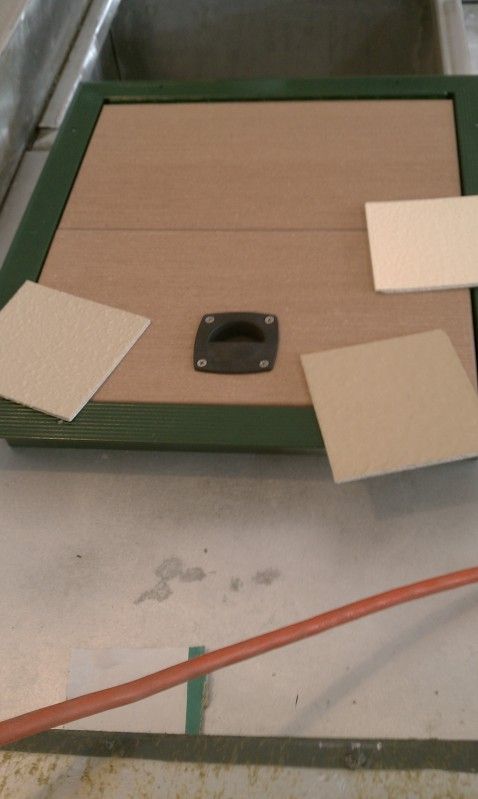
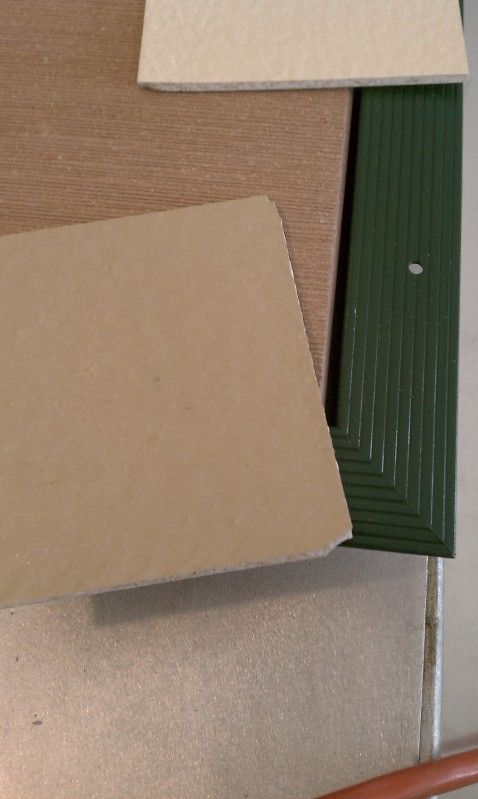
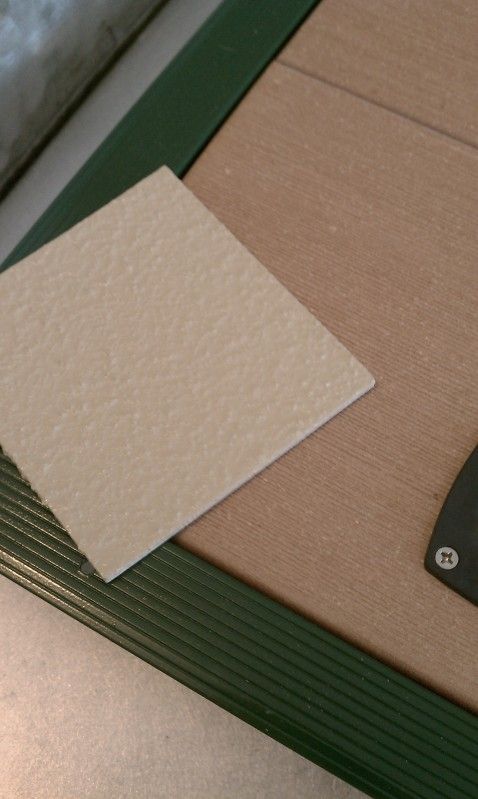
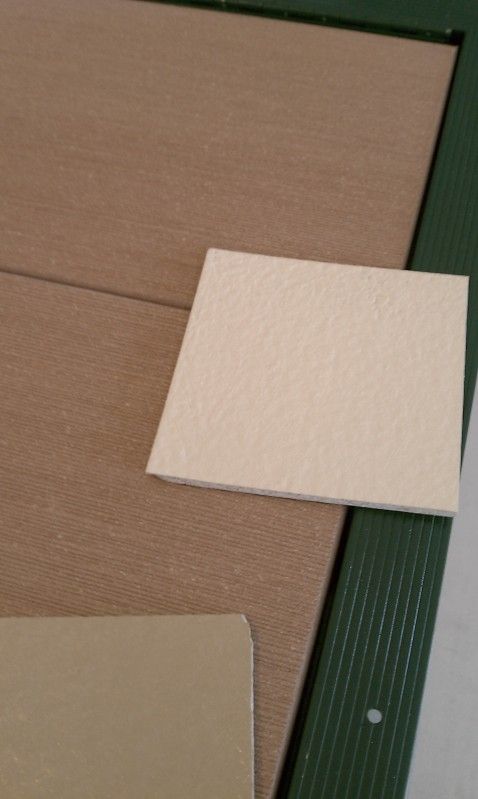
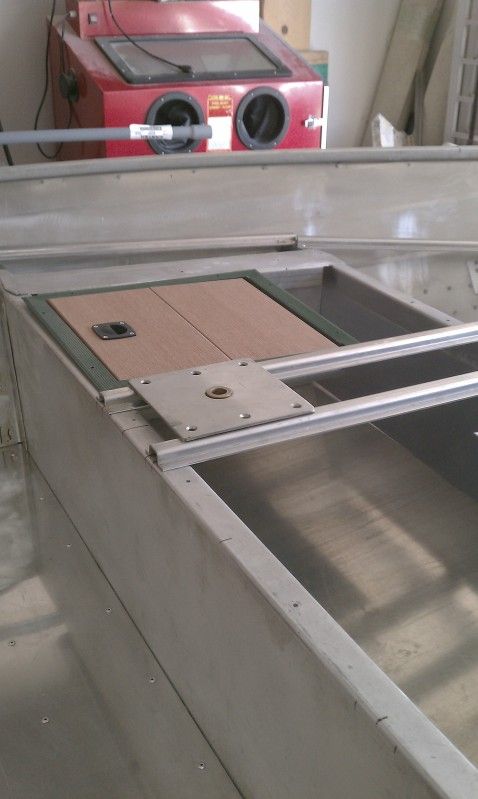
The storage bins, on the other hand, all had carpeted wood lids and the seat supports used a double stuff of 1" plywood to strengthen them (Made it a bear to take them off the boat when I was removing and cleaning.). The storage bins had an aluminum hinge and aluminum plate backing to strengthen them. I'm probably going to use more of the plastic wood like I used on my trailer (The brown stuff) to replace the carpeted wood on the storage bins, as I feel like I'm going to need some sound deadening and I like the way these feel under the feet and the way they should look in the color scheme I have planned. That leaves the seat supports, which I'm thinking right now would be ideal candidates for aluminum bracing.

Overall, I should end up with a significantly lighter boat than before. Hopefully, this will help the 75HP motor have a bit more get up and go from the improvement of the power to weight ratio. Can't improve the power, so lightening the weight is the alternative.
 
I have to say your mod is one of the best in regards to the attention to detail. Very nice work sir. I cant wait to see the finished product. =D>
 
Yes I realize all the issues that come with saltwater all too well, that's why I always a go way big on wire size to prevent corrosion and b use shrink wrap followed by liquid electrical tape on all connections...
 
bigwave said:
I have to say your mod is one of the best in regards to the attention to detail. Very nice work sir. I cant wait to see the finished product. =D>

Thank you, I'm in the planning stages now related to re-building the transom, replacing items that were wood on the original boat and deciding what level of modifications I want to do. I'm picking up a sheet of aluminum hopefully tomorrow and should have enough sheet aluminum at that time to do the work.

Can't decide what I want to start on first, cost is going to be a consideration and some of the work I'll have to farm out, as I don't have the tools and don't want to buy the tooling to do the work myself (too big and too expensive). I'm working with a fabricator to handle the stuff I don't want to buy tooling for.

Please be patient though, because of cost associated with doing things right, it may take a while.


Gators5220 said:
Yes I realize all the issues that come with saltwater all too well, that's why I always a go way big on wire size to prevent corrosion and b use shrink wrap followed by liquid electrical tape on all connections...

That is exactly what I would do. I went standard wiring with my trailer, due to the fact the trailer is a trailer and I've seen how lights, wiring and such can get tore up and need replacement with my wife's business. I'm not going to use marine wire on the boat, but I will use larger wire and tin any wiring that is exposed as well as solder connections and box as much electronic/electric parts as possible. I think a lot of factory boats had failures due to the exposed electronics.
 
I'm excited. Picked up a sheet of the .125" aluminum bugpac had for sale. Got home and took some measurements a couple minutes ago. Near as I can tell, I should have enough aluminum to complete the flooring of my boat and do all the reinforcing I want to do.

I am considering having some "C" channel made per bugpac's suggestion to use as floor reinforcement rather than buying a more expensive aluminum bracketing or square tubing.

There's a couple things I need to work out and make decisions on, because of course nothing is perfect and I'll have to make a butt splice or two to cover the floor area completely unless I replace one section of aluminum side wall or modify a couple panels by adding "skirts" to make the panels longer. Decisions, decisions....
 
What kinda fishing do you do up your way? Bass, crappie, pike, catfish, bronzebacks, etc?
 
Gators5220 said:
What kinda fishing do you do up your way? Bass, crappie, pike, catfish, bronzebacks, etc?

Freshwater stripers, spotted bass, crappie, bluegills and blue/channel catfish are all in the larger lakes. The boat I'm working on is intended to get me into some of the larger lakes, such as Lake Sidney Lanier.

In the smaller lakes, you'll see blue gill, crappie, catfish and hybrid bass being stocked now. In local ponds, you'll see largemouth bass as well. In the rivers, other types of fish, depending. Georgia has a pretty wide spread of things, depending on what part of the state. Lots of trout as you head back towards the mountains. I may yet go into these smaller lakes, but I'll need to add a trolling motor front and rear for that. My 75HP Mercury may be a big deterrent for the smaller lakes, not sure I can leave it on the back of the boat and just add a rear troller or not.

Of all those mentioned, I have a real taste for bluegills and spotted bass. I'm probably not a good catch and release kinda guy, depending on the fish.
 
Got what appears to be a little bit of progress done in between getting my Dad's minivan ready so my son will have something to drive now that he's finished up Columbia University in New York and has been accepted into the University of North Carolina's program.

I've been doing some planning and acquiring some aluminum for decks as well as other supplies and tools. I picked up a rolling toolbox from HF to hold the tools I'm going to need for working and installing the aluminum sheeting/decking as well as various other stuff. I wanted something I could roll close to the boat without hauling around my huge rolling toolbox. Here's a couple pics with a sheet metal setup:

HandyDandyHFworkCart.jpg


ToolsReadyForAction.jpg


I decided to go ahead and install the fore storage deck (replacing an original wood deck) and put up a couple panels to protect my rod tips and wiring that will be on either side of this deck next to the hull.

High tech marking tool and a nice big hunk of cardboard to mark on:
NiceBigHunkOfCardboard.jpg


I wasn't going to touch the sides, so just needed a rough outline so I could follow the curve of the hull while staying safely away. No need to be close in this area. Curve roughly copied and ready to transfer:
RoughLayoutOfHull.jpg
 
With the sheet aluminum cut and ready to install, I needed to drill some holes and set some rivets.

Here's some old school tools for you, power cord and pneumatic line attached. They're big, bulky and have the power to get the job done and save you labor. The DeWalt drills torque and a high speed steel drill bit made short work of drilling out 1/8th inch aluminum sheet and the Harbor Freight Pneumatic Riveter handled those high strength rivets with ease. I was done with the storage deck in a few minutes and never even got a sore arm:
OldSchoolTools.jpg


Part Number of HF riveter:
HFRiveterPartNumber.jpg


Storage Deck installed. I tried out my excellent battery powered drill, but the DeWalt was the ticket in this situation:
DeckInstalled.jpg
 
Making angle brackets the quick way on the table saw. I'm using a cheapie Harbor Freight carbide tipped blade. Much less expensive than my Italian made blades I use for woodworking and once I'm done with cutting this aluminum, in the trash I can toss the blade.

Cutting support brackets:
CuttingBracketsWithHFcheapieblade.jpg


I didn't have a lot of L shaped angle aluminum, so I decided to fabricate some thinner brackets for the non-structural panels I'm using on both storage area sides to protect my rod tips and wiring. Here's how I got it done:

El cheapo Harbor Freight sheet metal brake. Not very strong, but works great on light weight aluminum as long as you clamp the bar down like I did - see next couple pics.
CheapieBendingBreak.jpg


Clamping work down:
BendingLightWeightAngleBrackets.jpg


Completed bracket:
CompletedBracket.jpg


Installing lightweight bracket:
HomeMadeBracketPerfectFit.jpg


Backside of wire protection panel, viewed from fore. Note L bracket at bottom and homemade bracket at top:
WireProtectionPanelInstalled2.jpg


View of same panel, viewed from aft. Note L bracket at bottom and homemade bracket at top:
WireProtectionPanelInstalled.jpg


Port view of wire storage protection panel installed. Not sure if you can see the nasty angles. This panel was a pain to make. Glad I only had to do two. I can't show the other side because some of my pics came out black for some reason. I'll have to retake some and post later.
NastyAnglesOfWireProtectionPanel.jpg
 
With the storage deck done, I started prepping the 5 storage hatches (3 with bins) the boat original came with. Here's a couple pics of original condition:

In boat:
RearDecksStorage3.jpg


Removed from boat:
RearDeckStorageAndSeatBases.jpg


First I painted them:

Good paint and the attached doodad saved my finger:
RustoleumProfessionalRattleCan2.jpg


Results. Note I am NOT and DO NOT claim to be a spray painter:
StorageBinHatchesPainted.jpg


Next, I installed trexx board using my tablesaw and a good blade to cut it. Stuff cuts like butter with a saw blade. Here's the trexx laid in for a mock up with the hatch lid pull on top:
MockupHatchLid1.jpg


I didn't have quite enough of the trexx board to complete using two board, so for one bin, I had to use scrap. Here is the scrap mocked in. There are no screws holding things down, so they look a little un-level, since the old aluminum lids under them are a little banged up and bent. Screwing them together will pull the boards level. I am debating rounding off the side edges with a 1/4" round over bit to make the gap look a little more natural on all of these hatch lids.
HatchLidMockup.jpg
 
Bugpac delivered on the 59" by 53" sheet of aluminum I needed to complete the console deck and the pressure was on to finish the storage access and storage bin refurbs, because as soon as the console deck is installed, the casting deck is next on the list, so the hatches have to be ready. My son is coming into town tomorrow and I'm hoping to get a huge jump on completing many of the tasks necessary to complete the major aluminum work done while he's here.

In the meantime, here's pics of the refurbed hatches and storage bins. I'm real happy with how they turned out, even with the paint dings I managed to get and will have to touch up:
IMAG0665.jpg


Getting the trexx board to fit in the banged up 1986 hatch lids was a tougher job than I thought. Took me two days to fit the boards to length, round over the edges with a 1/4" round over bit in a trim router so the edges would have a finished look against each other, then drill the needed screw holes and mount the boards. Because I was buying someone else's reject trexx board, the size wasn't perfect and I had to fit what I had rather than being able to make a couple cuts and toss it in there. Not ideal, but I got it done.

A comparison of the two:
IMAG0669.jpg


A close up of the installed hatch pull. I re-used the 1986 originals after learning how much these things cost. They were greyish from sun and dirty, but I cleaned them up, scrubbed off the grey, then wiped them down with Turtle Wax 2000 silicone spray. Stuff made them look pretty decent and wasn't greasy slick like Armor All. They don't look new, but they do have a little character being as old as they are. I really liked the look:
IMAG0666.jpg


Here's a close up of the toughest one. This bin had a bent aluminum lip (originally had plywood covered with carpet on it) and I had to fit four boards. Ironically, it turned out to look the best to me. Mounted the boards with #8 sheet metal screws 1/2" long. Used three per board. Drilled holes for the extra screws and enlarged some of the original screws to fit the #8 screws. Also used a 1/16" drill bit to drill a pilot hole in each trexx board for the mounting:
IMAG0667.jpg


For comparison, here's a closeup of one of the two board bins. Much easier to do, but didn't look near as nice. I wasn't perfect in taking the same amount of material off each board. My 30 year old back injury was flaring up today and I needed to get it done, so I got it done.
IMAG0668.jpg


Finally, my screw job. Looks crappy with misaligned screws, but the back was saying "you need to speed up," so perfect alignment went out the window, but strength was maintained. I'll have to touch the paint up. But the bins and hatches are ready.
IMAG0670.jpg
 
Started installing the console deck, the fore casting deck and fore trolling motor deck. Here's some pics:

The console deck installed. No additional support was needed, so it was a straight drill and rivet job.

IMAG0671.jpg


The aluminum sheet was sheered to length thanks to bugpac and all I had to do was trim the slight inward curve of the starboard side towards the front. (At least, so I thought.) Made some measurements, trimmed off the needed aluminum with my new (you guessed it) Harbor Freight jigsaw I bought on sale for $50.00. This one: https://www.harborfreight.com/power-tools/jig-saws/orbital-jigsaw-with-laser-cutting-guide-94560.html). Saw worked fantastic with a Bosch high speed metal cutting blade in it, cutting through the aluminum like butter.

My son drilled the holes for me and set the rivets using my pneumatic pop rivet gun. (Young man has much more mechanical aptitude than he thinks he does. Did a great job with the drilling and riveting. Didn't wear out my bits using too much downward force. Let the drill bit do the work instead of pushing.) Once the sheet was cut, it went pretty fast. What I didn't count on was the port fore and after corner areas of the console deck area not being square. (Both were several degrees larger than 90 degrees. Not enough you could see with the human eye though.) We got the deck in, but due to gaps caused by the angles being off, I'm going to have to trim with some 90 degree angle aluminum I had bent from .125" scrap I had. Here's a pic of the gap:

IMAG0672.jpg
Midway the port side, gap not so bad looking.

IMAG0686.jpg
This picture shows the gap a bit better. Gap is actually about 3/8" or perhaps a bit more. You can also see the grey rubber mat I'm going to use to pad the rod locker with stuck in the rod locker.
 
My Grizzly Grip samples came in. Here they are next to one of the refurbed hatches:

IMAG0675.jpg
I was originally liking the safari tan/sand color the best, but after comparing the three colors to the hatch and the chocolate brown fiberglass console, I'm leaning toward the camouflage tan, which is more a true tan. Jury still out on aromatic vs. aliphatic. The aliphatic is very hard while the aromatic is softer. But the aromatic fades and is more easily damaged. I do think I prefer the fine grit over the coarse rubber. Easier on the knees.

Close up of safari tan:
IMAG0678.jpg


Closeup of camouflage tan:
IMAG0676.jpg


Closeup of almond:
IMAG0677.jpg


Any of the three should be cool enough. The camouflage tan matches my stuff the best in person and the safari tan/sand would show dirt the least. Right now, it's a tossup between the camo tan and safari tan.
 
Beginning of casting deck frame work. First, a pic of the mockup of the port deck hatch and the seat base:
IMAG0674.jpg


Beginning frame work using hat channel. Love this stuff. Very easy to install and very strong once installed.
IMAG0673.jpg


Framework in progress:
IMAG0681.jpg

I was going to add hatch accessible storage area to the forward section of this deck, but found out during installation about half the forward area will be covered by the trolling motor deck, so I decided against it. Instead, I'll add organizing compartments for the plano tackle trays in the current storage area and on the outside edges of the casting deck.

Framework complete for port hatch and seat base:
IMAG0680.jpg

Note the green paint covering the sheet aluminum reinforcement I made from scrap aluminum sheeting I had. This addition substantially increased the stability and ridgity of the seat base mount. Addition of the aluminum decking will create what I hope to be a very stable sandwich I can mount the seat base through and have no wobble, a key to prevent mounting bolt wear out and base bending. I am debating adding vertical support at the center under the seat base and hatch framing. Haven't made a decision yet. May have to lay the sheet on the frame and walk on it before I can make the final decision.
 
Fore Trolling motor deck support begun:

IMAG0682.jpg

I didn't have any flush mount rivets, so to save time, I used flush mount stainless steel screws with nylock stainless nuts. If I have to order any more rivets, I will replace these with flush mount aluminum rivets before final assembly. But using the stainless steel screws allowed me to see if my concept for the fore deck would work. It was very sturdy.

Closer view of the aft section of the trolling motor deck support. I am going to add some additional c-channel across the back. It won't be mounted to the side unless I add some solid rivet mounted brackets to the hull, but should add additional stiffness even if not mounted.
IMAG0683.jpg


Closeup view of the fore deck mounting support showing what's left past the support. The 1/8" aluminum sheet will rest on the nylock nuts of the nose cap mounting bolts. This will make the trolling motor deck be very close to the top of the rub rail, allowing easy mounting of the trolling motor. Should be plenty of room for the forward light and the fish/depth finder along with the GPS puck as well.
IMAG0684.jpg
 

Latest posts

Top