Alumacraft MV1448 Seadoo IB jet, Still jetting

TinBoats.net

Help Support TinBoats.net:

This site may earn a commission from merchant affiliate links, including eBay, Amazon, and others.
Not much to update. Been getting my butt kicked at work (gonna be a 68hr week). I've cut out some metal to make a small electrical box at the console. I just couldn't surface mount the terminal strips and fuse blocks and then let the elements get at them. I'll try to post some pics this evening once I get something accomplished. The river went back up so I have some time to kill before I can splash it.

Jamie
 
Fabbed the console electrical box today and got it mounted I still need to drill the holes for the wire bundles, then wore the console before it'll run. then fuel and cooling lines and maybe it'll get splashed.

Made the front face on the mill and painted the inside with some copper colored hammer tone paint I had on the shelf.
DSC06617.jpg


DSC06618.jpg


More to come, have to work tomorrow through Saturday...

Jamie
 
Quick update, spent the evening doing body work to get the console smooth and also plugged the wiring into the console electrical box.

DSC06621.jpg


Jamie
 
It's not that bad. Really the wiring is what will make it nice. Fuel level, oil, charge temp, and fuel warning lights, tach and trim position are just the gauges.

This evening I finished the mud work on the console and it's in red primer. I'm not to discusted with it either. Now the hard part is finding flat OD green and tan paints to be rolled on.

Jamie
 
if you have a Army Navy surplus store around,check with them for the paint.A few years back I got 30 one gallon cans of OD for $7 per can.If I remember correctly it was a straight flat enamel.
 
Thanks for the tip Ben, the local guys don't deal in paint since UPS won't ship it to them... I ended up at Lowes to keep the project moving.

Major update today.

Oil system done, fuel system done, cooling system 90% done, console done, electrical 70% done, rear seat mount done.

Pics from throughout the day;

Some time after lunch, painted console mounted, used some satin spray from Lowes that's close to the seat color. The removable rear seat mount is out while the rest of the lines get ran.
DSC06624.jpg


A couple hours later it was cooler outside so the boat came out. Throttle is installed, sonar is in, push buttoms are installed, fuel system is in.
DSC06625.jpg


DSC06626.jpg


DSC06627.jpg


Late this evening, gauge panel and gauges are in and wired. Steering is done and tested.
DSC06628.jpg


Depth finder mount details. Used a rubber cap to go through the aluminum then mounted the Lowrance bracket over the rubber to give it a finished look.
DSC06629.jpg


This thing is real close to getting wet, maybe tomorrow if I can get it wired and fired up.

Wish me luck,
Jamie
 
Thanks, spent all morning doing up a legitimate ladder logic wiring diagram and then numbering the wires in the console box. I really should have done this before wiring the seadoo box to keep the confusion down when I have to troubleshoot it later.

More to come. I have a couple hours to get it fired up if I want to fish out of it this evening.

Jamie
 
Ah crap... Pretty much sums up the day. Spent all morning making a legitimate wiring diagram so I can number the wires as I tie them together to keep things organized when I have to troubleshoot them and thank goodness I did because;

1. Found out after wiring the Seadoo box to the console box that I managed to mis-label the two 12 conductor cables so that the one that was #1 on one end was #2 on the other... That took about fifteen minutes to figure out (starter always trying to turn over (ended up tied to the lamp circuit in the console)) and around two hours to unravel.

2. After getting the wiring right, the stupid thing wouldn't fuel even with the primer bulb hooked up. Dissassembled the pump and it had oily mud in the pulse line. Cleaned that out, then ended up taking both carbs apart to get the needles to work and finally manage to get one carb to fuel. More tomorrow

3. Went to Wally World for a gallon of 2 cycle oil that lubes the oil pump drive etc and while fighting the fuel problem about a quart leaked out of a loose fitting so I have blue snot slopping around the botom of the boat and finally;\

4. Managed to fry the Variable Trim System, or it was fried and I just now figured it out.

It did run off of fuel in the carb and it's pretty loud without any water.

Tomorrow I hope to get the fuelling fixed, already fixed the wiring and the oil leak. Need to clean up the mess and maybe get it wet. I have to work the next seven days so I get weekends off again so I may back burner this for a couple days.

So close.
Jamie
 
Yippee, it runs...


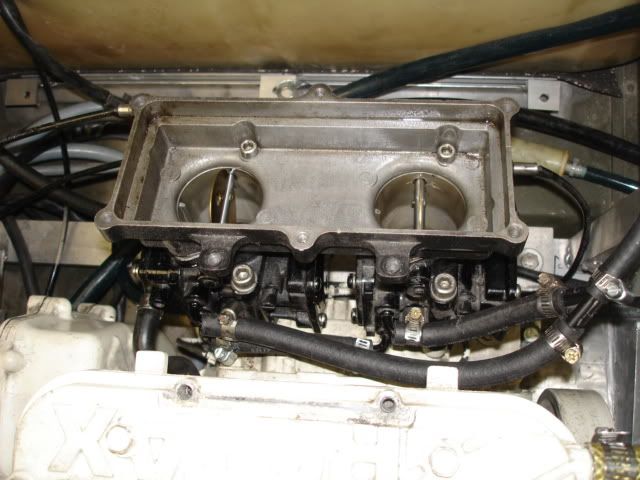
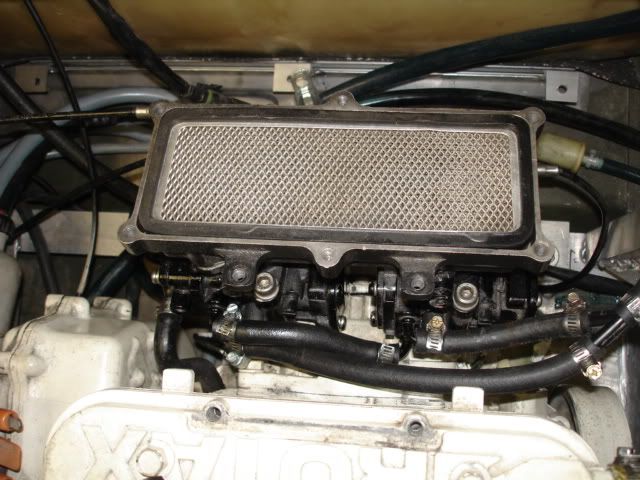
Today was full of ups and downs. Spent most of the day chasing the fuel system, reading the Seadoo manuals and the Mikuni manual for how the fuel was supposed to flow through the fuel pump and into the next carb. This is what I had setup from when I pulled the motor out of the 'Doo. The fuel is fed from the right at the 'Y' and the 'return line' comes out the other side of the left carb going to back to the return on the tank. Remarkably I never got any fuel out the return side.
DSC06630.jpg


Took the carbs apart several times and they were decent inside, finally rigged a little gravity feed fuel tank like this. Worked great because as the motor ran off of the fuel I poured down the throats I got bubbles out of the tank line...
DSC06631.jpg


Yep, hooked the fuel lines up backwards and sideways...
DSC06632.jpg


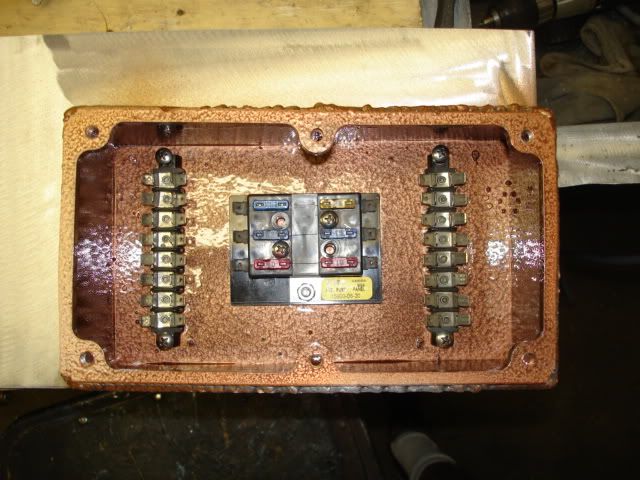
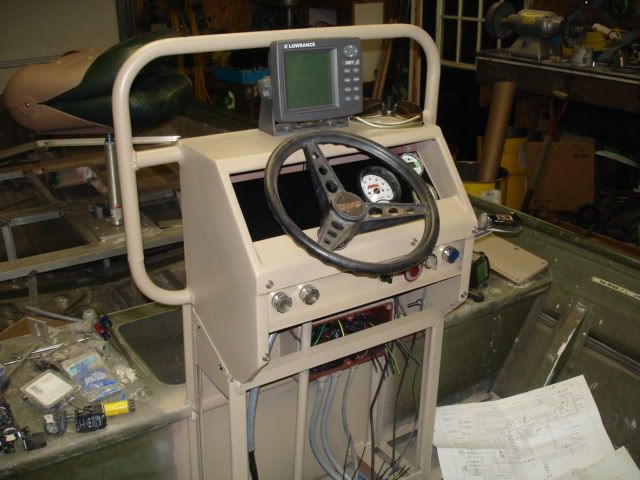
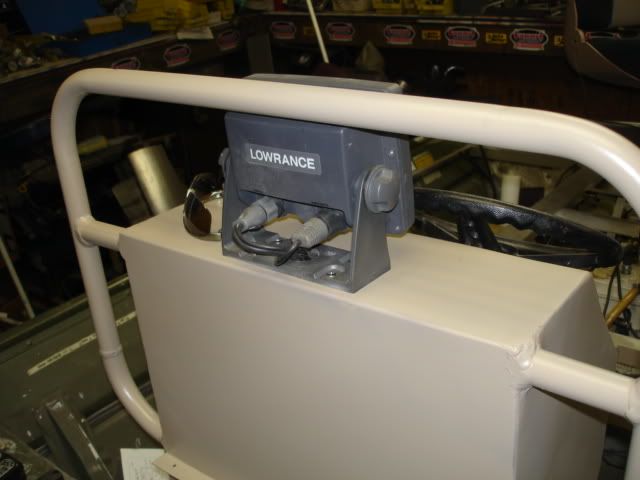
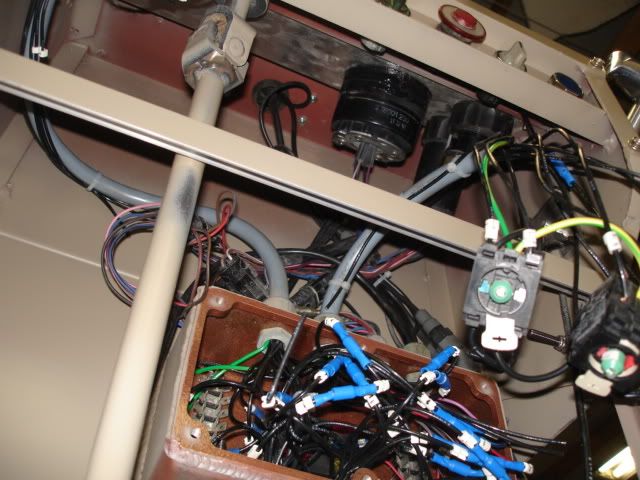
Wiring redo for the variable trim system, third switch from the left. Used two double contact (NC, NO) blocks and wired the motor leads out one side of the contacts and 12vdc to the normally open contacts and ground to the normally closed contacts so when you flip the switch one way or the other it changes to polarity of the motor leads as it puts power to the motor. Simple and effective. Now I just need some more four conductor wire to run back to the unit.
DSC06633.jpg


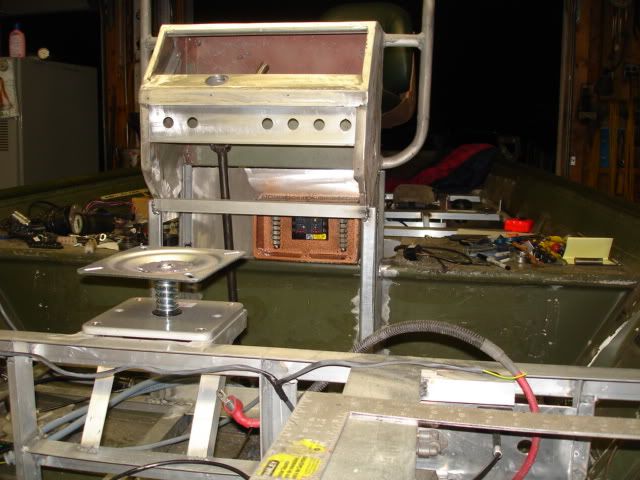
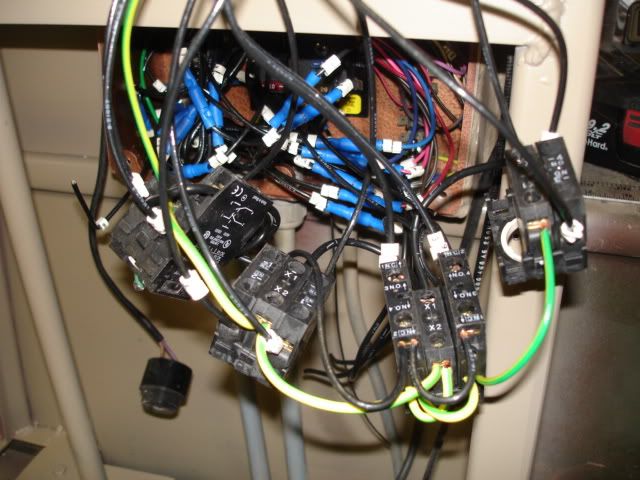
Up inside the console, wires wires everywhere.
DSC06634.jpg


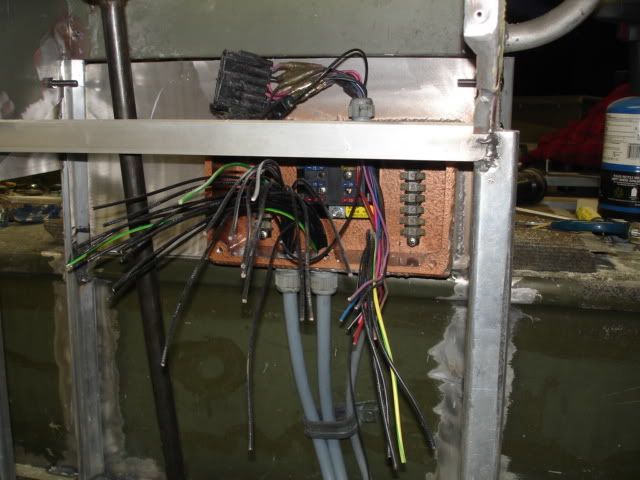
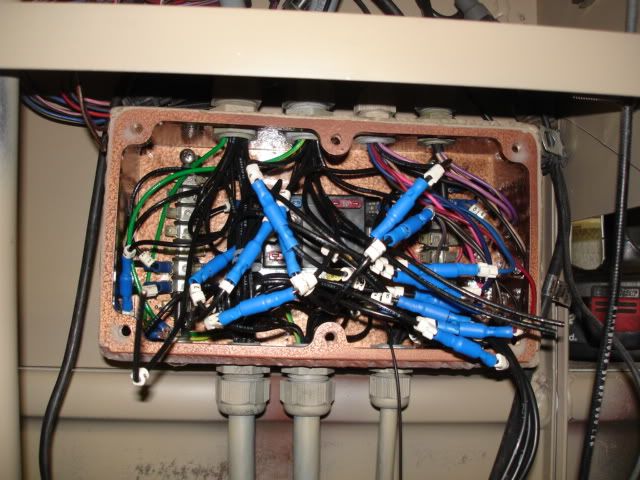
The mess... I hope to revisit this later and straighten everything out. It looked good before I realised the cables were mislabelled.
DSC06635.jpg


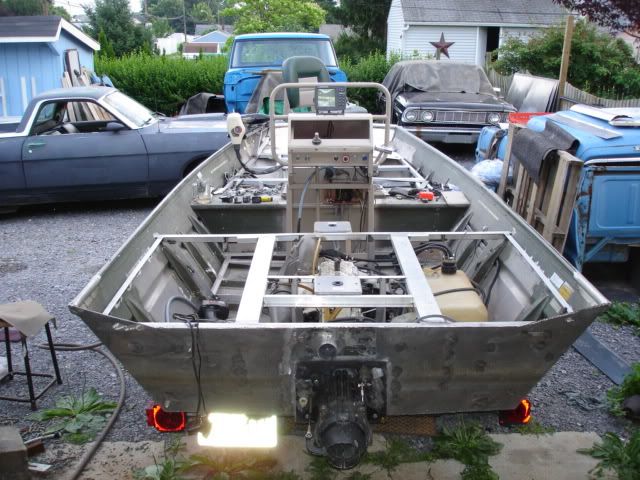
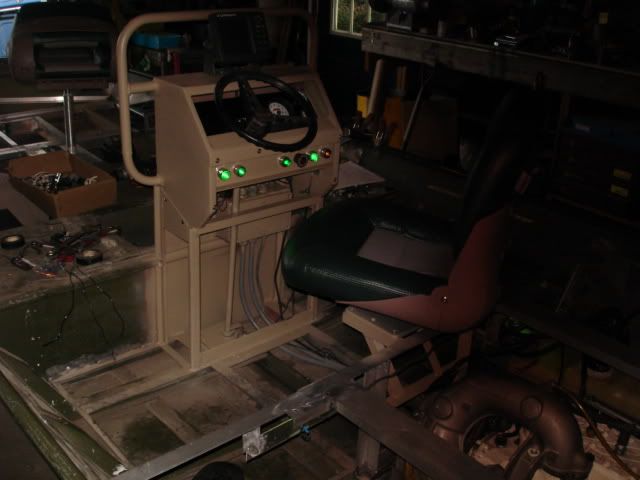
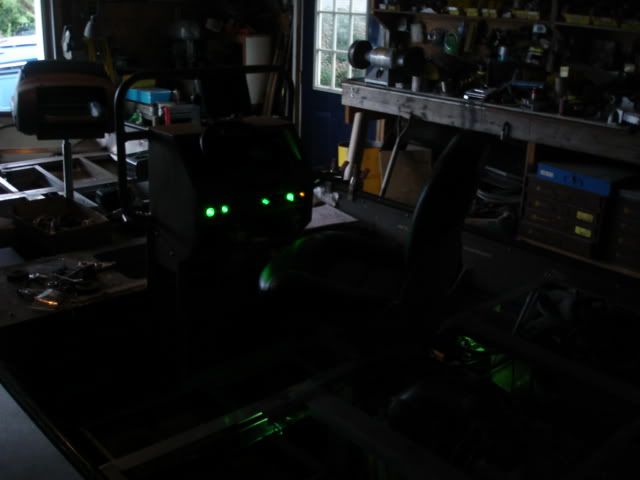
Just some green light porn. I put little green LED's in the switches and powered up the rear deck lamps. There's also a lamp shining up at the gauges since they aren't backlit.
DSC06636.jpg


DSC06637.jpg


DSC06638.jpg


Other issues that came up were it wasn't charging, found the 15A fuse blown, probably from the miswire. I'll leave the battery hooked up overnight to make sure it isn't draining it. The best part is now I just breath on the starter button and it comes to life. Sounds good but I can't run it long without coolant and it was raining all day so I didn't pull it out of the garage or get it wet. Oh yeah, the tach works great with the resistors hooked up.

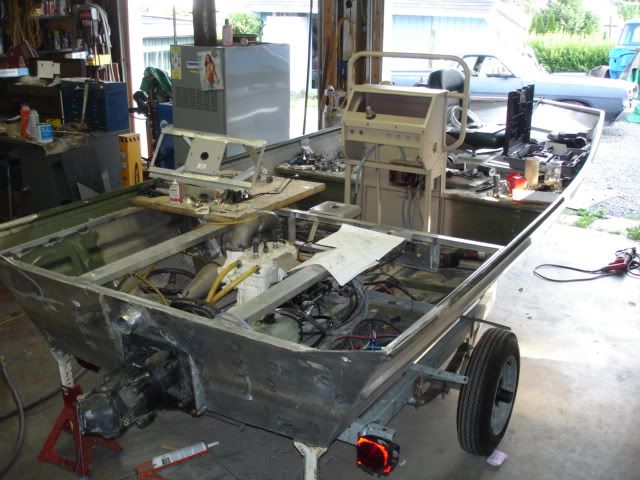
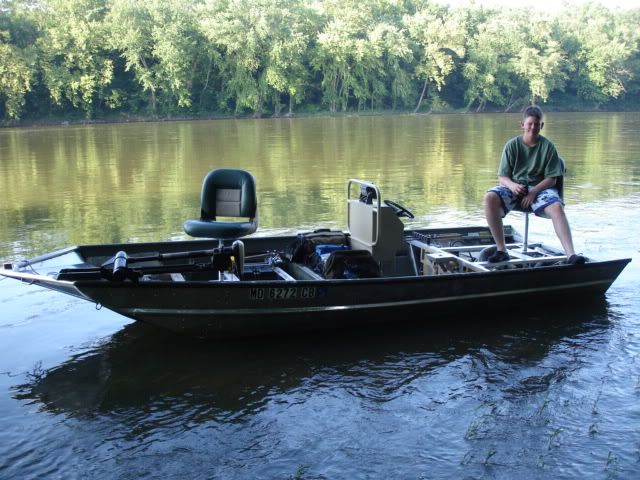
Now I have a seven on to do, twelve hours days too, before I can get the boat in the water. I grabbed the new trailer lites and fenders so I may get them on during the evening to get ready to splash this puppy.

Jamie
 
wow that thing is nuts man


keep your sanity, you're making progress and eventually the harder it gets, the more "downhill" the rest of the project will be.
 
Jamie you rock!
I've been checking in on this thread regularly. I love what you're doing with the boat but I gotta admit, I'm a bit more jealous of your talent and know-how than I am the boat. Incredible job you've done.

I can't wait to see it buttoned up and in the water.

chris
 
Did about what I expected, took on a good bit of water from weld leaks and ran like crap. Having trouble getting the carbs to fuel correctly. I think the lines are hooked up wrong still so if someone can look at the pics above and let me know I would appreciate it. The manual sucks for this.

Actually it ran pretty decent other than it wouldn't rev right, very loud, very very loud. Not sure if a deck will make it quieter or not. The one or two times it revved cleanly it about pulled the boat out from under me. Whiplash actually. The steering effort at speed is tough with the small wheel too. It wouldn't load the pump out on the river either unless the kid ran to the back of the boat. The stern draws about 2" of water at rest, the box around 4-5 so I need to play with the CG some more.

I did end up having the one of the carbs come lose from the vibration and the air cleaner assy fell apart too. Blue locktight next time.

DSC06641.jpg


DSC06642.jpg


DSC06643.jpg


Overall the fishing experience was good, the boat is very comfortable, really stable and the seats are very very nice. Hardest part was keeping everything off the floor so it stayed dry, I had water over the ribs after an hour of floating. Had to run upriver just to pump the water out.


We are making progress

Jamie
 
Oh yeah, saw my uncle up on the water so we drifted down together for a good bit and had a fun time together, more relaxing when four guys can fish without smacking rod tips together... I made the bilge pump stuff work, the lights are all mounted (nav and stern) and the depth finder and speedo worked out too befor egoing out.

Jamie
 
Top