Jay415's Alumacraft MV1648

TinBoats.net

Help Support TinBoats.net:

This site may earn a commission from merchant affiliate links, including eBay, Amazon, and others.
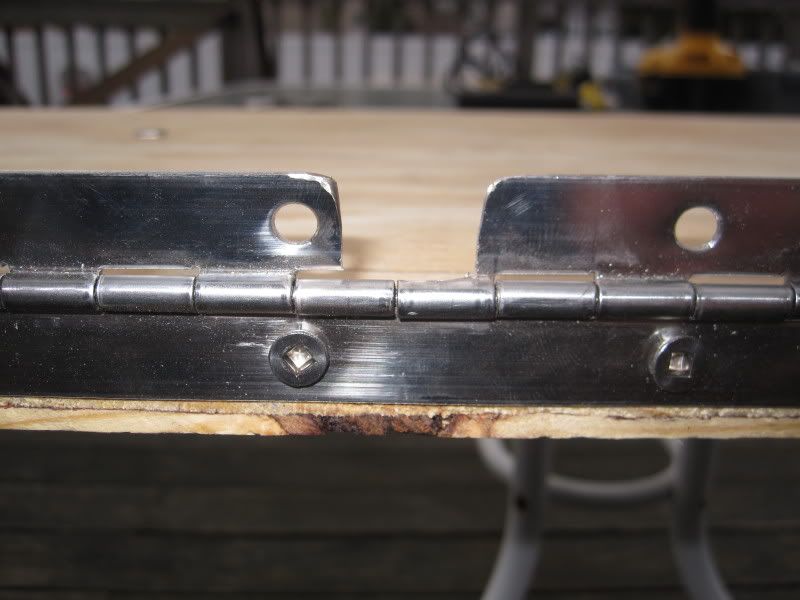
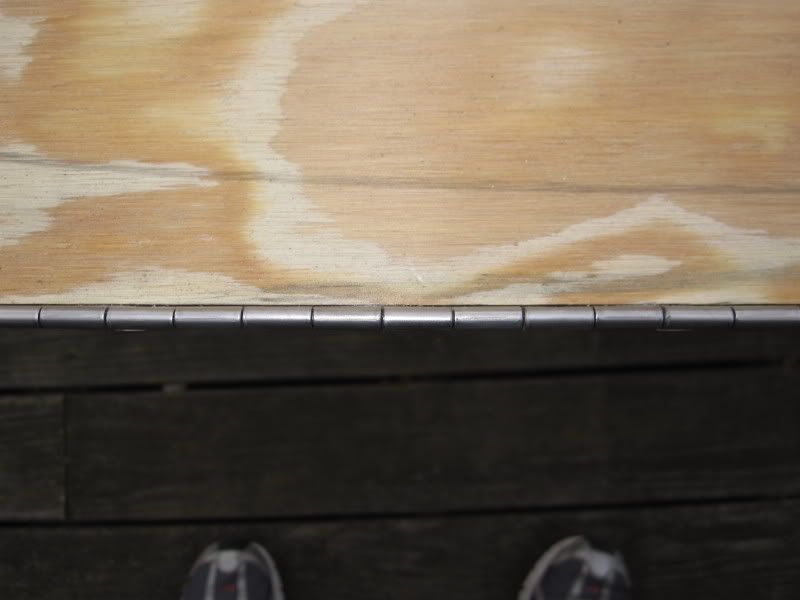
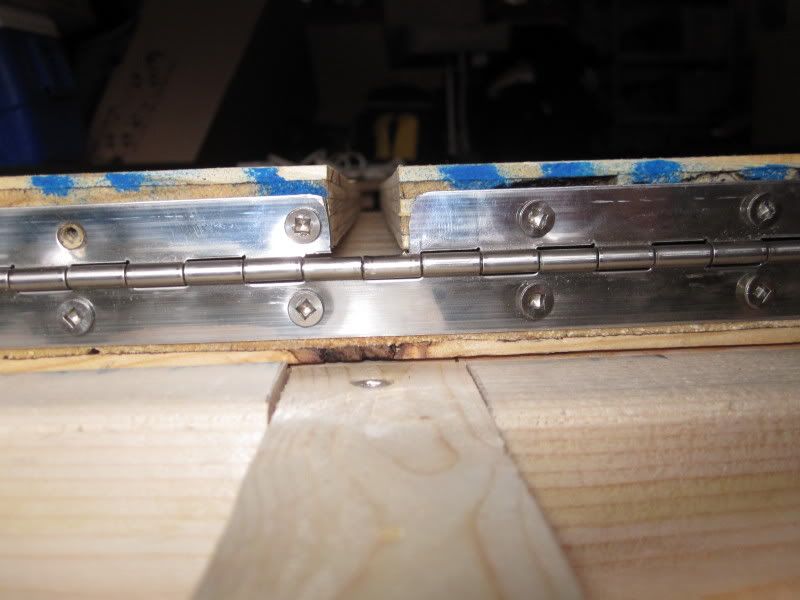
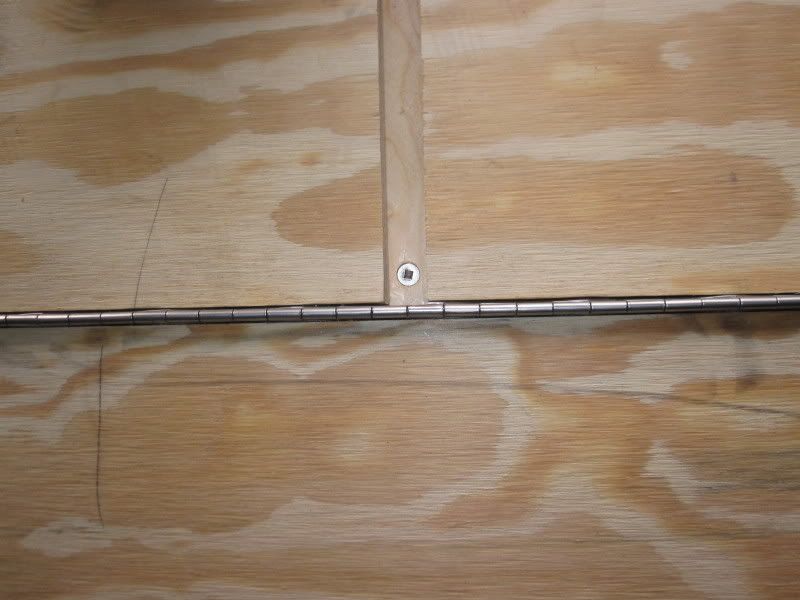
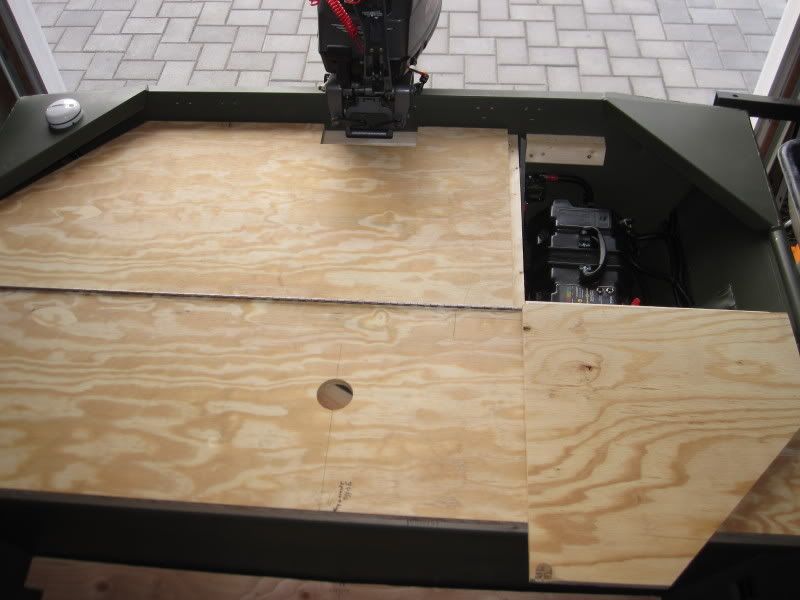
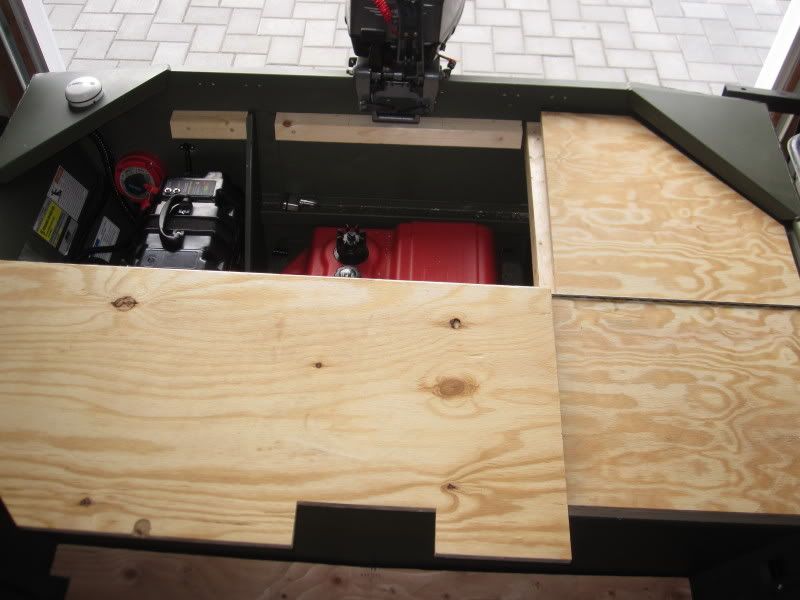
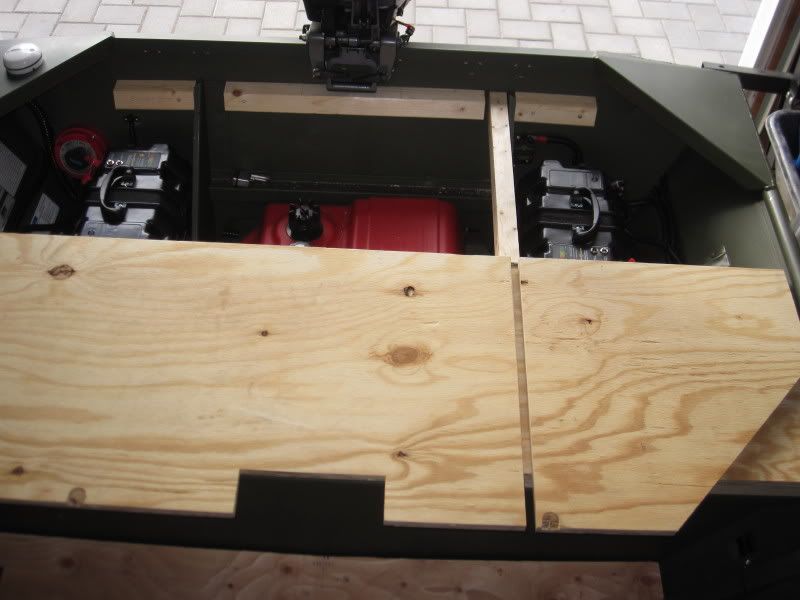
Great build man , love all of the detail pictures you posted with it , i really want to do somthing like that to my boat but i just always think im gonna screw something up some how , than i would need someone to come over and fix my screw ups lol.
anyways great job so far! =D> =D>
 
Hey Jay, I like the mod. I was going to be installing a humminbird unit this spring and was deciding how I would mount the transducer. My location for the transducer is similar to yours and screws would pass all the way through. I figured I would use bolts and washers since that was the case.

How do those screws hold up?

IMG_2423.jpg
 
It hasn't gotten much use yet but it seems to hold up well. As long as you don't over tighten and strip the aluminum. I figure if I have a problem I'd remount with a wood backer for the screws to bite into.
 
Have you solved the support issue at the rear hatch cover along the side? I've been staring at mine for days....short of welding a lip to the side of the hull, only other option is to build a box (angled to match the hull) with a support lip....
 
I'm actually playing around with it now. I am prob going to just attach a rib in the underside of the hatch to stiffen it up. I'm hoping that'll be enough. If not I can always add something when finished. the 3/4" doesn't flex that much. Right now I am cutting the hatch into 2.
 

Attachments

  • ImageUploadedByTapatalk1329073422.354550.jpg
    ImageUploadedByTapatalk1329073422.354550.jpg
    121.9 KB · Views: 1,476
KevinWI said:
you went with 3/4" on the back eh? I stayed w/ 1/2"...but it needs support as it does flex....I was more talking about the hull under the gunwale (right side of your pic not shown)
I went with 3/4" so I could have less supports.
 
OK too much time off!!! Back to work!!!

I cut two 2x6's to add support for the lower pedestal mount. First I cut them to length and the cut a 6° angle to each board to follow the contour on the hull. Then I taped them together, put them into place, and put the deck on top.
IMG_2581.jpg

IMG_2583.jpg

IMG_2584.jpg


Next I started to cut the hole to get the exact spot.
IMG_2585.jpg


Then I removed it and finished cutting the hole so I didn't accidently drill through the boat.
IMG_2586.jpg


Replaced to check fit.................PERFECT!
I then glued them together with waterproof Gorilla Glue.
IMG_2591.jpg
 
Now I need to make the back hatch into 2 hatches. First I needed to add the support where the 2 hatches will seam. Then I marked and cut the board and compensating for the carpet and movement of the doors, I left a 5/8" gap.
IMG_2592.jpg


For the finished panels, I really didn't want to have a gap between the 2 hinges for each door. So I carefully cut half the hinge, so I would still have a full barrel when the hinge was in the closed position.
IMG_2595.jpg


This allows 1 hinge with 2 halves to swing freely and separately. (Note: if you are going to try this, take notice that a piano hinge is usually crimped at the hinge point to hold the pin in the hinge. If I was to notch the other side of the hinge, it would not swing separately and freely. YOU MUST CUT THE CORRECT SIDE, crimps not shown in pics))
IMG_2596.jpg

IMG_2597.jpg
 
Here are some more pics of the hatches and the hinge. Very happy with how it is coming out. It's exactly the look I wanted. (no hinge gap)
IMG_2608.jpg

IMG_2602.jpg

IMG_2603.jpg

IMG_2604.jpg

IMG_2605.jpg

IMG_2606.jpg
 
Very nice job. I'm thinking about doing my rear deck like that. Just trying to figure out how to do it with the livewell right in the middle, where your seat base hole is.
 
I want you to know that I am stealing ideas from you like crazy! Thanks! ;)

One day I will get off my lazy *** and do my own post and share too.
 
Thanks Guys!!

fullpage: Steal away!!! How do you think I came up with my ideas!! :mrgreen: This is a great site we have here!
 
Top