1650 Sylvan Jet project

TinBoats.net

Help Support TinBoats.net:

This site may earn a commission from merchant affiliate links, including eBay, Amazon, and others.

bassboy1

Well-known member
TinBoats Sponsor
Joined
May 29, 2007
Messages
3,325
Reaction score
0
Location
Cartersville, Ga
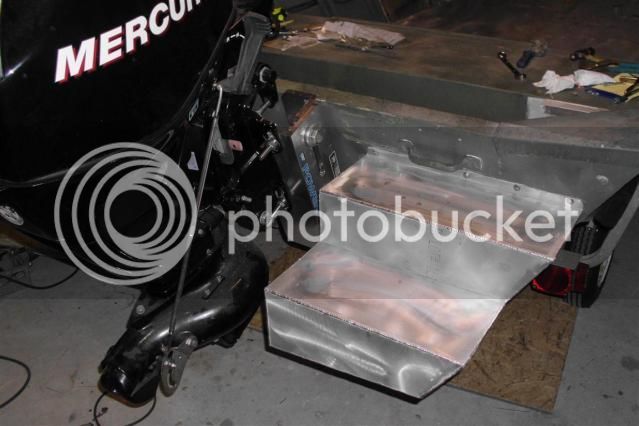
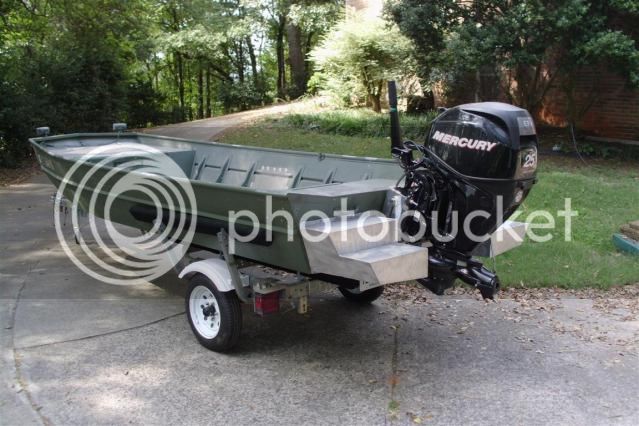
I've been busier than ever, so I haven't really posted many projects recently, but here are a few pictures of some upgrades I did to a customer's 1650 Sylvan w/ Merc 40/25 jet.

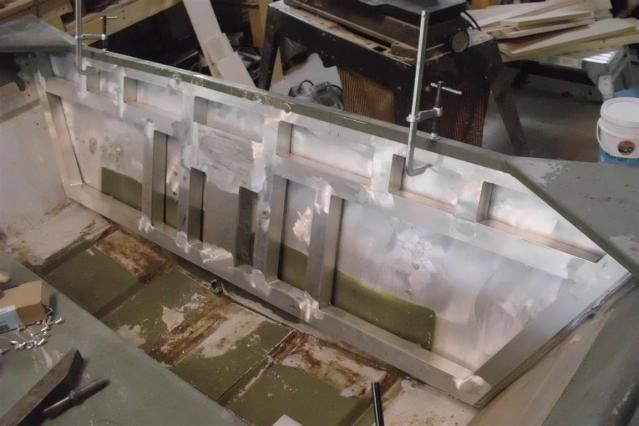
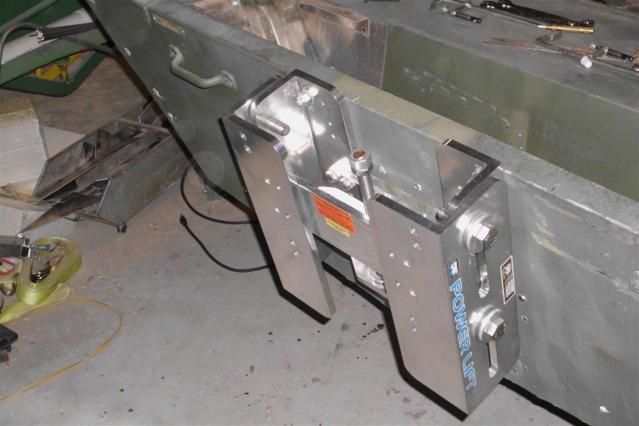
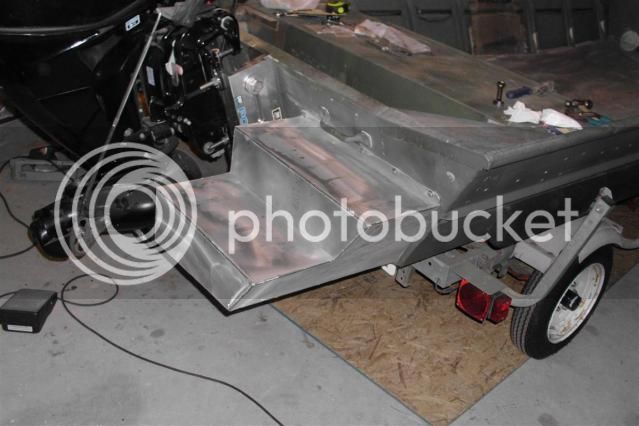
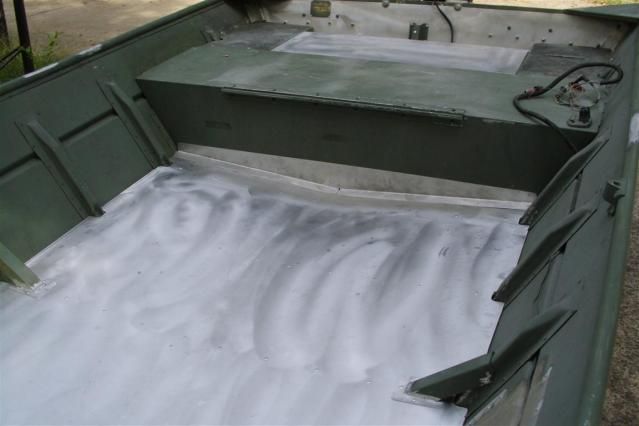
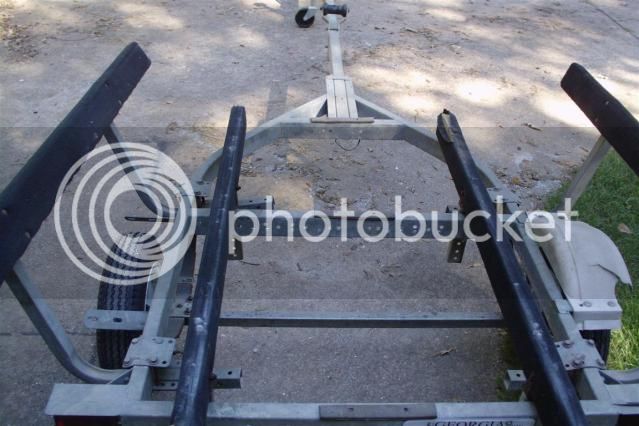
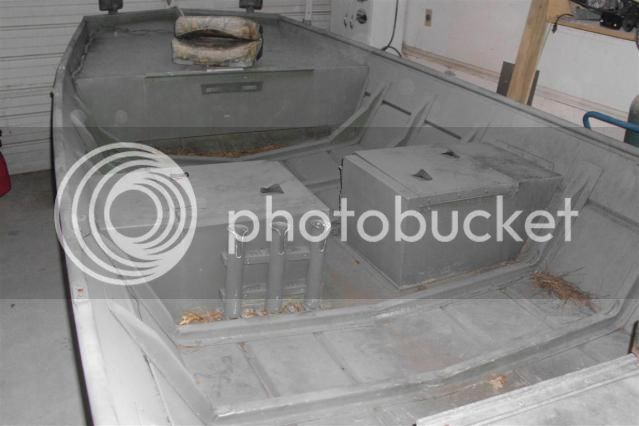
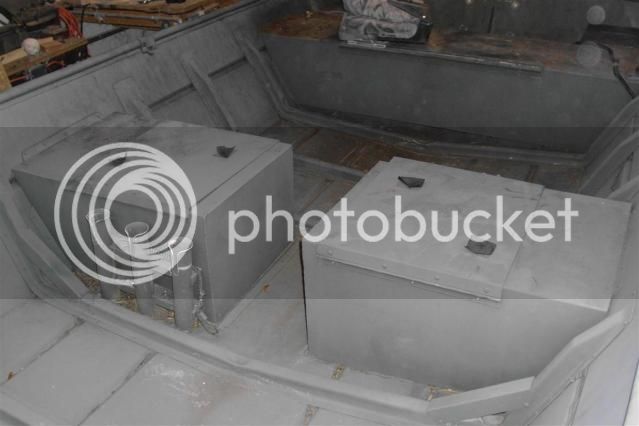
Here's what we started with. The original plywood transom was shot, and the transom had a noticeable curve to it. Also, the boat had a bit of a stern heavy issue, so a set of pods were to be installed.
DSCI0110.jpg


DSCI0111.jpg


DSCI0112.jpg


DSCI0114.jpg


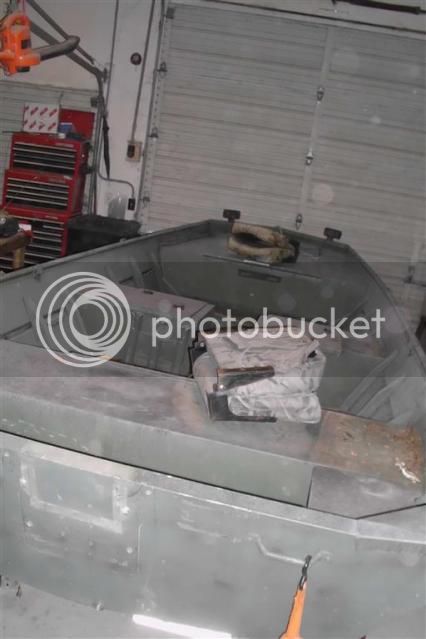
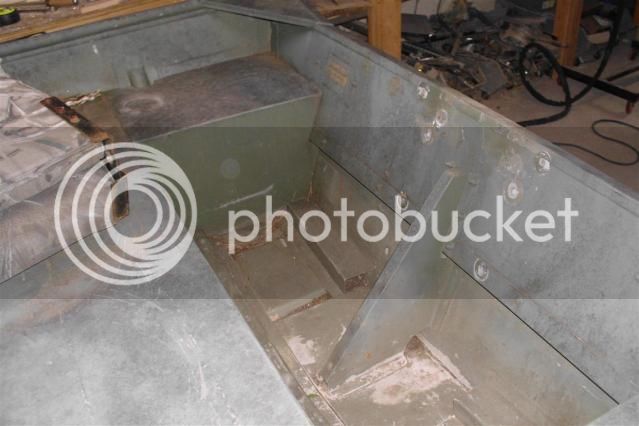
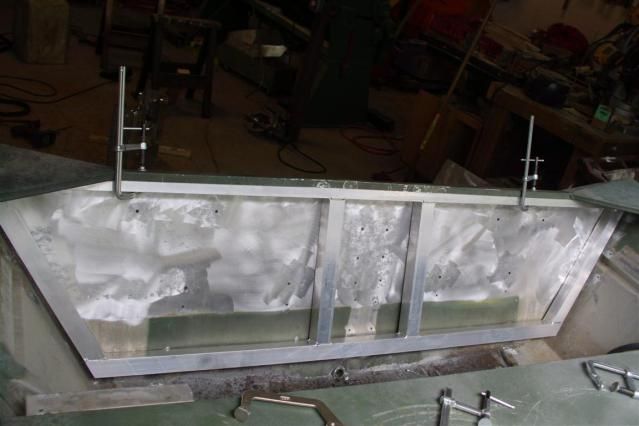
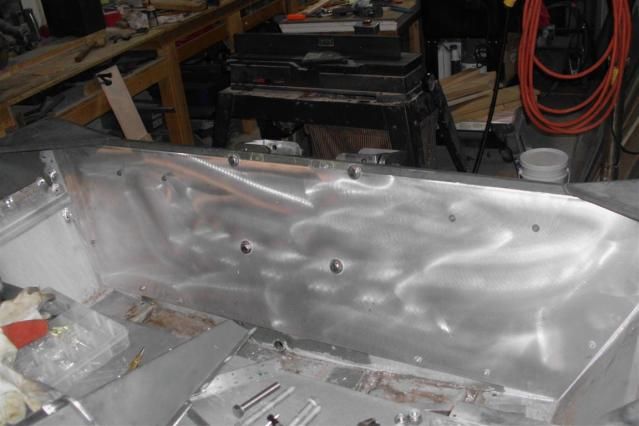
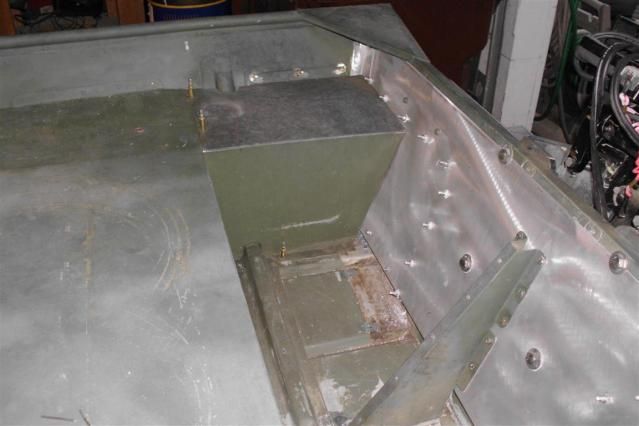
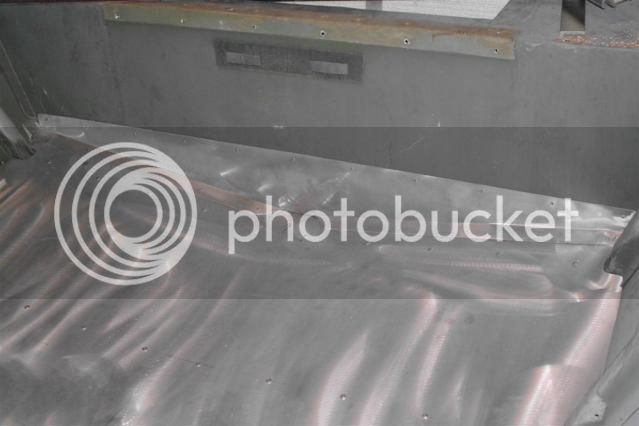
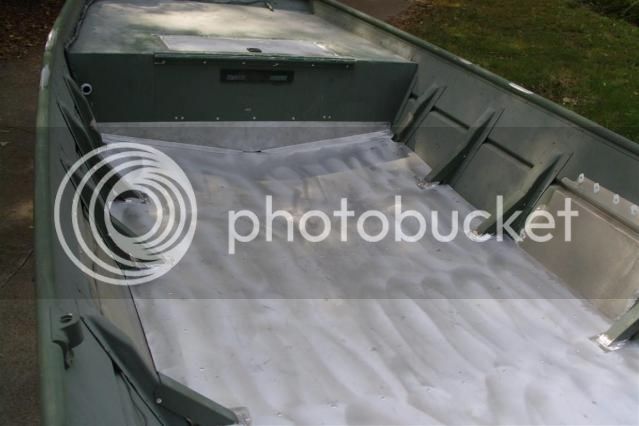
After pulling the motor, removing the aft seat boxes, and the original transom plywood, we find a mess of corrosion. This is exactly why plywood and aluminum shouldn't be sandwiched together.

DSCI0116.jpg


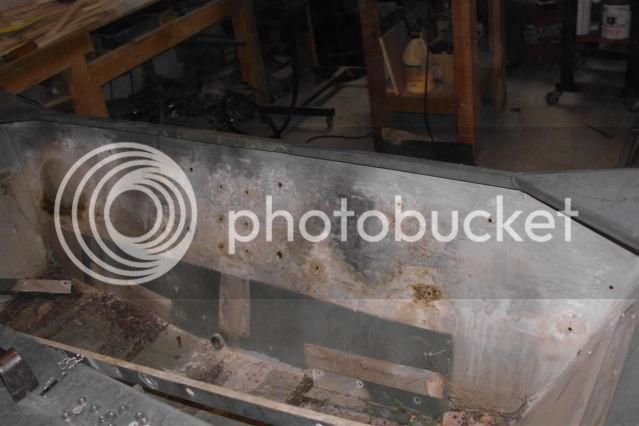
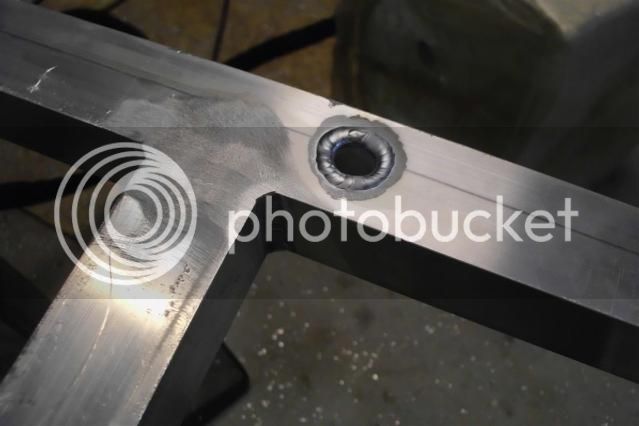
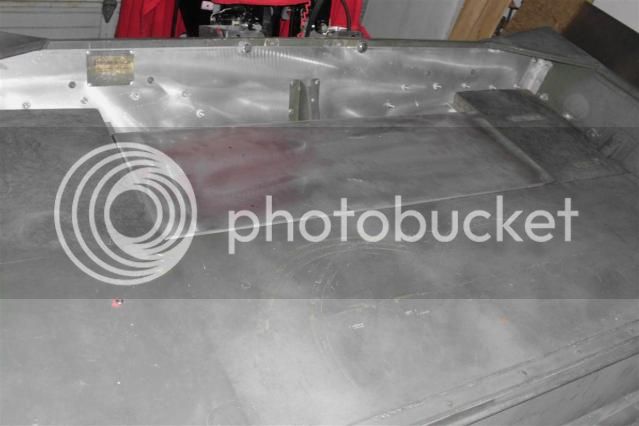
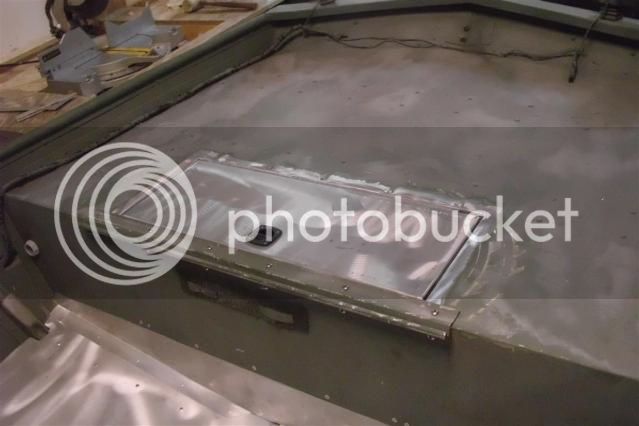
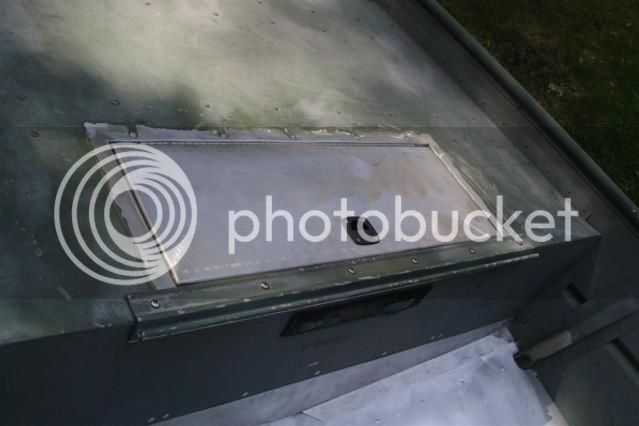
Fortunately, as this was a freshwater boat, the corrosion had merely formed shallow poultice cells on the surface, and hadn't formed deep pits except around one of the handle bolts. As a result, a coarse Scotchbrite disc and an acid washing brought most of the transom back to clean aluminum, leaving a small circle of pits to grind out and weld back.

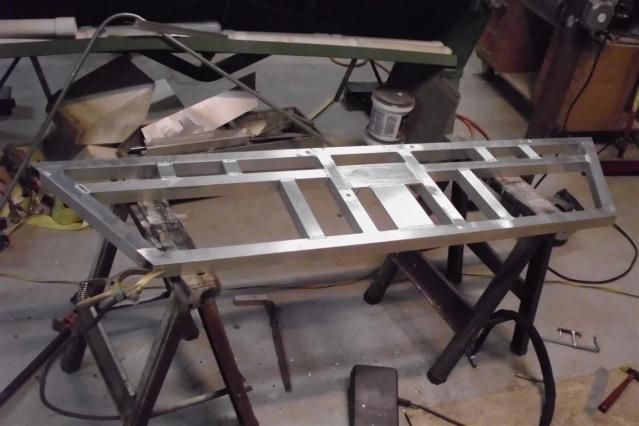
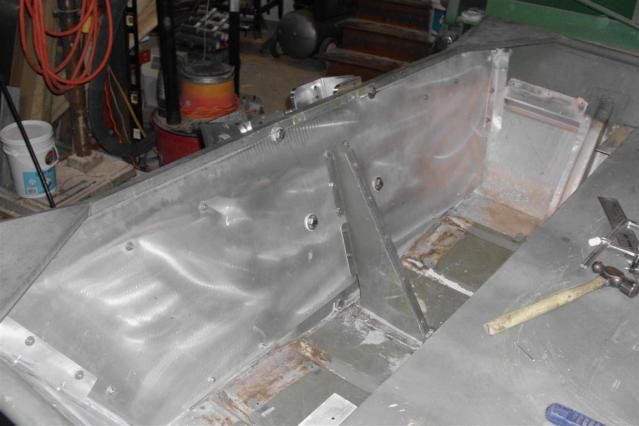
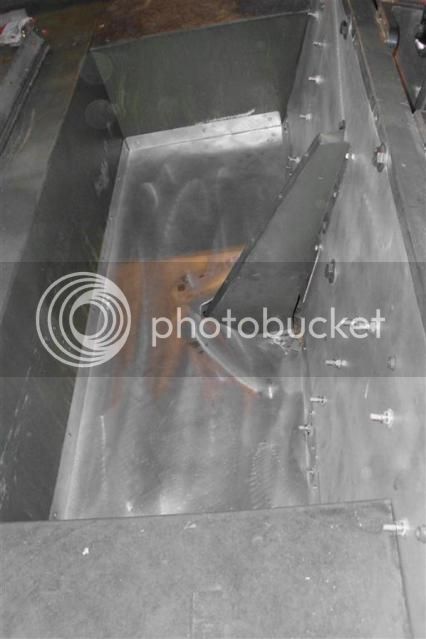
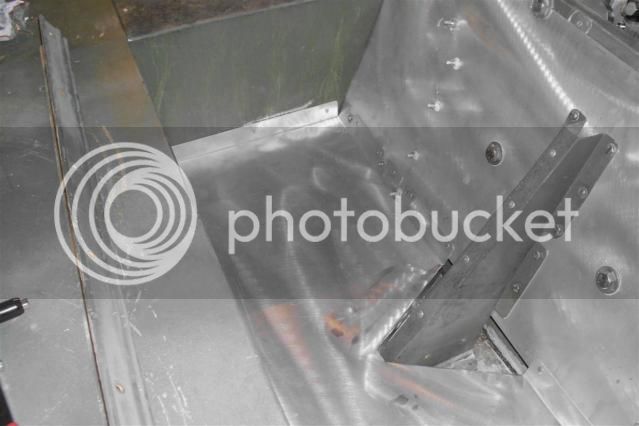
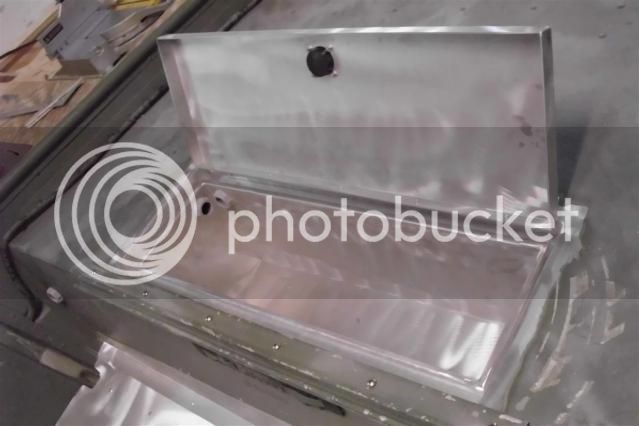
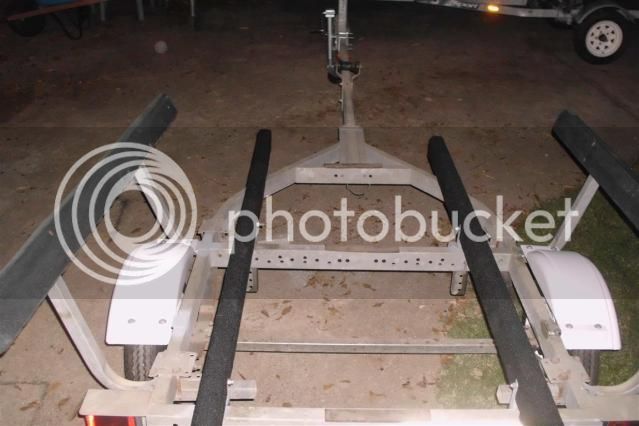
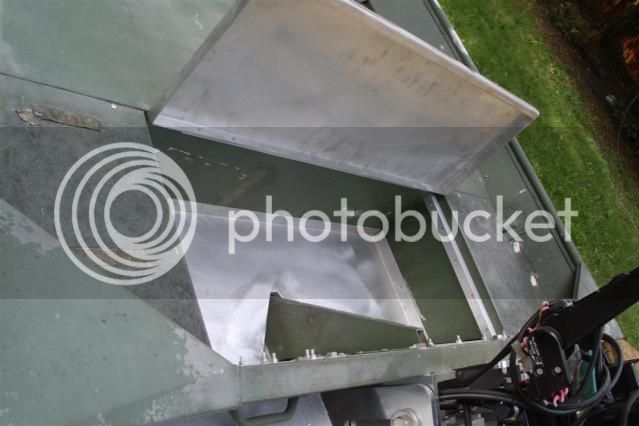
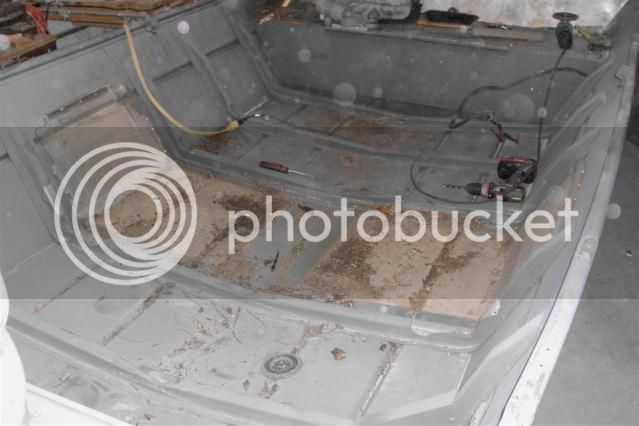
Next in the deconstruction was the removal of the center seat pods. These weren't providing any functional storage to the owner, and made moving about the boat fairly tough. We will be reinstalling a smooth well deck to prevent tripping over the floor ribs.

DSCI0118.jpg
 
We'll start now with the building of the new transom.
Perimeter frame.
DSCI0160.jpg


Welded in bushings for engine/jackplate mounting bolts.
DSCI0161.jpg


Additional bracing as required for bolt on pods, stern handles, and other bolt on items. Flat bar in the middle is tapped for the knee brace.
DSCI0166-2.jpg


Dry fit.
DSCI0169.jpg


New inside panel installed.
DSCI0170.jpg
 
And the knee brace - slightly modified for new transom (16" tall instead of 10).
DSCI0172.jpg


CMC manual jackplate mounted. Customer provided this unit. It is rated for a 300hp V6, so we'll see if it holds up to the 25 jet. :lol: Sometimes you just have to push the engineering limits of a product. :lol:
DSCI0173.jpg


Now, we can reinstall the engine.
DSCI0174.jpg


While we're on the subject of the transom, we'll discuss the pods. On the mod vee boats, the factory made pods leave one with a dilemma - match the bottom of the pod to the bottom angle of the boat, and have it slant inward on the top, or mount it level on the top, loosing some flotation at the bottom. In this case, we built the pods to fit the boat, and as a result, we didn't have to pick a tradeoff. Also, boarding steps were incorporated for the owner's four legged furry friends.

These pods will be installed 1" from the bottom of the hull, and taper upward an additional inch over the length. On this particular boat, the extra flotation at rest is what is needed - on plane the boat already balanced well, so we didn't want to add too much additional planing surface.

Initial tackup.
DSCI0156.jpg


After passing a pressure test, it is time to attach them to the boat.

DSCI0178.jpg


DSCI0179.jpg
 
Now, simply reinstall the stern seat pods.
DSCI0184.jpg


Customer then decided that we should go ahead and add in a flat floor for the fuel tank. A little brake work, and here we are.
DSCI0200.jpg


DSCI0202.jpg


Fuel tank lid. This alone turns the back bench seat into a comfortable casting deck.
DSCI0210.jpg


Moving forward now, we install a well deck. Owner didn't want side panels, so instead we coped around the ribs. A small bulkhead was made to keep leaves, baitfish and other stuff from finding it's way under the rear bench seat.
DSCI0222.jpg


The same was done for the bow deck.
DSCI0187.jpg


The owner also wanted a hatch to put 2 batteries up in the bow. We only had room to place them end to end, so that is what was done. Here is the start of the drop in storage hatch.
DSCI0192.jpg


And the finish.
DSCI0195.jpg


And here it is set in place. Though it looks like it is resting on the upper lip, there is actually a support frame underneath, which it is attached to. The upper lip provides a coaming for water coming off the top of the hatch, and not much else.
 
Then, we fabricate/install the lid, and run the conduits. One goes forward for a future trolling motor plug, the other heads to the side of the boat for assorted accessories.
DSCI0207.jpg


DSCI0208.jpg


Lastly, I installed a set of longer bunks, and new fenders.
DSCI0204.jpg


After
DSCI0205.jpg


And here is the finished rig.
DSCI0217.jpg


DSCI0219.jpg


DSCI0221.jpg


DSCI0216.jpg


DSCI0220.jpg


DSCI0223.jpg
 
Transom bracing was very nice bassboy!. What thickness is the tubing and what grade aluminum? PS...I did not know you did aluminum welding either! 8)
 

Latest posts

Top