1960 ish 12' starcraft

TinBoats.net

Help Support TinBoats.net:

This site may earn a commission from merchant affiliate links, including eBay, Amazon, and others.
Nicely done. You will appreciate all of your hard work when you slime the boat with its first fish (after the big refinishing job, that is!).

Kind of late to even mention this...but..considering all of the trouble that you had taking the old finish off, one wonders if an inexpensive Harbor Freight Sandblaster might have saved your back and lots of time. I have NEVER used a sandblaster, but I read about guys taking material off with Walnut Shells and other exotic materials, instead of just plain old sand. Anyhow...maybe next time.

The one thing that I picked up in your comments about the beautiful seats, was that they were fit very tightly.
Let the seat boards be a bit long. My guess is that they will shorten themselves a bit in the first month or so.

regards, rich
 
You are right about the sandblaster, I kept thinking about it but didn't pull the trigger on it because I was worried the media would be too expensive. When all was said and done though it would likely have been about the same and taken half as long. I would be really interested to hear from any of the other guys out there if they have used a sandblaster for this kind of project. I haven't seen it much on the boards for anything other than trailers so is there some reason that it shouldn't be used? I am likely going to be doing another boat slightly bigger next year so while it is too late for this project there will be others.
 
I am going to leave the seats the length they are which is a bit long. They have seasoned now for nearly 3 years and oak tends to be pretty dimensionally stable which is just one of the reasons it is so highly prized for boat building. Hopefully, they won't shrink much but if they do it should be fine and I am going to brace them on the underside with some angle steel that holds the flotation pods on and that should also help keep them from warping. I will have more pictures as I get it put back together during the week that might help make more sense.
 
Boat looks terrific. For whatever it is worth, wood will expand/contract more across the grain than lengthwise. I think you will be in good shape and those finished oak seats are going to look great in your boat.
 
So last night I decided to set the motor on it to see how it looked and get an idea of what I wanted to with the transom cap, and yeah it looked great :D but...

like an idiot, I thought I should pull the cowl and see how it looks since it has been in storage now for over a year. I grab the release and it won't budge. I push a little harder still won't budge, so I grab the wire brush and wedge the wooden handle in there and it starts to move a bit but not enough. So, I grab the pliers to see if I can get it to move, I'll just be really careful I tell myself, it starts to move and just as I am about to let go... (yeah you saw it coming didn't you, everyone who knows what happens next raise your hand :oops:) there is a sickening snap and I am holding what's left of the cowl release lever in the jaws of the ridiculously large channel locks that never should have been within 10 feet the motor.
OH CRAPPITY crap craptastic :oops: :cry: :evil:

so after going through the 5 stages of grief

denial "that didn't just happen",
anger "what the he!! what was I thinking" throws pliers on the ground,
bargaining "I can just JB weld it back on, I promise I will never use pliers on you again",
depression "so how much are little 5-9 horse 2 strokes going for right now" spends hours on craigslist while avoiding contact with family and friends
acceptance "OK I am an idiot but it still runs and it's paid for so there's got to be a way to fix this"

and there is, ordering a couple of different rubber hold downs from amazon so the idiot tax on this one is small around $22 for a hold down
https://www.amazon.com/dp/B07GS8XTMW/ref=sspa_dk_detail_1?th=1

So learn from me don't use stupidly large pliers on small cast aluminum levers.

but you knew that already I really am an idiot "sigh"
 
Well, you wanted it to open. You did what you had to do..... NOT.

Sorry, but we are all guilty of using too-large pliers/hammers to fix some small thing that is resisting.

They say the price of Experience is making a lot of Expensive Mistakes.
 
The small release lever mentioned in my last post
bf68116d534f520d9ecec73c13441b13.jpg
 
Hey Weldorthemagnificent sorry, it took me a bit to get back to this and yes I did successfully get it opened, turns out I had it moved far enough already if I had just stopped it would have been fine. I got it mounted and fired up and it still runs great. It didn't pee at first so I was worried about the impeller but I got some advice to just hit it with some air to see if it would blow out and after clearing a bunch of what looked like mud out it seemed to be pumping fine. So good news all the way around, well except for the broken latch :oops:
 
So the work is progressing and I am nearly there but on to the updates, first a bit of electrical work.

I wanted everything to be self-contained and I don't have a lot of room to work with so I built this out of a smallish plastic ammo box that should really help to keep everything dry and hopefully reduce the amount of corrosion I will get. I built everything with marine grade wire and waterproof heat shrink crimp connectors. But, enough words pictures or it didn't happen I did this work over the winter while I was recovering from the issues mentioned earlier.

IMG_20181028_160759.jpg


So, three switches one for the red/green bow light one for the 360 stern light and one for the fish finder that I hope to install eventually all waterproof marine grade switches.

IMG_20181028_160558.jpg


Those wires just wrapped around were temporary for testing I have since replaced them with the proper blade connectors.

IMG_20181025_074245.jpg


here they In the boat and just set in place for testing and they look great! These are really important as one of our favorite things to do is go night fishing out in Yaquina Bay and it is a pretty busy commercial waterway. I would rather not get squished by some of the big fishing boats that come and go so being properly lit up is a big deal. I am really impressed at how bright these little LEDs are.

IMG_20181028_143017.jpg


IMG_20181028_143026.jpg


I picked both of these because they were small, all LED and all stainless steel that will hopefully last a while in the salt water and have really low battery draw. at the same time, I was measuring the trolling motor wire that I mounted a plug to so it will be much easier to take it in and out as I only use it in fresh water. Next post the seat install :D
 
The boat looks great.

Regarding your use of the ammo cans, well done! I have three or four of those things around. Of course, all of mine hold ammo.....NAH, they hold tools on the boat or in my shop.

I have a bit of concern about the height of your stern light. The regs say something like "must be visible 360 degrees at all times when in use". Unless your unit is extendible ( I had one of those) it appears that when you are sitting or standing in your boat, your body will block some of those 360 degrees. Just an FYI. regards,
 
So on to the seats and transom install. I am getting near the end at this point and looking back it is clear that somewhere along the I completely misplaced my common sense and went full on nuts with this build. Don't get me wrong I had fun along the way and it gave me something to do but I could have done it a lot cheaper if I had a better plan from the beginning. Enough with the introspection and back to the fun bits so seat install...

the first step is to remember way back when what the seats and flotation looked like at the start

IMG_20180423_200352.jpg


so yeah they were as much of a mess as everything else but they were still solid. It's not entirely clear but I think these might be the original pieces and once I pulled them apart they were clearly hand made at some point.

20190608_131131.jpg


I cleaned them up and did the Rustoleum matching the outside then I attempted to get them lined up on the bottom of the seats. This was only mildly successful but unless someone gets a tape out it isn't noticeable they are a little off. I bolted them down with all 1/4 20 hardware that I tried to standardize on for everything on the boat. The hope is that will make it much easier later if I need to replace anything. I had drilled out the rivets so i could install them properly. I had visions of some really creative ways to put these back together but I just wimped out and went back to rivets as I had them and it worked for many years the first time around so why try to reinvent the wheel.

20190608_131136.jpg


20190608_132304.jpg


20190608_132254.jpg


20190608_134818.jpg


A bit of a montage there but you get the idea, line it up, drill the holes, install the angle, test fit and rivet the pod back on.

Then get the whole thing installed back in the hull.

20190608_155545.jpg


I started in the middle as it pushed the hull out the most and then fit everything off of that.

20190608_155537.jpg


again everything with the same stainless hardware.

20190608_155531.jpg


Rinse and repeat for the second seat.

20190615_182629.jpg


then onto fitting up the transom, I had to spend some quilty time with the belt sander to get this to all fit down nicely.

20190615_182636.jpg


I got the corner caps to fit back on and they are back solid again.

I saw somewhere that you can use an old cutting board for a transom plate and as I was out of budget I got the wife to let me cut up an old one. so After some measuring, I got it cut up on the bandsaw.

20190615_182618.jpg


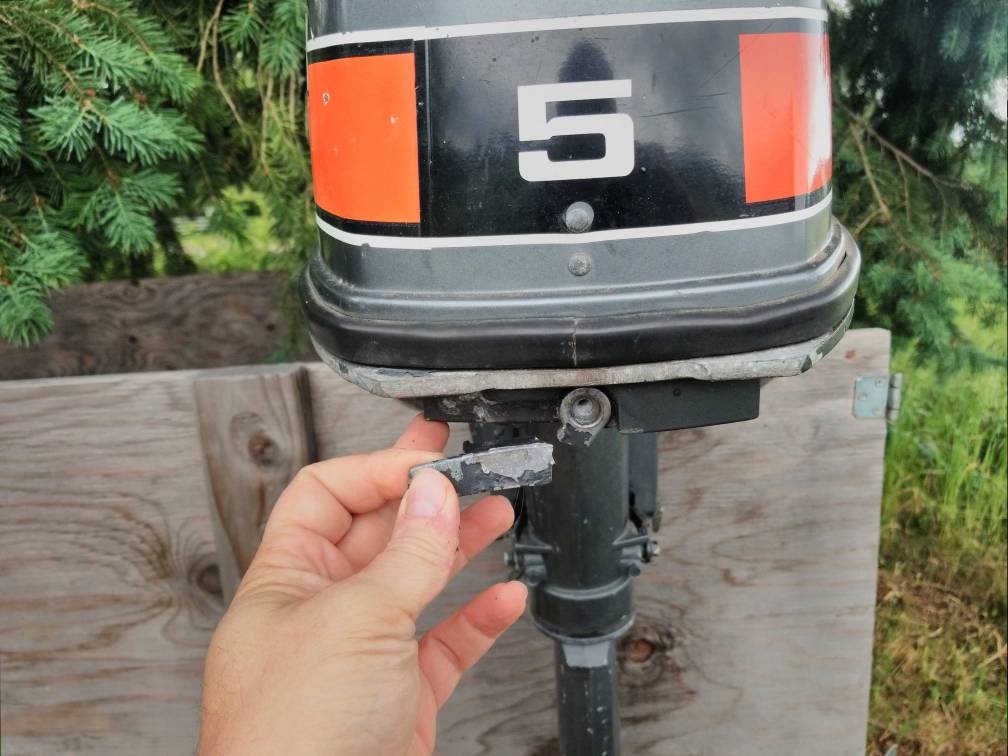
it took some work but again some time on the belt sander got everything to fit. The total thickness was a little over 2 inches so after sanding I could just barely get the motor on but it works so I am fine with it.

20190616_174213.jpg


So I have a few cleanup things to get it in the water.
1. get the bowring back in I really should have done that before spraying the bed liner but whatever
2. get the electrical installed and the lights mounted
3. adjust the trailer bunks and get the fenders reinstalled
4. fix the flat tire that developed while it was sitting

None of that is really critical with the exception of the bow eye as I don't have any way to keep it on the trailer and there is a big hole in the bow. I should be able to get all of that done fairly quickly though and with any luck, I will actually be fishing in the next few weeks.
 
Top