Lowe Big Jon 1648 Hunt/Fish Build

TinBoats.net

Help Support TinBoats.net:

This site may earn a commission from merchant affiliate links, including eBay, Amazon, and others.

NLaudy

Well-known member
Joined
Jan 31, 2013
Messages
111
Reaction score
0
Location
Fredericksburg, VA
Asked a few questions here and got some good help so I figured I would join the family and document my fishing/duck boat build here...

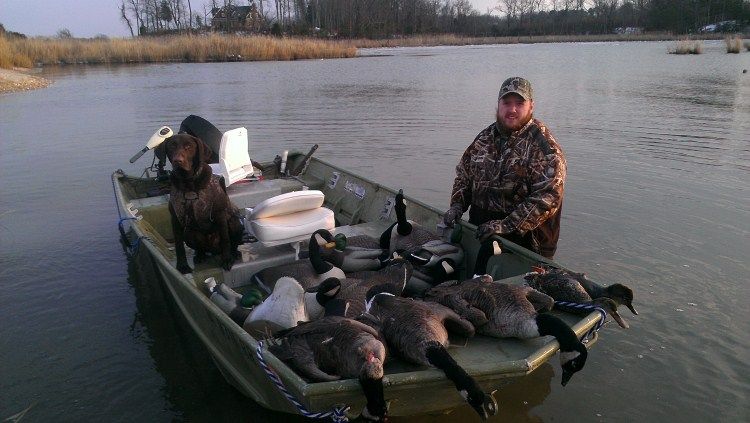
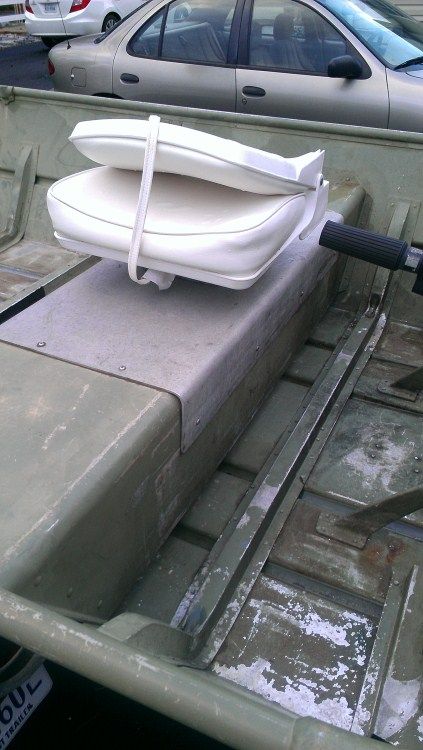
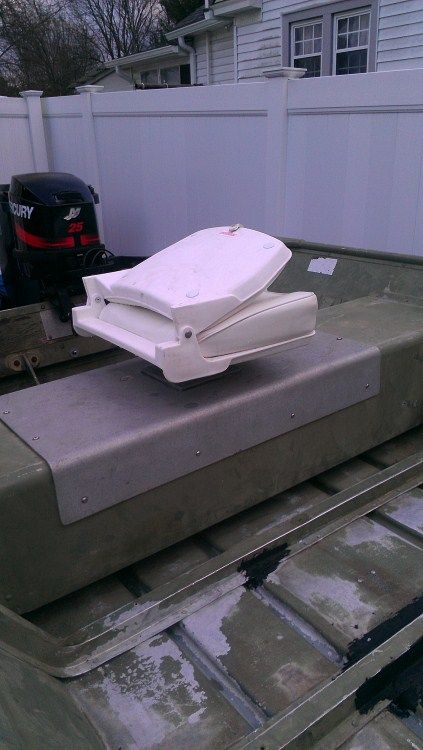
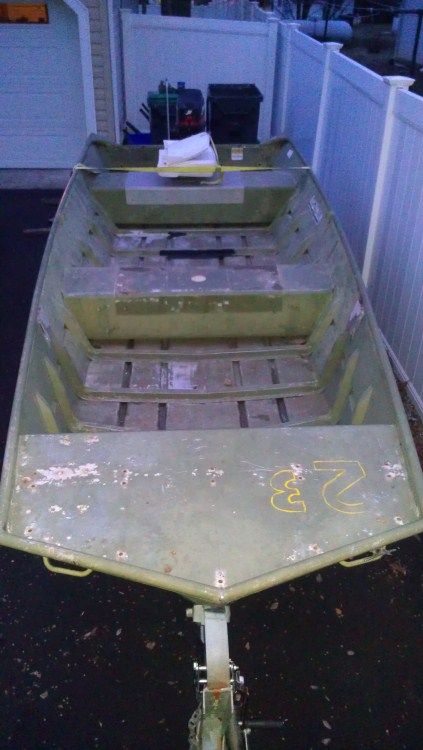
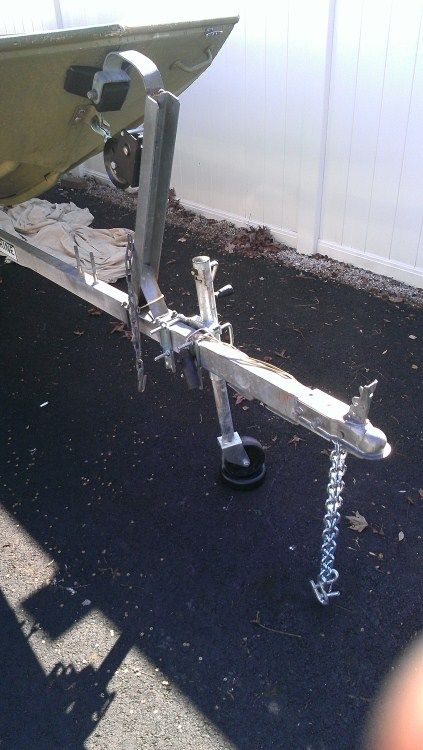
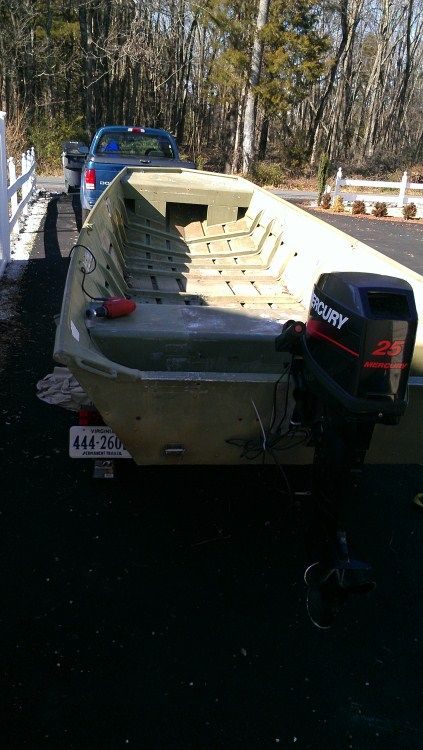
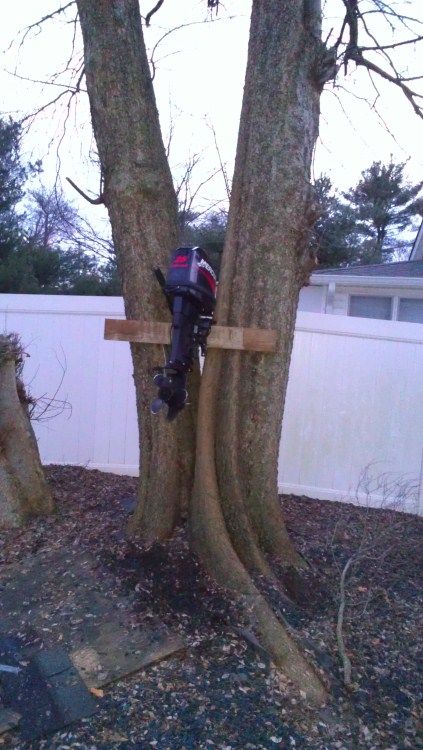
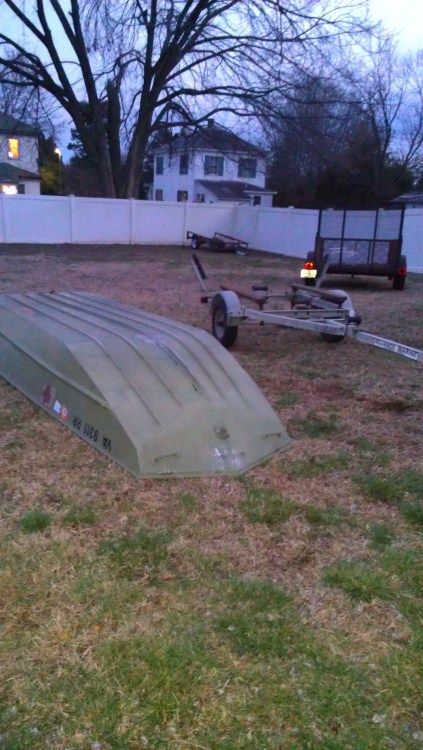
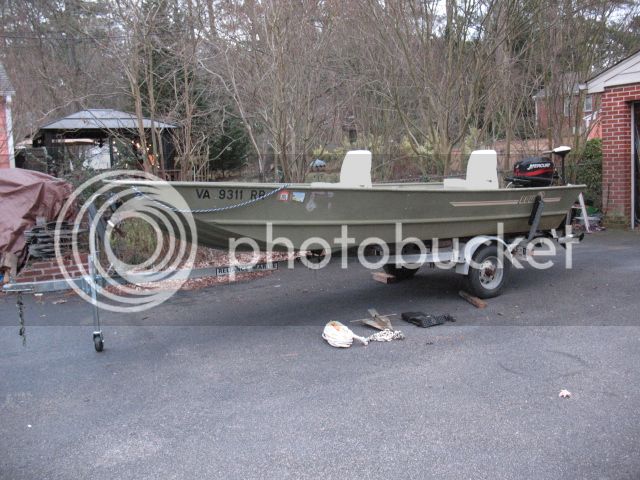
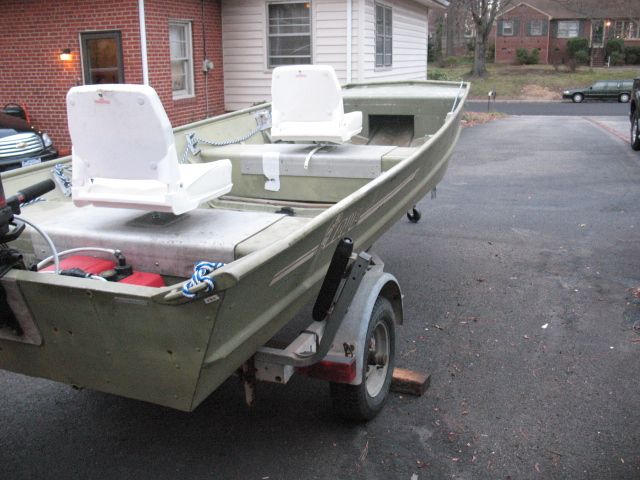
I got a good deal on a 1980 Lowe Big Jon 1648 boat. It came with a descent galvanized trailer and a 2003 25hp Mercury 2stroke.

I bought it about a month and a half ago. My goal is to build a nice budget boat that can be used for hunting during the season and fishing the rest of the year.

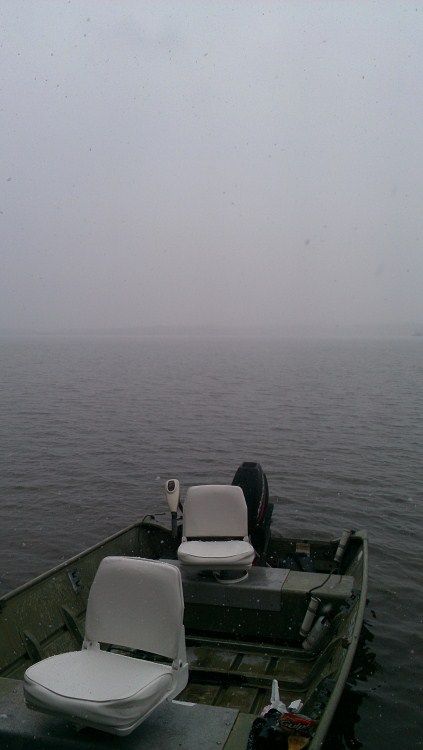
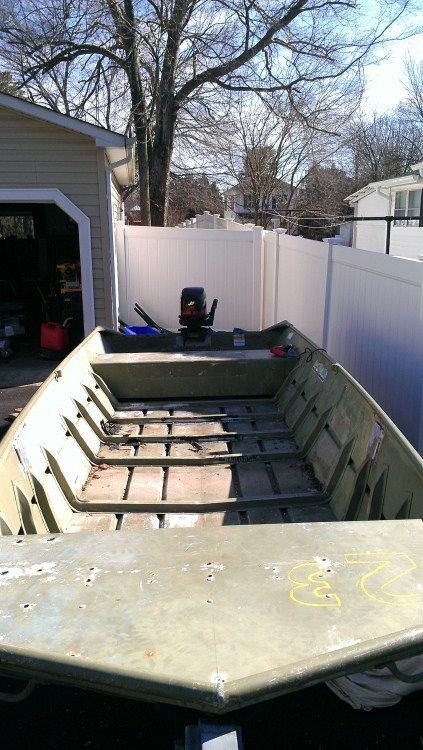
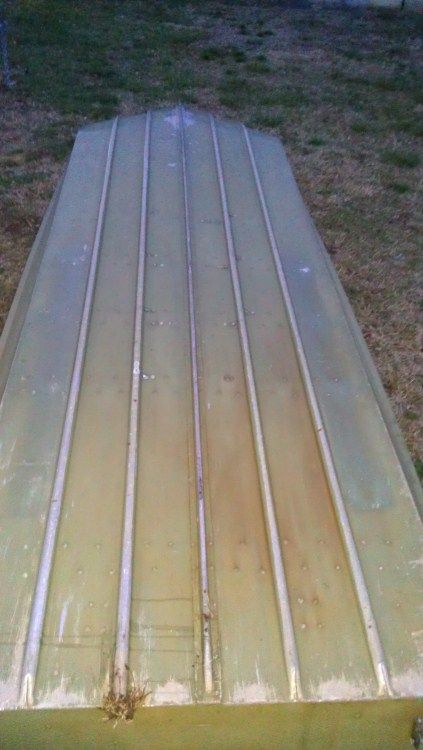
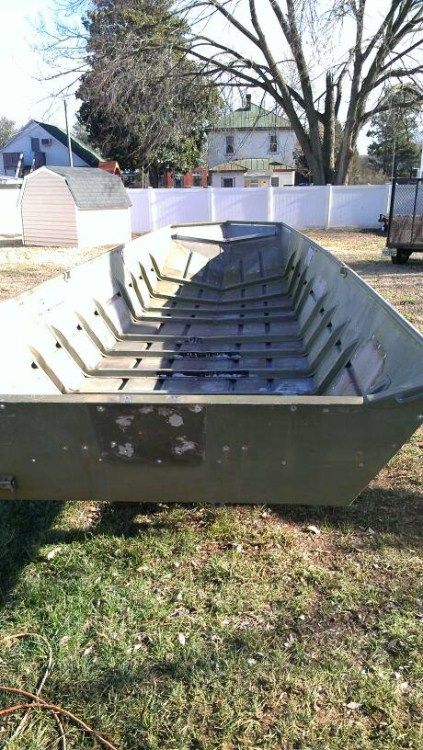
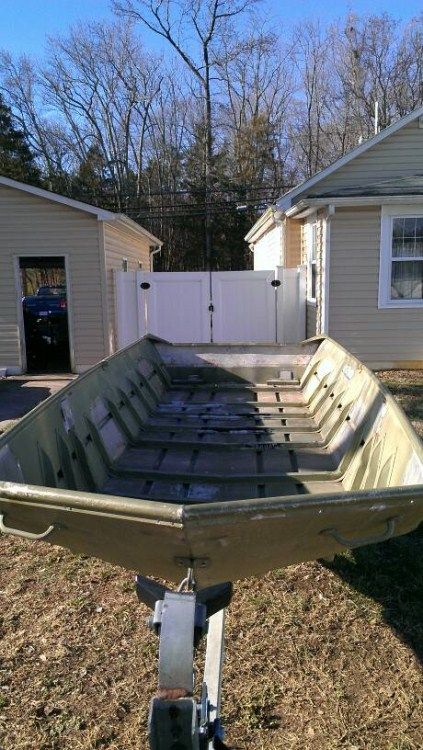
Here she is when I bought her...
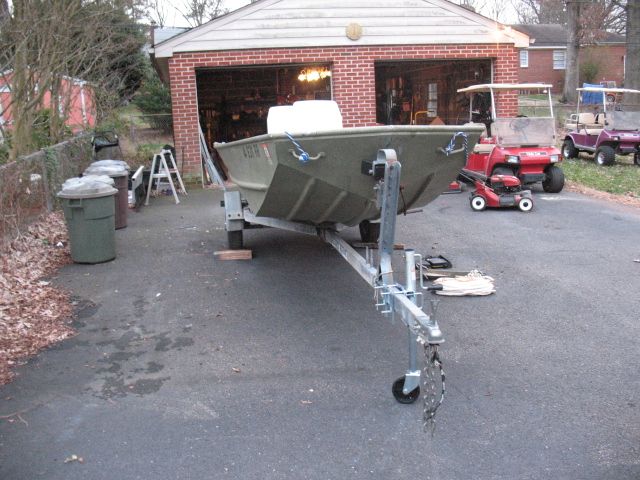
12JonBoat01012013_zps92d60424.jpg


6JonBoat01012013_zps88db4e92.jpg


5JonBoat01012013_zpsc04b2c3e.jpg


2JonBoat01012013_zpsdbb02ad1.jpg


3JonBoat01012013_zps629bb398.jpg
 
I was having a hard time keeping the engine running when I got it so I took it to a boat mechanic in Fredericksburg, VA (Nautical Healers). David Angel, the owner of Nautical Healers did a bang up job on the engine. Here she is on her maiden voyage... drove it a good 10 miles. Wanted to take it out a few times before changing anything to see what exactly she needed and think about what I wanted to do.

JonBoat02102013_zps4ef8c05a.jpg


2JonBoat02102013_zps28b5dfa0.jpg


Here is the second journey. Ran around 40+ miles on Lake Anna. Day started out as snow and fog but ended up being nice and sunny a few hours laters.

4JonBoat02102013_zpsd1703f16.jpg


3JonBoat02102013_zpsa6dfbbee.jpg


5JonBoat02102013_zpsff5a410f.jpg


6JonBoat02102013_zps99937aba.jpg
 
And the work begins...

1- Added a new Winch.
2- Put new chains on the trailer.
3- Grinded down some of the old metal pieces from where they had a deck on the boat.
4- Removed the rod holders from the boat and the other stuff that wasn't needed.
5- Re-wired the trailer and put new lights on.
6- Removed the front bench.

10JonBoat02102013_zps7b287815.jpg


9JonBoat02102013_zps85c15241.jpg


7JonBoat02102013_zps9a09bf15.jpg


16JonBoat02102013_zps0492bdcb.jpg


15JonBoat02102013_zpsa6185f77.jpg


14JonBoat02102013_zps67b99f40.jpg
 
There was some tar stuff in the floor and I figured it was there to try and stop the leaking but it looks like there were some other surprises such as cracking in the braces...

Took a long time to remove all the tar crap but most of it is off now. You can see that the previous owner drilled some new rivet holes and put them in to secure it better but unfortunately they are the source of most of the leaks. Just goes to show... if you are going to try and "fix" something... take the time to fix it correctly!

2aed7d65-9681-4c5c-ae4b-65078177b2ea_zps3a0b0b8d.jpg


IMAG1028_zps6a25a583.jpg


12JonBoat02102013_zps836b53f3.jpg


13JonBoat02102013_zpsf3cb9871.jpg
 
Sure doesn't look like I have done a lot but I feel like I have! lol.

Needed a place to put the motor for a while and didn't have time to build a stand, lol. Also pulled the boat off the trailer so it should be a little easier to work on.

17JonBoat02102013_zpsc1c205a2.jpg


18JonBoat02102013_zps585fb5d6.jpg


19JonBoat02102013_zpsb4ba3d4d.jpg


I didn't take any pictures but while the boat was on the trailer I put a few inches of water in it and marked the leaking rivets. Also found a crack SMALL crack. Shouldn't be too hard to fix.

Crack in the seam...

24JonBoat02102013_zps24324525.jpg


23JonBoat02102013_zps27de152a.jpg


Here are the extra rivets the previous owner tried putting in. Kind of stupid to put a rivet in a bend... thats going to be tricky to fix! Oh and the third picture... can't figure out why that would leak... duh!

22JonBoat02102013_zps9430d556.jpg


21JonBoat02102013_zps732c5c1a.jpg


20JonBoat02102013_zps1367dd5e.jpg
 
Looks like ya found the site before I posted it today! Good luck on the build buddy. These guys should take good care of ya!
 
Thanks all! Hoping to go home and drill out some rivets today. Anyone know any local stores that carry the 5200 sealant for use on the rivets when installing? Curious if Lowes or any of them stores would carry it.
 
I get my 5200 from Home Depot. You should be able to replace those rivets pretty easily. Looks like the PO did a crappy job setting them. If you have an air hammer, it will be worth it to pick up a rivet setting tool and replace those leaky rivets with solid rivets and a bit of 5200. Good luck!!

You planning on any flooring or decking? I'm working on a 1648 as well to hunt and fish from. Haven't gotten very far other than transom replacement. But goose season is about over and I'll hopefully have the time to get her finished up then.
 
Hey Terp!

Thanks, I will check out Home Depot! He definitely didn't set the rivets good but I think a lot of it is placement. He put some of these rivets on the curves of the bottom so it is kind of hard to seal them. At this point I am renting a house and most of my stuff is in storage so I dont have an air compressor or air hammer. I bought some closed end rivets and am going to try and go that route for now.

I am not doing any decking as the primary purpose is for waterfowl hunting. I will use it throughout the summer to fish but the main things I have always fished for are stripers, catfish, and crappie so I dont really need a deck. Mainly looking for storage and open areas. Still on the fence as far as the flooring goes. Not sure whether I want to shell out the money for aluminum sheets or just put down wood.

Saturday was my last day of goose season for the year so now it is mainly working on the boat time until turkey season.
 
NLaudy

I used a #8 SS bolt and nut coated with 5200 where I had to take some rivets out (I believe the #8 is the same size as the rivets I replaced). I also just stuck with wood on the deck, first I had 1/2", but then switched to 1/4" to reduce weight, I put blue board underneath and it works just fine. The non-slip paint has worked well so far, very easy to clean. Nice boat and good luck with your build.
 
Like Ictalurus said, many guys on here have used stainless steel nuts and bolts with some 5200. Seems to work well. If you have some tough to get to places that have holes/cracks you can also consider to have it welded.

I hear ya on keeping things open. I'll be removing my middle bench seat as well and installing a pin mounted seat for my stick steering setup. I'm only extending my front deck by about 12-18" or so. Primarly for more storage room. The nice thing about doing this is you increase storage without loosing any floor space. You can still throw your decoy bags on the deck for transport, unless you drive like my wife then EVERYTHING will need strapped down!!
 
Im glad terp chimed in on this. I also have a double duty boat (Lowe 1652 Olympic Jon) that i am getting to the end point on. I extended my front deck by about 12 or 14 inches and am very glad I did. I have covered storage, a livewell, and a casting deck that is comfortable enough in the summer, and kept plenty of floor space for hunting in the winter. We hunted 3 comfortably (no dog) and myself and a buddy of mine who is a big old boy hunted out of it with his 100lb lab and were plenty comfortable.

I need to get some current pictures of the boat up, and find the pictures of the blind I built


The start of my build.
https://www.tinboats.net/forum/viewtopic.php?f=21&t=28142
 
Fellas, thanks for all the information! I got to spend some time today working on the boat and pretty much took it down to the bare hull. Removed the front platform, rear bench, and the transom. The platform and bench will be going back in but they were in rough shape so I figured I would just pull them out to work on them. Kinda stupid in a way but it just adds to the fun of putting it back together :p

I am going to be painting the boat so I am first going to strip the paint. With that said, do you recommend stripping the paint prior to re-installing the rivets I drilled out so that the rivets are locking straight to the metal? I bought some aircraft remover today, never used it before. Is there anything I need to tape off before using this stuff?

boat_zps747f1f32.jpg


boat2_zps649d6dff.jpg
 
I've yet to paint mine but I'm certainly not going to strip it. I'm just going to sand down to the aluminum where paint is peeling or cracking. Then I'll hit those areas with some self etching primer and give the rest of the boat a little scuff with some higher grit sandpaper and paint from there. When I replaced any rivets I sanded around the holes, set my rivets and primered over top once the 5200 had a good chance to cure.
 
BigTerp said:
I've yet to paint mine but I'm certainly not going to strip it. I'm just going to sand down to the aluminum where paint is peeling or cracking. Then I'll hit those areas with some self etching primer and give the rest of the boat a little scuff with some higher grit sandpaper and paint from there. When I replaced any rivets I sanded around the holes, set my rivets and primered over top once the 5200 had a good chance to cure.

X2
 
Now yall got me thinking. I may not strip it before painting it like yall mentioned. If I am not stripping it then I can just go ahead and skip the primer part except on places that are sanded down to bare metal correct?


I also need a little brainstorming help! Been trying to think of how I want the layout for the boat. I will be running 2 batteries and a 5gal gas tank. Currently they are all behind the rear bench but I absolutely hate having that much weight back there ESPECIALLY if I am out on the water by myself. I weigh 260 so that is a lot of weight in the back of the boat. With that said, the batteries weigh more than the gas tank so I guess it would be preferable to move them. But my question is... if I move them to the front of the boat what does that effect? Would I still be able to have my switch panel in the back of the boat? I am assuming I will need to get bigger wire in order to not drop power since it will be a longer run. Any input would be greatly appreciated... I need some brainstorming help. lol
 
Sounds like a plan on the batteries. I ended up buying a Reese trailer wiring harness, can't remember length (thinking around 20' or so). It has four wires all together, you can leave them that way or pull them into two's if needed. It was only $12 or so and was cheaper than buying indivual wires. I've attached a gauge chart for size determination.
 

Attachments

  • Wire Chart.JPG
    Wire Chart.JPG
    28.8 KB · Views: 1,656
Thanks Ict! Ill post a diagram later of all my components and how I plan to hook them up. I bought a 6 switch panel that uses circuit breakers. 3 of them are 10amp and 3 are 5amp.
 

Latest posts

Top