MMF'S-1990 Tracker TX-17 Alum Build (FINAL PIX 10/22/11)

TinBoats.net

Help Support TinBoats.net:

This site may earn a commission from merchant affiliate links, including eBay, Amazon, and others.
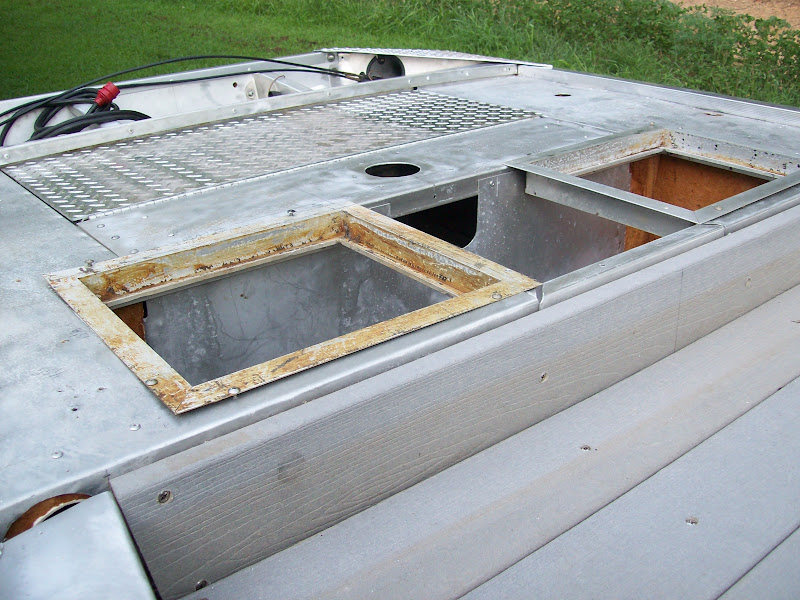
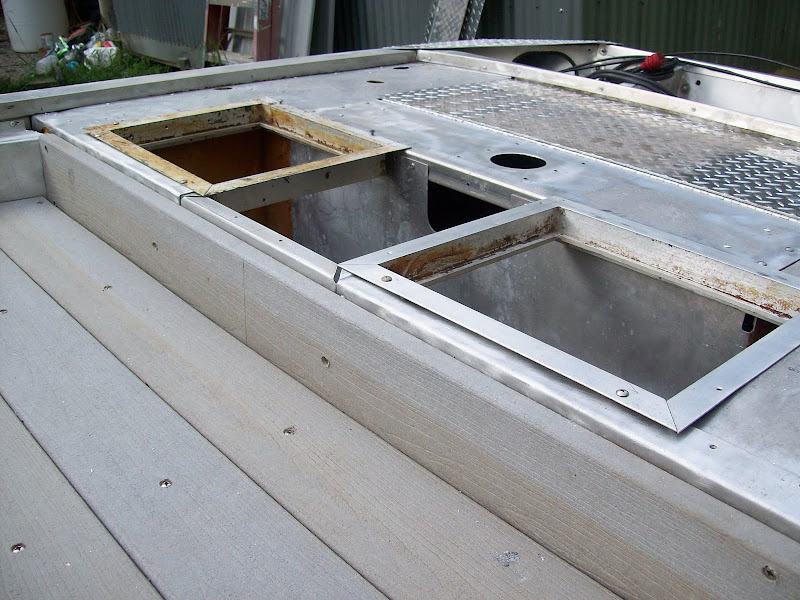
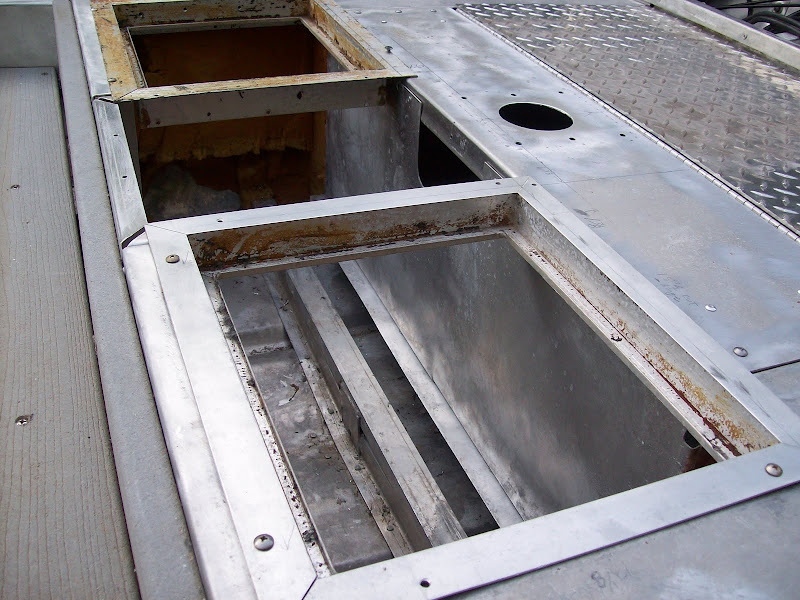
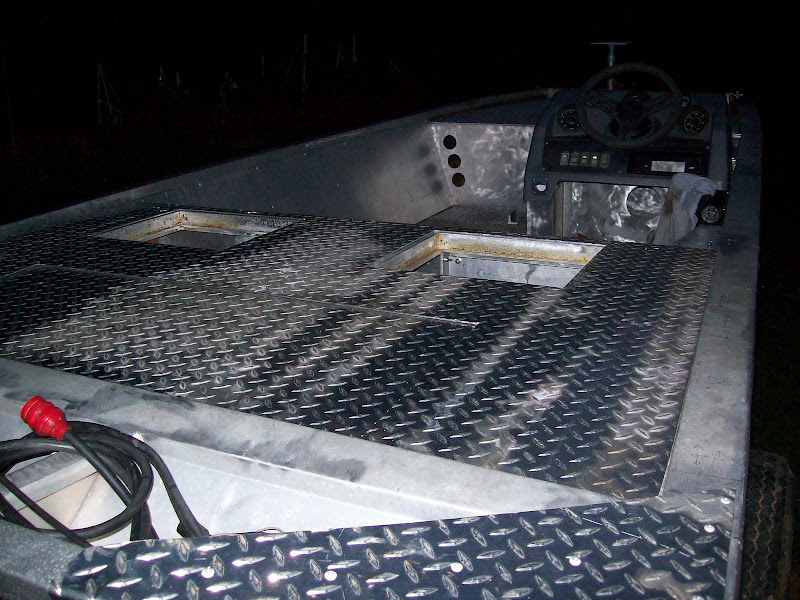
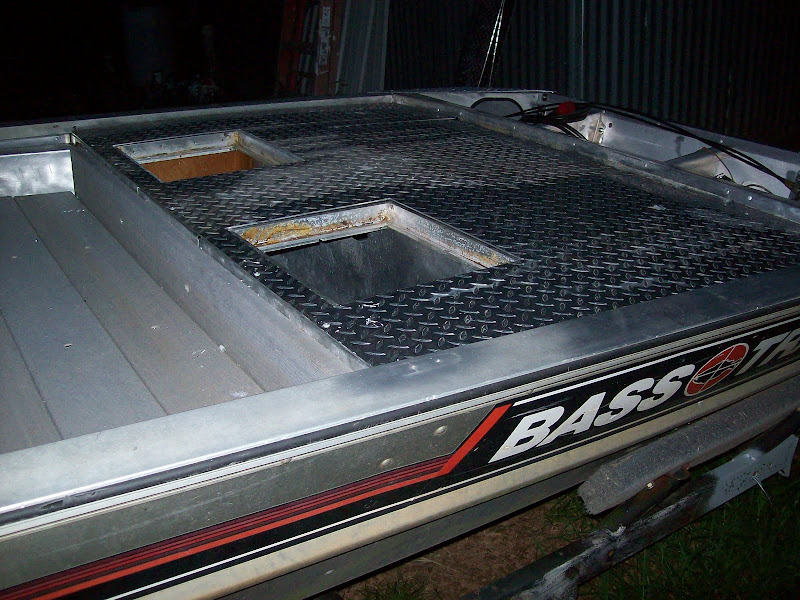
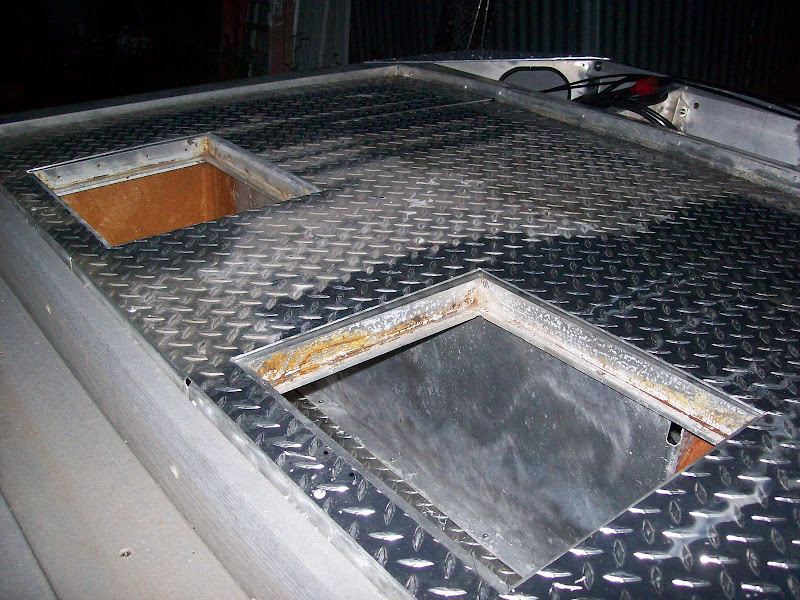
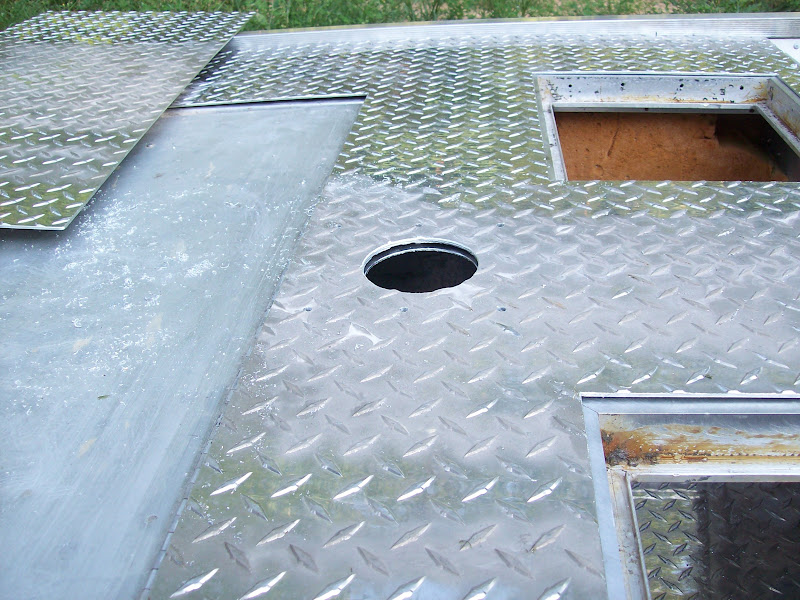
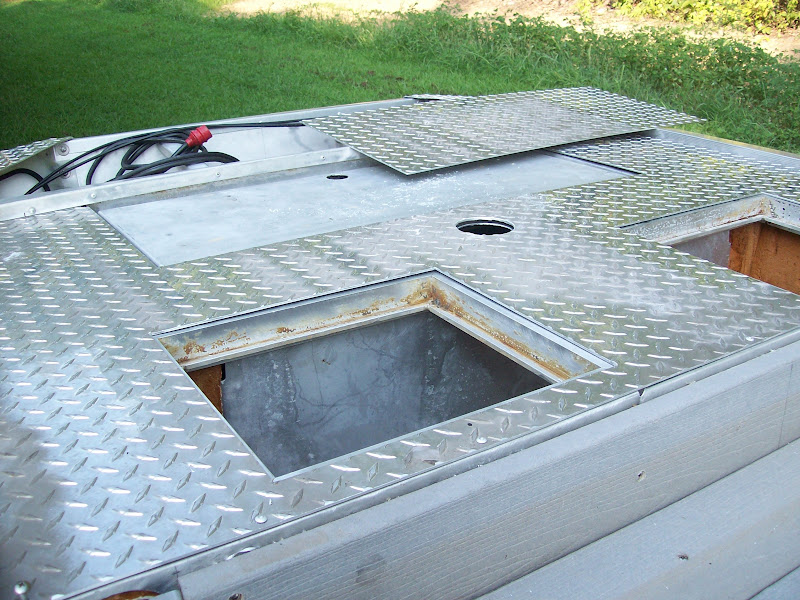
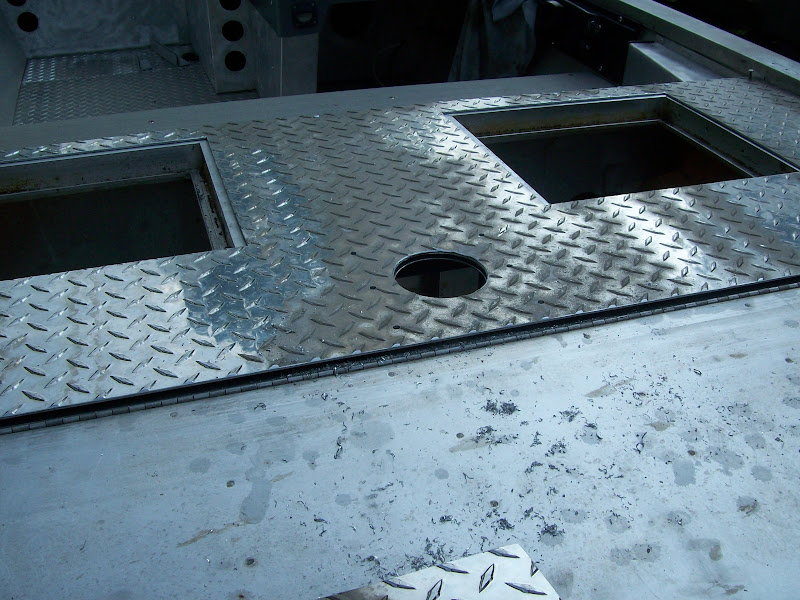
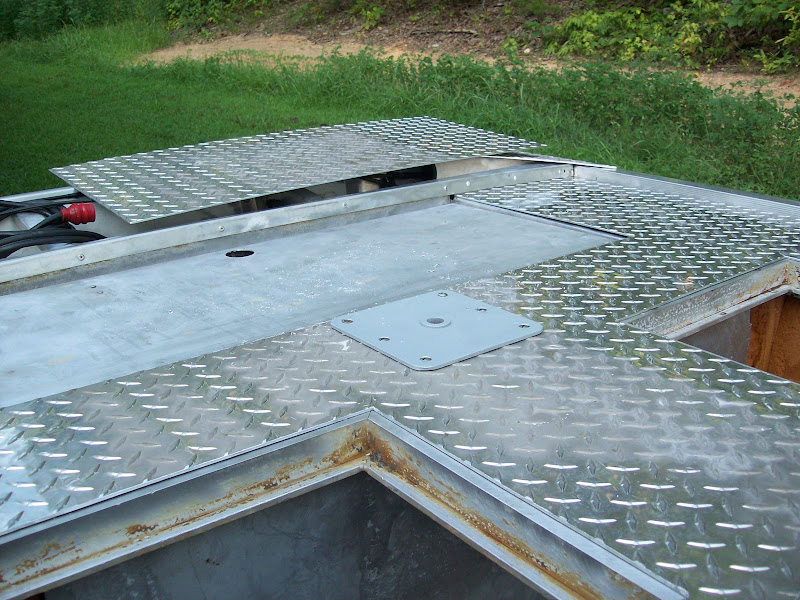
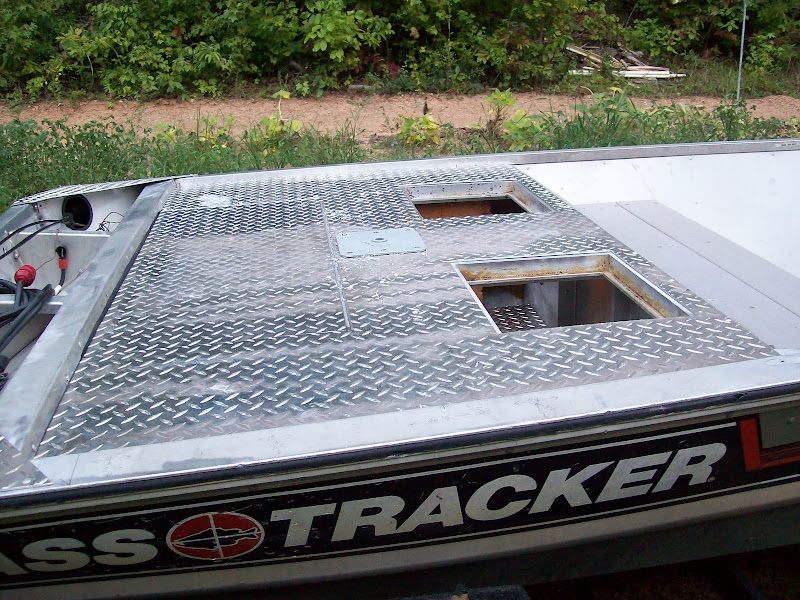
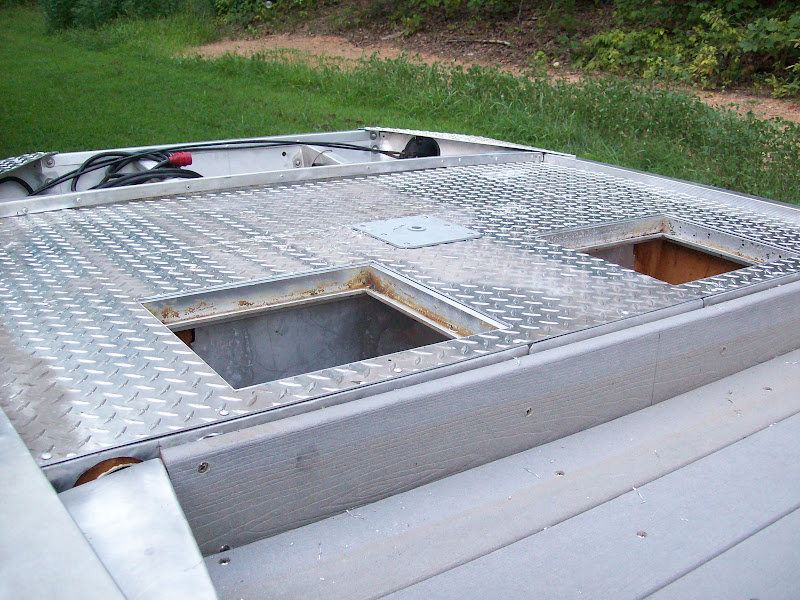
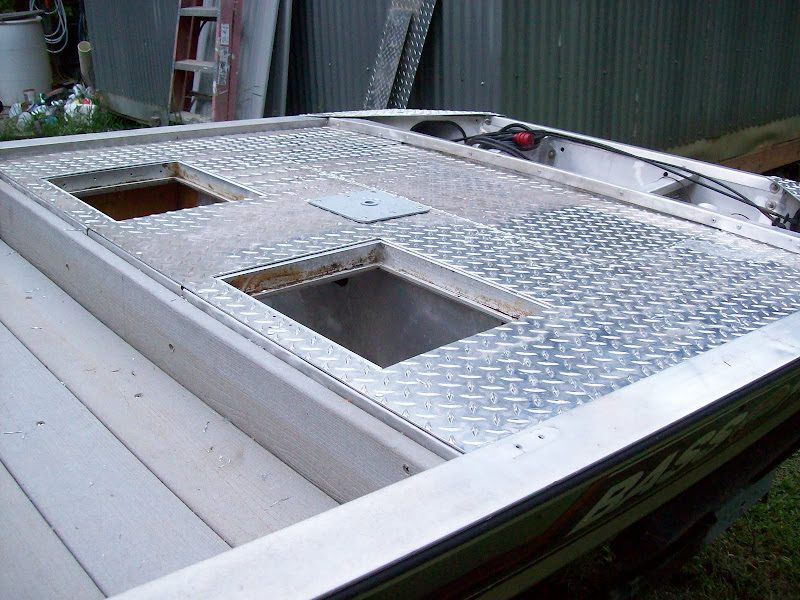
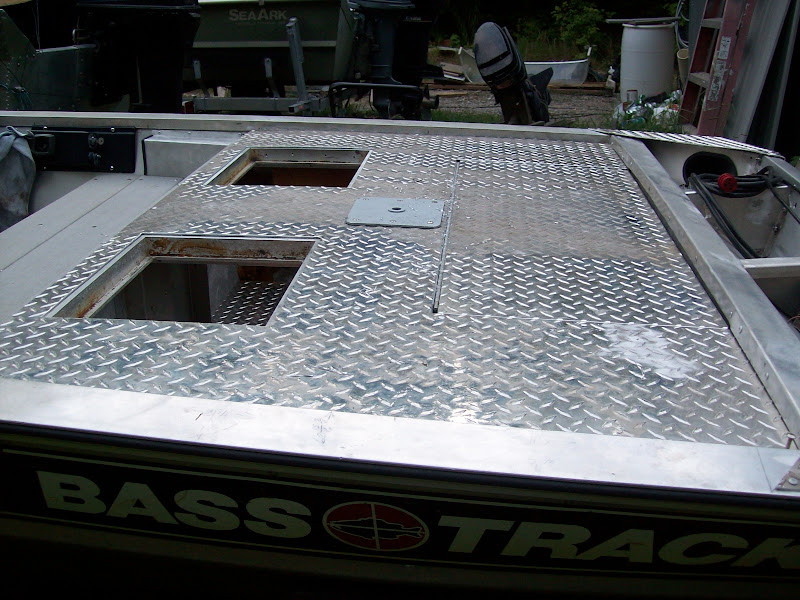
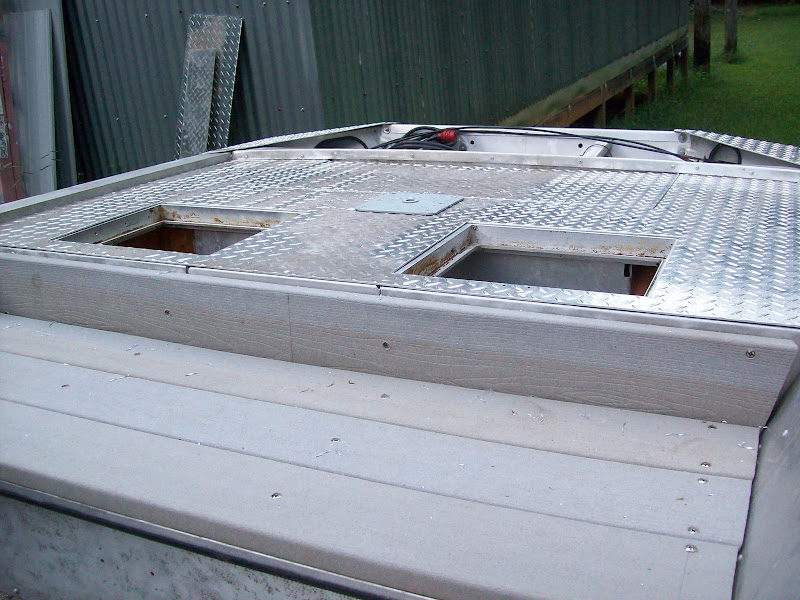
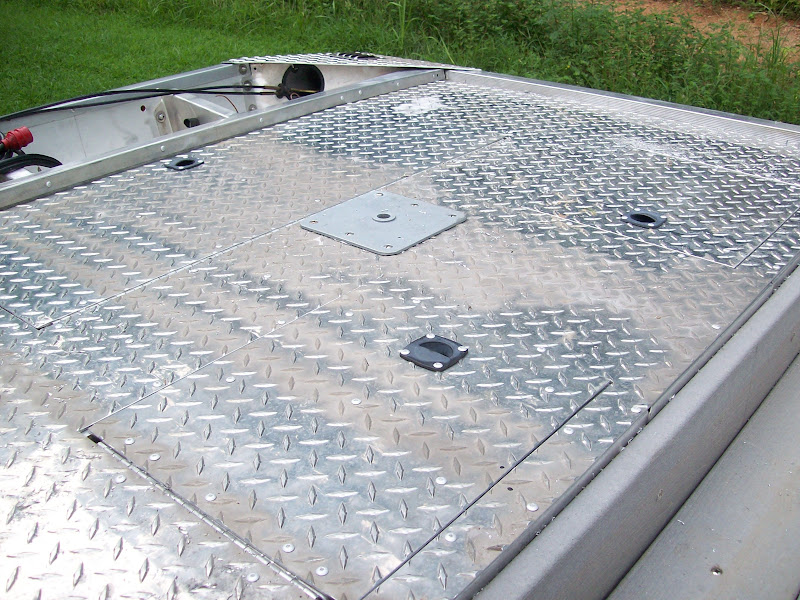
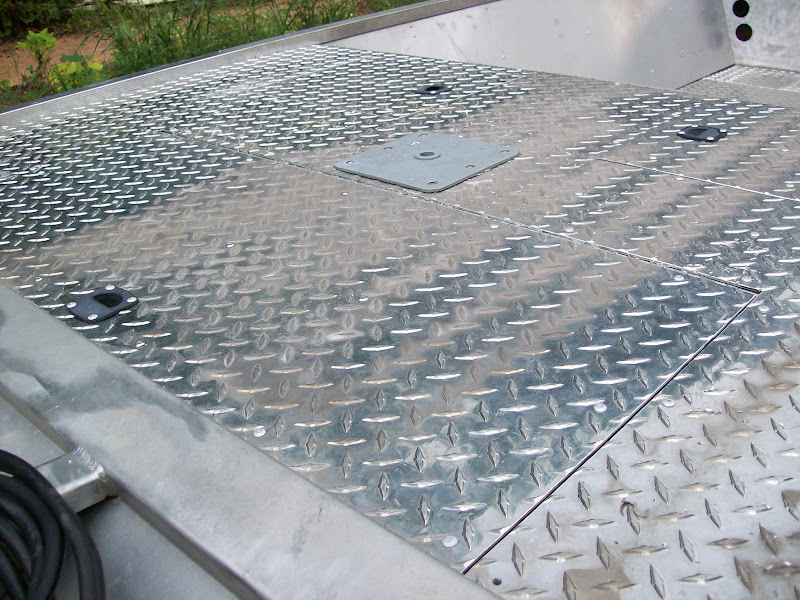
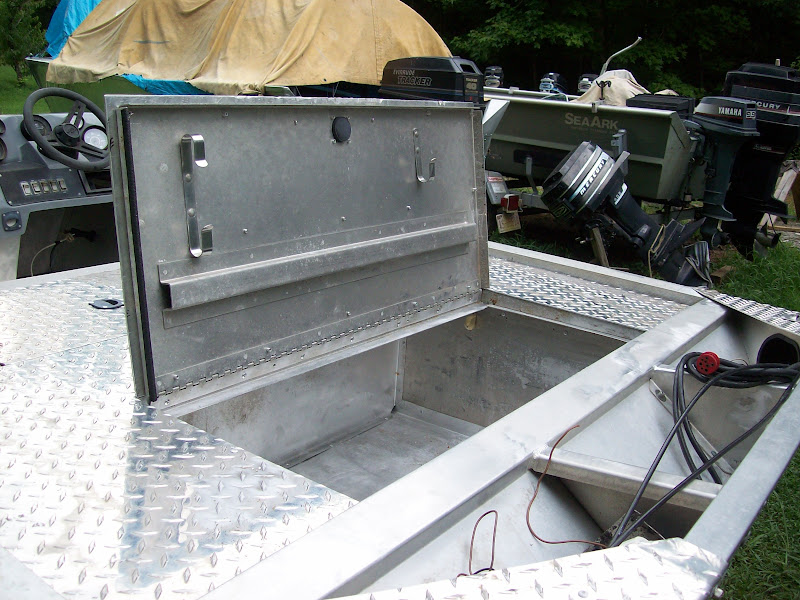
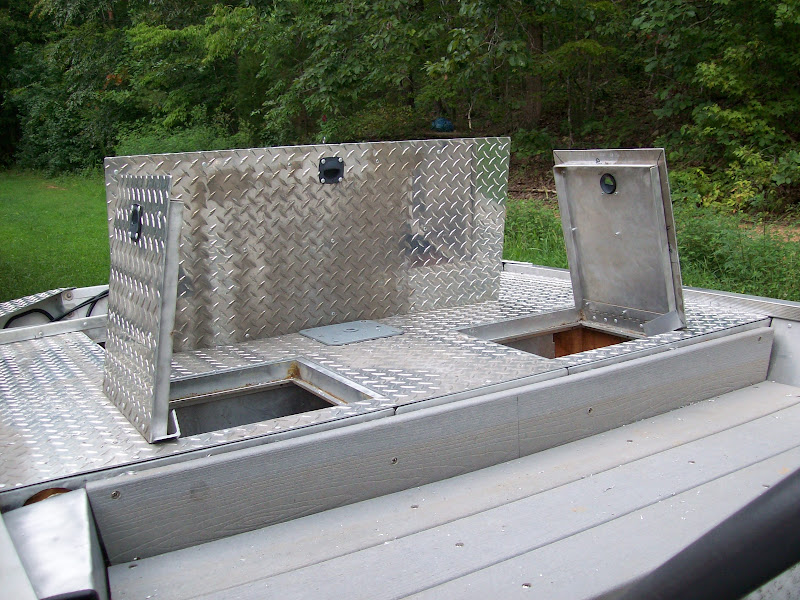
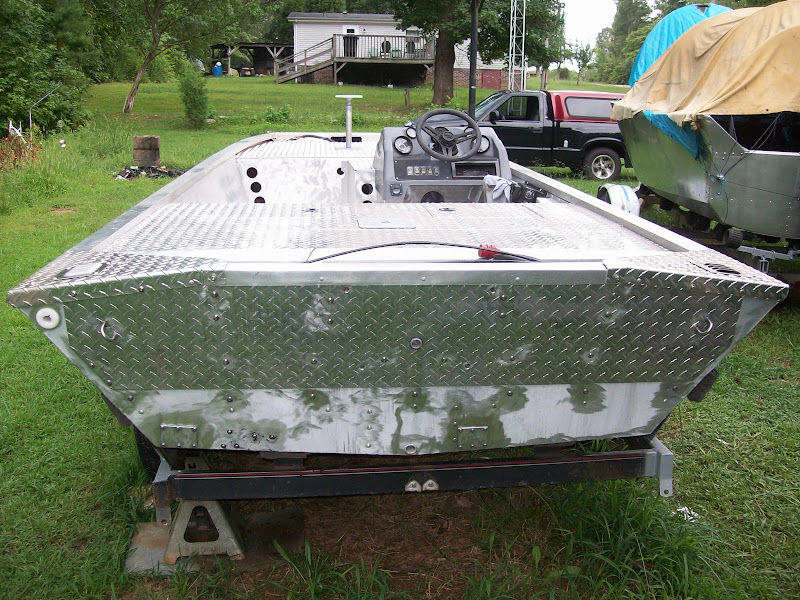
Nice job so far! Its a lot of work you have done there!

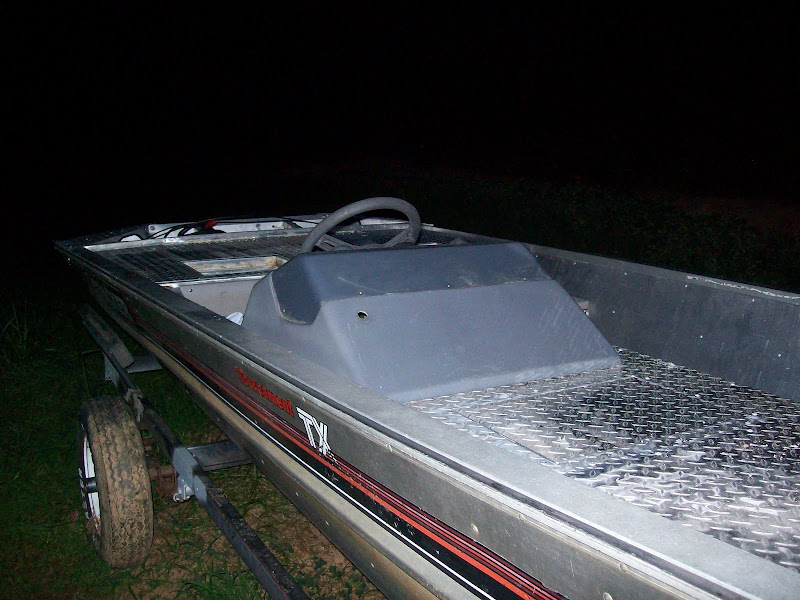
My history went like this, crossing with a Tx17 like yours:

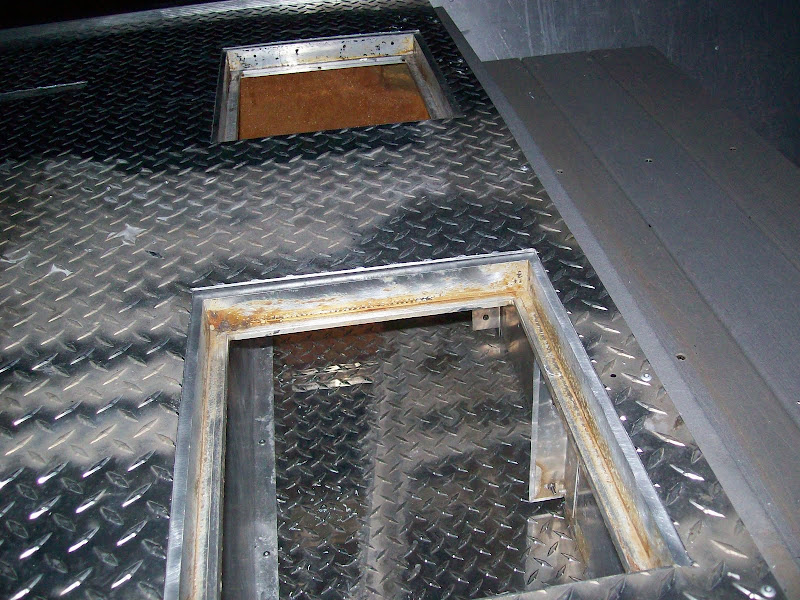
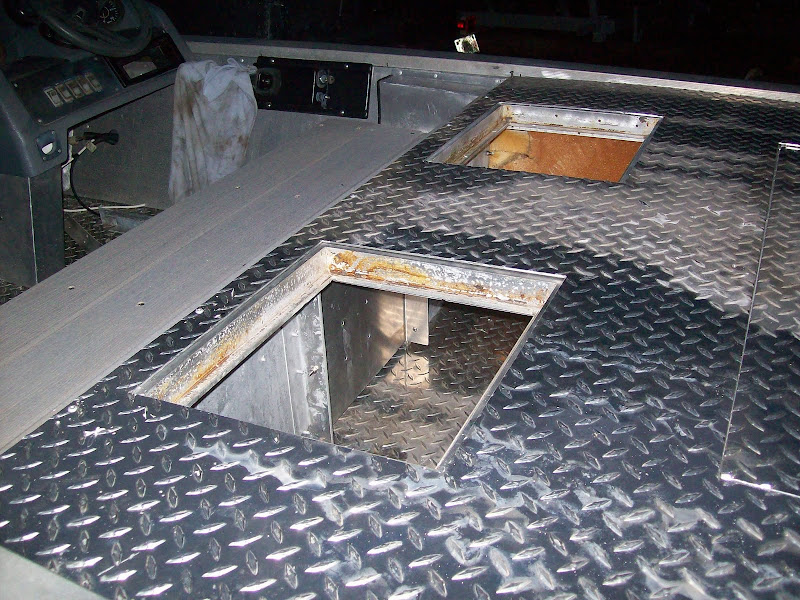
I have a 12ft topper, great years, but i wanted to upgrade to a serious rig this time. Made an appointment to see a similar tracker, carpeted, 75hp 2 stroke old motor, re-sealed keel, some compartments with mildew, etc.... well, everything was old, as as 1985 boat has.

My father and I ended up putting the cash down for a Lowe Roughneck Side console w/ 60hp 4stroke. The boat its being built, one more month to get it. Im in Mexico. Not many parts available easily to make a rebuild like yours.

Im really glad I had the funds this moment. Your thread has been so far a great lesson! I might have the knowledge and tools to make a rebuild like this, but not the guts yet to accomplish this like you! :D !
 
OK, been waiting till the sun gets behind the trees in the afternoons after work to do a little, measuring and re-measuring again to make sure I position my cutouts on the rear deck correctly. It is hard to plunge cut too correctly with a powersaw, must go slowly with plenty of oil, stop occasionally and wipe the metal so you can see the scribed line. Got the big hatch cut out and test fitted so I pondered for about an hour making my mind up on which hatche(s) I was going to use and finally decided to use 2 smaller ones instead of the one larger one I had left. These two hatches are in their original location when removed at tearout, minus the shallow bucket they had attached to them, now the storage area will extend to the top of the bottom floor rib and I will be covering the floor with DP too.

cutout for big hatch
REAR%252520LAYOUT%252520005.jpg


REAR%252520LAYOUT%252520004.jpg


Laying out and scribing cut marks for the 2 small hatches
REAR%252520LAYOUT%252520006.jpg


smoking it over
REAR%252520LAYOUT%252520001.jpg


REAR%252520LAYOUT%252520002.jpg


REAR%252520LAYOUT%252520003.jpg


Test fitting hatch frames, still have to clean up too
REAR%252520LAYOUT%252520007.jpg


REAR%252520LAYOUT%252520009.jpg


Measuring cutout positions in relation to the centerline. The boat is not perfectly square so all measurements must be referenced from center, example, at the very rear, the measurements from the gunnel edge to the edge of the big hatch is 1/4" difference in left and right sides, comes from hurried Tracker construction at the factory I suppose.


REAR%252520LAYOUT%252520008.jpg


Still have a little more measuring to do and hopefully I will get the 2 small hatches cut out tomorrow. [-o<
 
Looking good. Are you planning to keep that whole area open under the deck, between the small hatches, where the livewell used to be?
 
Derek said:
Looking good. Are you planning to keep that whole area open under the deck, between the small hatches, where the livewell used to be?
YES, it will be one large storage area, thanks for the reply. :wink:
 
Got the hatch openings final laid out and plunge cut this evening, came out much straighter than I thought I would. the DP lids will have to be cut again on one side only to allow for the width of the hinge. Slid on rear for a test fit and it looks good. I will post pics tomorrow when I get more time. Next I need to cut some DP for the storage floor and the major covering of the vessel will be complete. :D

:arrow: I still need a 12 ft. Morse or Teleflex steering cable, the rotary style helm box not the rack style so I thought I might ask if anyone has a good used one from a junk boat you want to sell CHEAP, please PM me, or maybe we might horse trade a Mercury outboard part or two, let me know, ( I have the helm ).

I will probably run out of rivets again, :eek: it will be very close if I don't, so, dig in my shallow wallet again for fasteners! So far I have used about 300 rivets on this build but all will be worth it in the end, I will just be glad to get to fishin' again and even more glad when the weather cools!!!
 
07/29/2011.. today after work I waited late to get started because it was 100 degrees outside, I started on the task of filing all the edges of the cut pieces, top and bottom and the big hatch lid, still have to file the two small hatch lids, then I measured up and layed out the storage area floor and cut this out and filed the edges, fitted it in and riveted to the floor, it was starting to get dark so I laid the large rear decking piece in place and aligned it with two 3/16" holes I drilled yesterday for positioning. I installed a few rivets on the front edge closest to the bench seat to get it started, by then it was pretty dark and I put everything up until tomorrow. The hatch frames have still not ben fastened to the decking yet nor have the hatch coverings been fitted in. Here are a few pictures made at dusk dark of what it is going to look like, will post more tomorrow or Sunday.

INSTALL%252520REAR%252520DECK%252520010.jpg


INSTALL%252520REAR%252520DECK%252520002.jpg


INSTALL%252520REAR%252520DECK%252520001.jpg


INSTALL%252520REAR%252520DECK%252520003.jpg


INSTALL%252520REAR%252520DECK%252520005.jpg


INSTALL%252520REAR%252520DECK%252520004.jpg


INSTALL%252520REAR%252520DECK%252520006.jpg


INSTALL%252520REAR%252520DECK%252520007.jpg


INSTALL%252520REAR%252520DECK%252520009.jpg


INSTALL%252520REAR%252520DECK%252520008.jpg


:D :D :D :wink:
 
Very nice work! It looks really straight. Can't wait to see what you do for the hatches.
The high temperatures are a killer. Even though I have a full size garage under the house
with garage doors on both ends for ventilation, at 9 am the sweat is running off my elbows.
Plenty of beer helps :)
Keep the pics coming.
 
Jonboat Jerry said:
Very nice work! It looks really straight. Can't wait to see what you do for the hatches.
The high temperatures are a killer. Even though I have a full size garage under the house
with garage doors on both ends for ventilation, at 9 am the sweat is running off my elbows.
Plenty of beer helps :)
Keep the pics coming.
Thank you Jonboat Jerry, I know what you mean by the beer helps but if I start that, the the work stops, at least that seems to be MY result. I had to go to my Moms and install a kitchen faucet for her today and it was 105 degrees in Gaffney, SC with a 115 degree heat index, it was only 2 degrees "cooler" at my house right across the state line in NC.

I got a little done on the boat this morning and a little this evening before the skies looked threatning and I picked up and scooted to the house, but it still has not stormed yet as I write. I mainly got some riveting done but still more to do and I need to clean up the two small hatch lids. I got the hole drilled out for the rear pedastal seat bracket and drilled bolt holes to size and installed, then came some rivets. Much too hot outside for this kind of work but I must suffer if I'm gonna be ready when cooler weather gets here.........

RIVETING%252520REAR%252520DECK%252520002.jpg


RIVETING%252520REAR%252520DECK%252520001.jpg


RIVETING%252520REAR%252520DECK%252520003.jpg


RIVETING%252520REAR%252520DECK%252520004.jpg


Running out of stainless screws so I had to use a couple of "left overs" that don't quite match the others, oh well! The runny stuff you see on the aluminum hatch is actually sweat. I bet I lost 2 gallons of water outside today, whew!


RIVETING%252520REAR%252520DECK%252520005.jpg


RIVETING%252520REAR%252520DECK%252520006.jpg


RIVETING%252520REAR%252520DECK%252520007.jpg


RIVETING%252520REAR%252520DECK%252520009.jpg


RIVETING%252520REAR%252520DECK%252520008.jpg


RIVETING%252520REAR%252520DECK%252520010.jpg
 
Ran out of rivets today so no more work except trimming hatch covers. Thought I would clear this up on how I am doing the hatches since Johnboat Jerry said that in a reply. I am using the original hatch, re-riveted in its original rivet holes. I intentionally cut the DP so the frame is partially exposed on three sides, this gives a surface area for the DP covering to sit on when I rivet it to the existing hatch. Tracker had the carpet wrapped around the hatch door edge that rests on the hatch frame and raised the door up about 1/4" more than just the metal itself but they still did not do a good job of leveling it. I will correct this later.

TRACKER%252520HINGES%252520001.jpg


TRACKER%252520HINGES%252520002.jpg


Since the hinge takes up approx. 1/4" I will have to trim my cutout pieces by 1/4" plus a small gap to allow it to close and open, the original hinge did not run the full length of the opening and leaves a small gap at each end but I can live with it and the fish won't care, I think!

TRACKER%252520HINGES%252520004.jpg


TRACKER%252520HINGES%252520005.jpg


I am also going to put some kind of rubber or thick cushioning material around the hatch frame where the edge of the original cover comes against it.
 
I got the hatch covers trimmed this evening, still have to file the edges too and once installed I will mark the center of the hole I need to drill for the original Perco hatch handle and re-rivet it in when my rivets arrive. My hatches will not be watertight as you can see but I don't care, I am only using them for storage of tackle boxes and the like, the only thing that might get wet is a life preserver and I take them out when not in use anyway, speaking of which I need to look into the condition of the bilge pump I removed at tearout too. I installed a new nylon thru hull fitting for the bilge hose that's going to be hard to get to now but I will manage. If anyone else ever does a build like this one or similar, I will have bought 400 rivets for this project when the 100 I just ordered arrive. They dissapear fast! Still looking for that steering cable I need badly, maybe I need to visit a boat junkyard but not many around in my area.
 
finally got my rivets in and trying to do a little in the rain, I missed a good cooler day today to work on it but had to go to the main workplace and put my hours in. I am filing and riveting in the 2 small rear hatch lids, also cutting the holes for the Perco latch handles. Rain picked up so I'm on pause till tomorrow with more pictures.
 
Been busy today doing a variety of things to the boat and the never ending grass cutting!
got the hatch covers riveted to the original hatch and installed all of the handles.


FINISHED%252520HATCHES%252520001.jpg


FINISHED%252520HATCHES%252520002.jpg


FINISHED%252520HATCHES%252520003.jpg


FINISHED%252520HATCHES%252520004.jpg


I had to raise the angle aluminum stop brackets about a half inch so the edge would bottom out properly and raise the original hatch level.

FINISHED%252520HATCHES%252520005.jpg


the 2 small hatches do not open any further than this because the covering hits against itself, the problem is the "diamonds" hit each other at the hinge line at maximum lift, I could correct this if my right angle grinder had not burned up, but I will borrow one later and angle grind the edges good to get the diamonds down where they will not bind so badly, this is OK with me but maybe not for others, I put the hinges back inline with the original rivet holes when I installed them, I did not want the hinge swivel sticking up past the surface to trip on.

FINISHED%252520HATCHES%252520006.jpg


Forgot I had these stainless steel vent louvers, they are Hoffman Engineering electrical cabinet louvers. I like them because they are low profile and small in size, alot better than the el-cheapo chrome plated plastic ones Tracker used.

FINISHED%252520HATCHES%252520008.jpg


I punched out 2" holes underneath the louvers for the ventilation hose with my hydraulic knock-out punch. These louvers are required in my state if you have a fuel compartment on the vessel. One louver provides positive pressure while underway while the other one provides a vacuum.

FINISHED%252520HATCHES%252520009.jpg


FINISHED%252520HATCHES%252520010.jpg


FINISHED%252520HATCHES%252520011.jpg


Good news today, I won a teleflex steering system on Ebay tonight, the cable is a little long but I will take up some of the slack underneath the console and underneath the splash well.
Bought some 2" electrical PVC today at Lowes so I can put in my rod tubes in the holes, also bought paint, primer and thinner. I am going with a light gray color Rustoleum which I have had good results with in the past. I etch my aluminum with a mild dilution of phosphoric acid. Paint really sticks good when you use this stuff and my etching is deeper than "self etching" type primer. Zinc chromate must be applied after etching bare aluminum to keep the aluminum from oxidizing (paint will not stick to aluminum oxide but adheres very good to the chromate coating). All aluminum begins to oxidize immediately after cleaning, sanding or etching, and it took me awhile to learn about painting aluminum properly. I am finally getting down towards the END of the labor intense portion of the build! :D

FINISHED%252520HATCHES%252520013.jpg
 
... I must first stay i'm guilty of not reading the whole thread.

But with that said, are you going to leave the diamond plate exposed?
Any thoughts on a kiwigrip, safefloor, bedliner type coating?

I only ask as i'm wondering how it's going to be midday.
 
That Robbie Guy said:
... I must first stay i'm guilty of not reading the whole thread.

But with that said, are you going to leave the diamond plate exposed?
Any thoughts on a kiwigrip, safefloor, bedliner type coating?

I only ask as i'm wondering how it's going to be midday.

I am only looking to paint it, light gray color, easy maintenance and low cost is my aim at the moment as my wallet is empty too with maintaining 3 aluminum boats as well. The heat the metal develops is the same as I said previously, that is, it does not get any hotter than my Sea Ark which is painted flat base green. Yes, they are all hot in the temperatures and intense sun we are having now, but I do not fish this time of year unless in the night. Even when I fish otherwise I am usually on the lake before daybreak and gone by noon....Thanks for the reply Robbie :)
 
Outstanding work! I especially liked the louvers and their placement, great idea.
I'll be using an internal tank and was disappointed with the vents that are available,
so thanks for the idea. :)
 
Thanks Johnboat Jerry, your's is a killer build as well and good to hear about the primer. I painted this Monark 1448J jon boat 2 years ago with Rustoleum clean metal primer that I had tinted at Lowe's, no other coating was applied except the primer and my friend that bought it says the paint still looks good...........

check out the 1959 model stern light with the Pete plastic spice bottle globe!


000_0007.jpg


000_0009.jpg


000_0012.jpg
 
I'm slow on progress due to storms and intense rain we have been having, also VERY hot and humid when skies are fair. Bought some safety red rustoleum since I have decided to paint the sides of the boat down to the chine line, below that it will be natural aluminum. Punched out 2 holes, bow and stern, for the sockets for the lights and also foamed in some cracks and crevices with canned foam. I took some time trying to decide exactly where I wanted to mount the trolling motor so the hand control would not hit on bow light and also so the prop or the handle does not protrude from the boat.

I am currently working on my front switch panel (modified) and the console switch panel insert I am making. Both will be aluminum. I gotta get the decals off so I can be ready for paint next, then installing steering when it supposedly arrives on Monday. Motor painting will be next after that then extreme checkout of the Evinrude 70 HP. Sometime I've got to get the boat off the trailer so I can paint it too and get it ready, also need 2 fenders......PS....I'm glad ranchero50 posted his 55 gallon barrel fenders, I think I will make me some from a black 55 gallon barrel and use some unistrut to attach them onto the trailer since I am a tightwad!......... :)
 
I have been fitting in the teleflex helm and steering cable in the boat and doing some modification to make it work too. The first negative I found was I stuck the motor end of the cable thru the 3" PVC pipe that has all the wires and shift cables and found that I could not turn the end of the cable to come out the oval shaped opening at the back transom area, turns out the new teleflex cable tip end is longer than the original morse cable and the hard end was still up in the pipe when I needed to turn it soooo....I cut a piece of 1 1/2" pvc pipe about 3 ft. and punched a hole in the back of the fuel compartment wall and strapped it to the side of the compartment wall, then I punched a new hole on the high side of the splash well and attached some grommeting around the hole. This actually worked out good for taking up the extra length slack I had in the too long cable I won on Ebay.

The other negative I found was at the helm, that is, the hole for the morse helm is larger in diameter than the teleflex requires so I will have to make an aluminum plate to cover over the area and redrill it to the proper size. I will post the pictures maybe tomorrow as I did not have the time to get any today!
Now my wife has blown the motor in her car :( :oops: and I may have to look in to putting in another one which will definately take me away from my project.
 
Top