
reedjj
Well-known member
Really cool.


fish2keel said:That board is nice! I have it on a pier. The stuff is amazing but the price is hard to swallow.
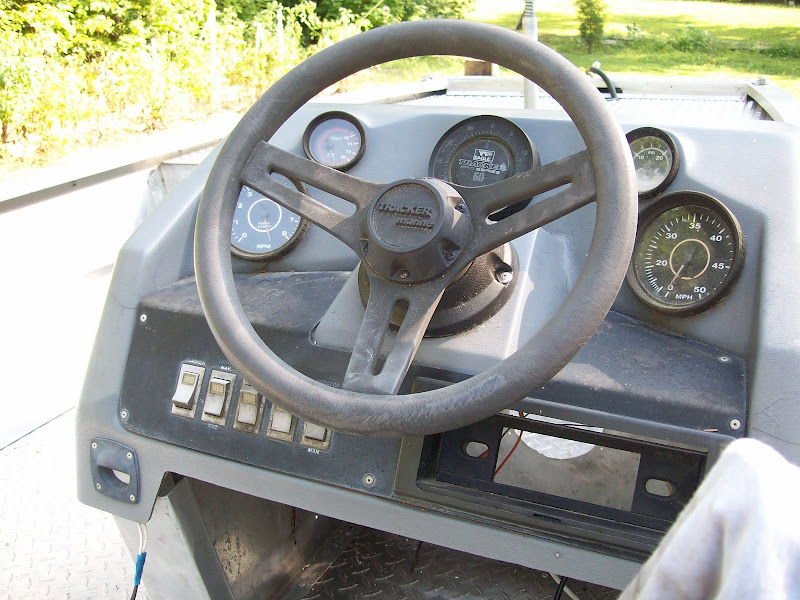
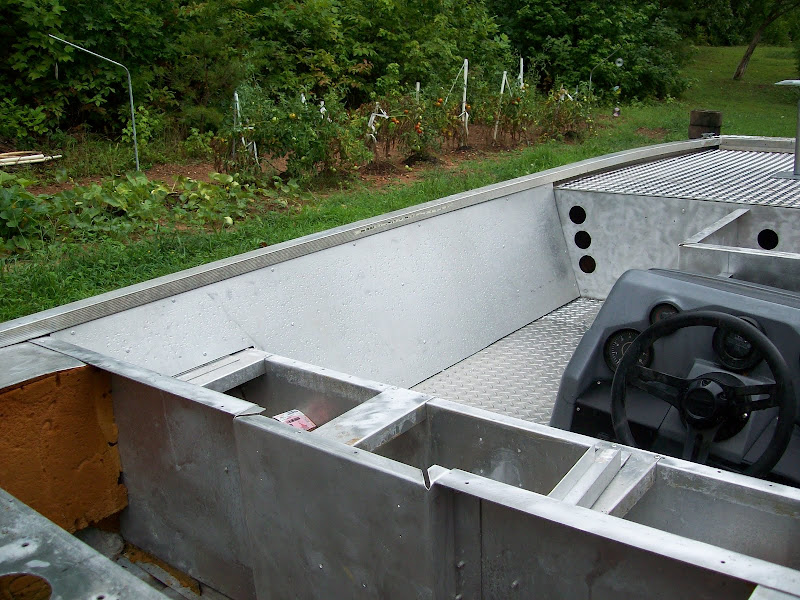
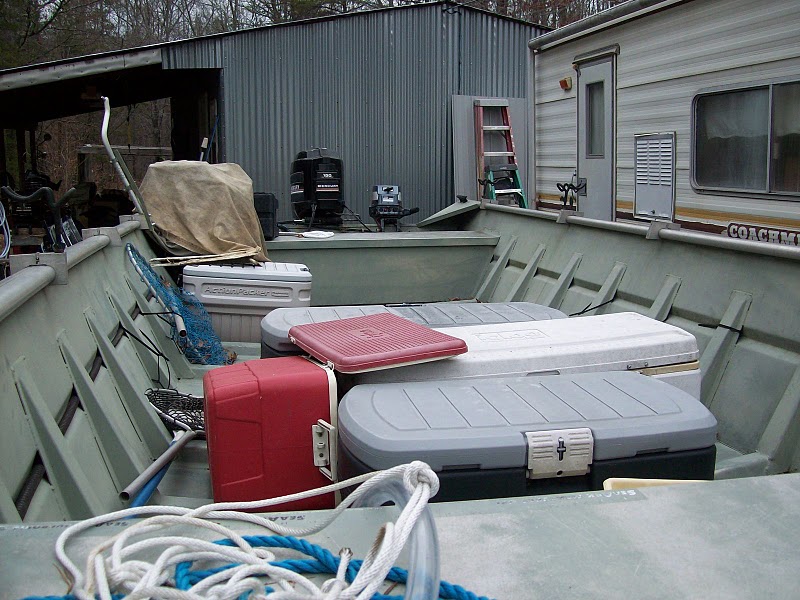
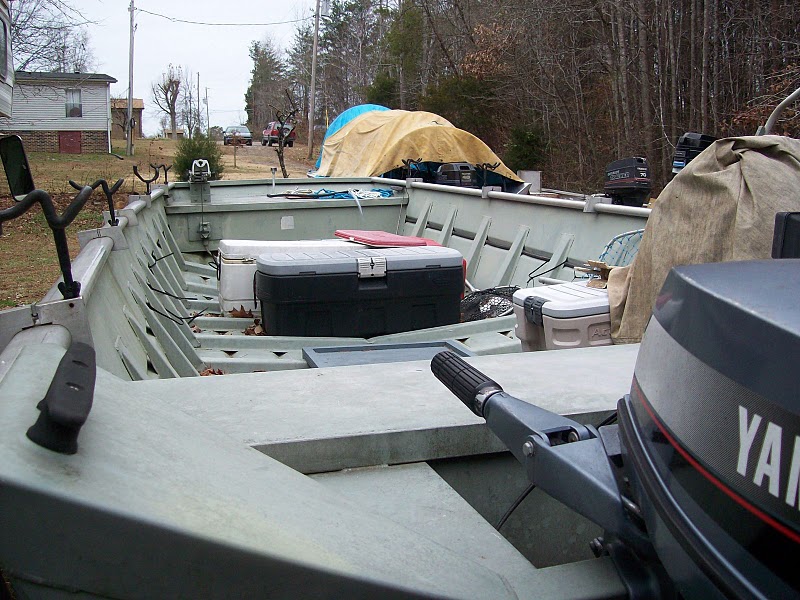
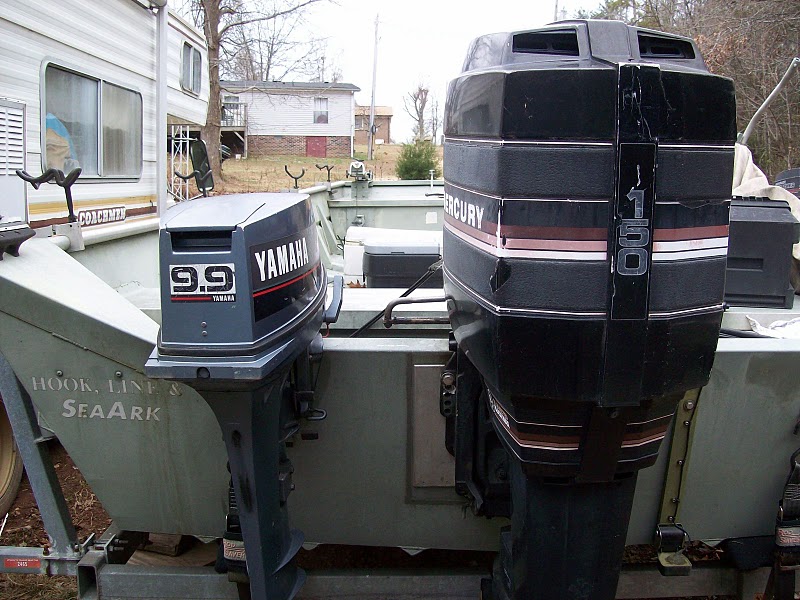
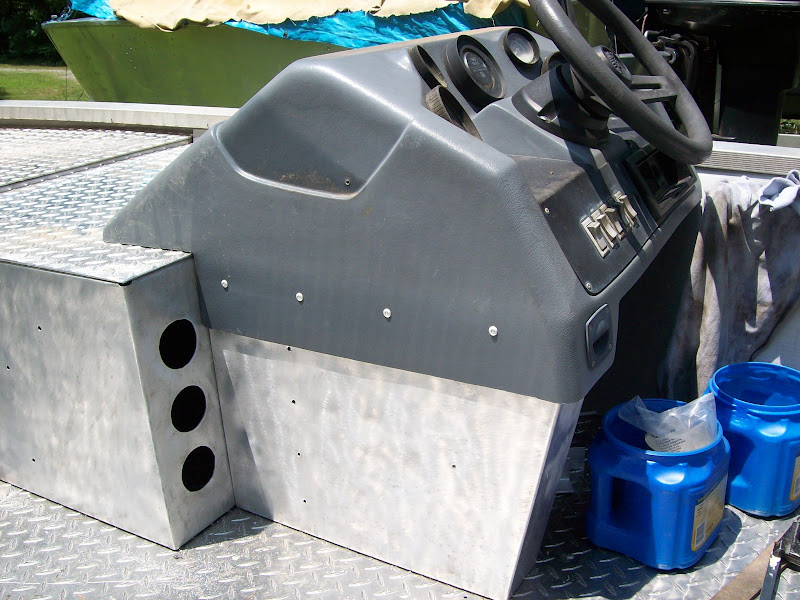
Whats the info on that seaark in the back ground?

")
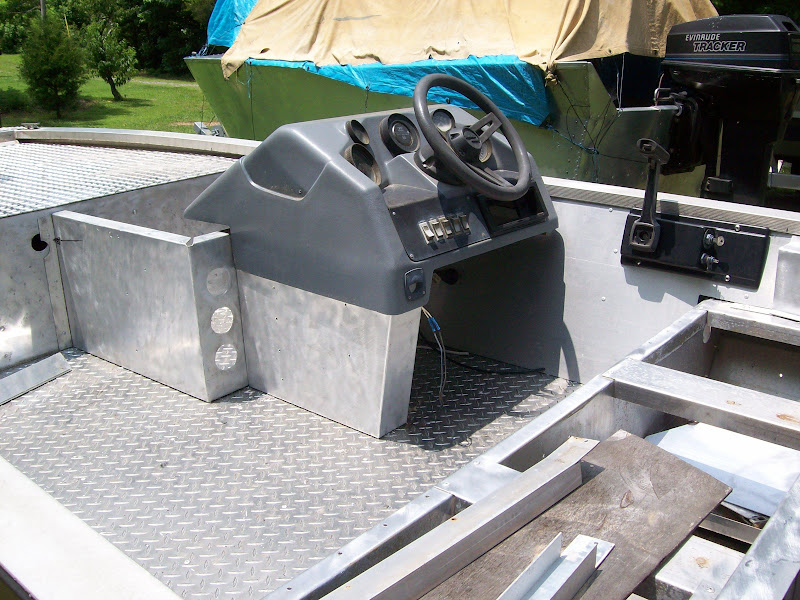
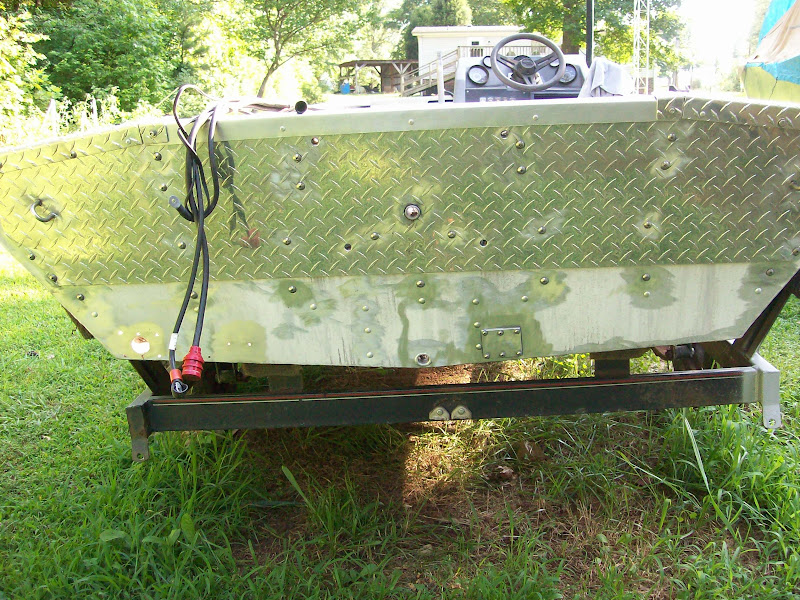
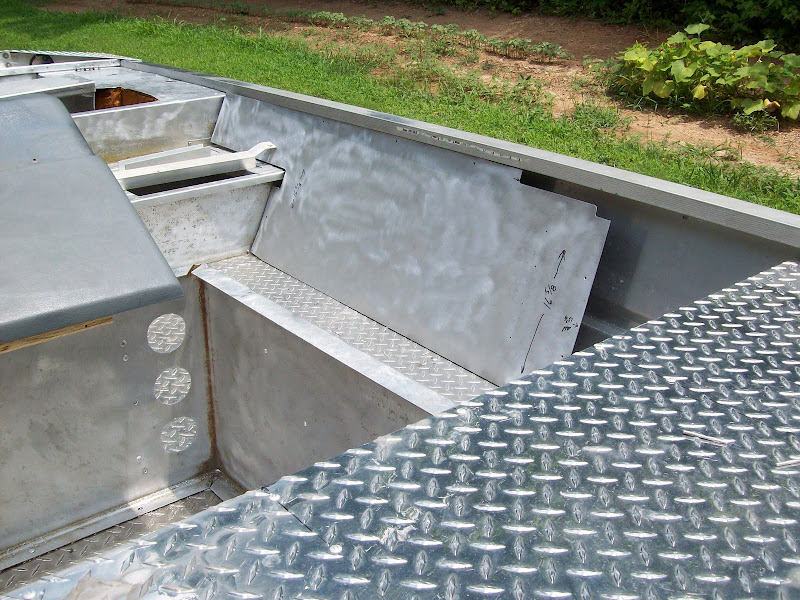
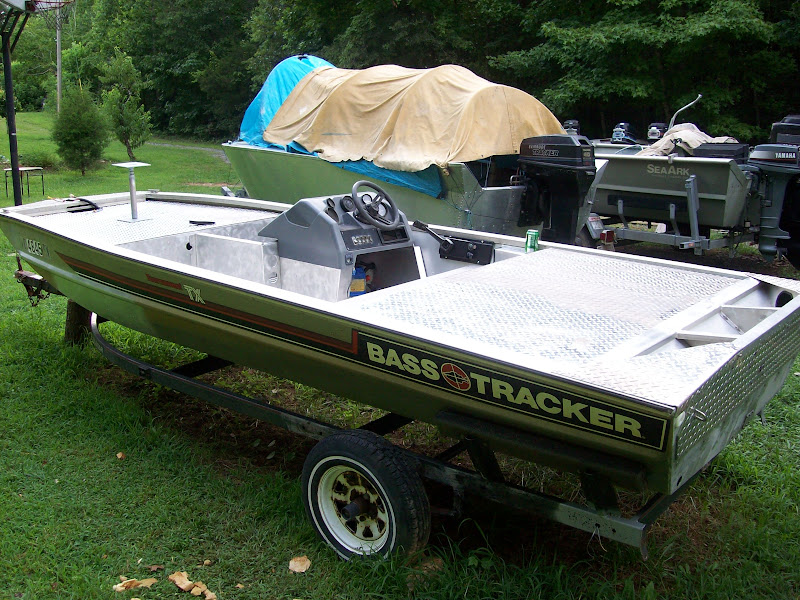
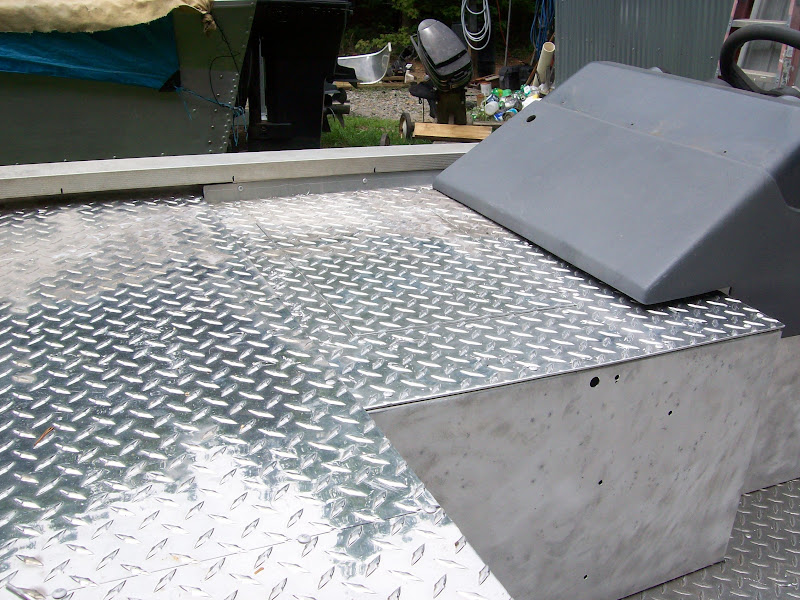
that is a nice boat you have too! yea, it will cost a pretty penny to do my sea ark when I am able too. I need to get in some much needed fishing time when the weather cools in autumn/fall, I'm not much of a hot weather fisherman inshore but I will hang with the best of them in salt water (my favorite) I always wanted to live at the coast........thanks for the good words and I'm watchin your project!Jonboat Jerry said:Beautiful metal work! Nice tight seams everywhere. I was org looking for a Sea Ark 24
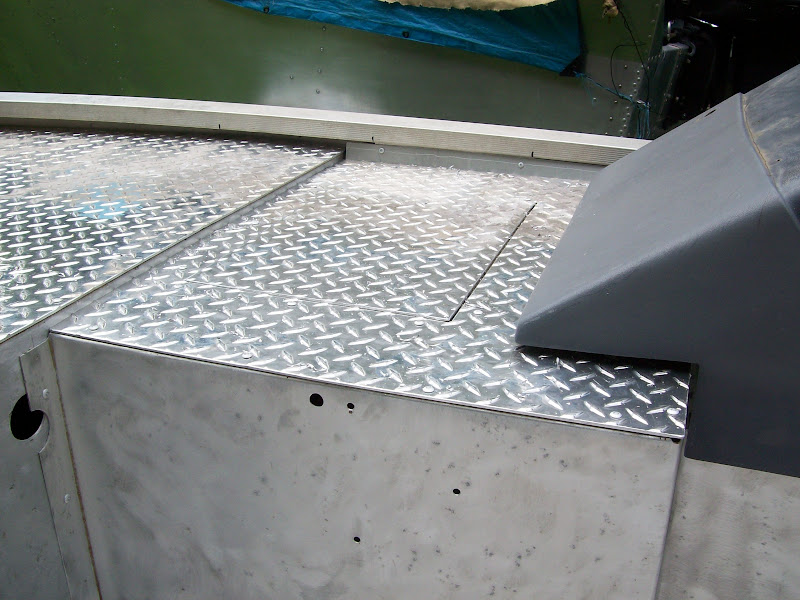
when I stumbled on this 20. It sounds like your plans for it, is where I'm going. Nice work! =D>
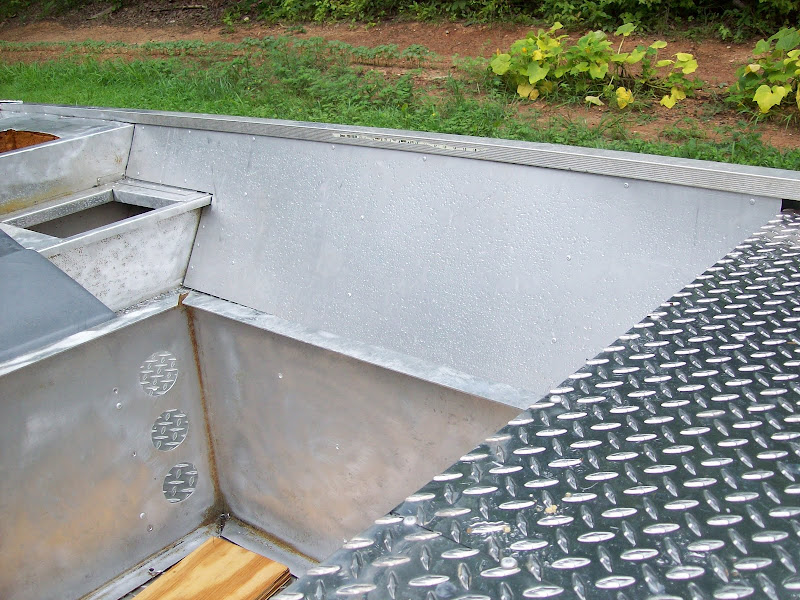
thank you Darek. I had to sell a couple of my outboards to finance the aluminum project, otherwise I would still be on the sidelines watching everyone else do theirs. I'm just tired of having to replace wood etc on my regular fishing boats and I'm 60 now and I don't have the energy I did when I was younger but I try. Wood is fine if you have a dry place to keep your boat but I do not at the moment although I would like to buy me a couple of those metal carports to keep my fishing boats under, but just don't have the funds for this now!Derek said:looks good. Wish I could have done all aluminum.
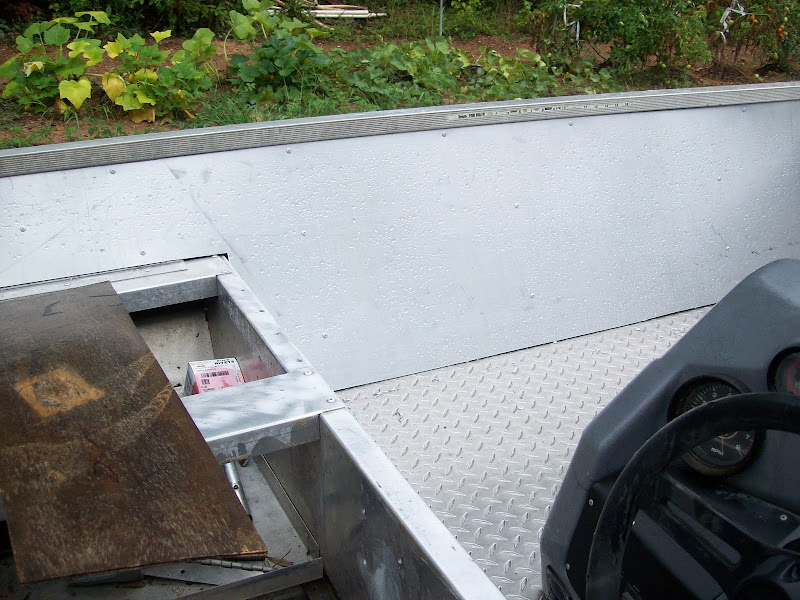
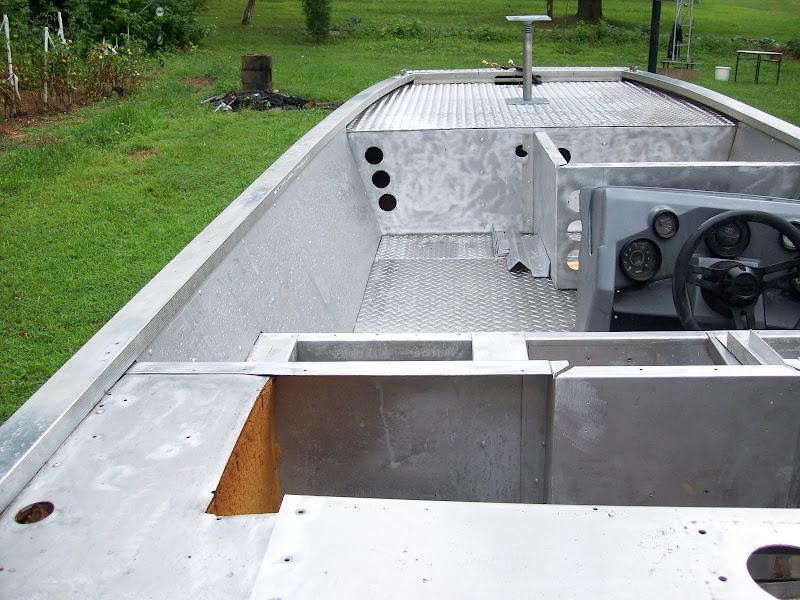
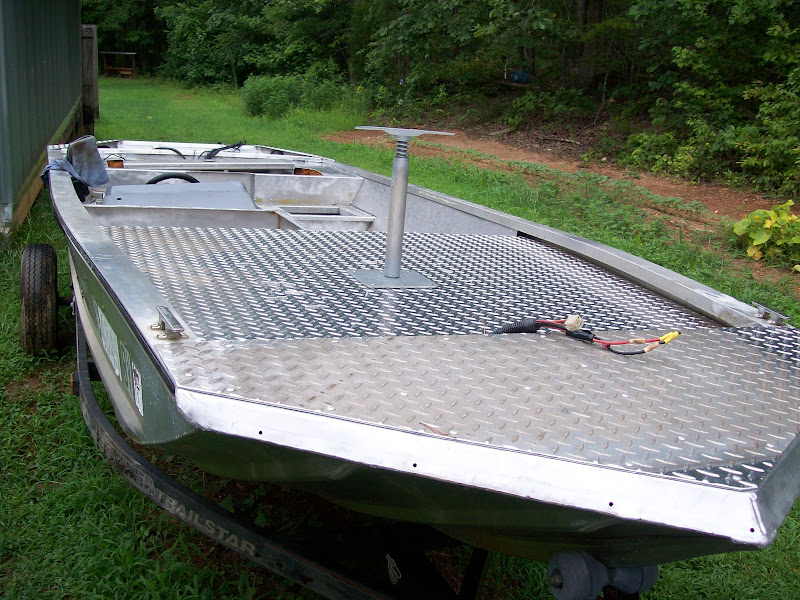
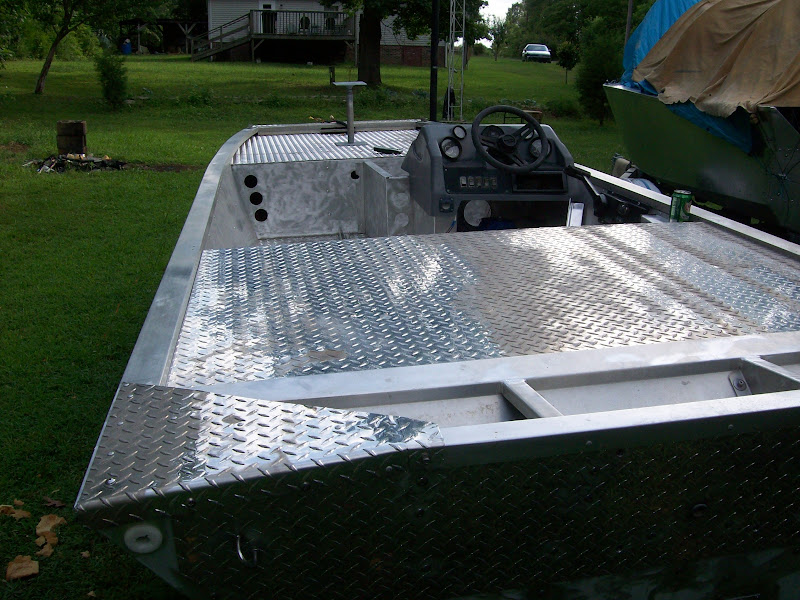
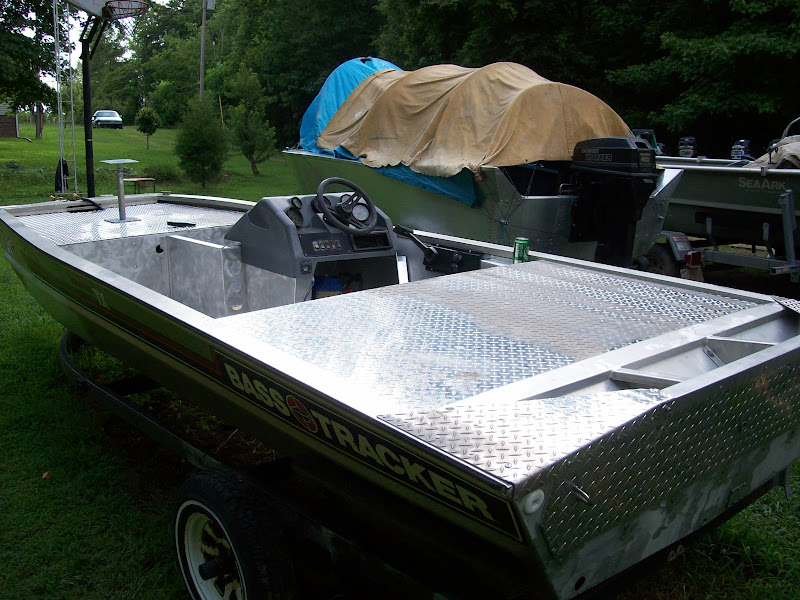
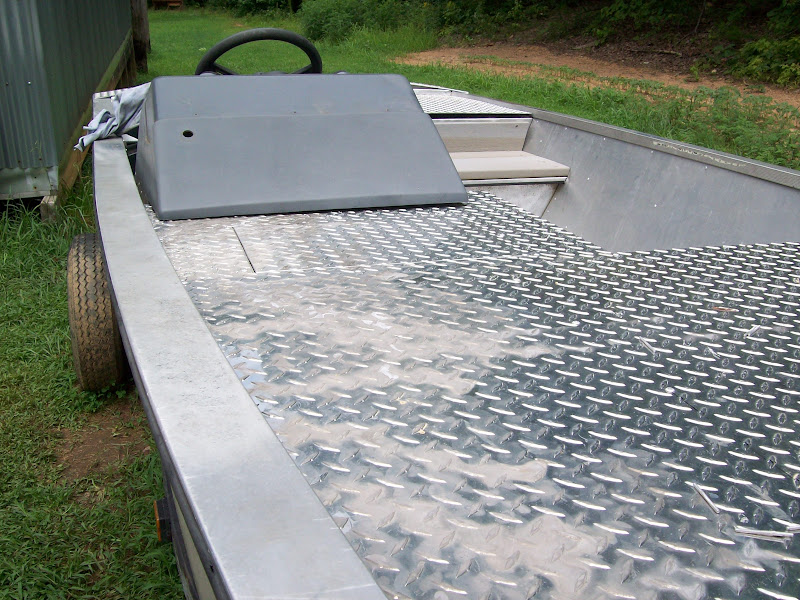
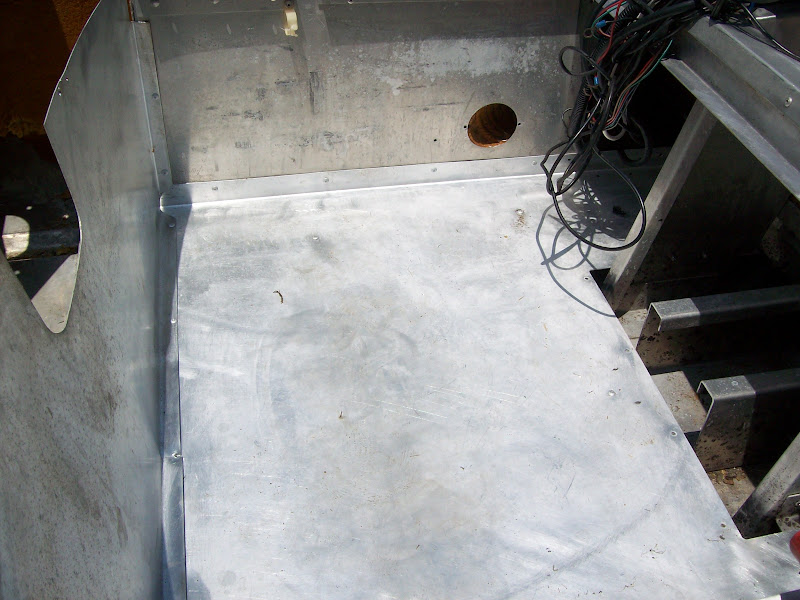
I have not quite decided as of yet, I have been thinking of just painting. Actually, it does not get any hotter than my big Sea Ark, though both of them get so hot right now in the full sun all day that either one will burn you. I do not fish in the hottest part of the year anyway unless I am at the coast. I mainly fish the fall, winter and spring.Derek said:Thanks, I do have another question, and I might have already missed the answer. Are you putting carpet in this boat? That diamond plate is going to give horrible reflections in the sun, unless toy are trying to tan "where the sun don't shine" up your shorts. In my boat the rear, all aluminum, deck is much hotter under my feet then the wood front deck.

Enter your email address to join: