rickybobbybend
Well-known member
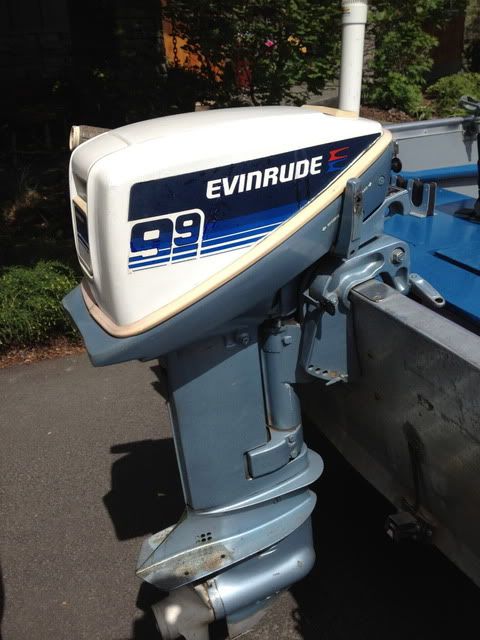
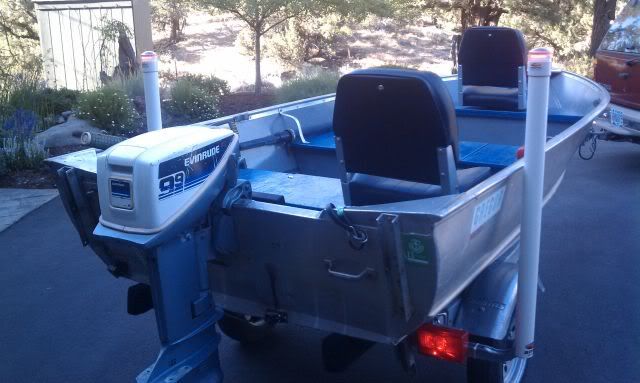
I came across this Gregor 1244 welded V last summer. It’s a 1979 with an Evinrude 9.9 of the same year. The tin was smaller than what I originally had in mind, but in nice condition overall and pretty much stock. The hull has a 15 inch transom and is rated for 20 hp. The motor started right up and ran, and with a good coolant stream. The trailer was just ok, and not set up to properly accommodate the boat. Long story short, they followed me home.
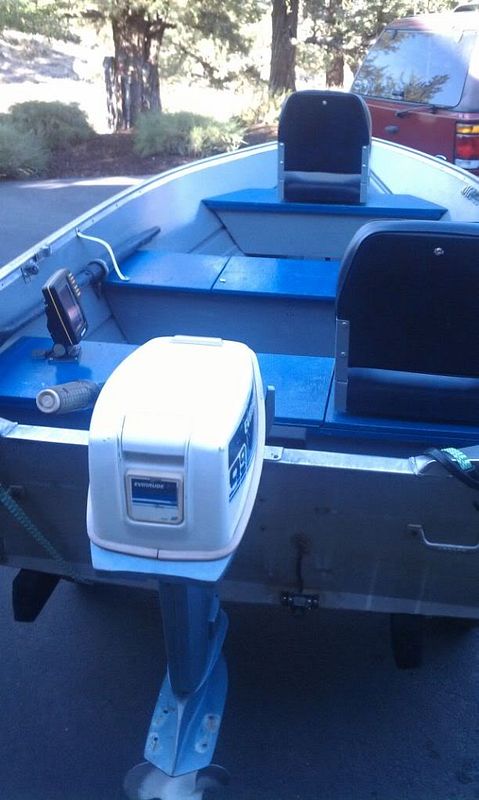
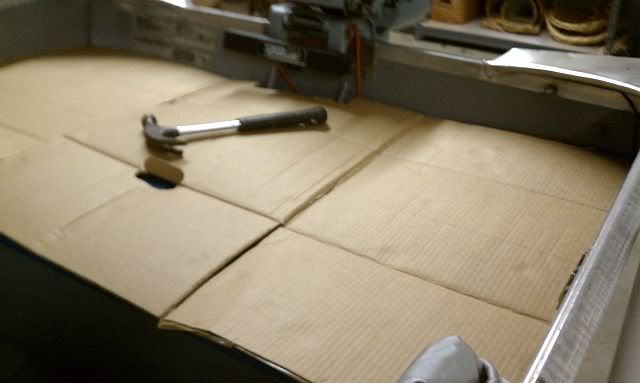
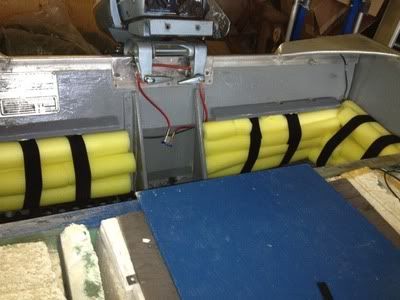
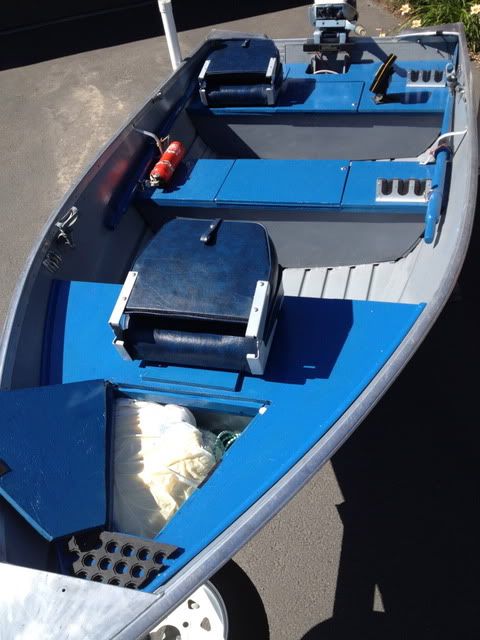
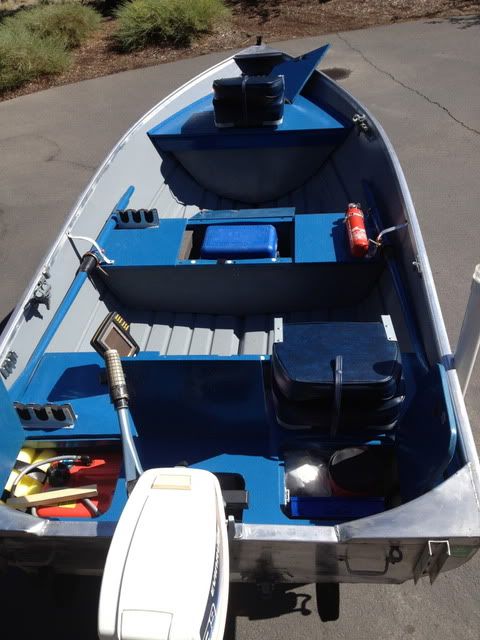
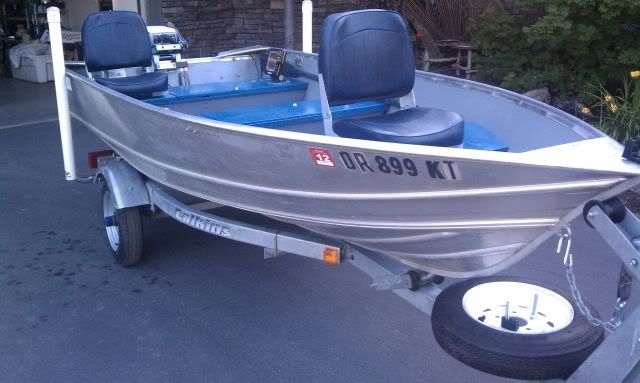
My objective was to improve the fishability of this small boat. An important part of that is getting rid of the clutter of tanks, anchors, ropes, PFDs and the like. I had two requirements for the resulting mods: retaining all of the boat’s original floatation capacity and minimizing the amount of added weight. None of the things I did here is really new; I borrowed liberally from TinBoat members (thank you!) and others. But I thought it might be helpful to see them in one place and applied to a smaller V hull. Plus, I have no real skill in any of this, or any tools more exotic than an electric jig saw; so these mods would be easy for anyone. Sorry, no pictures of the boat before I began, but here is a picture after the first bit of sprucing up, with the details below.
The interior of the hull was taken down to sound paint (which was sanded) or bare metal (which was primed) then painted (Rustoleum) everywhere with a new color. Pumice grit was added to the paint going on the floor. All existing plywood (5/8 inch) was sound and well-sealed. So it was removed, sanded, painted with two coats of a new color and reinstalled. The existing hardware was removed and replaced with SS. No carpet or vinyl before or after mods.
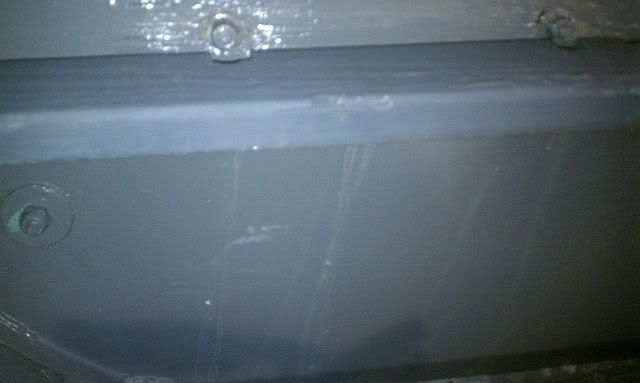
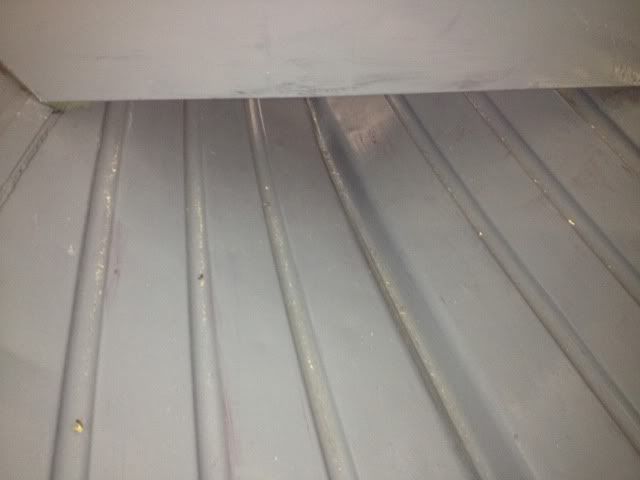
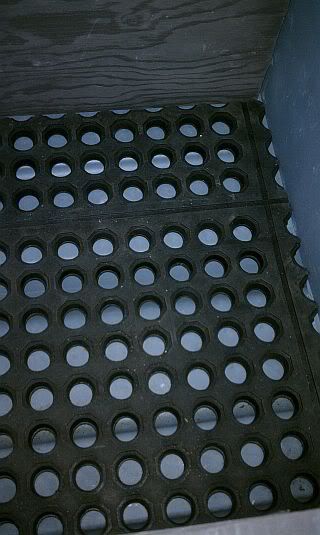
The aft bench was modified to provide storage and a home for the battery. A middle section of the enclosed foam was cut out with a hacksaw (using very light pressure on the blade) and removed. The open foam cuts got a quick spray of primer to keep them from “shedding”. They were finished with 1/4 inch plywood, which was sealed and painted. Finally, a ¾ inch thick perforated rubber mat was cut to fit the new storage compartment floor to reduce vibration and keep the contents away from any water that might get into the boat.
Foam Cuts

Test fit of 1/4 inch ply, before finishing

Rubber mat in compartment floor
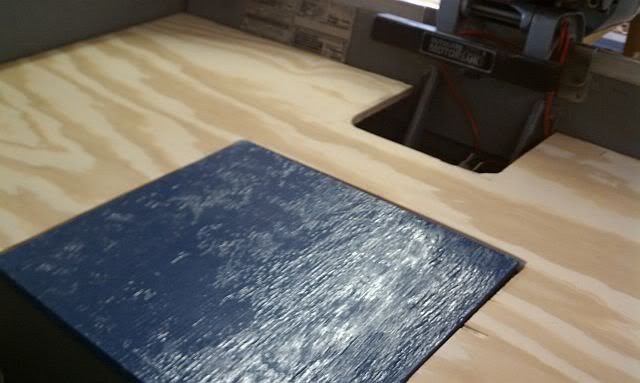
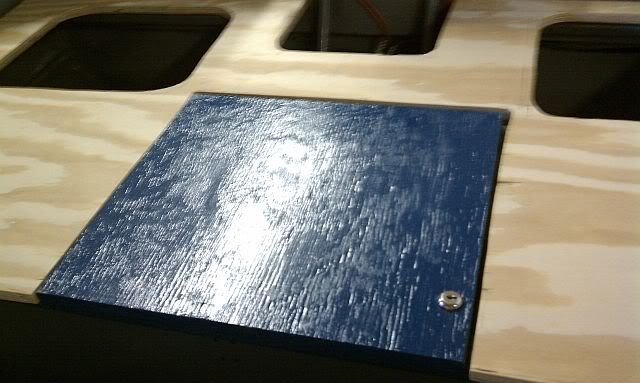
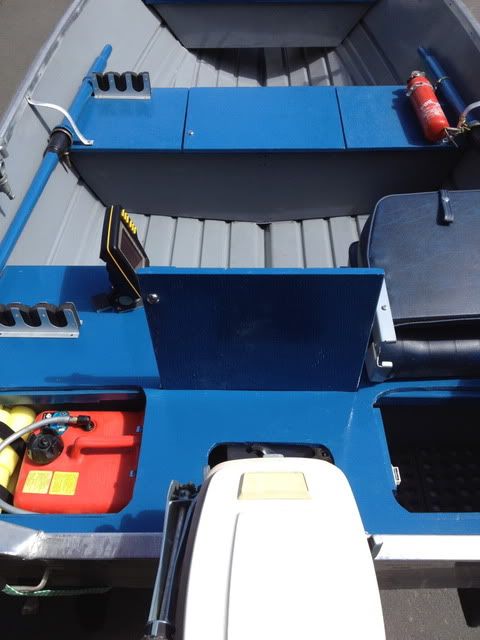
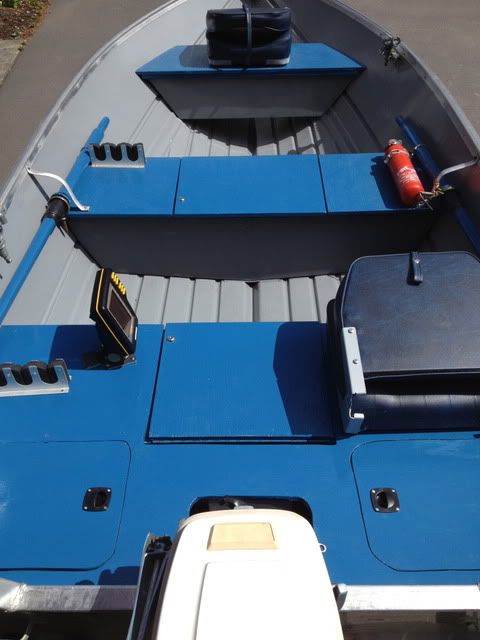
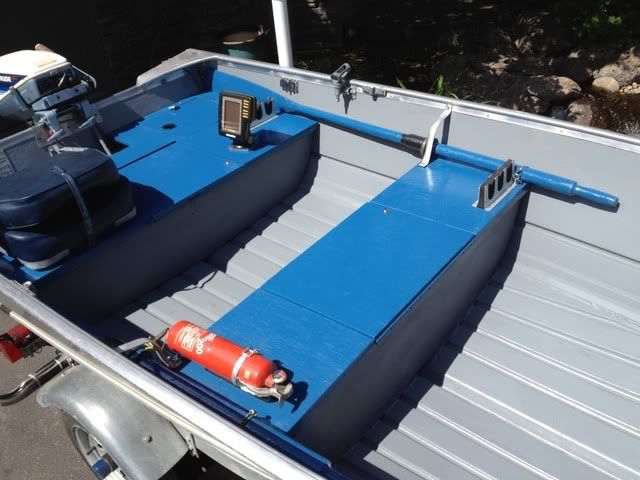
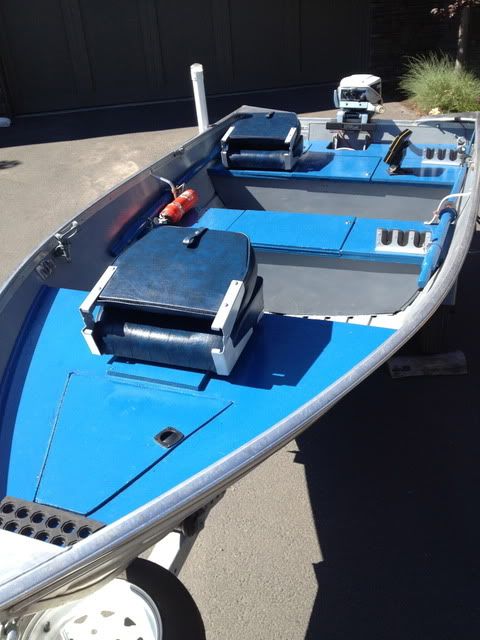
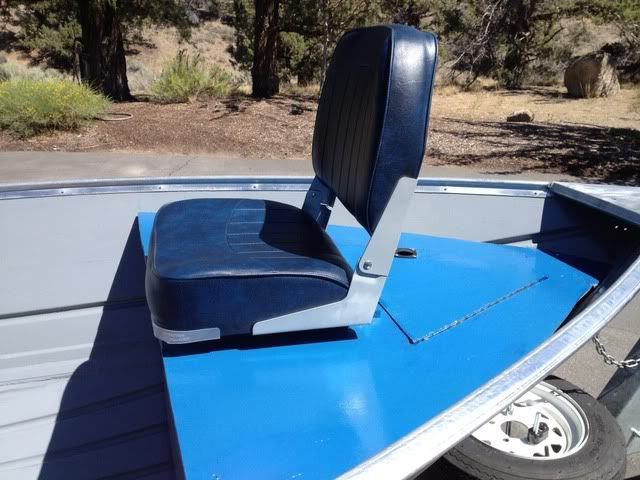
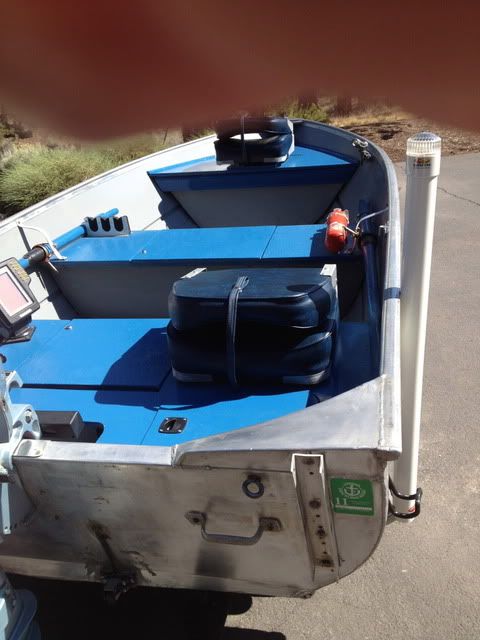
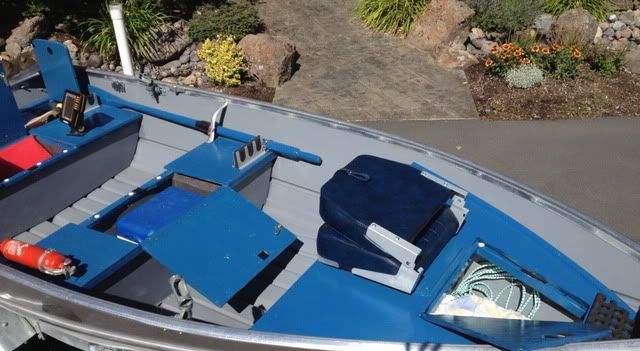
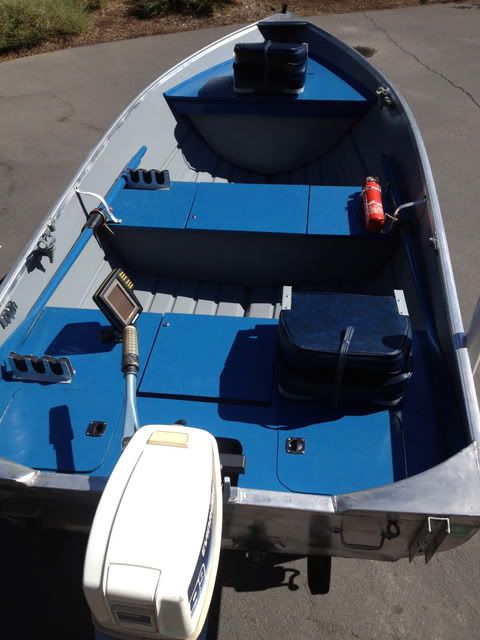
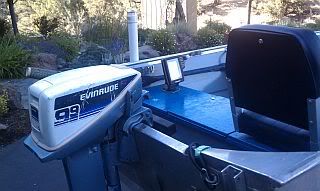
The plywood bench top was removed, a section cut out to serve as a lid for the storage area; then resealed, painted, and reattached. A continuous aluminum hinge was used to secure the lid along the aft edge. No new framing was necessary. A cam lock was added, though its main function will probably be to keep my fishing buddy from eating my sandwiches. The original FF (a ‘bird TCRID-1, circa 1979) was re-mounted for better ergonomics. Swivel seats were bolted directly to the fore and aft benches with SS hardware. Oversize washers were used to reinforce the bottom of the benches. The seat on the aft bench was mounted to starboard and positioned to allow the seat to clear both the side of the boat and the hatch when lifted, regardless of the swivel position.
FF and aft seat mounted
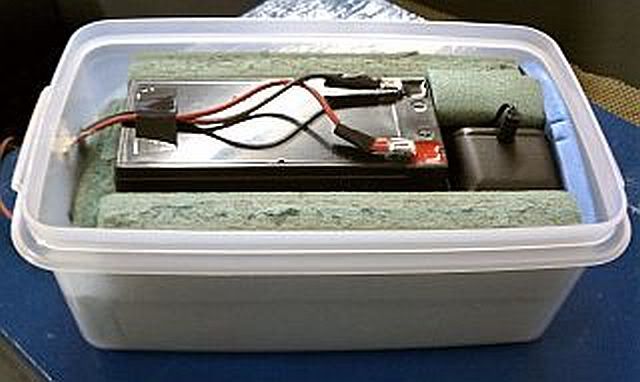
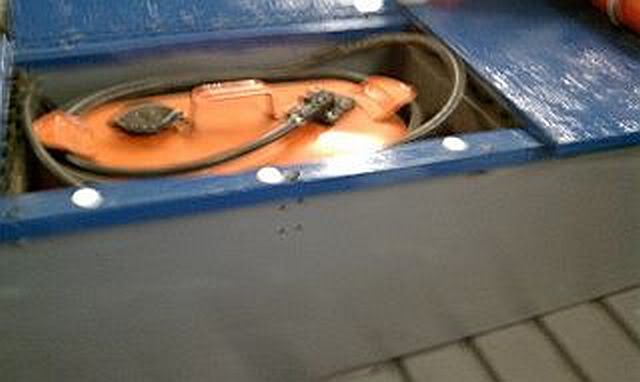
I changed the battery setup. The PO used an auto battery (located behind the aft bench) to run the FF. Since it was only powering sonar, I replaced that set-up with a smaller, lighter 8 amp sealed lead-acid battery from Cabelas. I mounted it in a Tupperware container with foam on the bottom and sides for vibration protection. A hole was drilled in the side to run the leads out and then sealed with silicone. They were connected to the FF with a quick-connect fitting so I can easily remove the entire battery assembly. I also keep the charger in this container so I can conveniently recharge the battery on longer trips. Finally, I mounted a 12v convenience outlet on one end of the container to recharge cell phones, portable GPS units and the like. The hole for the outlet was also sealed with silicone. The leads were finished with heat shrink at the battery terminals and a top layer of foam put in place before the lid was put on the container (neither is shown in the next picture). Light, compact, waterproof and easily portable, the battery now lives under the aft bench.
Battery Setup
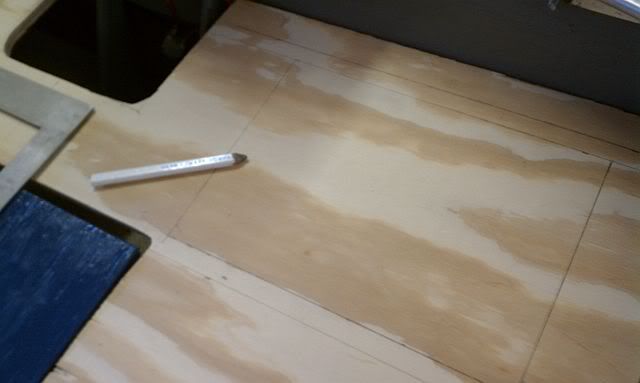
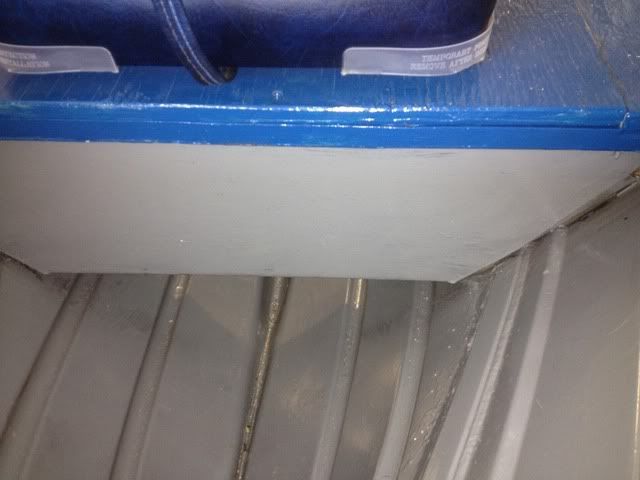
The middle bench was modified in the same way as the aft bench, except the hinge is on the forward edge of the bench. The storage compartment was made large enough to accommodate a 6 gal. gas tank or a modest cooler. I carefully measured before doing this to ensure the lid would clear the tops of the tank and cooler. No new framing was necessary. I am currently using this space for the storage, as a 6 gallon tank was unnecessary for most of the trips I take. I went with a 3, and positioned it behind the aft bench on the port side. BTW, the 6 will also fit behind the aft seat if needed.
Middle bench cutout...sorry for the blurrrrrr
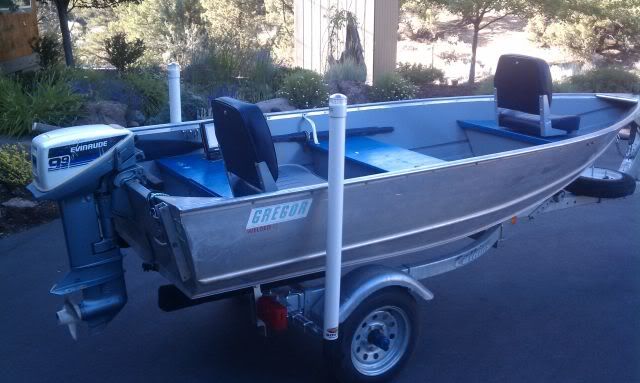
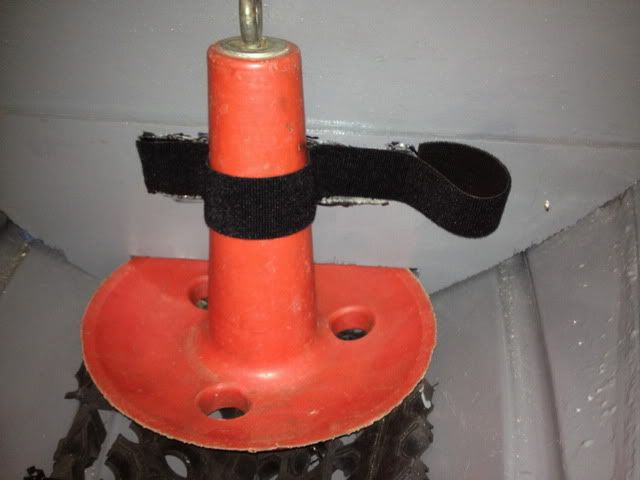
During all of this, I still had to feed my CL habit and I just happened to find a like-new Calkins galvanized trailer. It followed me home. Easily set up for the Gregor, I serviced the bearings (with Buddies), and fitted a new winch strap. I added the guide-ons shown in the pics. I know, I bought them rather than building them… sorry. BTW, the LEDs at the top of the guides are invaluable when maneuvering in the dark. This is the setup in the pics. Finally, the rude was serviced at a local shop: new pump kit, carb kit, plugs and starter rope; nothing cosmetic yet.
Guide-ons mounted
Total weight added to the boat so far is about 7 pounds including sealer, and paint; plus 18 pounds for the two seats. But I saved probably 20 pounds using the smaller battery. Call it a net addition of maybe 5 lbs.…not too bad.
Next step: "sea" trials.
My objective was to improve the fishability of this small boat. An important part of that is getting rid of the clutter of tanks, anchors, ropes, PFDs and the like. I had two requirements for the resulting mods: retaining all of the boat’s original floatation capacity and minimizing the amount of added weight. None of the things I did here is really new; I borrowed liberally from TinBoat members (thank you!) and others. But I thought it might be helpful to see them in one place and applied to a smaller V hull. Plus, I have no real skill in any of this, or any tools more exotic than an electric jig saw; so these mods would be easy for anyone. Sorry, no pictures of the boat before I began, but here is a picture after the first bit of sprucing up, with the details below.
The interior of the hull was taken down to sound paint (which was sanded) or bare metal (which was primed) then painted (Rustoleum) everywhere with a new color. Pumice grit was added to the paint going on the floor. All existing plywood (5/8 inch) was sound and well-sealed. So it was removed, sanded, painted with two coats of a new color and reinstalled. The existing hardware was removed and replaced with SS. No carpet or vinyl before or after mods.
The aft bench was modified to provide storage and a home for the battery. A middle section of the enclosed foam was cut out with a hacksaw (using very light pressure on the blade) and removed. The open foam cuts got a quick spray of primer to keep them from “shedding”. They were finished with 1/4 inch plywood, which was sealed and painted. Finally, a ¾ inch thick perforated rubber mat was cut to fit the new storage compartment floor to reduce vibration and keep the contents away from any water that might get into the boat.
Foam Cuts
Test fit of 1/4 inch ply, before finishing
Rubber mat in compartment floor
The plywood bench top was removed, a section cut out to serve as a lid for the storage area; then resealed, painted, and reattached. A continuous aluminum hinge was used to secure the lid along the aft edge. No new framing was necessary. A cam lock was added, though its main function will probably be to keep my fishing buddy from eating my sandwiches. The original FF (a ‘bird TCRID-1, circa 1979) was re-mounted for better ergonomics. Swivel seats were bolted directly to the fore and aft benches with SS hardware. Oversize washers were used to reinforce the bottom of the benches. The seat on the aft bench was mounted to starboard and positioned to allow the seat to clear both the side of the boat and the hatch when lifted, regardless of the swivel position.
FF and aft seat mounted
I changed the battery setup. The PO used an auto battery (located behind the aft bench) to run the FF. Since it was only powering sonar, I replaced that set-up with a smaller, lighter 8 amp sealed lead-acid battery from Cabelas. I mounted it in a Tupperware container with foam on the bottom and sides for vibration protection. A hole was drilled in the side to run the leads out and then sealed with silicone. They were connected to the FF with a quick-connect fitting so I can easily remove the entire battery assembly. I also keep the charger in this container so I can conveniently recharge the battery on longer trips. Finally, I mounted a 12v convenience outlet on one end of the container to recharge cell phones, portable GPS units and the like. The hole for the outlet was also sealed with silicone. The leads were finished with heat shrink at the battery terminals and a top layer of foam put in place before the lid was put on the container (neither is shown in the next picture). Light, compact, waterproof and easily portable, the battery now lives under the aft bench.
Battery Setup
The middle bench was modified in the same way as the aft bench, except the hinge is on the forward edge of the bench. The storage compartment was made large enough to accommodate a 6 gal. gas tank or a modest cooler. I carefully measured before doing this to ensure the lid would clear the tops of the tank and cooler. No new framing was necessary. I am currently using this space for the storage, as a 6 gallon tank was unnecessary for most of the trips I take. I went with a 3, and positioned it behind the aft bench on the port side. BTW, the 6 will also fit behind the aft seat if needed.
Middle bench cutout...sorry for the blurrrrrr
During all of this, I still had to feed my CL habit and I just happened to find a like-new Calkins galvanized trailer. It followed me home. Easily set up for the Gregor, I serviced the bearings (with Buddies), and fitted a new winch strap. I added the guide-ons shown in the pics. I know, I bought them rather than building them… sorry. BTW, the LEDs at the top of the guides are invaluable when maneuvering in the dark. This is the setup in the pics. Finally, the rude was serviced at a local shop: new pump kit, carb kit, plugs and starter rope; nothing cosmetic yet.
Guide-ons mounted
Total weight added to the boat so far is about 7 pounds including sealer, and paint; plus 18 pounds for the two seats. But I saved probably 20 pounds using the smaller battery. Call it a net addition of maybe 5 lbs.…not too bad.
Next step: "sea" trials.