BigTerp's Tracker Sportsman 16' O/B Jet build

TinBoats.net

Help Support TinBoats.net:

This site may earn a commission from merchant affiliate links, including eBay, Amazon, and others.
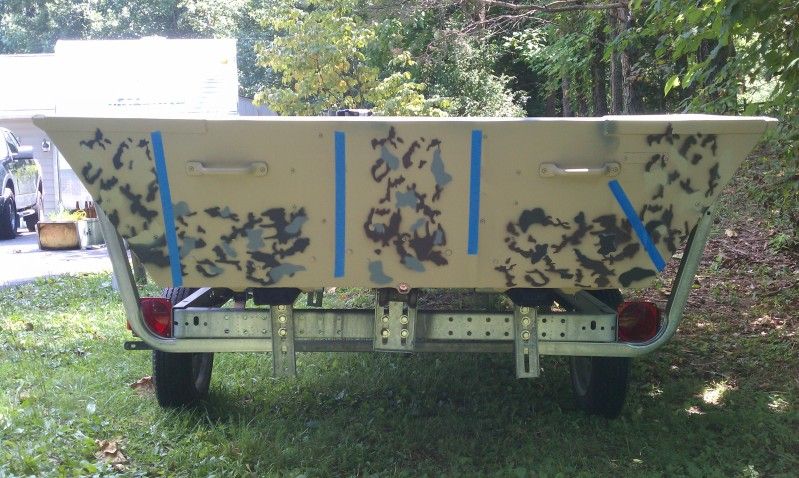
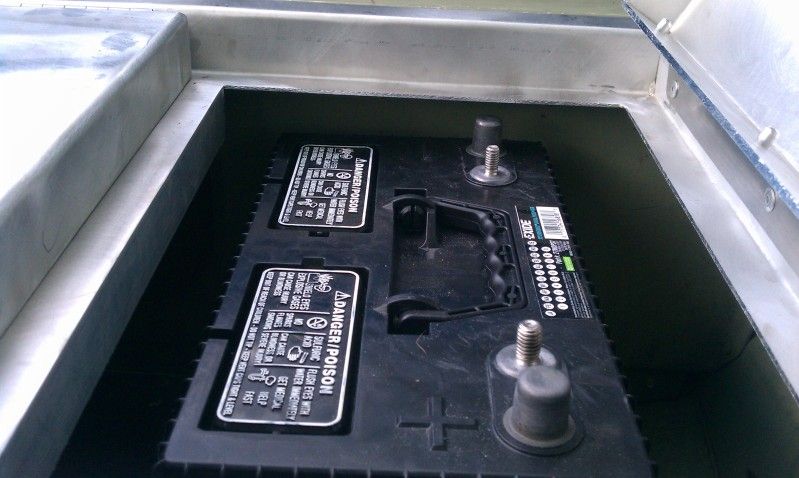
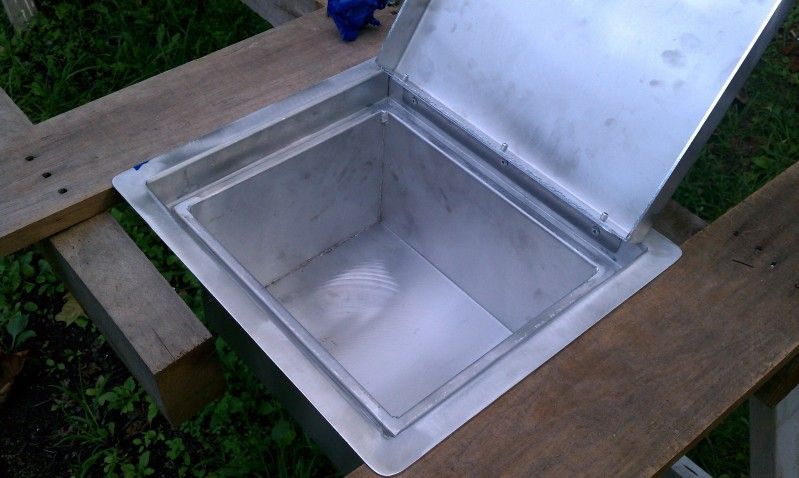
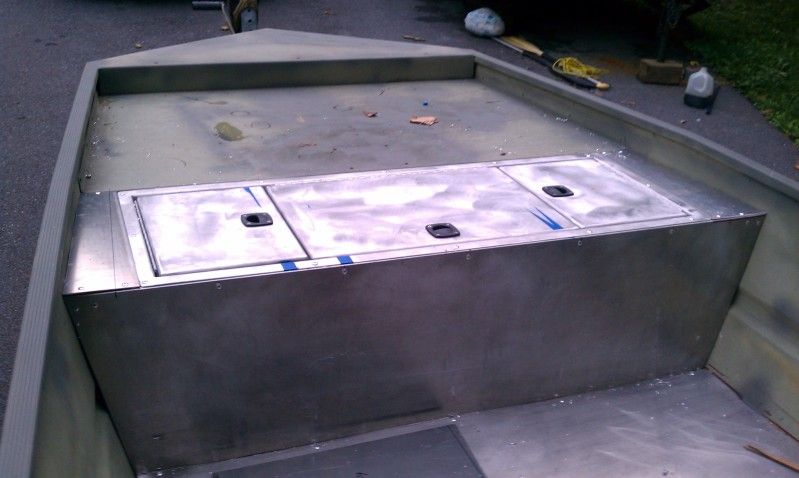
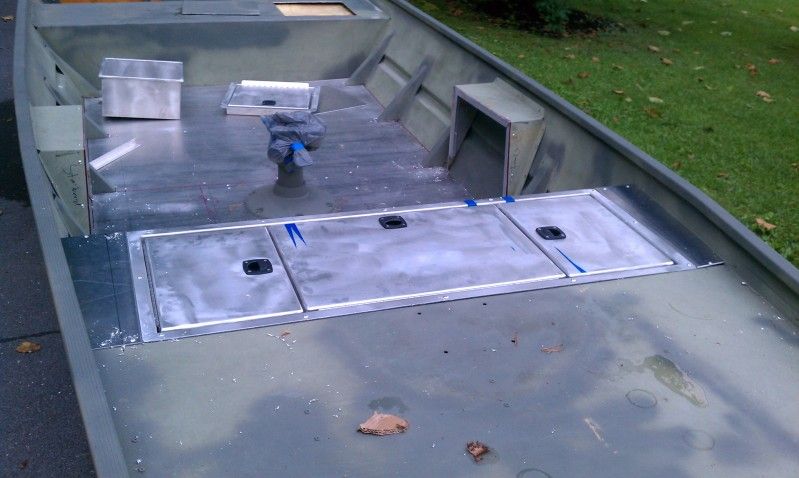
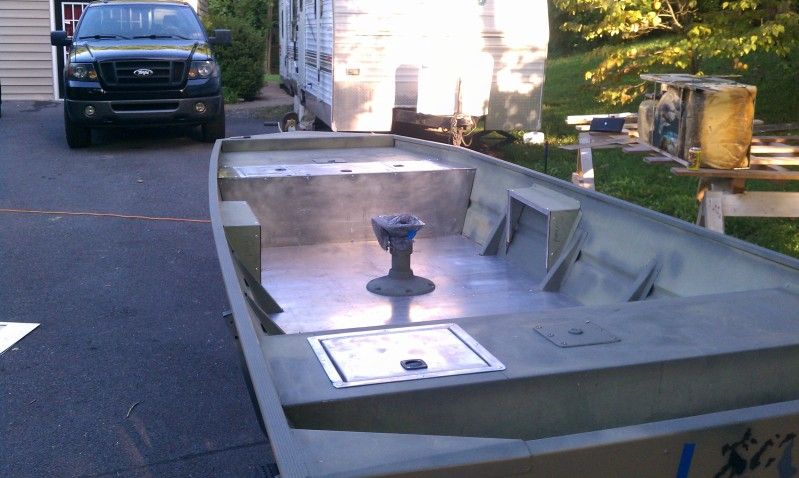
Here are a few shots of the camo stencling test colors I did over the weekend. I know there are a few waterfowl hunters on here, so opinions are welcome!!

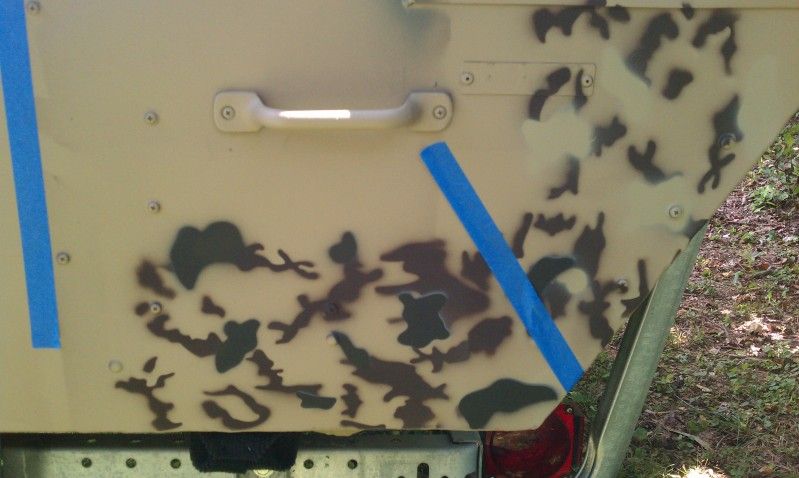
I think these have too much grey. Both are grey "bases" with one black and one dark brown top stencil. I'm pretty sure thes are out of the running.
IMAG0890_zps3378385a.jpg


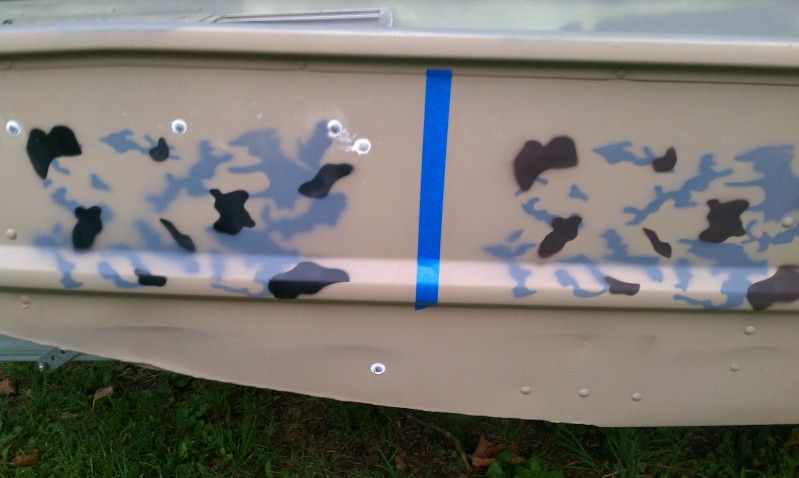
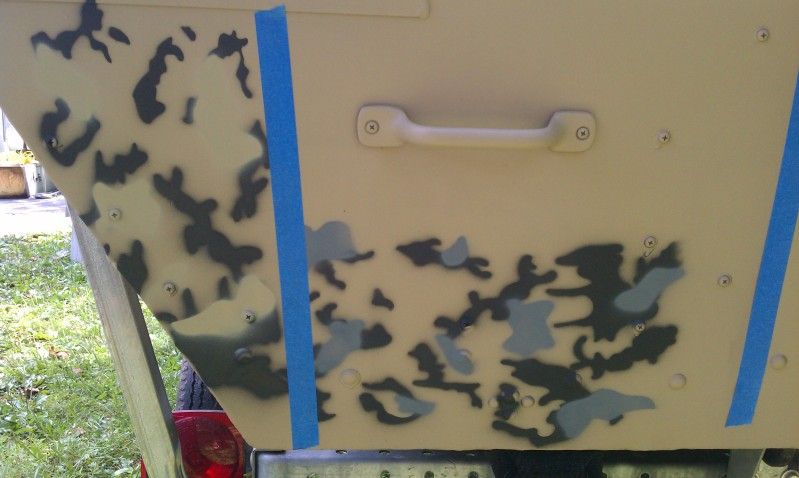
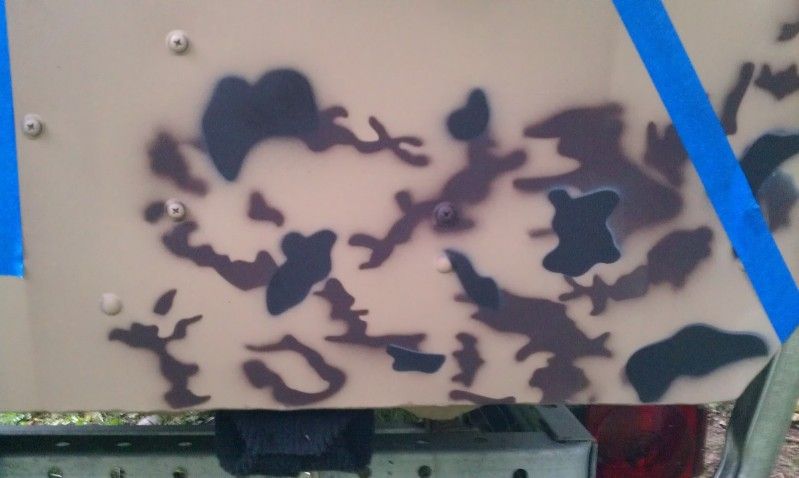
This one creates some nice shawoding effects, I think. But it seems like the black makes it to dark. This one is a dark brown base with black top stencil.
IMAG0889_zpsd62cb3b5.jpg


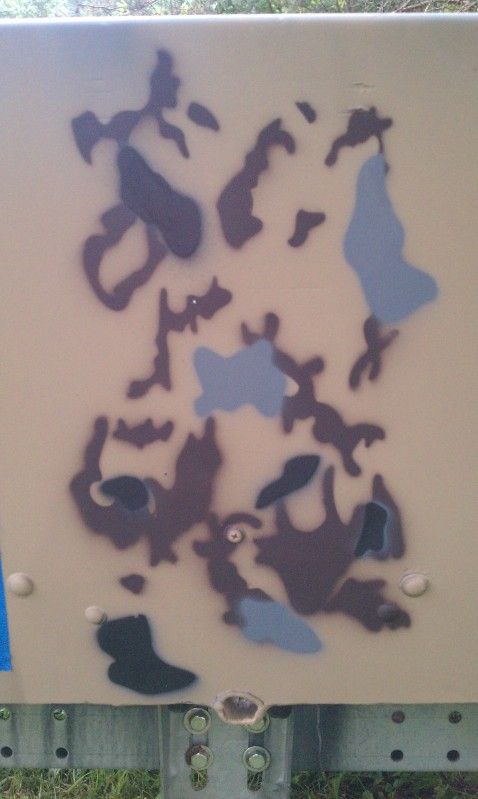
This is the same as above but I hit a few of the top stencil patterns with some grey. It might be my favorite. I would probably do more black and less grey if I went with this color combination.
IMAG0888_zps5afc27cf.jpg
 
Got a bit done the last two evenings. What should have only taken an evening to do ended up taking two because of rain. Was able to get my floor installed and captaines seat installed. Also cut the ends off my former middle bench seat to make control mounts. Got them installed as well. This should be the last solid rivets I need to install through the hull of the boat. So once the 5200 cures and I get my hatches installed I can finish up my painting.

Control mounts cut.
IMAG0896_zps21a76f55.jpg


Control mounts installed. Still need to throw 3 pieces of angle on the inside of the mounts so I can install a piece of aluminum sheet as a face plate. Going to house my control panel on the starboard mount along with my throttle control. the port mount will hold my stick steer and possibly my sonar. May mount my sonar further towards the bow though.
IMAG0898_zpsc712fcd0.jpg


Need to get a decent tarp for a cover. These are getting pretty ratty!! Since I have my floor installed with foam underneath I'm trying to keep any debris for getting under my floor and clogging up the hull channels. Once I get my hatches installed it will be less of a concern, but I'd still like to keep it covered.
IMAG0899_zpsaef1b415.jpg


IMAG0897_zpsc906d199.jpg


Tomorrow my buddy and I plan on spending all day getting the 50/35 Johnson jet put back together and running. Hopefully a full days worth of work will be enough!! [-o<
 
Got a few things done over the weekend. Ordered all my electric supplies including bus bar, fuse holders, fuses, wires, etc. Spent a solid 8 hours on Saturday at my buddies getting the motor put back together. We got ALOT done, and hoping to have it running by the end of the week [-o< I also did a little work on the boat itself.

Jet pump housing installed. We replaced the water pump and seals and I had already sharpened the impeller. Everything else looks real good regarding the jet pump.
IMAG0902_zps41d0797c.jpg


Powerhead. We had the cylinders bored out to .030 over and ordered new pistions. The machine shop did a really good job on the block, as you can tell from the pictures. Obvioulsy we installed all new gaskets and cleaned an lubed everything really well when reassembling the powerhead.
IMAG0904_zps173d5334.jpg


IMAG0903_zps1a4b4bb1.jpg


These aren't the best pictures, but you can see the powerhead installed along with the carburetors. Carburetors were a bit gunky, but much better than anticipated. They were cleaned and got new gaskets.
IMAG0905_zps2a1c048f.jpg


IMAG0906_zps03db6091.jpg


That was about our stopping point for the day. We started installing a few of the hoses, starter, wiring etc. But we were beat so we called it quits. I don't know much about engines, but my buddy is a mechanical engineer and has rebuilt over 20 dirt bike engines. He was happy with how things turned out and said the motor was in pretty darn good shape. He said it was obvious that someone had rebuilt the engine before, but did a half$## job of it. We may have went a little above and beyond, but I guess that's better than rushing through it.

Yesterday I dry fitted my face plates for my control mounts and also dry fit my control panel to the starboard mount. Should work out nicely. Just need to figure out some sort of access panel so I can get behind the face plate if I ever need access to my contorl panel wiring/fuses.
IMAG0907_zpsf185912d.jpg


Things are starting to come along nicely. I'm hoping to have my hatches in today or tomorrow. Once I get those in I can get them installed. Still need to install my pin mount seat bases. Once I get those things knocked it she'll be ready for primer and paint. Which I'm hoping to do late this weekend or over the weekend. After paint I can run all my wiring and install my accessories. Other than getting the motor finished up and installed, she'll be ready to go at that point!!!!
 
Looking good man!

I'm not going to sugarcoat this though, I am not a fan of the camo patern. It is too defined
And the contrast of Colors too great. I would advocate for a dark base color, add your.. lighter colors -then overspray a black or dark color to provide depth. Those stencils are great if used Correctly ' but are never meant to be the final solution, Here is my advise' do half the boat in the stencil and the aft half in any pattern you wAnt- use Sticks, leaves and pine needles as your Stencils Them step back 50 Yards and see if you can tell the difference! I'm no expert thats for sure and I'm not ragging on your paintjob just passing on Unsolicited advise! :)

I wish I was there to lend a hand and show you What I mean on a peice of Cardboard or something. There are a lot of Great YouTube videos out there that show what I am talking about!

Good look brother! You've boat is coming along nice-it gives me great motivation to keep working on mine!

Cheers
Herc
 
Thanks for the advice. I'm horrible with visualizing things like this, so any help/opinions are appreciated. I can say I'm not 100% satisfied with the camo patterns. The tough thing is finding different colors in flat spray cans. I'll probably end up going with the black over brown. Here is a few shots of some other colors I tried together. Maybe one of them look better?

The painters tape seperates the different patterns. The far left and right of the transom has a khaki color over the bottom pattern. It's almost identical to my base coat, so I dismissed that color.
IMAG0886_zps0905014c.jpg


Here they are a little closer up.
IMAG0885_zps1a69c56b.jpg


IMAG0883_zps7aabb13a.jpg
 
Got my hatches in last night and I was like a kid at Christmas. Got them from Dawson at Fish On Fabrications. He did a top notch job!! Didn't get them installed yesterday, but am hoping to get that done this evening.

Bow deck hatch.
IMAG0912_zps02ca3fbf.jpg


Just enough room for my batteries. Might end up sliding them a bit aft to add some clearance for the posts. Don't want them arcing out on me while on the water.
IMAG0913_zps35487d7f.jpg


Rear bench seat hatch.
IMAG0916_zpsea4cc42b.jpg


IMAG0917_zpsae0e7f56.jpg
 
Nice job...wonder if you could glue/tape some type of thin hard plastic to the inside of the lid,just incase a battery does jump and hit the lid.
Probably something at a craft store or even lying around that would do the job.
 
[url=https://www.tinboats.net/forum/viewtopic.php?p=325920#p325920 said:
Zum » Today, 2:54 pm[/url]"]Nice job...wonder if you could glue/tape some type of thin hard plastic to the inside of the lid,just incase a battery does jump and hit the lid.
Probably something at a craft store or even lying around that would do the job.

Thanks man. Great idea!! I'd like to keep my batteries as far towards the bow as possible. Leaves more room for my speakers, battery charger, etc. I think your idea would be the perfect solution.
 
Got my bow hatch installed and tidied up last night. Turned out pretty nice, IMO. I'm running short on time though. Goose season opens up Sept. 2nd. Still on target to finish up painting this Sunday. Then I can get my accessories installed and electric run. Nothing like making a big push at the finish line!!
IMAG0919_zpsfd55223f.jpg


IMAG0918_zps40f5f17b.jpg


Also got the hole cut in my rear bench for that hatch. Didn't have enough daylight to get that installed though.
IMAG0920_zps1f5f212a.jpg


Plan on getting my bench hatch installed and my 2 pin seat bases installed on Thursday. Then I can start prepping for paint. Life is busy for me right now though. Softball game tonight, work function Friday evening and an all day softball tournament on Saturday. Might not get to my paint prep until Sunday morning. But if I can get the paint finished up by Sunday night, I'll be a happy guy!!
 
Was at it again last night. Got my pin mount bases installed and my rear bench hatch installed. Getting the foam out of the rear bench to make room for my hatch liner was a PAIN. It was pretty waterlogged as well. It was also a challenge getting unerneath my rear bench seat mount to bolt it in. But it's done!! Now she's ready to be prepped for paint.

Bow deck seat base installed.
IMAG0932_zps253563b8.jpg


Rear bench.
IMAG0930_zpse50605cf.jpg


Cleaned up and ready for paint prep.
IMAG0934_zpsc9e86d00.jpg


IMAG0933_zps76184014.jpg
 
After I finished up a few hours worth of work on the boat I headed over to my buddies to work on the motor. We got it to the point were shes ready to start, but we need new fuel lines and one of the plug boots was cracked so he's picking up new plug boots and wires as well. We still turned her over a few times to check the function of the starter and all seems to work well. Just a few cranks and the compression sounds AWESOME. It was really nice to see all the work we put into it start to pay off. Hopefully we can get her started and running on Sunday [-o<
 
Looking at my pictures I realized I still need to install my floor drains :oops: The floor drains OK now just from the spaces between my floor and hull/ribs. But I'm sure that would quickly get clogged up, especially during hunting season with muddy boots getting in and out of the boat.
 
The rain yesterday kept me from prepping and painting the rest of my boat. Still got a good bit done though. I replaced the plastic wheel on my trailer jack with a 10" pneumatic wheel. My river access in my sub division has a boat ramp. It's rather steep and made of about 2 feet deep of shale. When it's dry out and the river is down, I can back the boat in no problem. But if it's a little wet or the river has been up it slicks up the boat ramp bad enough that I'll get stuck. So my buddy had a new winch laying around his shed. We welded it to a 2" receiver. That connects to my hitch and my trailer receiver with ball connects to the 2" receiver with winch mounted to it. We have to lower the boat and trailer down the ramp with the winch and bring it back out the same way. The trailer jack is obviously down during this process. The old plastic wheel does not work well for this at all. So that's why I replaced it with a pneumatic one. I"ll have to get some pictures of my winch setup so you all can see what I'm talking about. But hopefully my explanation made some sense.

We also got the motor running!! It's pretty much ready to go at this point. Just need to figure out how we are mounting it to my boat. Was pretty exciting seeing it run for the first time after the extenisve rebuild we did.

Old trailer jack with crappy plastic wheel cut off.
IMAG0935_zpsbfbacc32.jpg


New 10" pneumatic wheel.
IMAG0936_zps6c9c9220.jpg


Trailer jack ready to be installed. We welded a steel plate to the shaft of the jack and then bolted the new wheel to the plate. Should work well for the way we put the boat in and out.
IMAG0937_zpsf2a41f8b.jpg


Video of the motor running. We ran it for a good 30 minutes total. Need to adjust a few things to get it fine tuned, but it ran GREAT!!!
[youtube]RCLBgYI8zEQ[/youtube]
 
I have been following your build.... Boat is looking great!! Did cutting the rear bench for the storage and adding the seat base weaken it much? I'm about to do the same with mine and was wondering if ill need to brace it more in some way.
 
[url=https://www.tinboats.net/forum/viewtopic.php?p=326605#p326605 said:
dawgfish66 » 23 minutes ago[/url]"]I have been following your build.... Boat is looking great!! Did cutting the rear bench for the storage and adding the seat base weaken it much? I'm about to do the same with mine and was wondering if ill need to brace it more in some way.

Thanks.

Not that I noticed at all. I took the entire hunk of foam out where I installed the hatch as well. I orginally tried to cut just enough out to fit my hatch, but it was to much of a PITA. Even with doing that it seems perfectly fine. Once I riveted the hatch down, it seemed to actually reinforce the bench and make it a bit stronger than before. I plan to eventually get a matching hatch for the other side of my bench. Trying to stay on budget for now though.
 
Big Terp -- I still owe you a youtube video of the cammo I am talking about -- when I get to the paint on my boat I will break out my camera and take some video of what I am talking about. Thanks and your boat is kickin some serious ***!!!

Cheers
Herc
 
[url=https://www.tinboats.net/forum/viewtopic.php?p=326654#p326654 said:
hercdrvrwo » Yesterday, 8:44 pm[/url]"]Big Terp -- I still owe you a youtube video of the cammo I am talking about -- when I get to the paint on my boat I will break out my camera and take some video of what I am talking about. Thanks and your boat is kickin some serious ***!!!

Cheers
Herc

Thanks man!! I'm liking your progress as well.

Tonight is prep and paint night. I"ll probably give my base coat at least 5 days to cure, then I'll tackle my camo stenciling. I'm not looking to do anything extravegent. I don't hunt out of my boat, but it's usually beached somewhere nearby for easy access to chase down any birds that are floating down river. Unless I get my hands on something different, I'm probably going to go with my stencils I already have and do a black over brown. I'm going to try and space out the stencils a bit to keep it from being a giant blob. Thanks for the tips!!
 
Got my floor drains installed last night and the rest of the boat painted. Applied Asper Grit to the entire floor, bow deck and bow deck hatch lids.

https://www.softsandrubber.com/aspergrit.html

Should keep walking surfaces non-slippery. Didn't get any pictures because we finished up late last night. Had to throw 2 easy ups over the boat to keep dew off of it over night. Seemed to dry well and the Asper Grit seemed to adhere nicely when I checked things this morning. I'll find out for sure when I get home this evening after the boat sits in the 90 degree sunny weather we are suppose to have today. I'll grab some pics tonight.
 

Latest posts

Top