Been busy as ....... I just ordered my last 4X10 sheet of diamond plate (that makes 3 total).
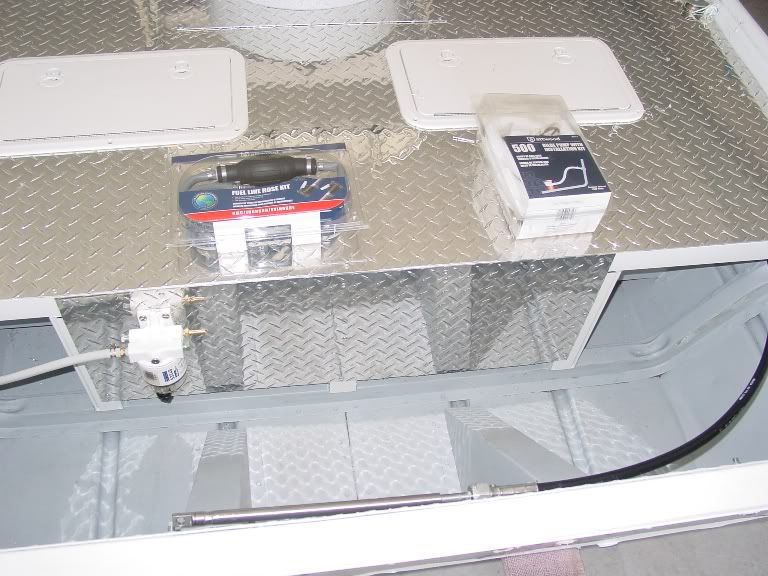
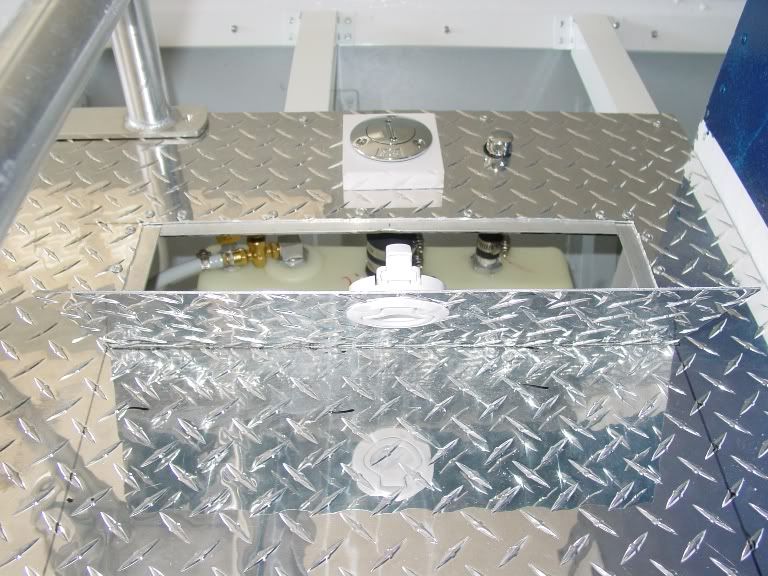
Got the fuel tank, water separator, and line plumbed back to the motor/transom.
I finally got some continuous hinges for the decking so I can finish what was cut out.
I picked up bilge pump kit and thru hull so that can be installed.
I got the console roof cut out and I'm working up the nerve to cut and bend the lexan for the windshield next. 2X4 sheet $50 at Lowes Land
I must stop to fish once in a while, I'm taking a USPS Safe boating class on tues evenings, and
I'm hacking hard to get this done! Safe Boating
")
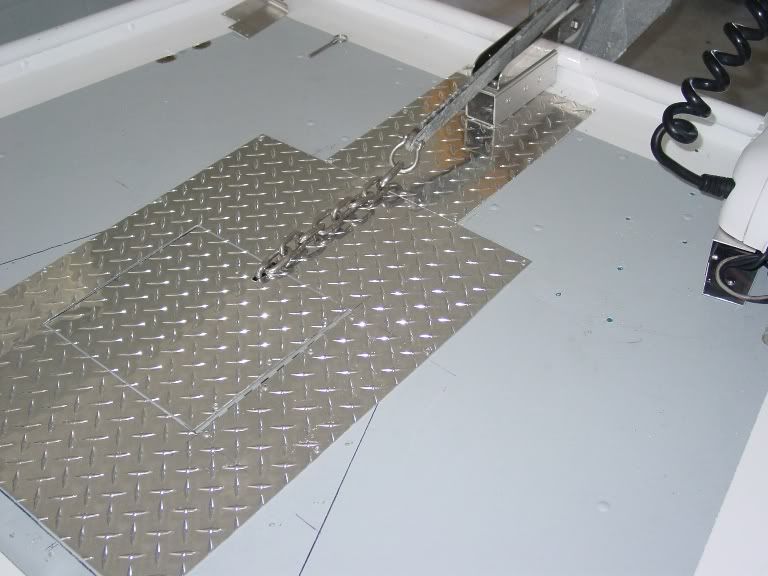
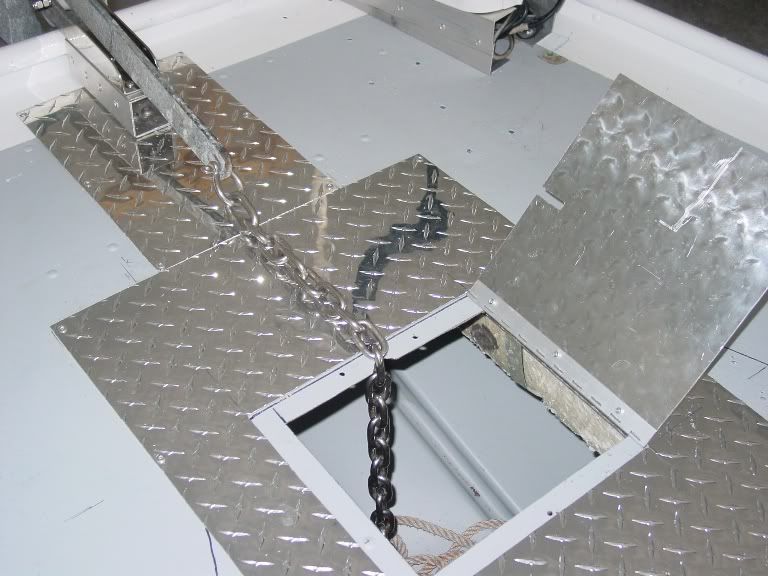
Anchor Hatch
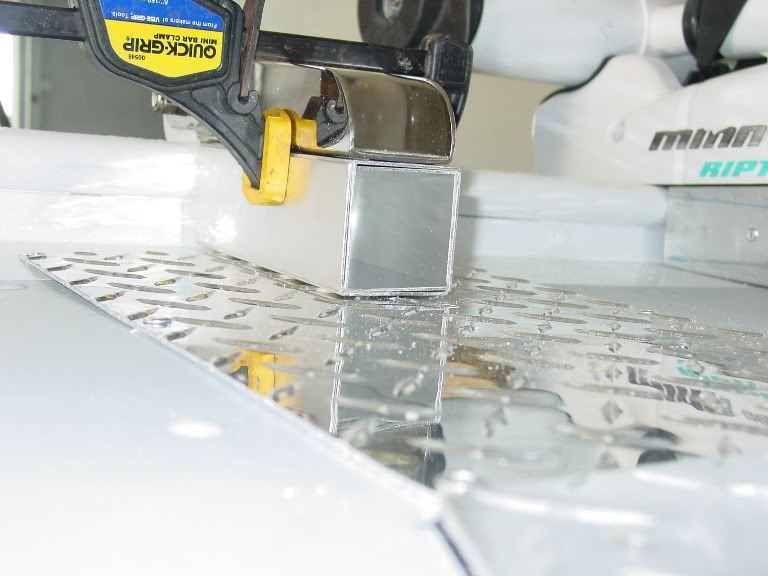
Again
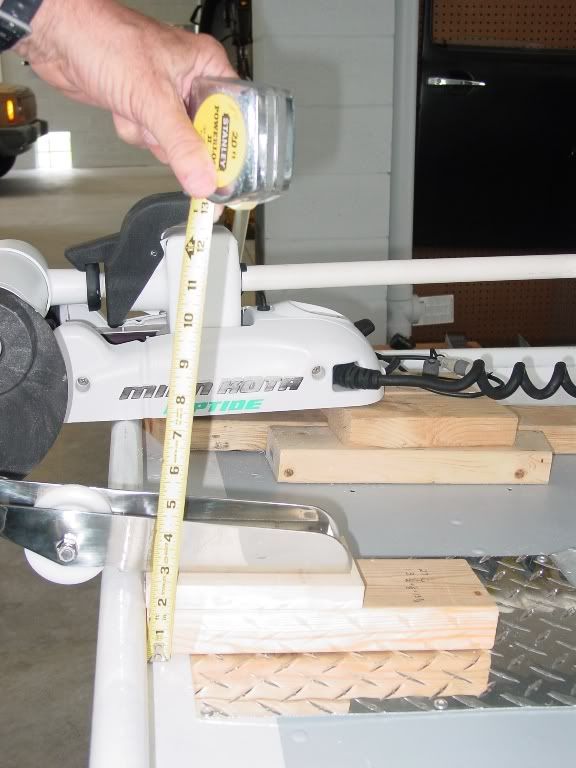
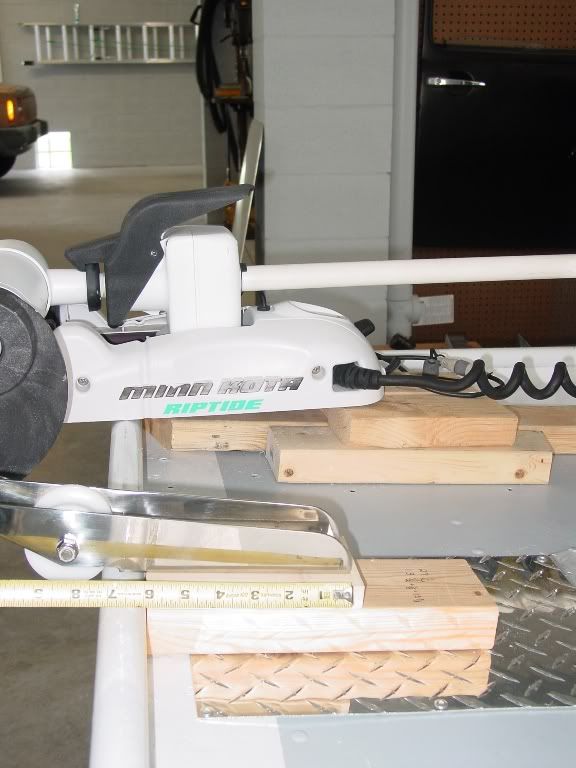
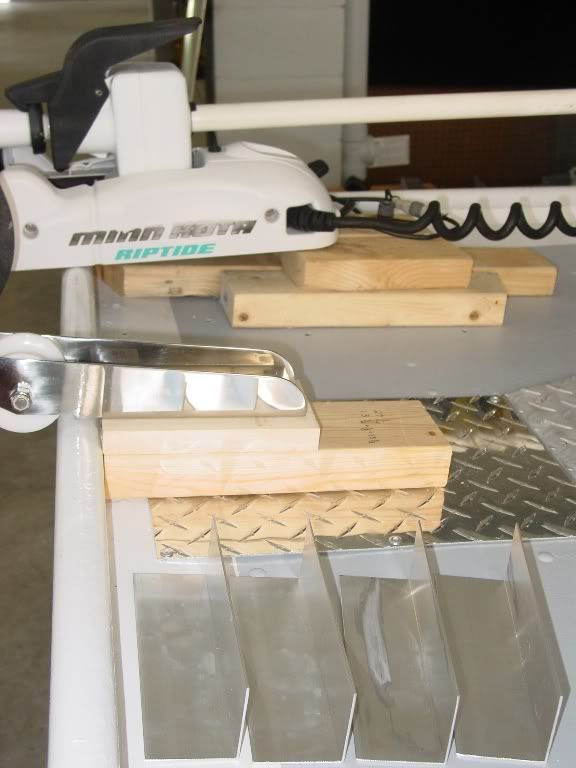
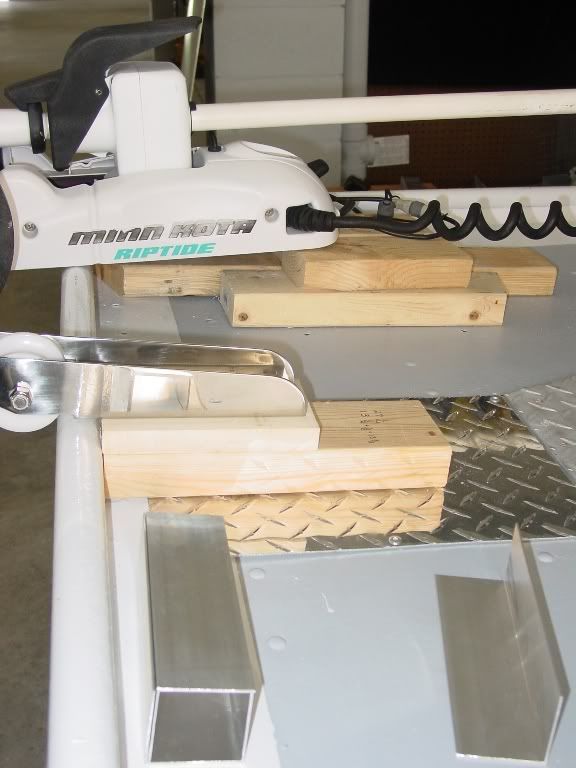
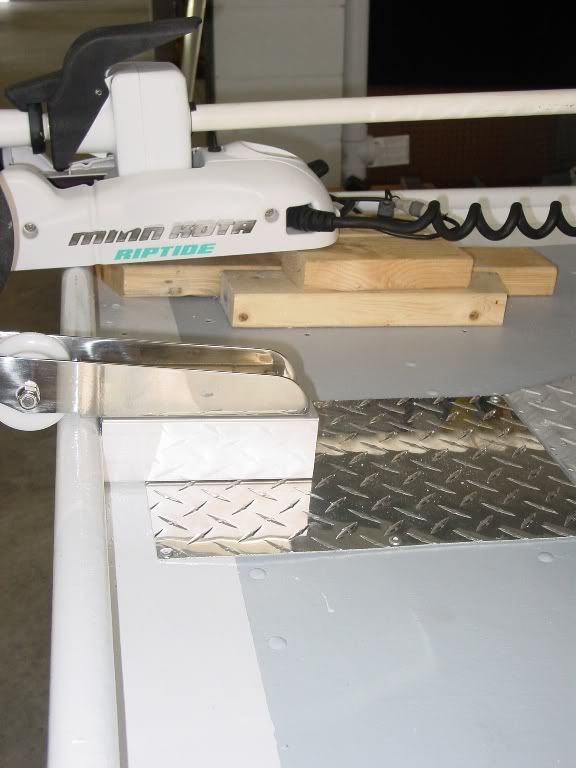
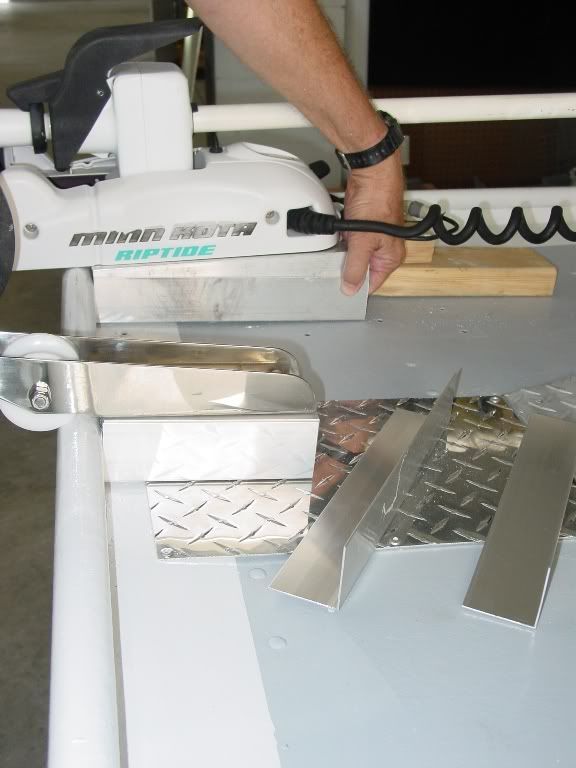
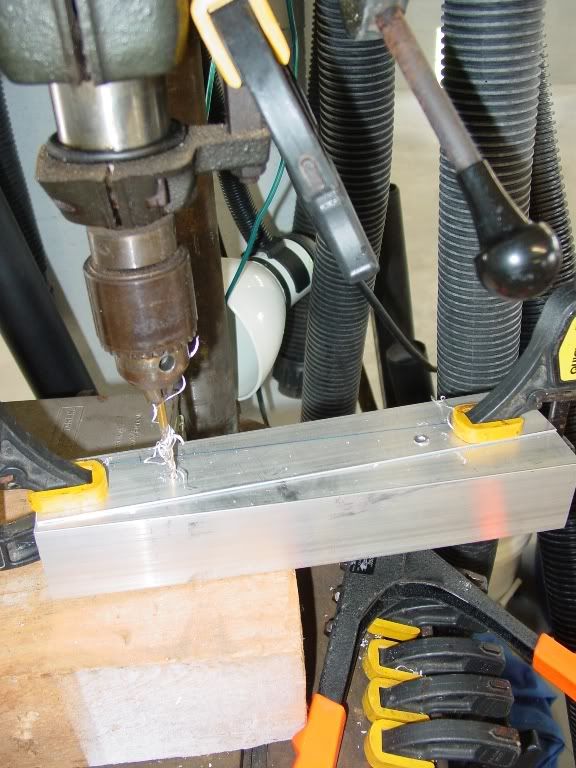
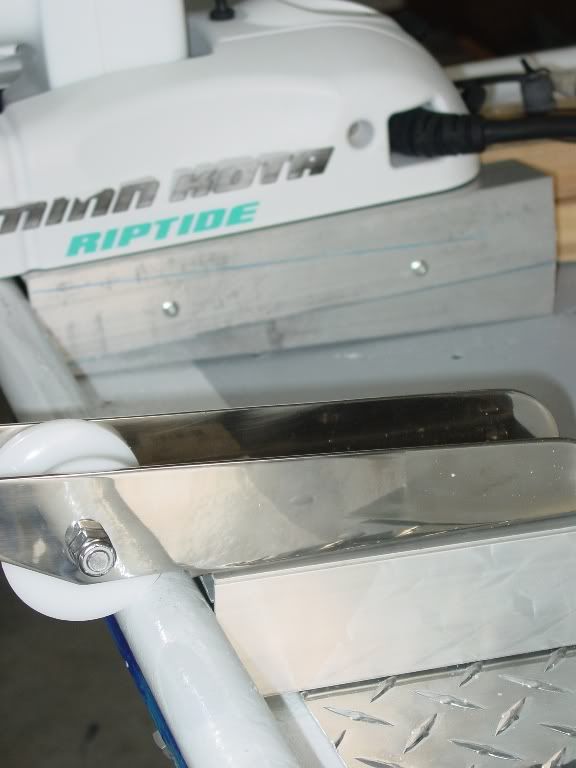
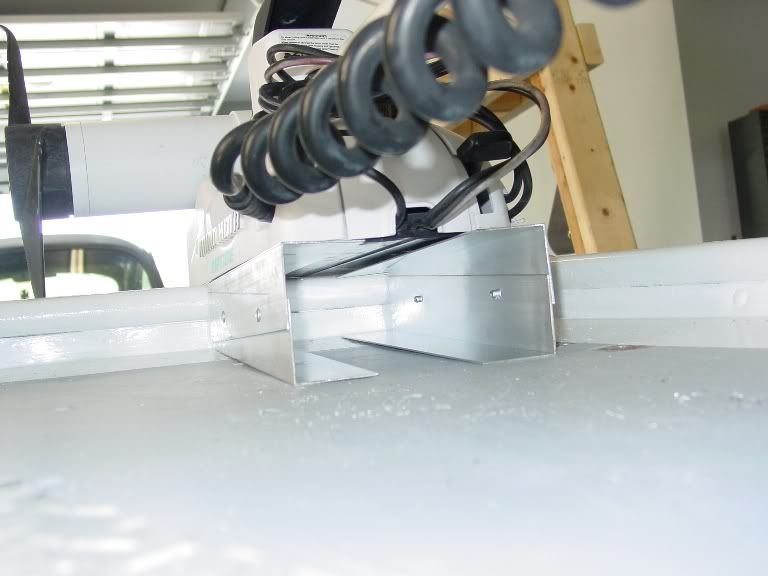
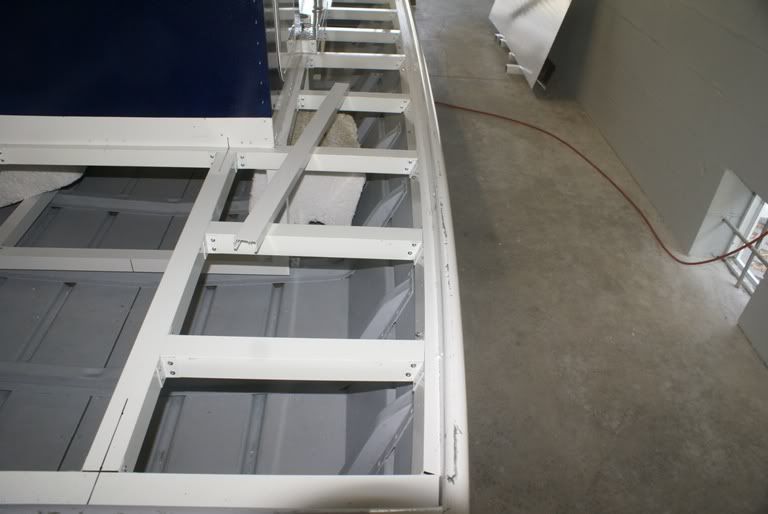
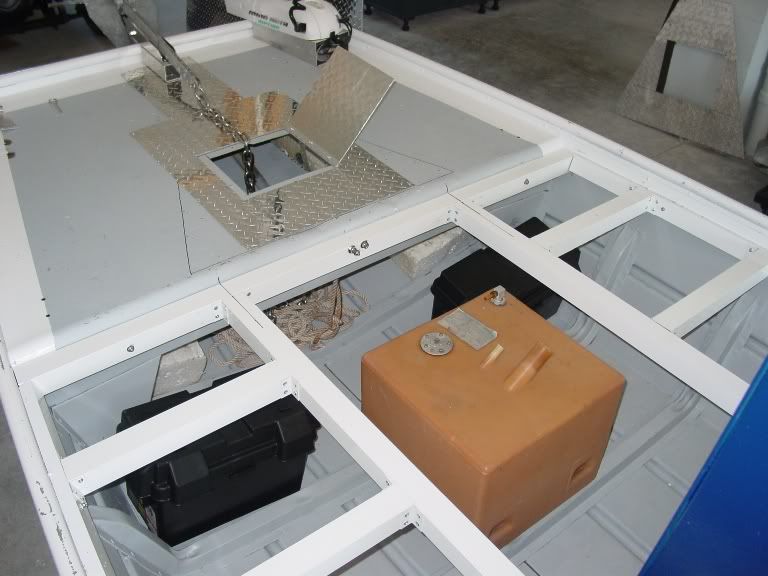
Trolling motor battery boxes and fresh water tank
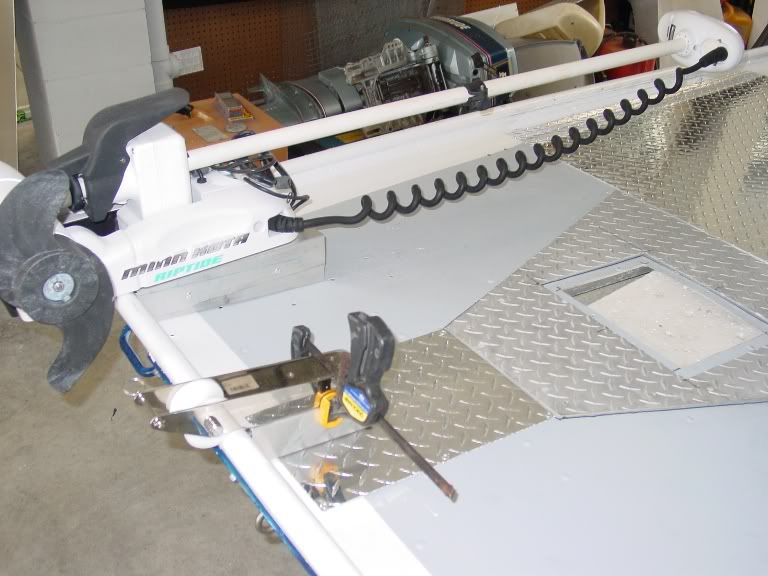
Fuel line to motor and bilge pump to be installed
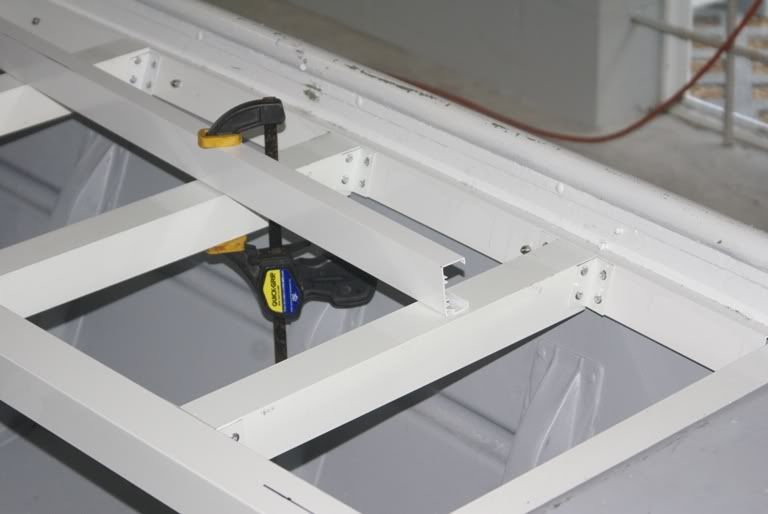
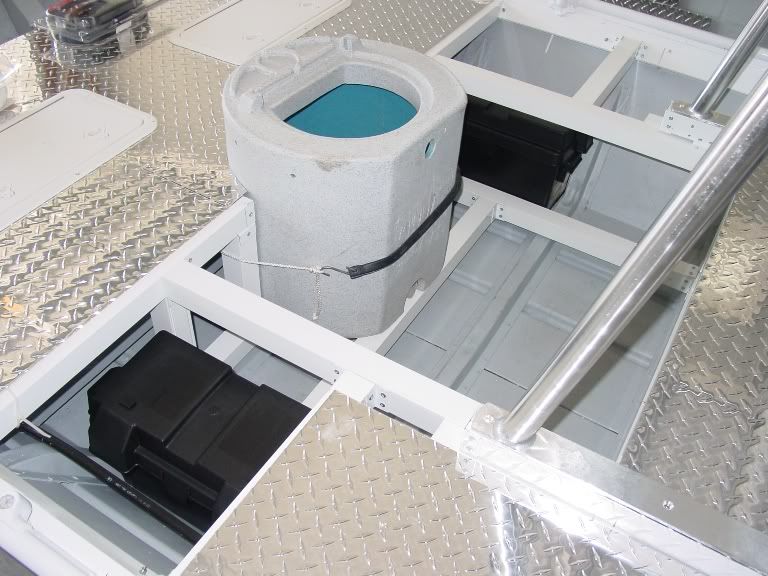
House and start battery boxes to be installed
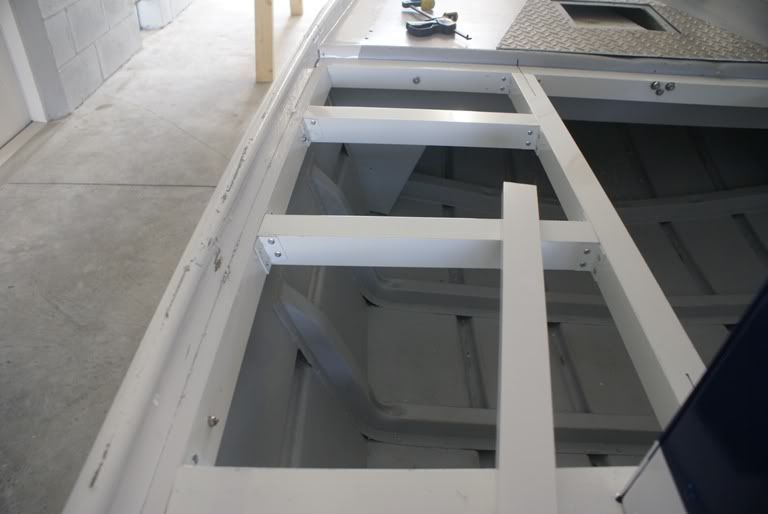
Access hatch for Fuel tank and shutoff valve
Fuel tank and shutoff valve